In this article
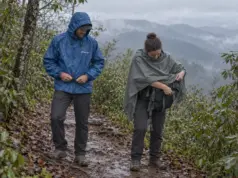
You’re an hour into a climb in steady rain, the shell you paid real money for is shedding everything the sky throws at it, and you’re soaked anyway. Not at the cuffs. At the shoulders, the back, the inside of both arms. Ask anyone who hikes through wet seasons and you’ll hear the same story with a different brand swapped in, which is the first clue the jacket was never the problem.
Learning how to stay dry while hiking in the rain starts with accepting that there are two separate wet problems and your shell only solves one. This guide covers both, the gear that handles each, the terrain call you make before leaving the car, and the point where wet stops being uncomfortable and turns into a real hazard.
Why You Get Wet in the Rain Even in a Good Jacket
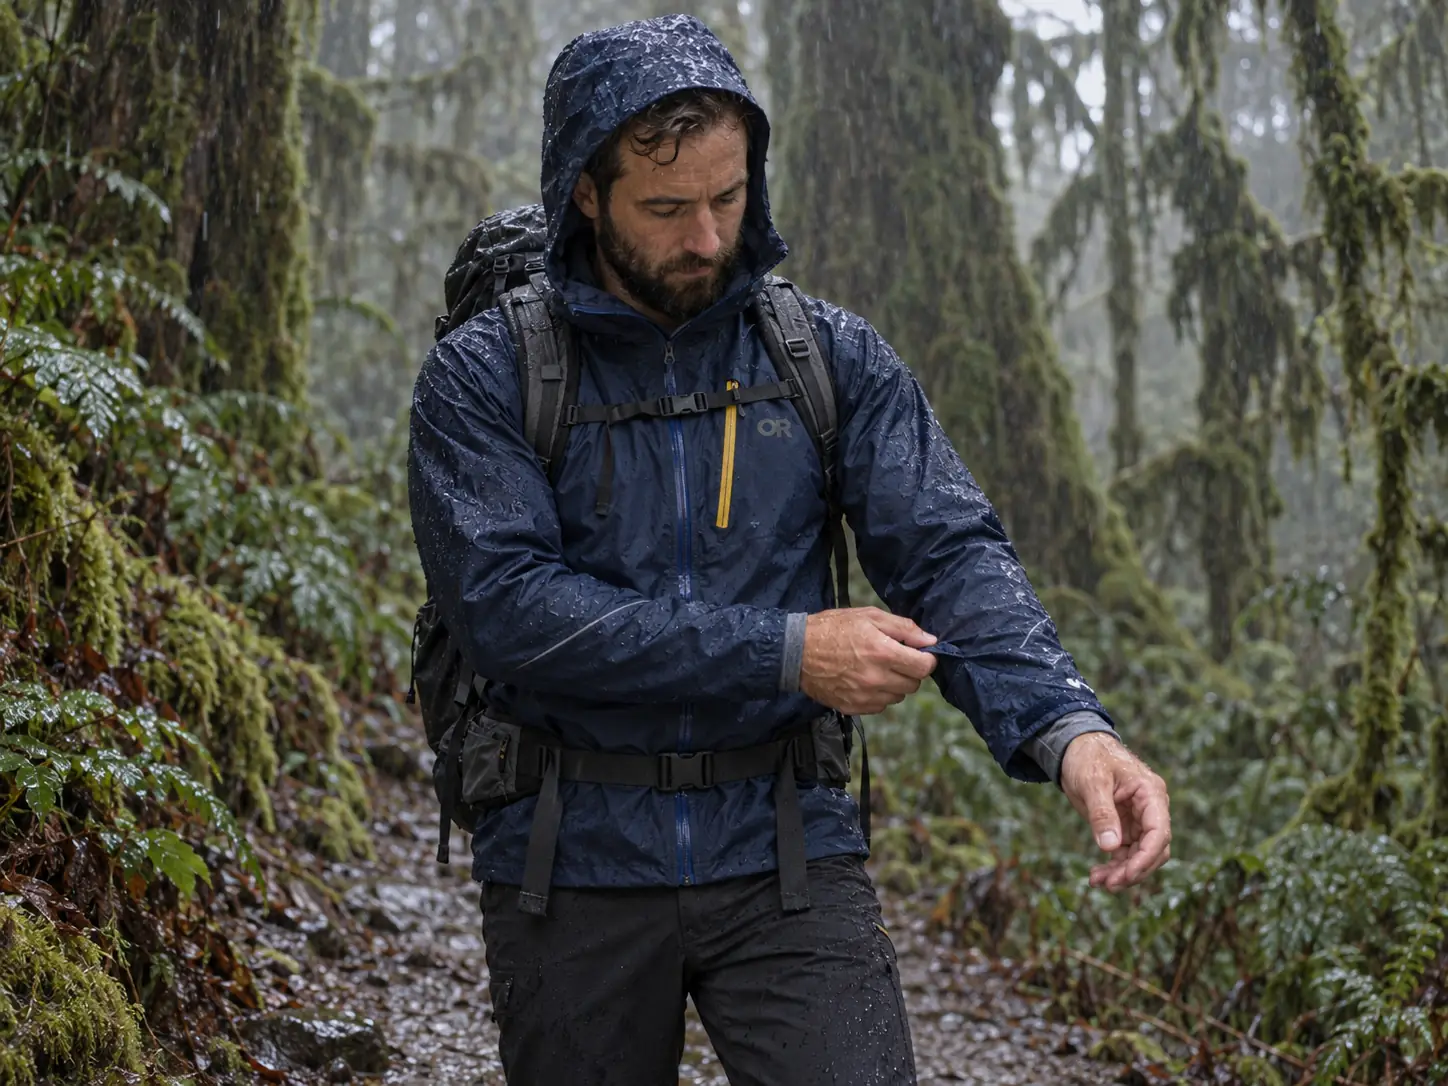
Here’s what a veteran says first when somebody at the trailhead complains their expensive shell failed: it probably didn’t. Most hikers know about exactly one source of water on a rainy hike, and it’s the obvious one falling out of the sky.
The Two Wet Problems, Separated
Water comes at you from outside. That’s rain, splash off wet brush, spray at a creek crossing, and it’s the problem a rain jacket was built to solve.
Water also gets generated inside. That’s sweat, and no membrane ever made solves it. Nearly every “my jacket failed” story is the second problem wearing the first problem’s clothes.
The numbers make it obvious. A hiker working up a steep grade puts out around 600 to 800 watts of metabolic heat, roughly what a small space heater produces, and all of it has to leave through a few square feet of fabric. No waterproof-breathable membrane vents vapor that fast. This is physics, not a defect, and money doesn’t fix it.
The mechanism matters more than the number. Membrane vapor transfer is passive diffusion, drifting toward the drier side on nothing but a pressure difference. Sweat production on a climb is active, and your muscles don’t care what the fabric can handle. A passive process cannot outrun an active one, and that asymmetry explains arriving at the top damp inside a jacket that never leaked.
Before you blame the shell, do the location test. Rain that gets in comes through a specific place: an open cuff, a hem riding up under the hip belt, a storm flap that isn’t closed. Sweat shows up everywhere at once, heaviest under the pack straps. Even wetness across your back and arms means the jacket did its job.
What “Wetting Out” Actually Feels Like
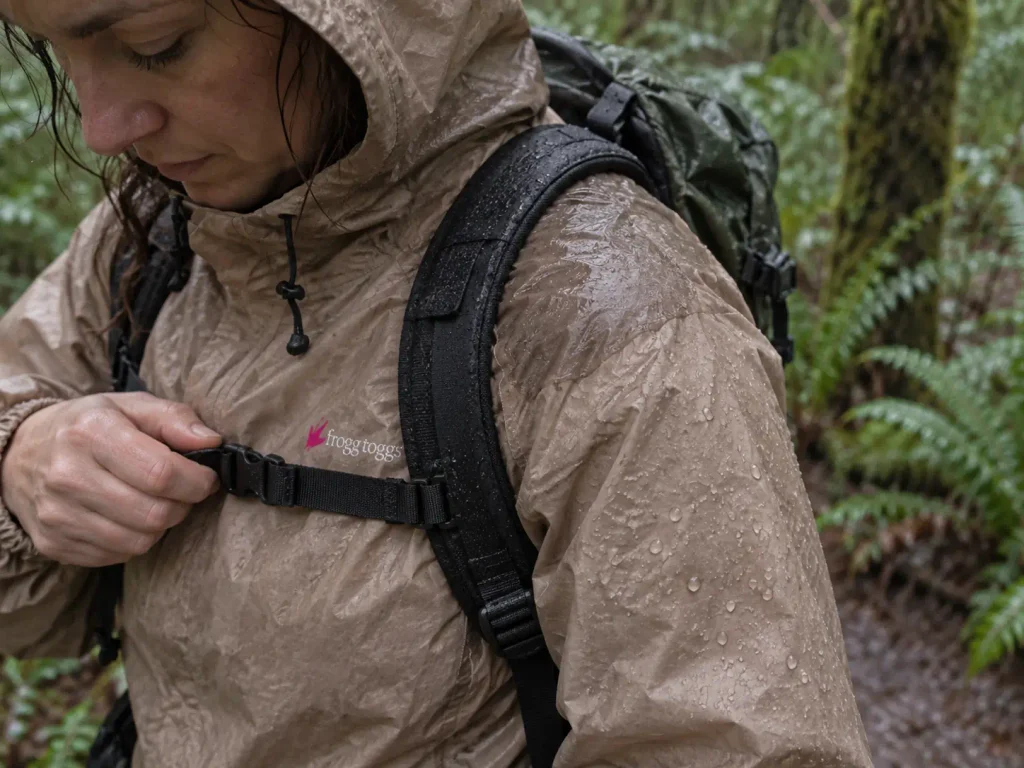
The outer fabric carries a durable water repellent coating, the DWR, and that’s what makes rain bead and roll off. It isn’t the waterproof layer; it’s the layer that keeps the waterproof layer working. When the DWR wears off, the face fabric saturates.
Hikers call this wetting out, and it kills breathability outright: a soaked outer fabric leaves no dry side for vapor to diffuse toward, so the membrane stops venting. The jacket still keeps rain out. It now also keeps everything else in.
The sensation is specific, not gradual. Water beads and rolls off your sleeve, then ten minutes later the fabric goes cold and clingy against your arm. The shoulders go first, where pack straps have been abrading the coating season after season.
That pattern is a diagnosis, not a verdict. DWR can be washed and reactivated, and plenty of shells that feel dead are just dirty. If yours soaks through everywhere and reproofing does nothing, work out whether your shell is worn out or just needs reproofing before spending money on a replacement.
Waterproof vs Water-Resistant Is a Category, Not a Grade
These two words look like degrees of the same thing on a hangtag. They’re separate categories. Water-resistant fabric sheds light rain for a while and then gives up, which covers most softshells and plenty of jackets with “rain” in the name. A hardshell is the other thing entirely: a waterproof membrane that blocks liquid water under pressure, plus taped seams so it doesn’t pour through the stitching.
Taped seams are the fastest check. Turn the jacket inside out and look at the shoulders: sealed seams carry a visible strip of tape over the stitch line. Bare stitching means every needle hole is an entry point, and on a sustained wet day they all leak at once.
The rating number tells you the rest, and what a hydrostatic head rating actually tells you is narrower than the marketing suggests. A mid-range rating with sealed seams and working pit zips beats a huge number on a jacket that can’t vent.
Vent Before You Sweat, Not After
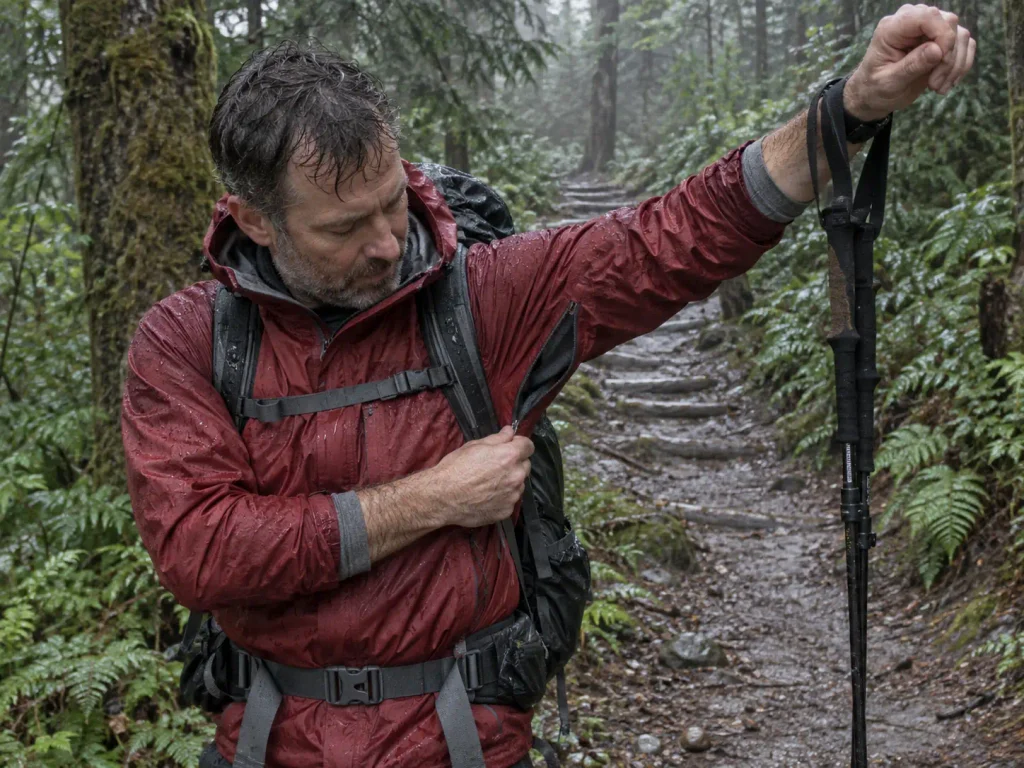
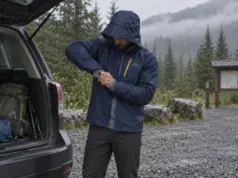
Everybody opens their pit zips eventually. Sweat management on a wet hike comes down to that one moment: the hikers who stay dry and the hikers who don’t wear similar jackets, and the difference is when they reached for the zipper. One group opens at the bottom of the climb. The other opens after noticing they’re damp, which is twenty minutes too late.
The Timing Rule
The rule is short: vent at the base of a climb, before your shirt has any moisture in it. Not when you feel warm. Before.
The reason is mechanical, and it’s the part nobody explains. Once sweat soaks into the layer against your skin, opening the vents slows further buildup and does nothing about what’s already there. Trapped moisture only leaves by evaporating, and evaporation inside a shell in 45-degree rain is functionally zero for the rest of the hike. You can’t vent your way back to dry, only stop it getting worse.
Pit zips work because they’re mechanical airflow rather than passive diffusion. Every step pumps warm humid air out the armpit opening and draws cooler air in at the hem, moving more moisture in a minute than the membrane manages in twenty. That’s why a mid-priced shell with working pit zips beats a premium shell without them on any climb steep enough to make you breathe hard.
Tie the venting to a landmark instead of a feeling. When the trail tips up, or when you reach the bridge you know sits at the bottom of the long climb, that’s the zipper cue. Doing it on terrain rather than on sensation is the only version of this rule that survives contact with an actual hike.
Venting a Jacket That Has No Pit Zips
Plenty of good shells skip pit zips to save weight, and ultralight models almost always do. You can still vent one, just less efficiently, and you have to use everything at once: cuffs open all the way, hem drawcord loosened so air moves up into the jacket, front zipper partway down with the storm flap shedding what would otherwise run in, and the hood pushed back under tree cover, because a hood up on a climb is a sealed lid on the system.
Field reports converge on the same blunt assessment: without mechanical venting you pretty much swim in your own sweat, whatever you paid. That’s an argument for knowing what you bought and adjusting pace, not for expecting fabric to save you. If you climb a lot, check which rain jackets actually carry usable pit zips rather than assuming a premium price includes them.
Pace Is Part of the System
The cheapest ventilation adjustment in hiking weighs nothing and nobody packs it: slow down. Heat output scales with effort, so dropping your pace on a wet climb means less heat, less sweat, and less moisture in your base layer at the top. A pace that feels embarrassingly slow in dry weather is often right in a 45-degree drizzle.
The sprint is what soaks you, because sweat production lags effort by several minutes: you stop pushing, cool down, and the sweat you ordered arrives anyway. Layer thin, not warm: a light wicking baselayer in synthetic or merino wool moves moisture off your skin instead of holding it there. If you’re slightly cold at the trailhead, you’re probably dressed right.
Picking a Rain Jacket That Works for How You Actually Hike
The gear-shop answer is always “buy the better shell.” The honest answer is that a cheap jacket and a featherweight premium shell fail in different ways, and which failure you can live with depends on whether you’re carrying the thing or wearing it. For the wider category overview, our full guide to hiking rain gear walks through the whole system.
The Budget Path That Actually Stays Waterproof
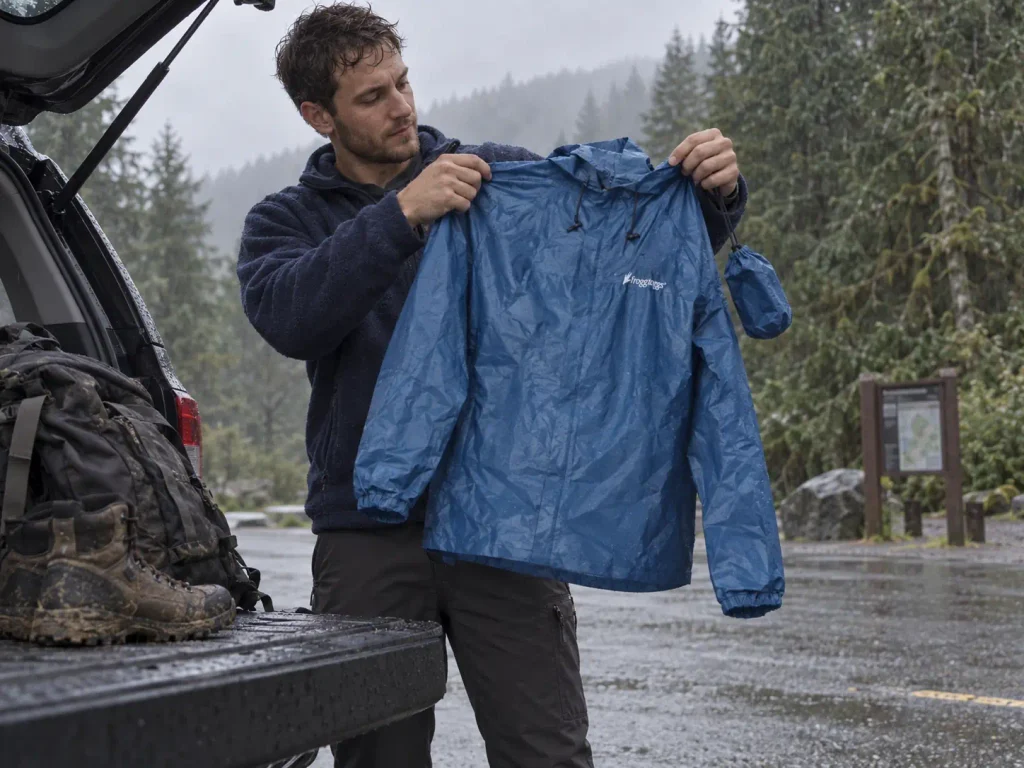
There’s a real budget path here that almost nobody writes about, because recommending a premium shell is easier than admitting a cheap one works. The FROGG TOGGS Ultra-Lite2 (men’s · women’s) is a genuinely waterproof-breathable nonwoven shell, not a poncho compromise with a zipper, and it packs small enough to live in a daypack permanently.
The tradeoffs are real: the nonwoven fabric isn’t durable, and dragging it through blowdowns and brambles will eventually tear it where nylon would shrug the same treatment off. What it has is the part that matters, keeping rain out while letting some vapor through. For a hiker who gets rained on four times a year, a cheap shell that works beats an expensive one that stays home because you’re afraid to scuff it.
The Ultralight Premium Counterpoint
The other legitimate path spends money on weight and longevity. The Outdoor Research Helium (men’s · women’s) runs a little over six ounces, light enough that packing it stops being a decision, and its DWR holds up longer than what you get at the bottom of the market.
Note what it doesn’t have: pit zips. Venting is handled by the cut and the front zipper, which sends you back to the cuffs-and-hem method. That’s the packability-versus-durability tradeoff in one product: lighter fabric packs smaller and abrades faster.
Neither end is the correct answer. The correct answer is whichever failure mode you’d rather accept.
What to Check Before You Look at the Rating
The rating number is the last thing to check. Four features decide whether a shell is pleasant in sustained rain, and none appear in the headline spec.
- Taped seams. Turn it inside out. No tape, no waterproof jacket, whatever the label says.
- A hood that turns with your head. If it stays put while your face rotates into the fabric, you’re blind on switchbacks.
- Cuffs that close. Velcro tabs that cinch over a glove, not elastic that lets water run down your forearm.
- A hem that stays put under a hip belt. Shells that ride up expose your lower back to every drip running off the jacket.
Fit matters more than the spec sheet if you layer. A shell sized against a t-shirt in July won’t close over a fleece in November, and one that’s too tight loses the air gap venting needs. Try it on over the warmest thing you’d realistically wear under it, and size it for the layers you’ll actually wear under it rather than for how it looks in a fitting room.
Keeping Your Legs, Feet and Head Out of It
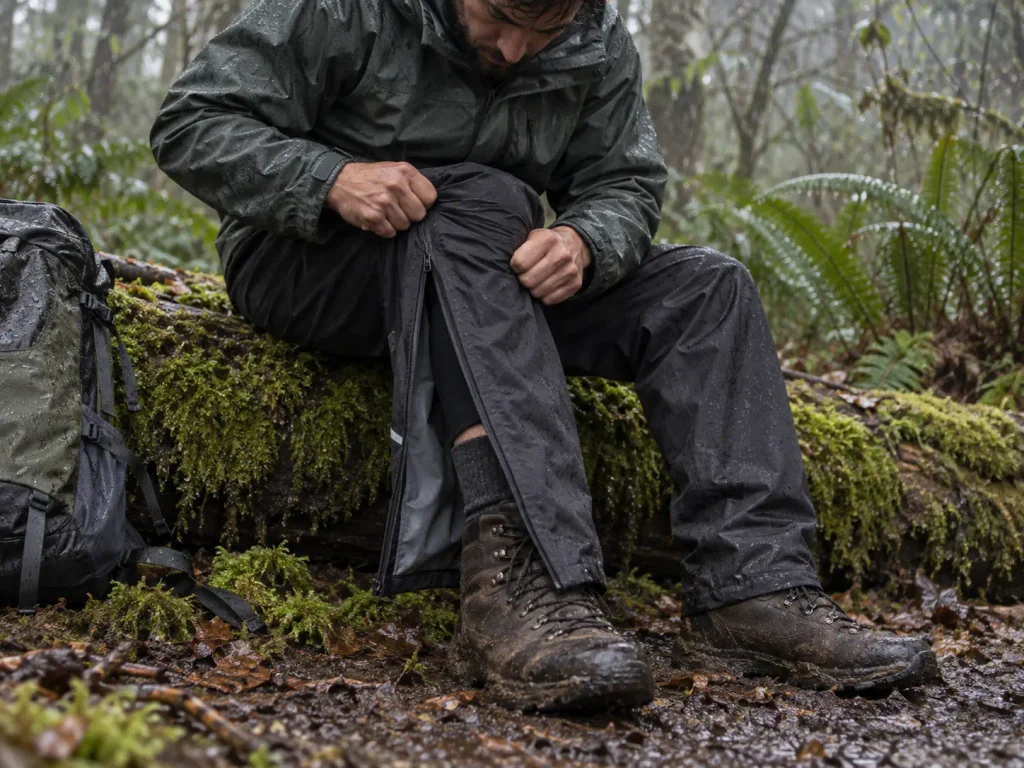
Most hikers own a rain jacket and nothing else. Then they find out soaked trousers wick cold straight up the legs, wet boots stay wet for the rest of the trip, and a hood with no brim turns every uphill into squinting through spray. The lower half is where a rain plan usually has its hole.
Rain Pants, and When Gaiters Beat Them
Full side zips matter more on rain pants than the waterproof rating does. They vent on a climb the way pit zips do up top, and they let you pull the pants on over boots without sitting in the mud. The Marmot PreCip Eco Rain Pant (men’s · women’s) is the standard reference point for a reason, and in the wider comparison of rain pants that actually breathe on a climb, the venting hardware is the column to read first.
Gaiters are the lighter answer, and not a downgrade. On forest trails the threat isn’t sustained downpour: it’s ankle-height splash and wet brush soaking your socks from the boot collar down. A low gaiter like the Pike Trail Ankle Gaiters closes that gap, weighs almost nothing, and never cooks you on a climb the way full pants can. The choice is terrain, not weather, and how gaiters fit into a wet-weather kit covers height, closures, and what stays put over different boots.
The Waterproof Boot Tradeoff Nobody Mentions
Waterproof boots keep water out until water comes in over the top. Then they keep it in. A membrane in a boot is a sealed bag around your foot with one opening at the ankle, so rain running down your leg or one misjudged crossing puts water in there with nowhere to drain. Two days into a wet trip, that boot is still wet.
Mesh trail runners flip the arithmetic. Mesh footwear in a quick-dry fabric soaks through in twenty minutes and then drains, and foot warmth plus airflow gets them to barely damp within an hour of the rain stopping, which sounds backwards until you’ve spent a trip in a boot that never dried. It’s worth understanding how waterproof footwear behaves once water gets in over the collar before assuming the membrane is the safer choice. The deciding factor is trip length: day hike, waterproof boots plus gaiters are hard to beat; multi-day in sustained rain, draining footwear wins.
Socks, Hood and Cap
Socks are wool or synthetic, never cotton.
The “cotton kills” rule isn’t about base layers only: cotton loses nearly all its insulating value when wet and dries slowly, and that’s just as true around your feet. Wet wool still holds warmth. Wet cotton is a cold compress you’re walking on.
Carry a dry spare pair of wool socks and treat them as camp-only. That spare is blister prevention as much as comfort: skin softened by hours of wet is where hot spots turn into blisters, so foot care on a rainy hike means changing socks at lunch if you have the pair to do it.
The head is where the cheapest upgrade lives. A brim hat under your hood, even a plain baseball cap, keeps rain off your face and stops the hood collapsing against your forehead. A dedicated rain hat does the same job with a wider brim if you hike in wet country often.
Without it you spend the day with water on your glasses and a hood that turns your peripheral vision into a tunnel. With it, you can see the trail.
Protecting What’s Inside the Pack
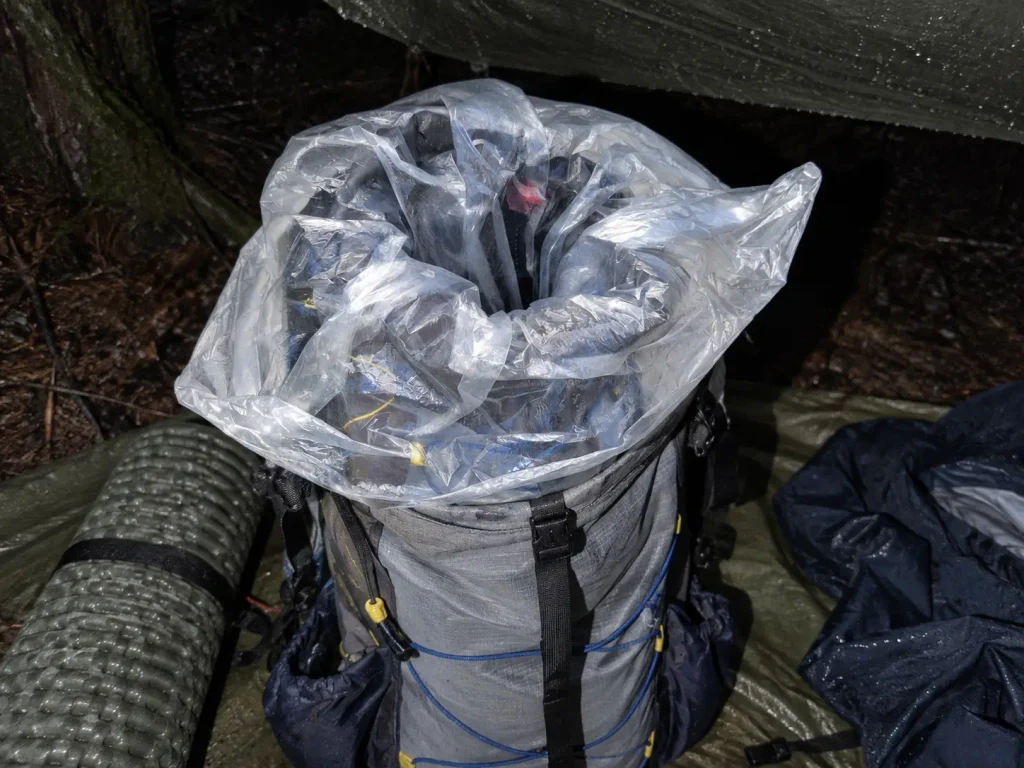
You can hike wet all day and be completely fine. You cannot sleep in a wet sleeping bag. That’s the line between an uncomfortable trip and a trip that ends early, and the thing most people buy to prevent it is the wrong tool.
Why a Rain Cover Loses to a Liner
A rain cover stretches over the outside of your pack and protects its fabric. It does not protect the shoulder straps, the back panel, or the top opening, because those sit against you, outside the cover. Watch where water actually goes: off your jacket, down your neck, along the straps, and in under the top of the cover exactly where it can’t reach. Two hours later the cover is dry outside and the top third of your gear is soaked.
A pack liner inverts the logic. It’s a waterproof bag inside the pack, and everything you care about goes in it. The pack gets soaked and gains a pound of water weight, and you don’t care, because the contents are sealed where strap runoff can’t reach.
The cheapest version is a trash compactor bag from a supermarket, and it works. Nylofume Pack Liner Bags are the step up most thru-hikers land on: heavier-duty, a roll-top closure, weighs almost nothing.
What makes it convincing is who agreed on it. Budget hikers arrived at the liner because it’s absurdly cheap; ultralight hikers because it’s lighter than a cover. When two groups optimizing for opposite things pick the same answer, the answer is usually right, and the full liner-versus-cover comparison runs the weights side by side.
Roll the liner closed even on a sunny start. The reason isn’t rain, it’s the creek crossing you didn’t plan for and the pack that goes in the water when you slip. A rolled liner buys you a few minutes of float and a dry sleeping bag; an open one turns a stumble into the end of the trip.
What Actually Has to Stay Dry
Not everything in the pack deserves the same protection. Sleep system first: a wet sleeping bag is the one failure you can’t recover from in the field, because soaked down has no loft and you won’t dry it overnight. On multi-day trips, double-bag it, dry sack inside the liner.
Insulation second. The puffy or fleece you’ll put on when you stop moving is your whole margin against getting cold at camp, and it has no job while you’re walking, so it never leaves the liner during the hike.
Down insulation is the one that punishes you hardest for getting this wrong, since wet down loses its loft entirely. Synthetic insulation keeps some warmth when damp, which is why it earns its place on genuinely wet trips. Electronics third: phone in a waterproof phone case or a plain zip-top bag, plus the headlamp and anything else with a battery. Everything else can get wet and you’ll survive the night in mild discomfort.
The Dry Set Waiting in the Car
Whether you’re backpacking in the rain for four days or just dayhiking in rain for an afternoon, the same logic applies at a smaller scale, and day hikers almost never build it. A single dry bag inside the daypack, holding the phone, the spare layer and the car key, covers most of what goes wrong on a wet afternoon.
The other half lives at the trailhead. Leave a complete dry set in the car: shirt, trousers, socks, and a towel for your feet. Change before you drive, not when you get home. Sitting still in wet clothes is when you actually get cold, because you’ve stopped generating the heat that was keeping it tolerable.
Drying out gear starts there too: boots stuffed with newspaper and a shell hung rather than folded beat anything you do the next morning.
The Terrain Call You Make Before You Leave the Car
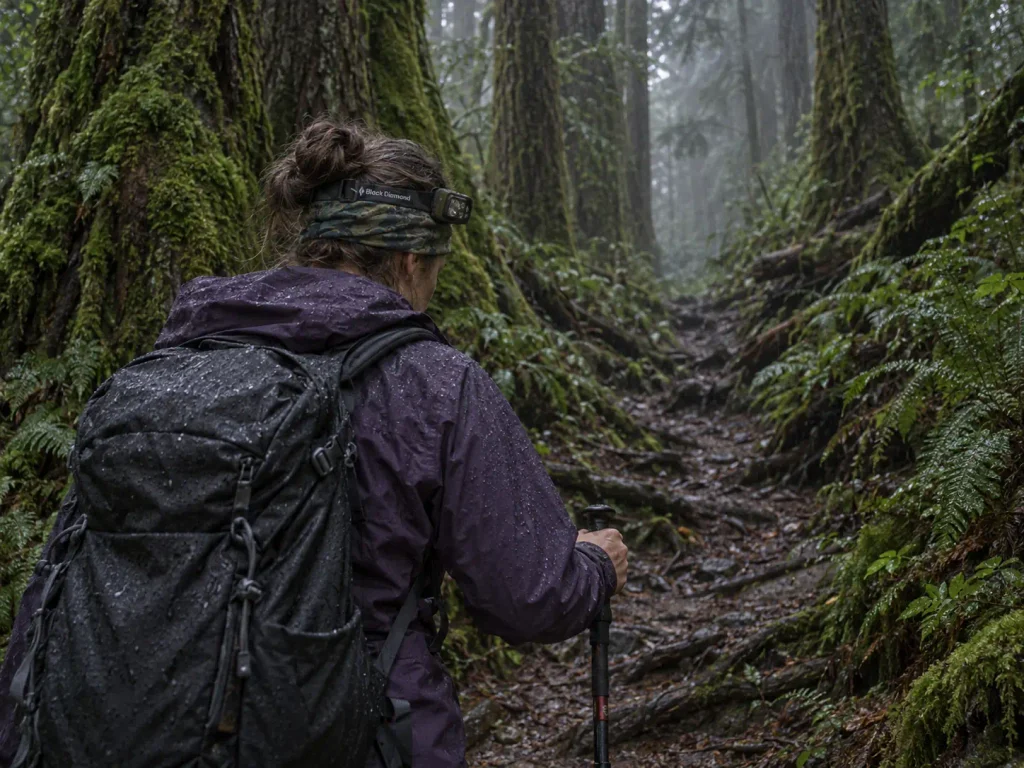
Here’s the honest read nobody publishes: some rainy hikes are genuinely pleasant and some are miserable no matter what you’re wearing. The difference is terrain, not gear and not grit. You make this call at home with a map and a look at recent trail conditions, and getting it right does more for your wet weather hiking day than any jacket on the market.
Forest Trails Are the “Go” Call
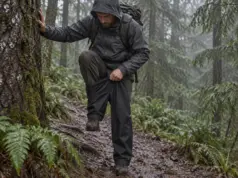
Old-growth and forest trails at lower elevation are the rainy-day answer, and Washington Trails Association field guidance says it plainly: favor forest trails, skip the exposed stuff. Canopy intercepts most of the rain and turns it into a diffuse patter that rarely soaks through in the first twenty minutes.
The sound is the giveaway. Rain under trees is scattered and irregular, drips arriving at random off a thousand leaves. Step into a clearing and it changes instantly into a steady, immediate, getting-wet-now hiss on your hood. That shift tells you the terrain changed categories before your eyes have caught up.
Plan for one thing: heavy cloud cuts usable daylight hard, and a forest trail under thick canopy goes dim long before sunset. The Black Diamond Spot 400 sits in the reliable middle of that market: bright enough to hike out on, dimmable so you don’t blind your partner at a junction, and housed well enough to keep working in sustained rain.
Exposed Ridges and Slick Rock Are the “No-Go”
Exposed ridge walks and rock scrambles are the other half of that WTA guidance. Wet rock changes friction in ways that surprise people who’ve only climbed it dry, and slippery rocks on a scramble are worst where the surface is smooth granite slab or carries lichen. An exposed ridgeline also removes your options, because up there the weather can worsen and there’s nowhere to go, no tree cover, no wind break, no quick descent.
Then there’s lightning, where the guidance is unambiguous: if you can hear thunder you’re already close enough to be struck, and there’s no safe place outside in a thunderstorm. That’s the core of the National Park Service’s lightning safety guidance, which also says to wait at least thirty minutes after the last thunder before resuming, the part people skip when the rain seems to stop. For the practical version, what to do if a storm catches you on open ground covers the moves that matter in the moment.
A no-go call isn’t a canceled day. It’s a different trail, usually twenty minutes down the road at lower elevation with trees over it, and what to do instead when the forecast rules the hike out beats staring at the radar hoping it clears.
Creek Crossings After Rain
A creek that was ankle-deep yesterday can be knee-deep and moving today, and rain upstream changes water levels hours before it changes anything where you’re standing. In narrow canyons that lag is how a flash flood catches people under blue sky. A crossing you’ve done twenty times is a new crossing after a storm.
The NPS rule for any stream crossing is worth memorizing: never attempt one during flooding, in moving or white water, or any time you can’t confirm the depth. Muddy water you can’t see the bottom of fails all three at once, a standard that comes from the NPS’s core hiking safety guidance and costs you a turnaround at worst.
Unbuckle the hip belt and sternum strap before you step in. If you go down in moving water, a buckled pack is an anchor you can’t get out of, and that’s a documented risk factor in real incidents rather than a theoretical concern. Face upstream, use trekking poles for a third point of contact, move one foot at a time, and how to read a crossing before you commit to it goes deeper on picking the line.
When Wet Stops Being Uncomfortable and Starts Being a Problem
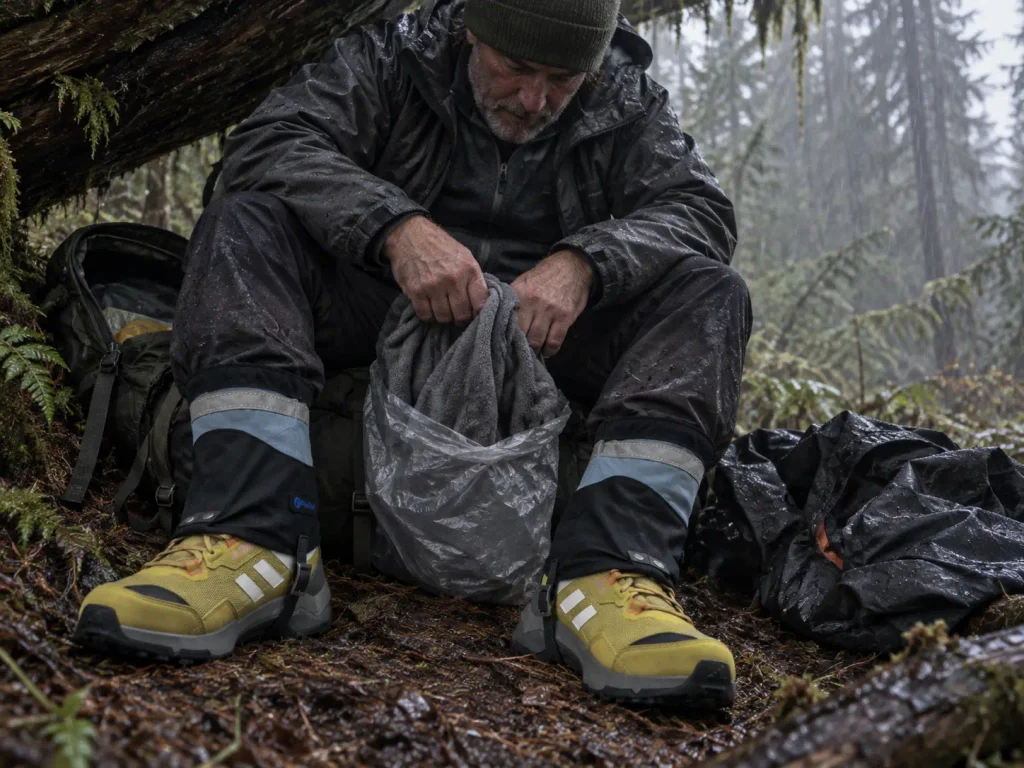
Everyone knows hypothermia is bad. Almost nobody knows what the first signs look like in a hiking partner, and fewer still know that the sign that looks most like improvement is the one that means it’s serious.
The Combination That Actually Gets People
It isn’t deep cold. Cases on trail cluster in mild weather, and the combination is wet clothing plus wind at around 40 to 45 degrees Fahrenheit. Cold and dry is survivable with the gear most hikers carry. Mild and soaked is what catches people out, because it doesn’t feel serious while it’s developing.
The mechanism is evaporative cooling and it’s ruthlessly efficient. Water pulls heat off skin far faster than air does, and wind accelerates it by stripping away the thin warm layer next to your skin.
Wet skin plus moving air is a wind chill problem your thermometer never shows: a soaked shirt in a breeze at 45 degrees moves heat out of you faster than still air at 20 degrees does. It is the reason cold weather hiking in the dry feels safer than a mild day in the rain.
What makes it sneaky is that it happens while you feel fine. Walking generates enough heat to mask the deficit, so you can lose ground steadily for hours and notice nothing until you stop for lunch and the shivering arrives almost immediately. Hypothermia starts below 95 degrees core temperature, but a thermometer isn’t the tool you’ll have. What you’ll have is a partner.
The Umbles — Your Partner Is the Thermometer
The field mnemonic is the umbles: stumbles, mumbles, fumbles, grumbles. That’s the early-warning set, and it shows up while core temperature is still above 90 to 92 degrees, well before anyone looks like they’re in trouble.
Take each literally. Stumbles: catching a toe on roots they’d have cleared an hour ago. Mumbles: slurred or oddly slow speech, answers arriving late.
Fumbles: the giveaway, because fine motor control goes early, so a partner who can’t work a zipper pull or latch a buckle is telling you something specific. Grumbles: irritable or flat for no reason, or going quiet in a way that isn’t like them.
The mnemonic and its thresholds come from Washington Trails Association’s guide to recognizing hypothermia, citing wilderness EMT field experience, and it’s built as a partner check because the affected person is the last to notice. Someone in early hypothermia will tell you they’re fine, sincerely, while failing to zip their own jacket.
Then there’s the part that reads backwards. Shivering stopping is worse than shivering hard. Below roughly 90 degrees, heat generation through shivering quits and coordination collapses, so the moment a partner who was shaking violently goes calm and still, the situation has escalated rather than resolved. If you remember one thing here, make it that.
The Three Zones and What to Do in Each
Reduce it to three zones and the decision gets fast, which is what you need when you’re tired and wet and looking for a reason to keep going. Zone one, uncomfortable: wet but warm, moving well, talking normally. Keep hiking, stay on top of venting and food.
Zone two, active monitoring: wet plus temperature below about 45 degrees plus wind. Nothing is wrong yet, but start checking your partner deliberately every twenty minutes. Zone three, bail now: any umbles sign at all, regardless of what the thermometer says.
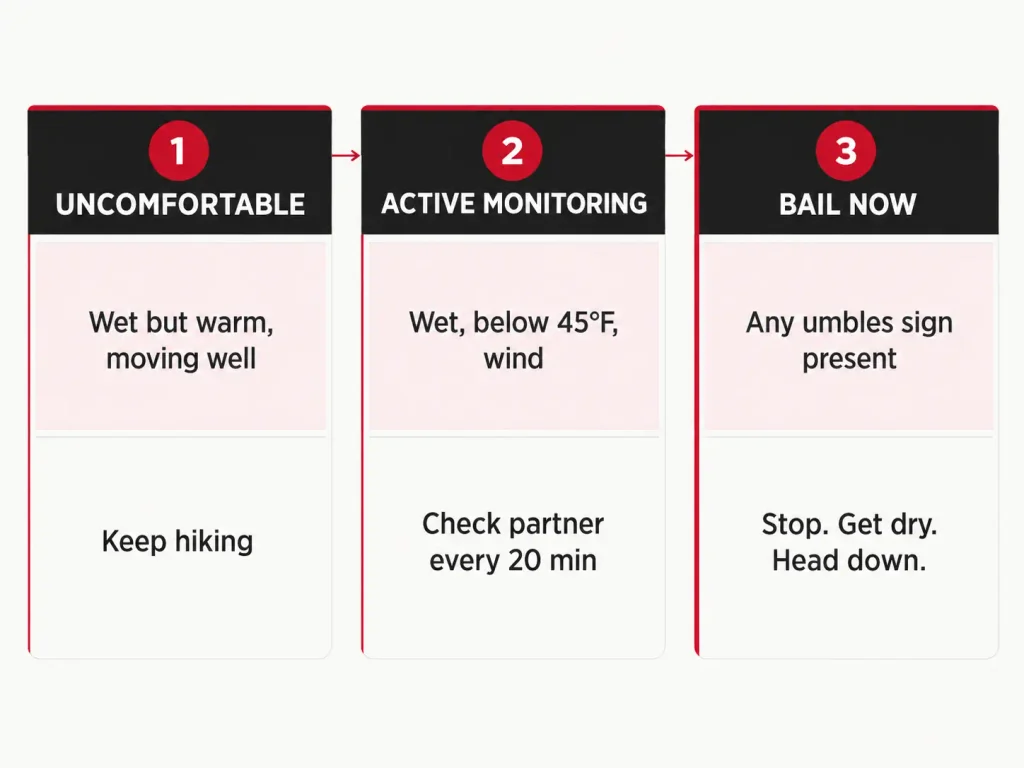
At the bail-now point the response is specific and the order matters. Stop moving. Get the wet layer off, because it’s actively pulling heat out and will keep doing it no matter what you put over it.
Add dry insulation next to skin. Get calories and warm fluid in, and keep drinking, because cool weather blunts thirst and dehydration quietly makes everything else here worse. Then head out, downhill and toward shelter.
What you don’t do is push for the summit from zone three. It’s a hundred yards, the weather might break, you drove three hours to be here: every one of those thoughts arrives on schedule, and every one is the situation making the argument for you. The same logic scales upward, which is how the same moisture-management logic scales to real cold, where margins get thinner and consequences arrive faster.
The Three Things Worth Remembering at the Trailhead
Two wet problems, not one, and the sweat one is the problem your jacket cannot fix. Vent at the bottom of the climb, before your shirt is damp, because trapped moisture never comes back out.
The pack liner and the terrain call cost almost nothing and prevent the failures that actually end trips. A dry sleeping bag and a forest trail beat a premium shell on a ridge every time.
The umbles are the bail signal. If a partner starts fumbling a zipper and mumbling answers, the hike is over, and that isn’t a judgment call you negotiate, it’s a threshold you already agreed to.
Next rainy forecast, don’t cancel. Pick a forest trail, open the vents at the bottom of the first climb, and find out how different a wet hike feels when the system is set up right.
Frequently Asked Questions
01How do you keep your feet dry when hiking in the rain?
Often you don’t, so aim for feet that drain and rewarm instead of feet that stay sealed. Waterproof boots work until water comes over the collar, then trap it. Gaiters close the ankle gap, wool or synthetic socks insulate wet, and a dry spare pair belongs in the pack.
02What should I do when hiking in the rain?
Vent early, protect what’s inside your pack, pick forest terrain over exposed ridges, and watch your partner for the umbles. Those four moves cover almost every wet-weather failure. Open the pit zips at the base of a climb rather than after you feel hot, and line the pack instead of covering it.
03What should you wear hiking when it’s raining?
A genuinely waterproof shell with taped seams over a thin wicking synthetic or wool base layer, never cotton, plus full-zip rain pants or gaiters depending on terrain. Layer thin rather than warm under the shell so sweat has somewhere to move, and add insulation only once you stop walking.
04How long do hiking trails take to dry after rain?
It depends far more on trail surface and tree cover than on hours elapsed. Packed dirt under canopy can be walkable within a day, while clay tread and exposed sections hold water much longer. The question matters mostly for erosion, so check recent trip reports rather than guessing.
Risk Disclaimer: Hiking, trekking, backpacking, and all related outdoor activities involve inherent
risks which may result in serious injury, illness, or death. The information provided on The Hiking Tribe is for
educational and informational purposes only. While we strive for accuracy, information on trails, gear, techniques,
and safety is not a substitute for your own best judgment and thorough preparation. Trail conditions, weather, and
other environmental factors change rapidly and may differ from what is described on this site. Always check with
official sources like park services for the most current alerts and conditions. Never undertake a hike beyond your
abilities and always be prepared for the unexpected. By using this website, you agree that you are solely
responsible for your own safety. Any reliance you place on our content is strictly at your own risk, and you assume
all liability for your actions and decisions in the outdoors. The Hiking Tribe and its authors will not be held
liable for any injury, damage, or loss sustained in connection with the use of the information herein.
Affiliate Disclosure: We are a participant in the Amazon Services LLC Associates Program, an
affiliate advertising program designed to provide a means for us to earn advertising fees by advertising and linking
to Amazon.com. As an Amazon Associate, we earn from qualifying purchases. We are also an official affiliate partner
of Black Diamond Equipment via the AvantLink network. If you click on a Black Diamond affiliate link and make a
purchase, we may earn a commission at no additional cost to you. We also participate in other affiliate programs and
may receive a commission on products purchased through our links. Additional terms are found in the terms of
service.