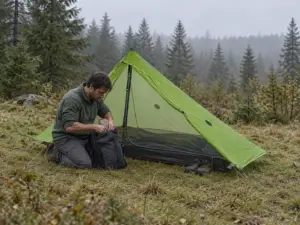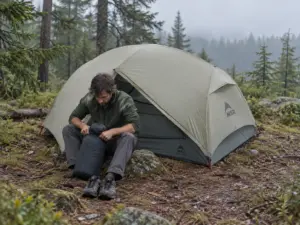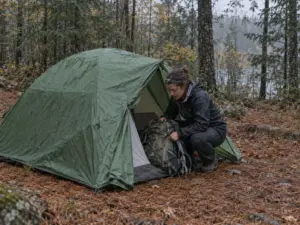
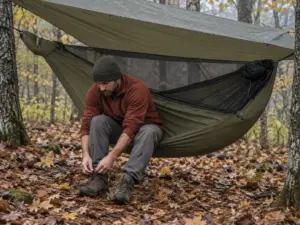
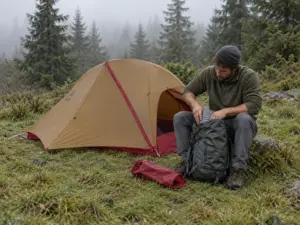


















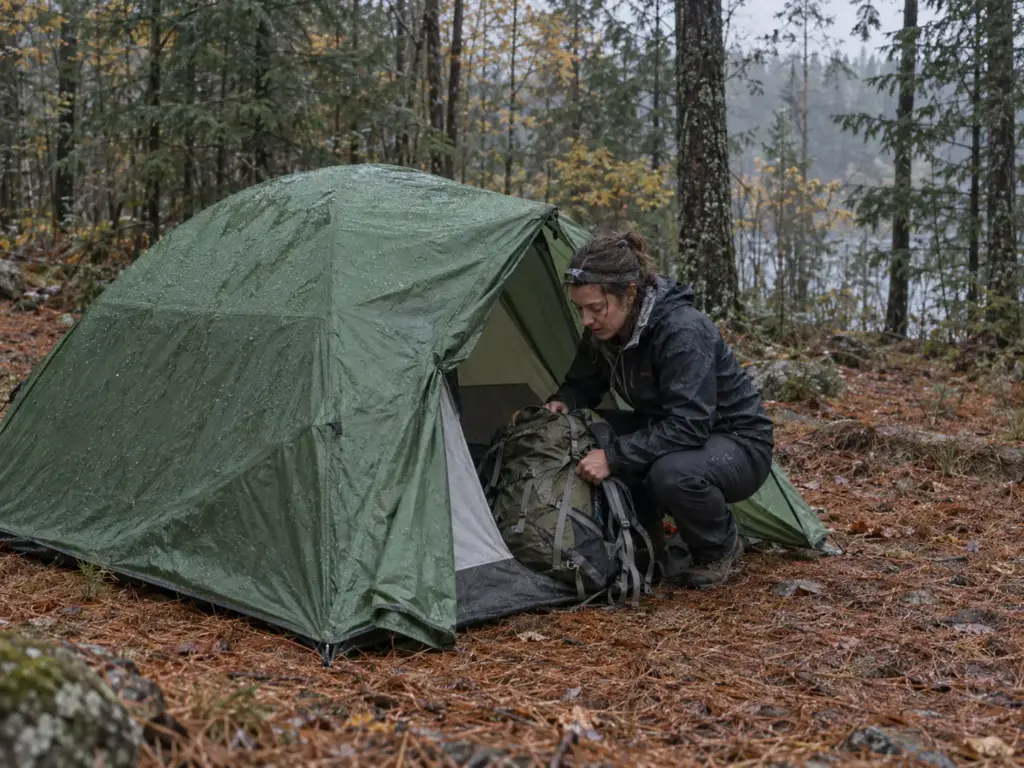
You reach camp with the sun gone and rain coming in sideways, and the tent is still in its stuff sack at the bottom of your pack. REI names that exact moment as the worst time to learn how to set up a backpacking tent, and it is hard to argue. The steps below are the order REI, the Appalachian Mountain Club (AMC) and Big Agnes agree on for tent setup, plus the wet-weather habits of Chris Townsend at The Great Outdoors and a handful of r/CampingGear threads. You get the step-by-step way to pitch a tent in the order a tired backpacker actually does it, how to keep the inside dry when it is pouring, and what changes when your trekking poles hold the tent up.
Practice How to Set Up a Backpacking Tent at Home First
The tent is the one piece of gear you cannot learn while you need it. Everything else in your pack forgives a fumble at dusk. A tent with a missing pole section and a storm arriving does not. Knowing how to pitch a tent in daylight is what lets you set up a tent in the dark.
Find Your Tent’s Own Instructions Before the Trailhead
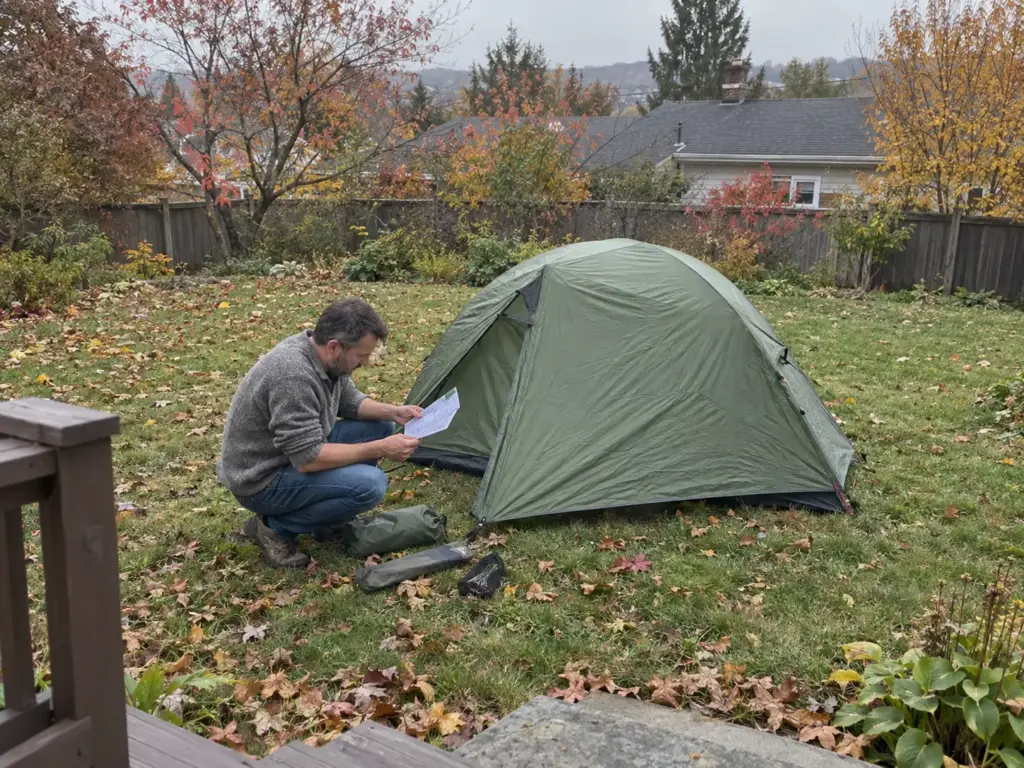
REI, AMC and Big Agnes all push the same first step: read the setup instructions and practice before the trip. The instructions are often sewn into the hem of the stuff sack, or posted on the brand’s product page, and Big Agnes runs a whole support page on how to find them. Do that search at your kitchen table, not on your phone with one bar of signal.
Run One Dry Pitch in the Yard
A dry pitch is where you learn which poles go where, which clips are which, and whether anything is missing. It costs you nothing while the weather is on your side. The common mistake is trusting the first pitch. A practice run is how you find out what a loose fly feels like before the rain does.
Learn where each piece lives in the pack too. Packers in the r/CampingGear thread “How do you guys pack your tents to maximize the amount of space in your pack?” keep the poles in a side pocket, and Townsend carries the shelter on top or in an outside pocket so it is the first thing out of the pack. Whichever habit you pick, the point is the same: at dusk you should reach for the tent without unpacking everything above it.
Pick a Pitch Spot That Drains and Blocks Wind
The best pitch in the world fails on bad ground. Campsite selection decides more than any stake you drive.
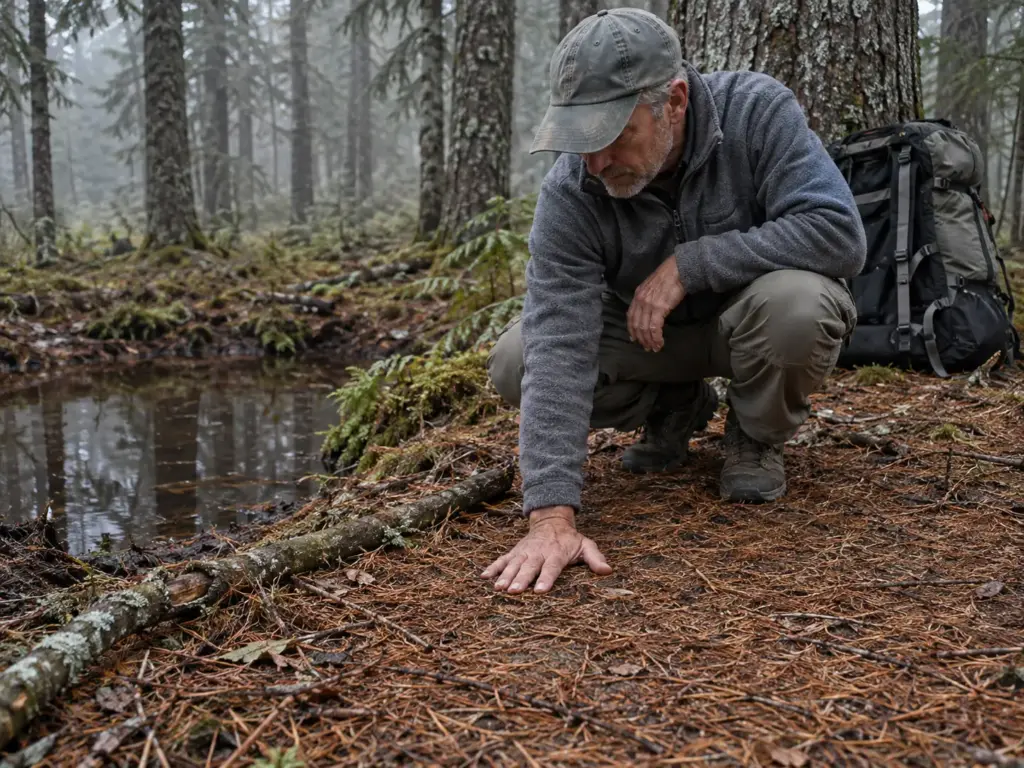
And the decision gets made at 6 p.m. with tired legs, when flat feels like enough. It often is not.
Flat Ground, Cleared of Debris and Dead Branches
Look for flat ground and clear debris, the sticks and rocks you would feel through the floor. Then look up. AMC tells you to check overhead for dead branches, the ones called widow makers, before you commit to a spot. Rain and wind are exactly when they come down.
Drainage, Wind and Where Water Collects
A good site is well drained and sits high above streams and pools, and hollows and gullies are the places that fill. Townsend adds a trick for after rain: when the flats are sodden, the top of a knoll or a slight slope is often drier than the ground around it. Note the wind direction before you commit, and use natural windbreaks where they exist, as REI and AMC suggest.
Choose the site for where water will go, not for how it looks at dusk. A flat patch in a hollow looks perfect until the first hour of rain, while a slight rise looks unremarkable and stays dry.
How Far to Camp From Lakes and Streams
Leave No Trace recommends camping 200 feet from water. Local rules can differ: the National Park Service’s backpacking rules for New River Gorge set the legal minimum at 100 feet from water sources and trails. Give yourself the number from the rule that applies where you are going, and when in doubt, take the bigger one. The same NPS page makes a point worth repeating about site choice: good campsites are found, not made, so use an existing durable flat spot instead of clearing a new one.
Lay Down Ground Protection That Does Not Pool Water
The sheet of plastic everyone argues about comes down to footprint sizing, which matters more than the argument. Size it wrong and it stops protecting the floor and starts collecting rain.
Footprint or Tarp Under the Floor
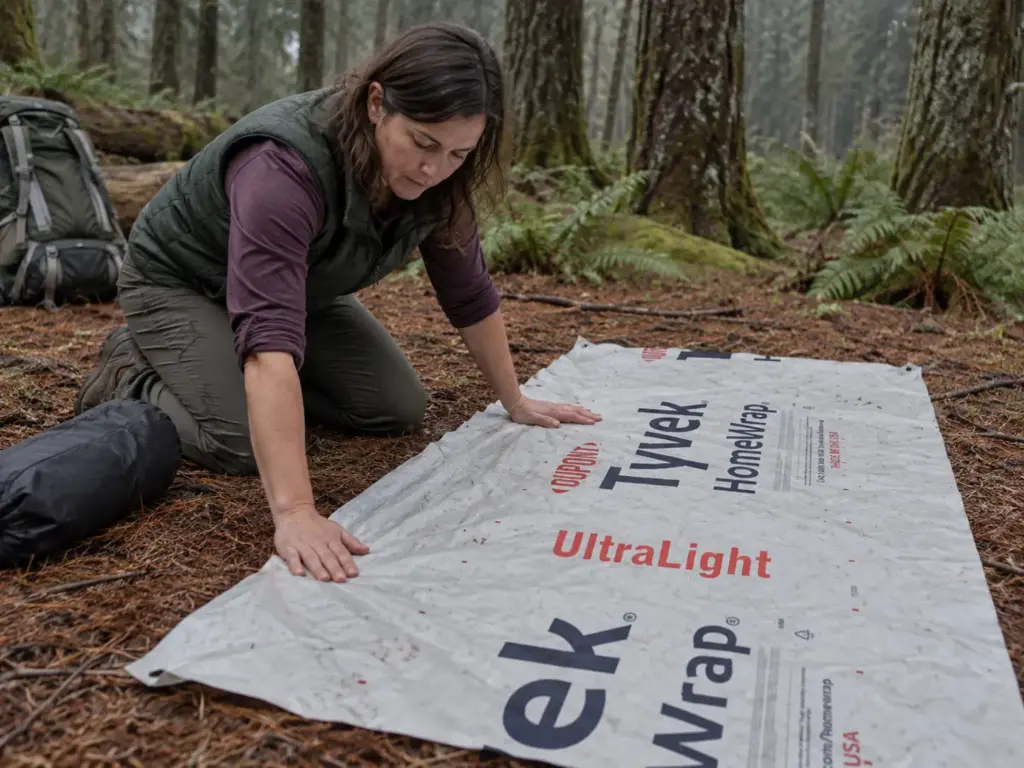
You have two options: a footprint made for your tent, or a plain ground tarp or Tyvek sheet cut to size. REI names the do-it-yourself Tyvek footprint as the budget route, and a sheet like the Tyvek Ground Sheet & Tent Footprint is the universal version you trim to your floor, shiny side up. If you are still deciding whether you need a footprint at all, that is a separate question with its own answer.
Own a Big Agnes Copper Spur UL? Then the matched option is the Big Agnes Footprint for Copper Spur UL Tent, 2 Person. It fits that tent only, so it is for owners of that exact model. A budget sheet does the same job on any other tent.
Why the Footprint Stays Smaller Than the Tent Floor
Cut the footprint smaller than the floor, so no edge sticks out past the walls. REI and AMC give the same reason: a ground cloth that sticks out past the floor pools rain water. A tarp gets folded under so no edge shows. One commenter in the r/CampingGear trekking pole tent thread makes the same call, a groundsheet a bit smaller than the footprint.
Pitch the Tent Body in the Right Order
Most pitching errors are order errors. Poles half seated, fly on before the tent body is clipped, a door pointed the wrong way for the wind.
Match the Corners and Set the Doors for the Wind
The sequence below fits most freestanding tents, including the two-person backpacking tents.
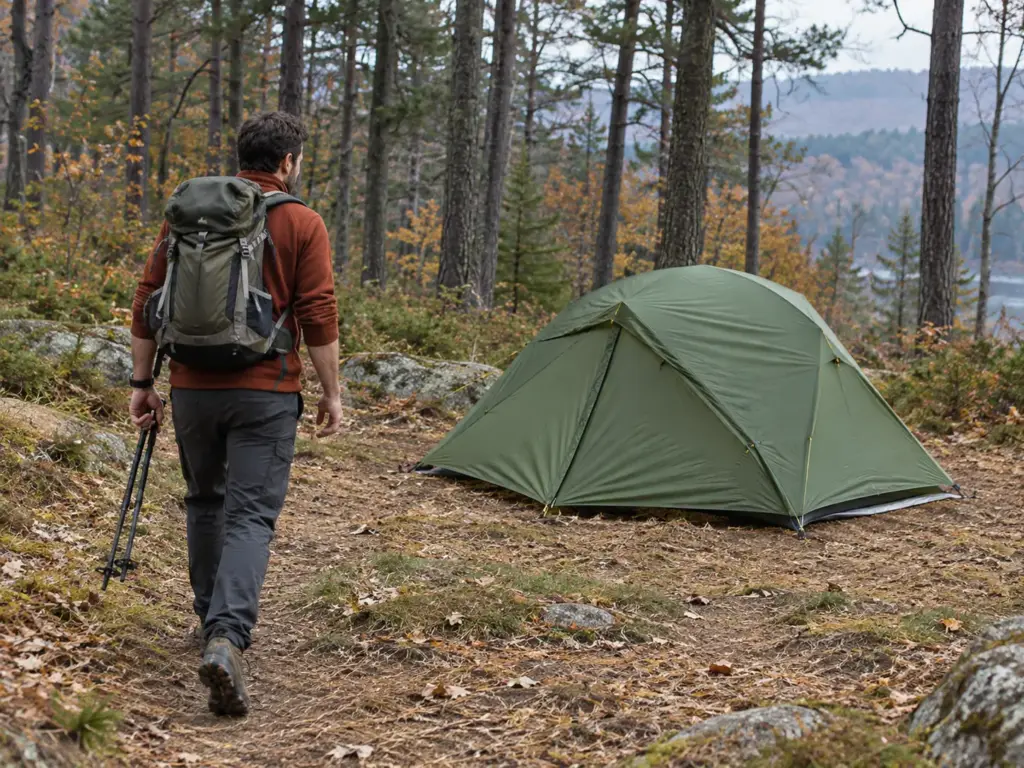
Lay the tent body on the footprint with its corners matched to the footprint’s corners. Then think about the doors before anything gets staked. AMC and REI both say to set them with the wind in mind, and REI adds a separate note on door orientation for hot climates. Which way your doors should point depends on your tent and the weather, so check the maker’s instructions.
Seat the Poles All the Way and Clip the Body
Seat each pole section fully into the next. AMC warns against pole snapping, meaning letting the sections snap together under the pull of the shock cord. Once the tent poles are up, attach the tent clips that hold the tent body to them. The order is poles first, clips second.
Put the Fly On Last With the Zippers Closed
The rainfly goes on last, with its zippers closed. In dry weather that is a detail. In rain it matters, because the tent body stands bare until the fly is on, so have the fly out of its bag and ready before the last pole goes in. This is also why the instructions at the top of this guide matter: the exact order depends on your tent, and your yard pitch is where you learn it.
Stake the Corners So the Tent Stays Put
The thin stakes that come with a tent are the first thing to pull out in wind. Stakes are cheap, and they are the difference between a tent that stands and a tent that leaves.
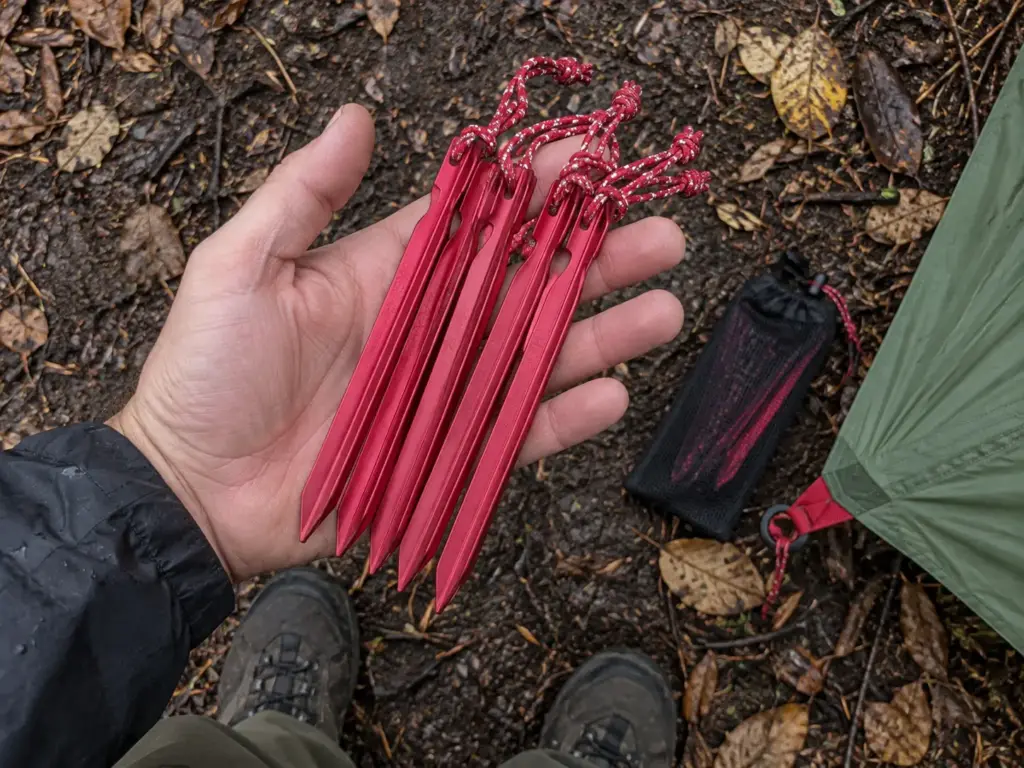
Windward Corners First
In wind, stake the windward corners first. REI and AMC agree on the rest: drive each stake fully in, carry a few extras, and use a rock or a stake hammer such as the MSR Stake Hammer. AMC is blunt about one thing: never kick a peg in.
Vertical or 45 Degrees? The Sources Disagree
The stake angle is where the sources split. REI calls for a fully vertical stake. AMC calls for a 45-degree stake with the top pointing away from the tent.
Neither explains why, so there is no rule to hand you here. The safe answer is the unglamorous one: follow your tent maker’s instructions, drive the stake all the way in, and re-check it after rain.
Stakes That Actually Hold
Holding power comes from three things, according to Ryan Jordan at Backpacking Light: cross-sectional shape (more perimeter means more friction), length (deeper reaches firmer soil), and how the load is spread. Thin round skewer-type stakes focus the load and pull out sooner than broad tubular or Y-channel stakes.
For a step up from thin skewers, the MSR Groundhog Tent Stake Kit 6-Pack, 7.5 inch is a six-stake kit at 7.5 inches. On a budget, Coghlan’s Ultralight Tent Stakes, 9 inch, 4 Pack gives you one stake per corner, and the longer length reaches deeper than a short peg. After rain, Townsend notes, pegs can pull out of soft damp ground and may need stamping back down. When the ground is sand and no stake grips, try burying a deadman in sand.
Tension the Rainfly and Fix What Goes Wrong
The fly that was drum tight at dusk and flapping at 2 a.m. is not a defective fly. It is wet nylon doing what wet nylon does.
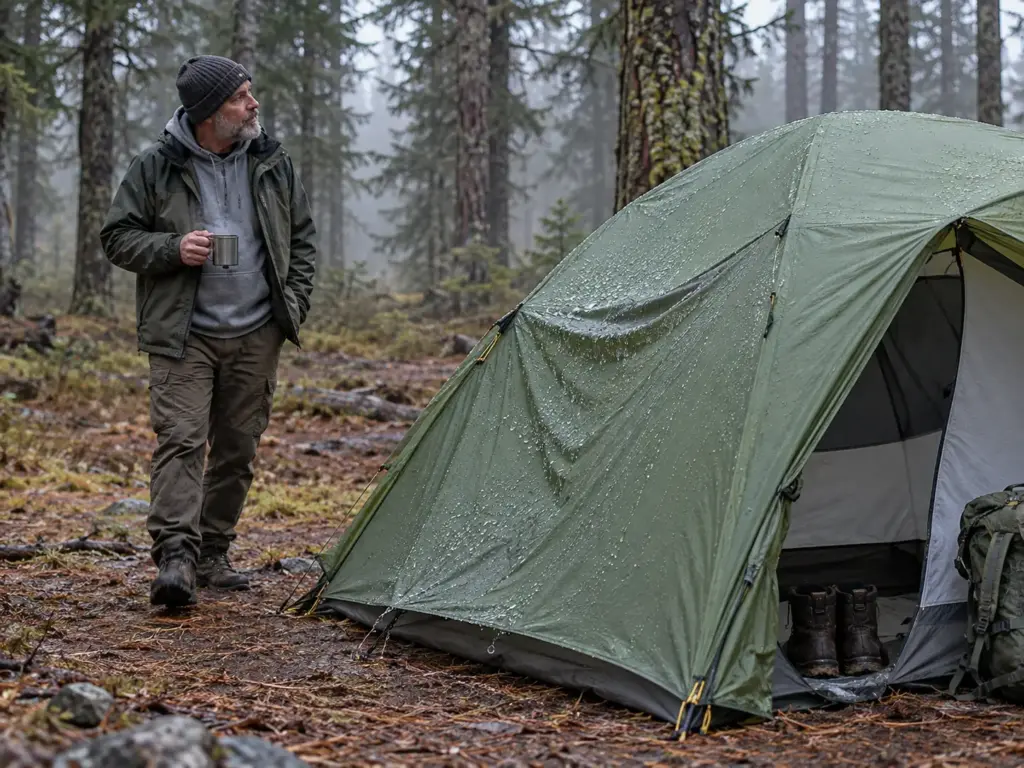
Line Up the Fly With the Tent Body
The fly’s seams line up with the seams of the tent body and with the poles, and fly tension goes on evenly. REI and AMC both say so.
Why the Fly Sags After Rain
Nylon stretches and sags when wet. Polyester and cuben fiber (the Dyneema family) do not, which is one reason fabric choice matters more than it looks on a spec sheet; silnylon versus Dyneema covers how those fabrics behave. Townsend says guylines “will probably need tightening” after rain, and REI makes the same point about fly stretch when damp. So tension the fly when you pitch it and again once it has been rained on.
Check the fly and the pegs before you go to sleep and again before you pack up. The pitch you made dry is not the pitch you have after a night of rain.
Leak or Condensation Inside the Tent
A wet inside on the second morning is usually condensation, not a leak. Townsend calls it likely to be the main cause of dampness once you are in the shelter, and ventilation (high covered vents, hooded doors) reduces it. Ventilation does not fix everything, but it is part of the setup, not an afterthought. For more on that, see these ways to manage condensation.
Guy Out the Lines When the Wind Picks Up
The line you skipped because the sky looked fine is the one you hear flapping at midnight. Guylines are far easier to rig in daylight than in the dark.
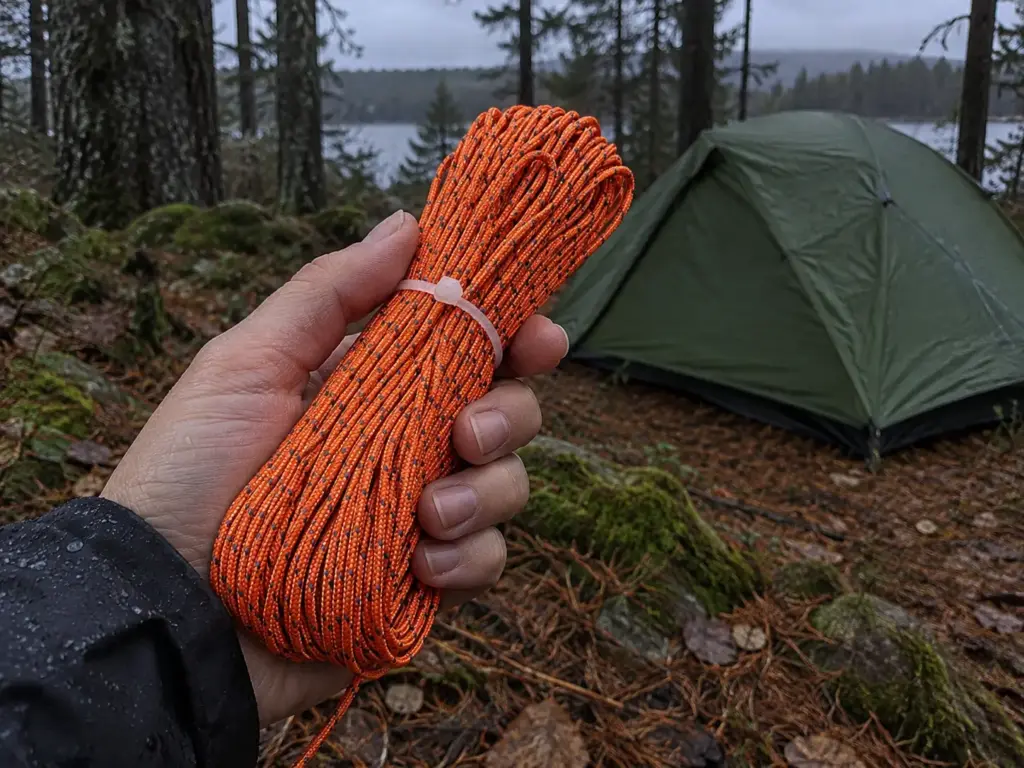
Start With the Windward Side
REI says to attach guylines on at least the windward side. For the knots, REI suggests a bowline knot at the guyout point and a trucker’s hitch at the stake. Learn those at home. Your tent’s own guyline tensioners are the easy route when your fingers are cold.
No Tree for an Anchor? Use a Trekking Pole
If there is no tree to tie to, a trekking pole can be the anchor, as REI points out. You are already carrying the poles; use them for something besides walking.
Make the Lines Visible After Dark
For pitching in the dark, reflective line shows up in headlamp light, so nobody trips over a guyline at night. The ThreeBulls 1.8mm Fluorescent Reflective Guyline Tent Rope Camping Cord is a fluorescent, reflective cord that suits the guyout points. Wet nylon lines slacken too, as Townsend notes, so check them after rain along with the fly.
Set Up a Backpacking Tent in the Dark and Rain Without Soaking the Inside
REI says the worst time to learn is right now, so here is the order for a rain pitch anyway. What changes everything is your tent type, and the first question is whether it pitches fly-first or inner-first.
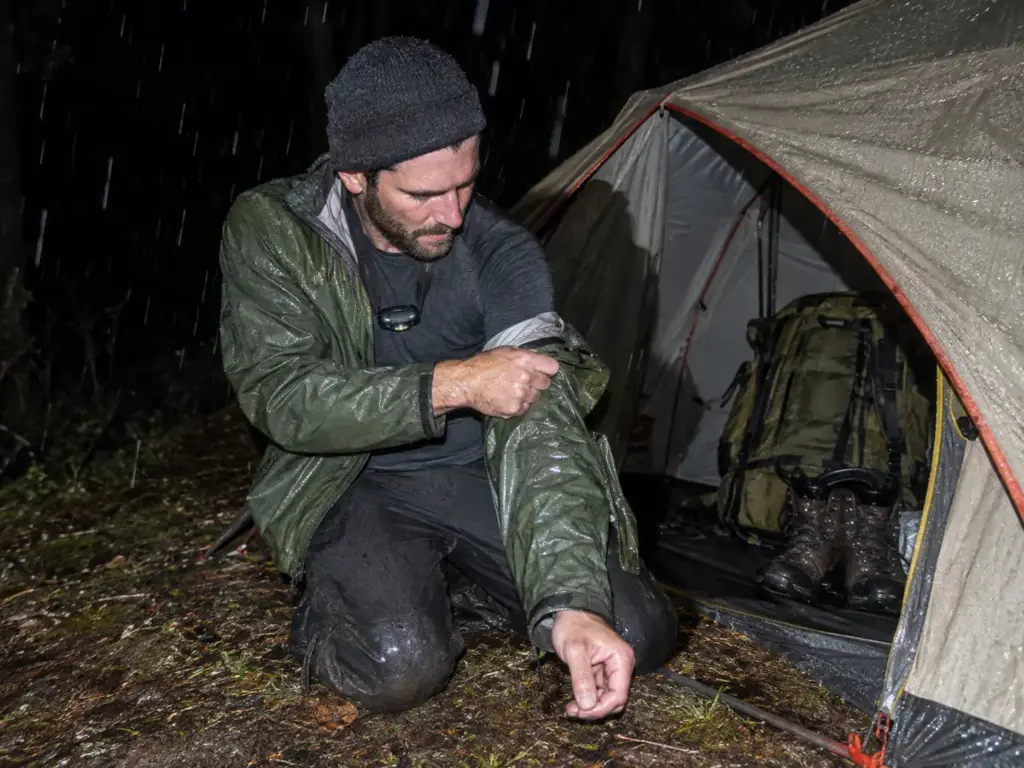
Know Whether Your Tent Pitches Fly-First or Inner-First
With a single-skin tent, a tarp, or a fly-first tent, you keep a dry inner while you pitch. The hard case is the inner-first double-wall tent, because the inner sits exposed until the fly goes on. Townsend’s advice is to pitch very quickly and, if you can, throw the fly over the top to keep off some of the rain. That trick is ineffective and slower in wind, so do not count on it in a storm.
Redditors in the r/CampingGear thread “Best tents for pitching in the rain” say that when the fly goes up first, a wet inner is not the worry, and that a double-wall tent with pole tunnels in the fly is pitched fly-first and done. Another commenter adds that a footprint can allow a fly-first dry pitch, depending on how it attaches. Which category your tent falls into is in the instructions, and that is one more reason for the yard pitch.
Keep the Wet Stuff in the Vestibule
The vestibule is the wet zone. Townsend’s habits are the ones to copy:
- Do outside chores such as filling water containers before you go in, so you do not have to go back out.
- Strip the wet waterproofs in the vestibule with your pack there.
- Do not sit on the groundsheet in wet clothes, and do not climb into the inner tent soaked.
He admits this can mean some contortions in a very small tent, and says it is worth the brief discomfort. A dry sleeping bag at 2 a.m. is the payoff.
Finish every errand before the zipper closes: water, stakes you want within reach, anything you will need at night. Each trip outside after you are in drags rain with you through the door.
Pack the Wet Tent Away From Your Dry Gear
If it is still raining in the morning, pack everything inside the shelter first, then take the shelter down last. A wet fly and wet shelter go in an outside pocket or a waterproof liner, per Townsend, so it does not soak the dry gear.
The same r/CampingGear thread on packing a wet tent has packers splitting the fly and the tent into separate waterproof bags, shaking the tent out before stuffing it rather than folding it, and wiping it down and drying it at breaks. Another thread has a wet tent riding in the outside mesh pocket so it drips and dries as you walk. For the full routine, there is a separate guide to carrying a tent from pack to pitch.
Trekking-Pole Tents Change What Holds the Tent Up
Everything above assumes a freestanding tent with its own poles. If you carry a tent held up by your trekking poles, the pitch order is different, and that sequence is not covered here. Follow the maker’s instructions for it.
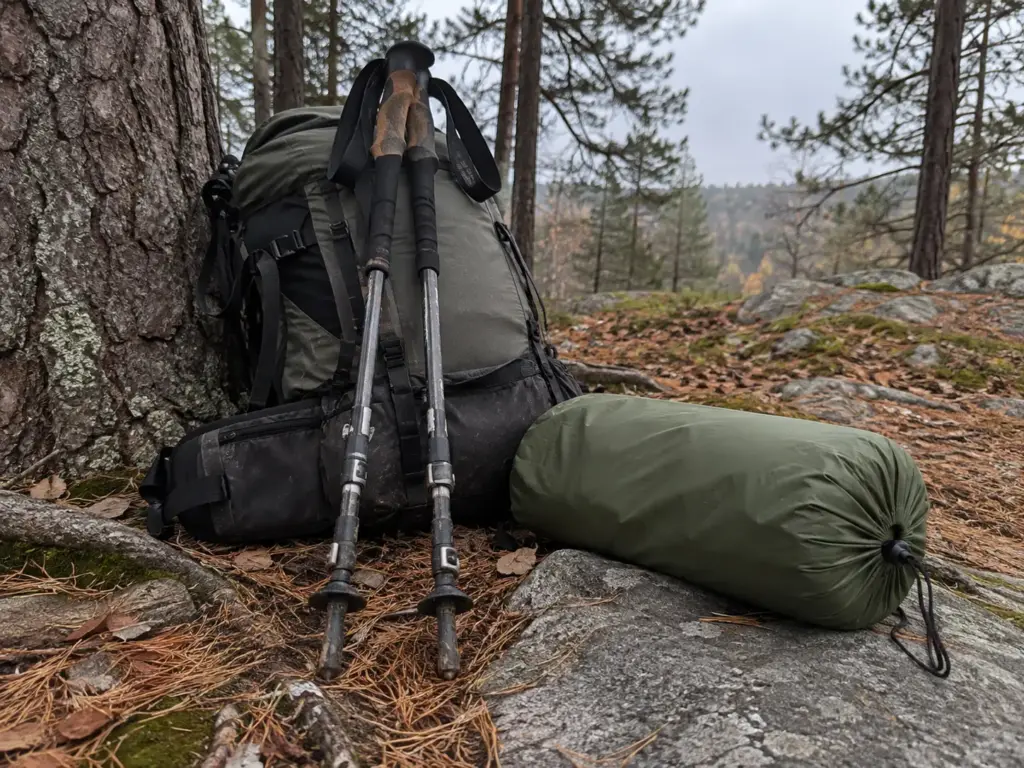
Opinions on how hard these tents are to pitch split. One commenter in the r/CampingGear “trekking pole tent” thread says non-freestanding tents are harder: they need a taut, adjusted pitch, angled guylines, heavier stakes driven deep, orientation to the wind, and a groundsheet a bit smaller than the footprint. Another says they personally did not find a trekking pole tent harder to pitch. Both are opinions, not a method.
The part that holds either way is definitional. A non-freestanding tent depends on stakes and guylines to hold its shape, so the staking and guyline sections above matter more, not less. For the pitch detail itself, read up on using trekking poles as tent support.
Pitch It in the Yard This Week, Pack It the Way You Will Need It
Three things are worth keeping from all of this.
Learn your pitch once, in dry light. Instructions are in the stuff sack hem or on the maker’s page, and one yard pitch finds every missing clip while it costs you nothing.
Stake and tension it, then check both after rain. Stakes pull out of soft ground and nylon sags when wet, so the pitch you finished at dusk is not the one you wake up in.
In rain, the vestibule is the wet zone and the inner stays shut. Outside chores first, waterproofs off in the vestibule, wet shelter in an outside pocket.
Next step: set the tent up in the yard this week, then pack it in the order you will want it out at dusk, shelter on top and poles where your hand finds them.
Frequently Asked Questions
01Do I need a tarp under my tent when backpacking?
A footprint or tarp under the floor is common practice, and whether you need one depends on your floor. Size it smaller than the floor so rain does not pool on it, and a cut Tyvek sheet is the budget route REI names.
02How do I pack a backpacking tent correctly?
Carry the shelter on top of the pack or in an outside pocket, with the poles in a side pocket. If it is wet, put the fly and tent in separate waterproof bags, shake the tent out, and stuff it instead of folding.
03Are trekking-pole tents harder to set up?
Opinions split: one r/CampingGear commenter says trekking-pole tents need a taut, adjusted pitch with angled guylines and deep stakes, while another did not find them harder. Follow your tent’s own instructions, and practice once at home.
04How do I set up a backpacking tent when it is already raining?
Pitch the fly first if your tent allows it, so the inner stays dry; if it pitches inner-first, move fast and keep wet gear in the vestibule. Chris Townsend suggests throwing the fly over the top, though that fails in wind.

I've spent more than a decade researching hiking gear and trail technique. I read the specs, the forum threads and the long-term reviews, and every pick here comes with what it gets wrong.
End of the trail
You read every mile of this one. Here's where the trail goes next.