
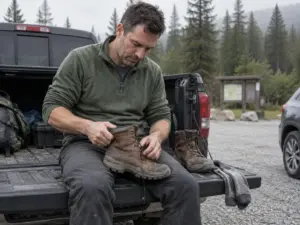
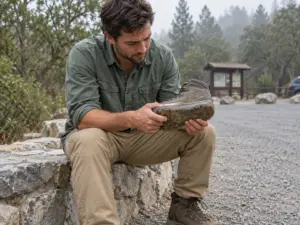
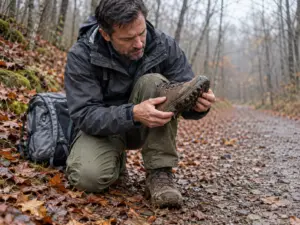
















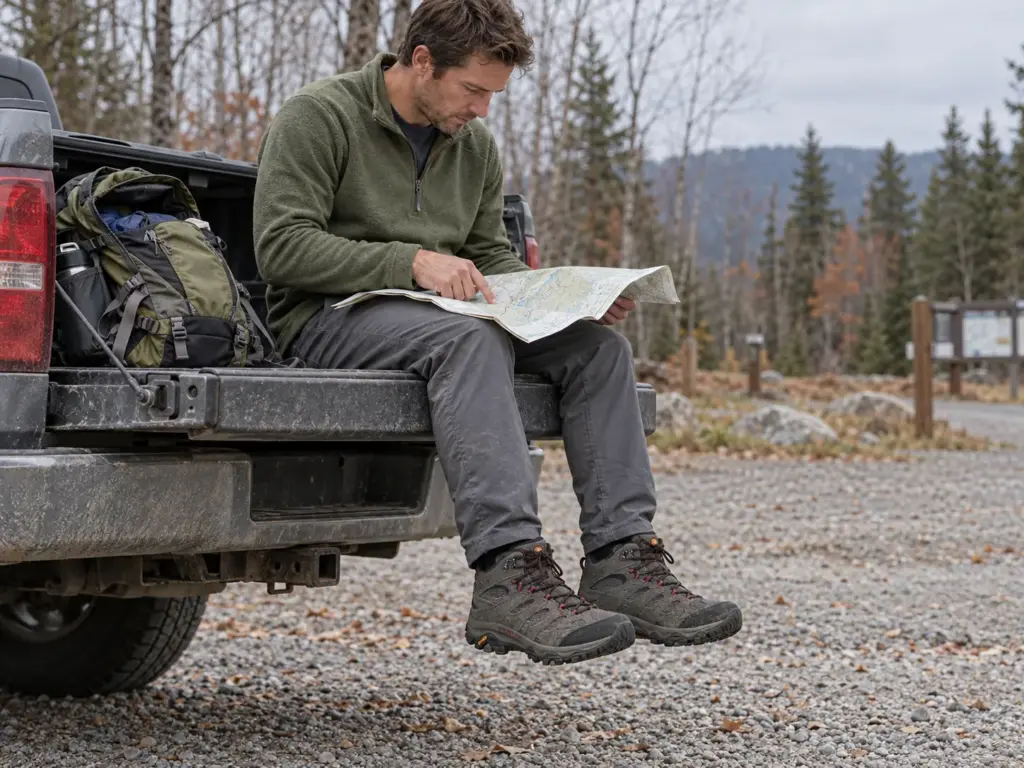
You are standing in front of a wall of hiking boots, the tall stiff ones look serious, and the salesperson says “ankle support” like it settles the question. Then comes the flat four-mile loop, where those same boots feel like planks strapped to your feet. A boot is only as good as the match between its job and yours, and two of the most repeated claims in the shop, the high collar and the waterproof label, are weaker than they sound. This guide sorts hiking boots by terrain and load first, then height, construction, membrane, fit and break-in, and it ends with a fit test you can run in any store.
Hiking Boot Types by Height and Job
Height and stiffness are a job description, not a ranking. The tallest, stiffest boot on the wall is not the best one. It is the one built for the hardest job, and most hikers never do that job.
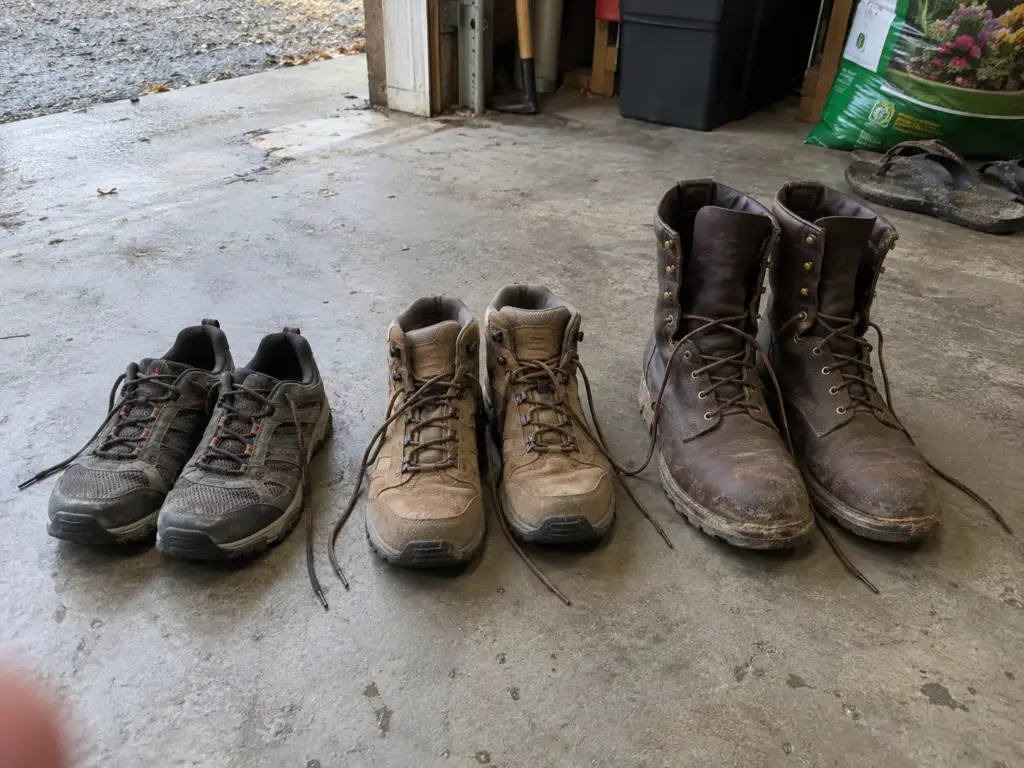
Footwear sorts into four kinds: low-cut shoes and trail runners, day hiking boots in mid-cut, backpacking boots, and mountaineering boots. Each step up buys protection and stiffness and charges you in weight and flexibility.
Hiking shoes and trail runners
A low-cut hiking shoe, trail running shoe or approach shoe is light, flexible and cool, and on smooth dirt with a small day pack it is a legitimate choice, not a compromise. A light hiking shoe like this fits the hiker who rarely carries more than lunch and a jacket.
The trade-off shows up when the ground gets rough or the load gets heavy. A thin, flexible sole lets every rock and root reach your foot, and your feet tire sooner when they carry more than they were built to carry. Decide by the trail you hike most, not the one you daydream about. If the real question is low-cut versus boot, here is how hiking shoes compare with boots on the trails where the choice is closest.
Day hiking boots in mid-cut
For most day hikers, the middle of the range is the right place to shop. A mid-cut boot gives more protection than a shoe, keeps trail debris out better, and weighs and flexes far less than a backpacking boot.
The classic mistake is buying the toughest boot on the wall for hikes that do not need it, then wondering why every easy trail feels like work. The Merrell Moab 3 Mid GTX (men’s · women’s) is a typical example of the category: mid-height, a GORE-TEX membrane, and a versatile build for day trails and light loads.
Backpacking and mountaineering boots
Backpacking boots are taller, stiffer and heavier, because their job is to carry a multi-day load over rough ground without letting your foot flex around every rock.
Mountaineering boots go further. They are very stiff, built to hold a crampon, and wrong for ordinary trails. If snow and ice are on your list, learn whether a boot will take crampons before you buy, because crampon compatibility is not universal and ice traction depends on the pair fitting your boot. For everything else, treat these two categories as specialist tools, not upgrades.
How to Match Hiking Boots to Terrain and Pack Weight
Your feet carry the pack’s weight too. A stiff sole that rescues you on a rocky day with a heavy load becomes a plank on a mellow one. Two questions pick the boot class for you, and the order matters: where do you walk, then what do you carry?
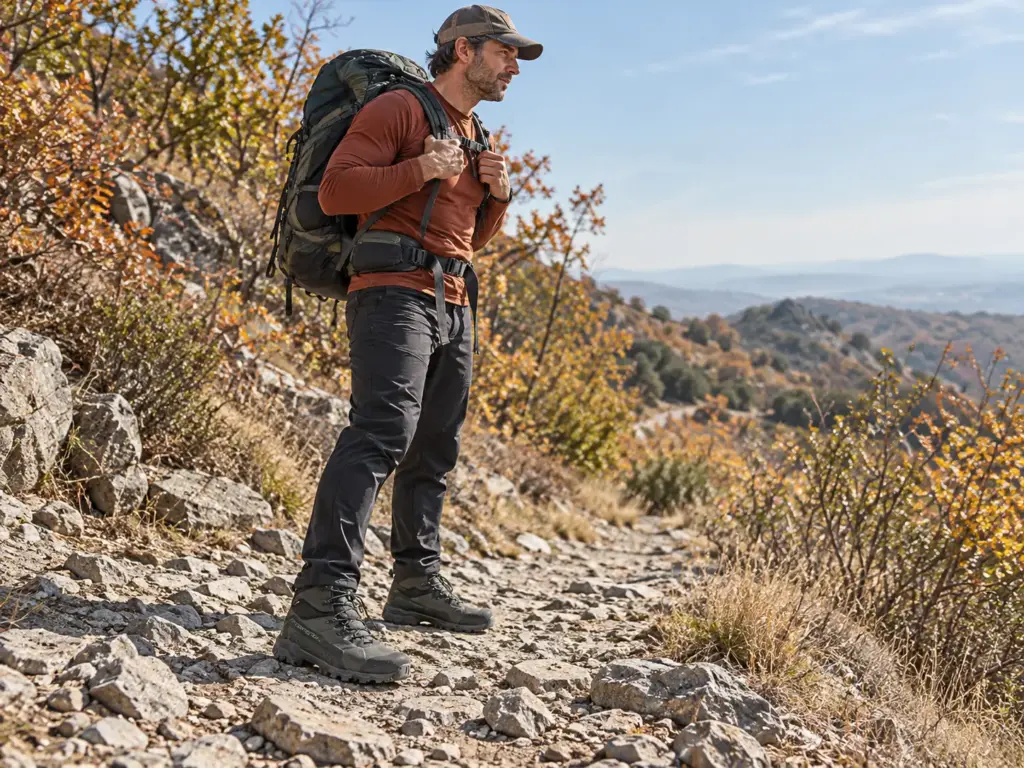
Start with the trail surface
Think in three surfaces. Smooth dirt and gravel are light terrain and ask very little of a boot. Mixed rocky trail is moderate terrain and asks for more underfoot protection. Rough ground and off-trail travel are rugged terrain and ask for the most, because stones, roots and uneven footing keep trying to twist the boot and push through the sole.
Stiffness is the word that ties this together: how much the sole resists twisting and flexing under your weight. Pick it up in the shop and bend it. A stiff boot protects your foot on rock and feels clumsy on a groomed path, which is why which stiffness suits your terrain is a question worth settling before you look at colors.
Then count your pack weight
Load works the same way. A day pack asks for far less boot than a weekend trip, and a heavy multi-day load asks for more than either.
Each jump in terrain roughness or pack weight pushes you up about one class of boot: shoe or trail runner, mid-cut day boot, backpacking boot. A rough trail with a light pack and a smooth trail with a heavy pack often land in the same place, the mid-cut. Stack both and you move up.
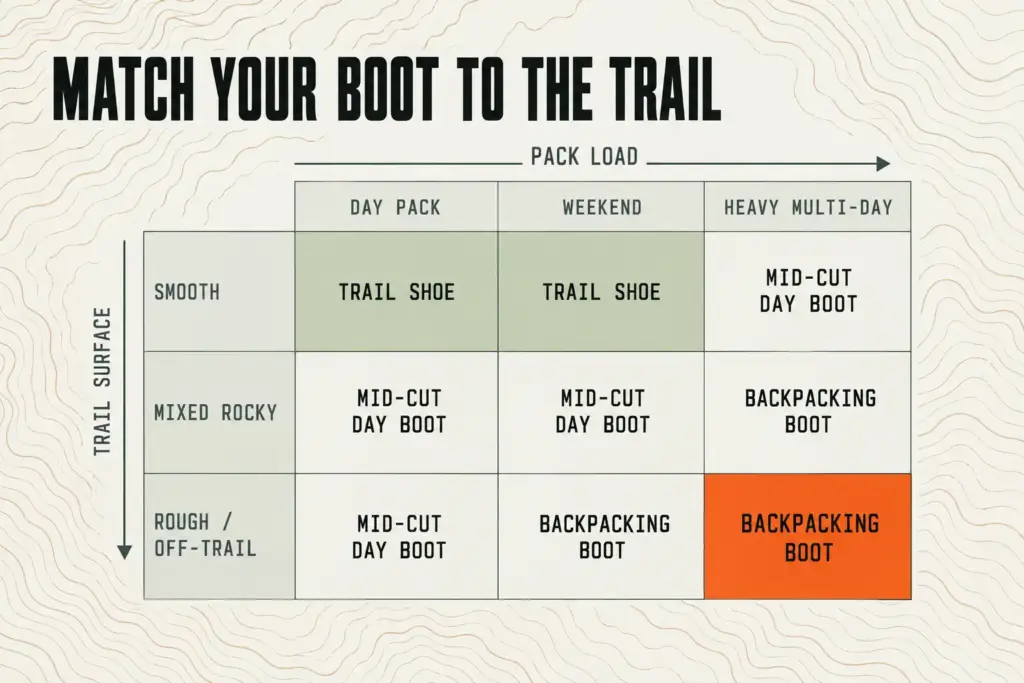
When the load really is heavy and the ground really is rough, a stiffer sole earns its weight. The La Sportiva Nucleo High II GTX (men’s · women’s) sits at that end of the range, with a firmer platform and a GORE-TEX membrane. Use the full name when you shop. The listing without “High” is a different boot.
Why overbooting costs you on the easy days
The most common pattern is buying a heavy boot for the one big trip a year and wearing it the other eleven months. The result is a sore, overprotected foot on trails that never asked for it, with extra weight on your feet for every mile. If most of your hiking is flat loops and gentle climbs, buy for that, and rent or borrow stiffer boots for the one trip that needs them. A stiff, heavy boot on a flat four-mile loop is the purchase most people regret.
What Makes a Hiking Boot Tough: Upper, Midsole, Outsole and Shank
Pick a boot up and twist it before you read the tag. Veterans do exactly that, because the parts you can feel in your hands tell you more than the marketing copy. Every boot is five or six components working together, and a full walk through boot anatomy is the long version of what follows.
Uppers: leather, nubuck and synthetic
The upper is everything above the sole. Full-grain leather lasts longest and takes longer to break in. Nubuck leather has a brushed surface that feels softer out of the box. Split-grain leather, synthetic leather and nylon mesh are lighter and dry faster, and they usually need less time to soften.
Neither side wins outright: leather suits rough use and long ownership, synthetic suits light weight and quick comfort. If you want to see how leather and synthetic uppers age, that comparison goes through the trade-offs in detail, and there is a separate look at how nubuck behaves in mud and on sharp rock. If leather is your direction, these are some men’s leather boots worth a look.
Midsole and outsole
The midsole is the cushioning layer between your foot and the ground. An EVA midsole is light and cushy; a polyurethane midsole or TPU midsole is firmer and tends to last longer.
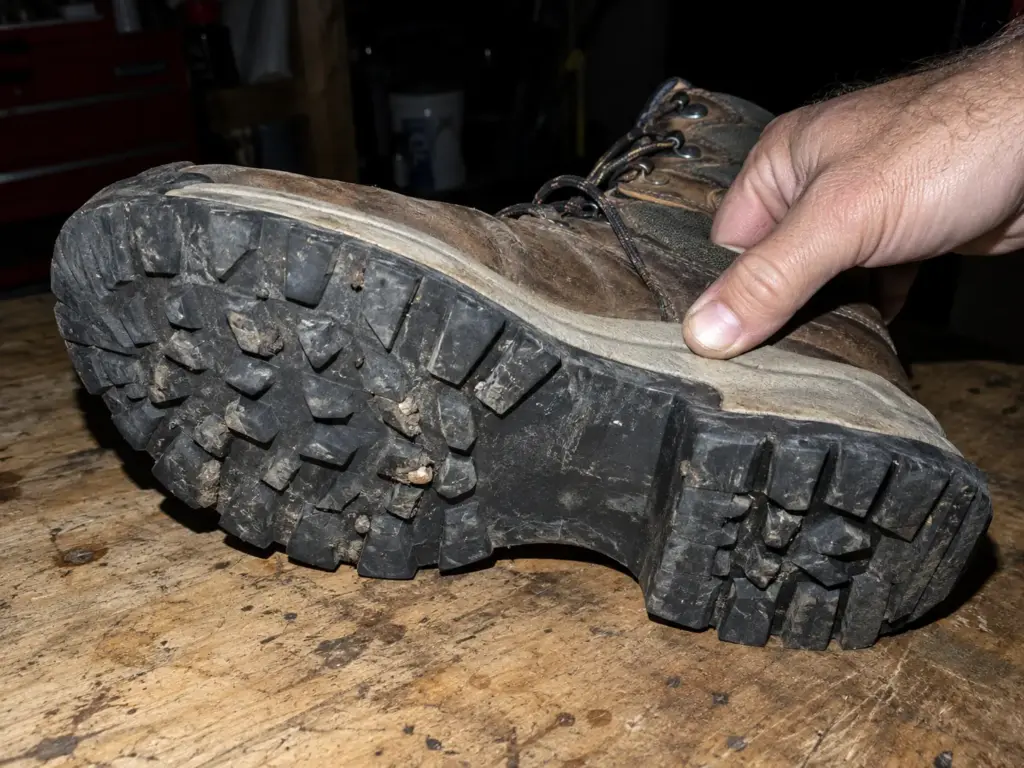
The outsole is the rubber you walk on. Look for deep, widely spaced lugs for traction and a defined heel brake on the back edge, which gives your heel something to bite with on descents.
Vibram is the best-known maker of outsole rubber, and its name on a boot signals a recognized compound, not a guarantee of anything else. Flip the boot over and press a thumb into the lugs. Shallow, stiff, worn-looking tread is a flag in a new boot.
Shank, heel counter and how the boot is built
The shank, or rock plate, is the stiffening element in the sole that keeps a stone from poking up through the boot and stops the boot from folding in the middle. Here is what the shank actually does, and how to feel for it in the shop: grab the heel and the toe and try to bend the boot. A good hiking boot resists in the middle and flexes only at the ball of the foot.
Two other parts decide whether the boot holds you properly. The heel counter is the cup that locks your heel in place, and if it is soft, you will feel your heel lifting. The gusseted tongue, attached to the upper along its sides, keeps grit and water from sneaking in.
Construction matters too: a boot is either welted, meaning the sole is stitched to the upper and can often be resoled, or cemented, meaning it is glued, lighter and cheaper to make. See welted versus cemented construction for which one fits how long you want the boot to last.
Waterproof vs Breathable Hiking Boots: When the Membrane Helps
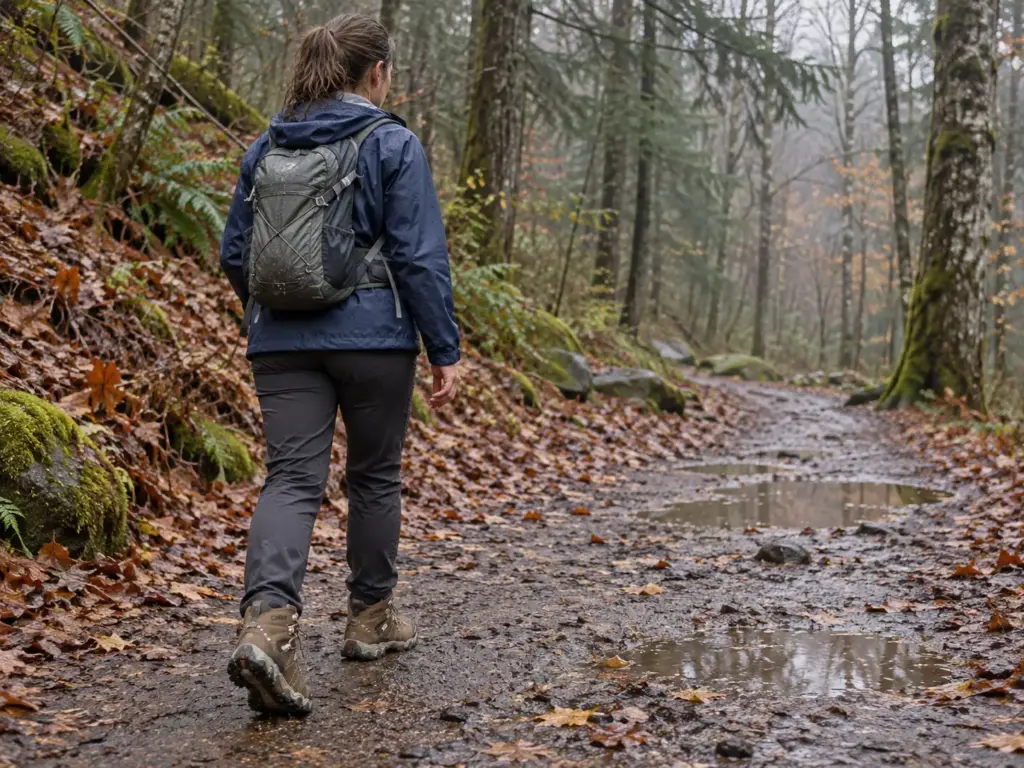
The sock is wet, the boot never leaked, and there is no stream crossing anywhere on this hike. That is not bad luck, and it is not always a failed boot. It is how waterproof footwear can work against you.
When a membrane earns its keep
A waterproof membrane, such as GORE-TEX, Sympatex or eVent, keeps water out and slows sweat on its way out. That trade-off is the whole story.
In wet, cold or snowy conditions, where the water is coming from outside, the membrane earns its keep. In hot, dry hiking, or on routes with repeated stream crossings where water gets in over the top anyway, a breathable boot with no membrane stays cooler and drains and dries faster. Match the choice to the weather you really hike in, not the weather in the catalog photo. If wet trails are your normal, a good starting point is these women’s water-resistant boots.
Why waterproof boots still soak your socks
Most waterproof boots wear two protections. Inside is the membrane. Outside is a DWR finish, a durable water repellent coating on the outer fabric that makes water bead and roll off.
When that finish wears off, the outer fabric stops shedding water and soaks it up. This wetting out is the quiet failure behind most clammy boots.
A wet outer layer blocks the path your sweat needs to leave the boot. The vapor condenses inside, and you end up with damp socks and a boot that feels like it leaked, even though the membrane is intact.
This is how a Backpacker piece from 2018 explains jackets: when the outer layer wets out, the garment feels soaked even though the waterproofing has not failed. That research is about jackets, not boots. The same logic applies to boots, but treat that as a reasonable inference, not boot-specific testing.
The practical check takes about five seconds. Pour a little water on the upper or flick some on with your fingers. If it beads and rolls off, the finish is working. If it darkens and soaks in, the boot has wetted out, and the problem is the surface, not the membrane.
Run the water-bead check at home a week before the trip, not at the trailhead. A retreated boot needs time to dry and cure, and a dry run tells you whether the finish was the problem.
Re-treating the finish — and what it cannot fix
Re-waterproofing is routine boot care. A wash-in or spray-on waterproof treatment from a maker such as Nikwax or Grangers restores the outer repellency, and it is the first thing to try on a boot that feels clammy in the rain. It will not repair a torn membrane or an open seam.
If water still pours in after retreating, the damage is structural, not surface. For choosing between products, see wax versus spray waterproofing.
If you want a waterproof boot that does not use GORE-TEX, the Oboz Bridger Mid B-DRY (men’s · women’s) uses Oboz’s own B-DRY membrane. The same rule applies to it: a membrane boot is only as dry as its outer finish lets it be, so check the bead before every season.
How to Fit Hiking Boots: The Shop Checks That Stop Blisters
A hunting-gear forum thread from March 2025 shows the pattern. One hiker developed heel blisters in five different boot models, with a liner sock and a Darn Tough sock in the mix. One reply said it was the wrong boot, the wrong size, or sometimes a combination of several things.
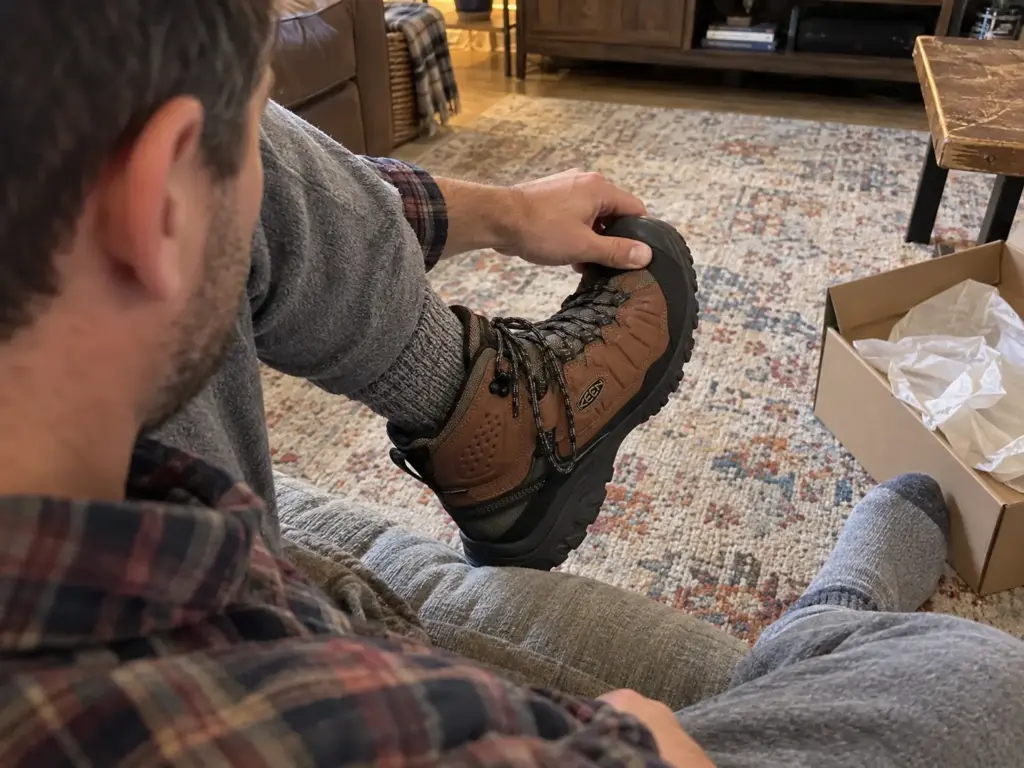
When the same blister follows you from boot to boot, the boot is rarely the common factor. Your foot is.
Fit late in the day with the right socks
Feet swell over the day, so book an afternoon fitting or shop in the evening. Wear the same hiking socks you will wear on the trail, merino wool or a wool blend if that is your habit, not thin dress socks, and bring your insoles or orthotics if you use them. If a medical condition shapes the boot you need, look at boots that help with plantar fasciitis before you start trying things on, since the footbed will matter as much as the shell.
Toe room and the heel-hold check
You want room to wiggle your toes, not room to slide. Try the incline test: walk the shop’s ramp, or any slope, downhill with the boot fully laced. If your toes hit the front, that toe jam means the boot is too short or too loose.
Then check the heel: it should stay put as you walk. If it lifts, the boot is wrong for your foot, and the cause is usually fit, not a “bad” boot. Lacing can add a heel lock, and here is the lacing fix for downhill heel slip. If a lacing trick is the only thing holding your heel in place, though, keep shopping.
Do not blame the sock first. Socks help with moisture and friction, but they do not turn the wrong boot into the right one.
Try on both boots, and walk in them longer than feels polite. A shop clerk hovering is not a reason to cut the test short. Two full laps of the store, up and down any ramp, show you what ten minutes seated never will.
Width, volume and when a wide fit wins
Two boots with the same length can fit completely differently. Width is one factor, and volume, how much total space the boot has around the instep and ankle, is the other.
If you have narrow feet, try boots for narrow feet, which are built to stop heel slip. If most boots pinch your forefoot, the KEEN Targhee IV Mid (men’s · women’s) is the one to try first, and it is also the budget-leaning pick in this lineup. For men who need more toe room, there are men’s boots with a wider toe box worth comparing.
Breaking In Hiking Boots Without Wrecking Your Feet
The boots feel fine in the shop and fall apart at mile five. The forum thread above has the same story in one line: the boot feels good besides the heel slip and the blisters. The lesson is to find out in your neighborhood, not on the trail.

Break-in is gradual. Start with short walks in the new boots, then move to longer outings with a pack, and finish all of it before the big trip, not the morning of it.
Leather takes longer to soften than synthetic, so plan accordingly, and see a break-in timeline by material if you want a schedule to follow. No mile count is right for everybody, and a boot that needs a rigid number of miles to become wearable was probably the wrong boot.
Act on the first hot spot. A warm patch is a blister that has not formed yet, and moleskin or Leukotape over that spot costs you ten seconds at a rest stop, while a popped blister costs you the rest of the day. Learn to read the warning and stop for it.
Break-in has one limit. If the heel still slips or a spot still rubs after a sensible break-in, that is a fit problem, not a stiffness problem. Return the boot. “Breaking it in harder” will only make the blister bigger.
Ankle Support in Hiking Boots: What a High Collar Really Does
The line in every shop is the same: get the over-the-ankle boot to prevent an ankle sprain. It sounds like common sense, and the research is less tidy than the sales pitch.
What the 2014 tilt-platform study found
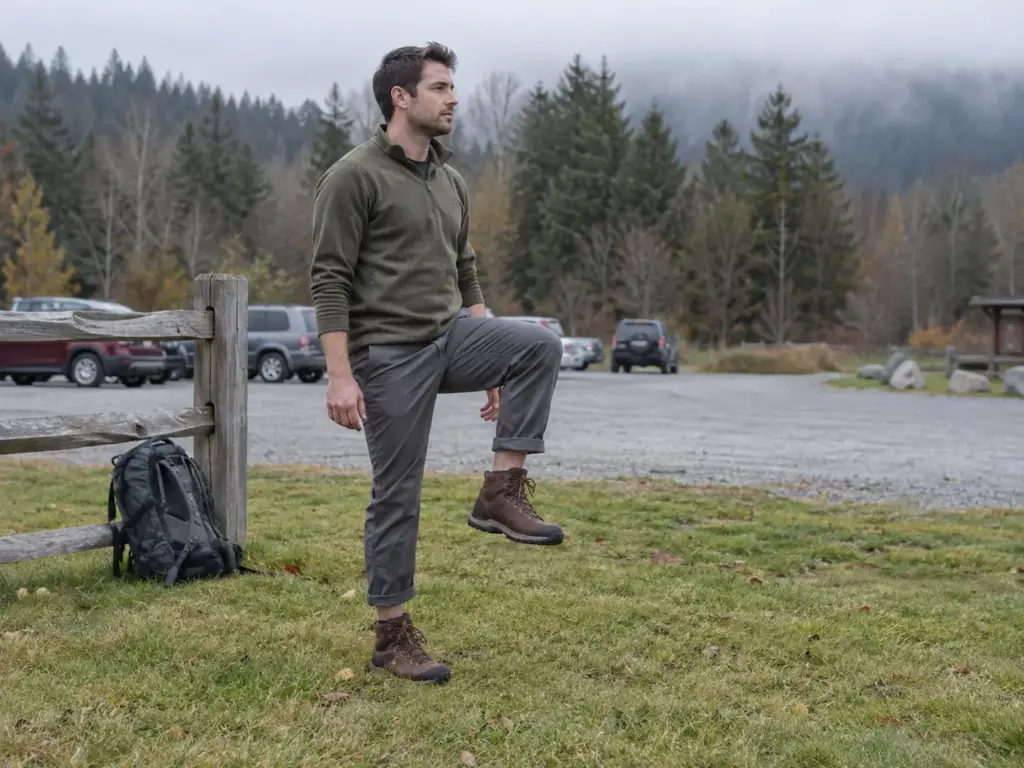
In a 2014 tilted-surface study of high-top and low-top shoes by Fu and colleagues, 13 people landed on a platform that tilted underfoot, wearing either high-tops or low-tops. The researchers measured how far the ankle rolled inward (inversion), how much it moved, and how fast. None of those three measures differed significantly between the two kinds of shoe.
The muscle data was more interesting. With the high-top, the peroneal muscles that guard the outer ankle and the muscle at the front of the shin switched on later and weaker before landing. The authors call this “preliminary evidence” of a possible negative effect on stability. Keep the scale in mind: this is one small study with 13 participants, in a lab, not hiking boots on a trail.
Why the evidence is still split
The same paper is honest about the other side. It notes that other studies report less inversion and fewer sprains with higher shoes, and it says outright that there is no consensus. It also cites basketball data in which sprain rates were not significantly different between high-tops and low-tops, and work by Rovere and colleagues in which high-tops were no more effective than low-tops, while laced ankle stabilizers were among the setups with the fewest injuries. The paper summarizes that second point, so treat it as a secondary citation.
So the fair reading is not that boots cannot protect an ankle. It is that a taller collar has not been shown to be the reliable protector the shop pitch makes it out to be. The longer debate is covered in the ankle-support debate in more detail.
What actually keeps ankles safe on the trail
Three practical things matter more than the collar. First, a boot that fits and holds your heel, because a foot that slides around inside the boot has a poor grip on the ground no matter how tall the cuff. Second, a pace that suits the terrain, since a tired leg moving fast over uneven footing is a poor combination. Third, for the ankle itself, strengthening and balance work done at home, which trains proprioception, the brain’s sense of where the foot is.
The collar is not useless. It keeps debris and small rocks out of the boot and protects against brush and scrapes. Those are real jobs, and they are reasons to choose a mid-cut, not promises about sprains. Choose the height for the work the boot has to do, as covered in the first section, and weigh mid-cut versus ankle-high boots on that basis.
Stand on one leg for thirty seconds while you brush your teeth, then switch. It costs nothing and gives your ankles regular practice at staying steady, which is the point of balance work.
Women’s Hiking Boots: A Different Last, Not a Smaller Men’s Boot
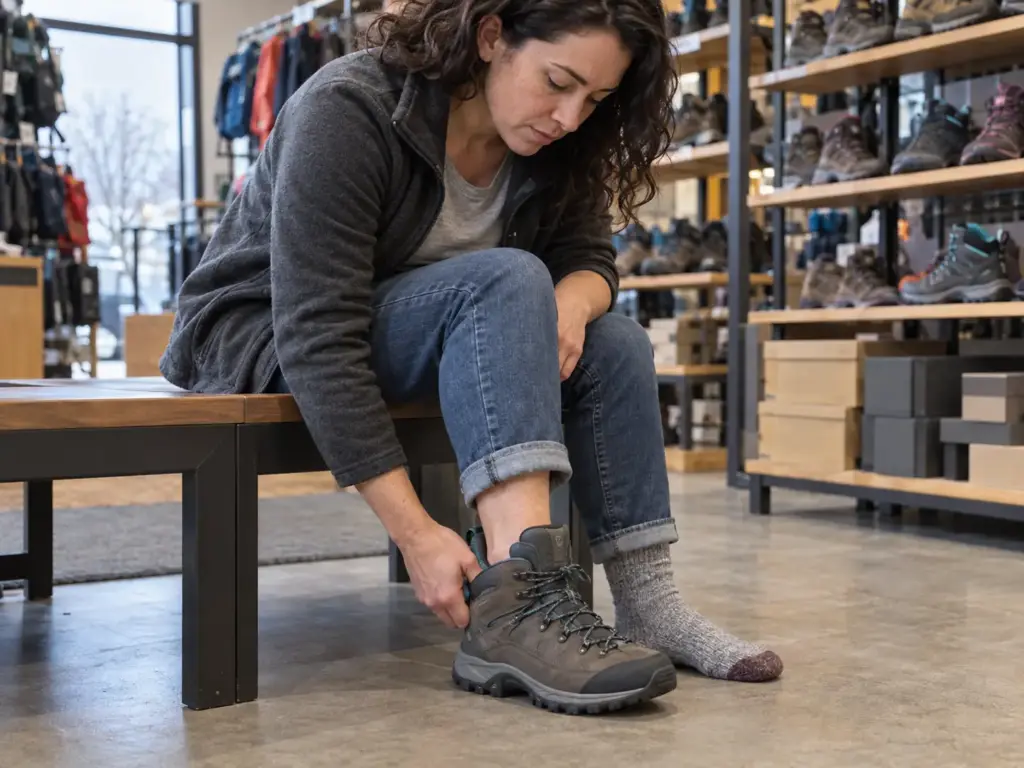
The common shortcut is to buy a smaller men’s boot. The heel stays loose, the forefoot feels off, and you have just recreated the fit problem from earlier with a different label on the box.
Why a women’s last is not a shrunk men’s last
A last is the foot-shaped form a boot is built around. A women’s last is typically shaped differently from a men’s last, in proportions such as the heel and the forefoot, and it is not simply the same shape scaled down. Many women find a men’s last roomy in the heel and narrow-feeling in the forefoot, or the reverse.
The point is the shape of your foot, not your gender. Men with narrow feet may well fit better in a women’s last, and it is worth trying both. If you are between sizes or half sizes, try both last types before deciding. To start with the right model, browse women’s boots sorted by foot shape.
The heel-grab test
Here is a test you can run in any shop, or on your porch. Lace the boot normally, stand up, and lift your heel as if you were taking a step. Feel whether the heel rides up inside the boot.
A little movement is normal. A heel that lifts clearly, or slides out of the cup, means the boot is wrong. It is not a boot that needs more breaking in.
Run it on both feet, since most people have one that is a little different, and run it with your hiking socks on. If you want a second opinion, walk down the shop ramp with the boot laced and see whether the same heel lifts again. The earlier pairs in this article, the Moab, Nucleo, Bridger and Targhee, all come in men’s and women’s versions, so you can test both lasts of the same model.
Run the Heel-Grab Test Before You Pay
Three things to take with you. Match the boot to terrain and load before you look at height, because the right class of boot saves you more than any feature does. The collar’s ankle promise and the waterproof label are weaker than they sound, so judge them by the weather and the research, not the sales pitch. And fit beats brand every time, with heel hold deciding it.
Before your next purchase, put on the boot with your hiking socks, late in the day, and run the heel-grab test. If the heel lifts, the answer is no, whatever the tag says.
Frequently Asked Questions
01How do you determine which hiking boot is right for you?
Start with the terrain you hike most and the weight you carry, then choose the lowest boot height that suits that load. After that, decide on a waterproof membrane, and fit the boot late in the day with your hiking socks.
02Should I get B1 or B2 boots?
B-ratings describe how stiff a boot sole is and which crampons can attach to it. Sources disagree on a single rule, so check the boot maker’s rating against your crampon maker’s compatibility chart before you buy.
03What are the top 5 hiking boots?
There is no single top five, because the best boot depends on the job. Four worth knowing: the Merrell Moab 3 Mid GTX for day hikes, KEEN Targhee IV Mid for a wider fit, La Sportiva Nucleo High II GTX for a stiffer sole, and Oboz Bridger Mid B-DRY for a non-GORE-TEX waterproof option.
04How do I break in new hiking boots?
Break boots in gradually: short walks first, then longer outings with a pack, all before your big trip. Treat the first hot spot right away. If your heel slips, that points to a fit problem, not a boot that needs more break-in.
05Why do my heels slip or blister in new boots?
Heel slip and blisters usually come from fit or last, not from the sock. One forum thread describes the same heel blister across five boot models, which points at the foot-to-boot match. Run the heel-grab test and try a different last.

I've spent more than a decade researching hiking gear and trail technique. I read the specs, the forum threads and the long-term reviews, and every pick here comes with what it gets wrong.
End of the trail
You read every mile of this one. Here's where the trail goes next.