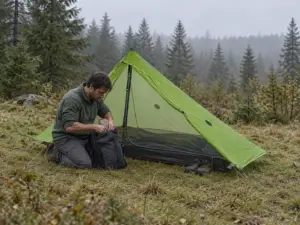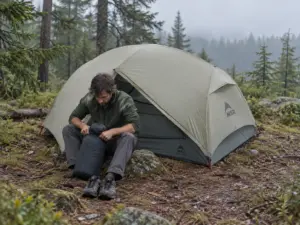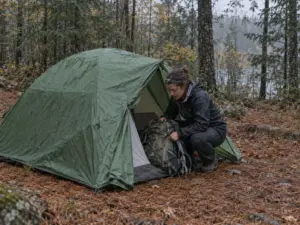
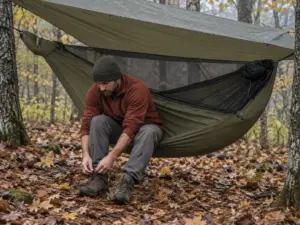
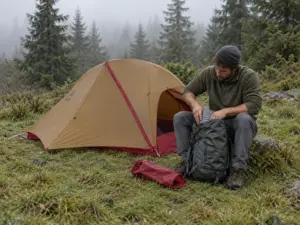


















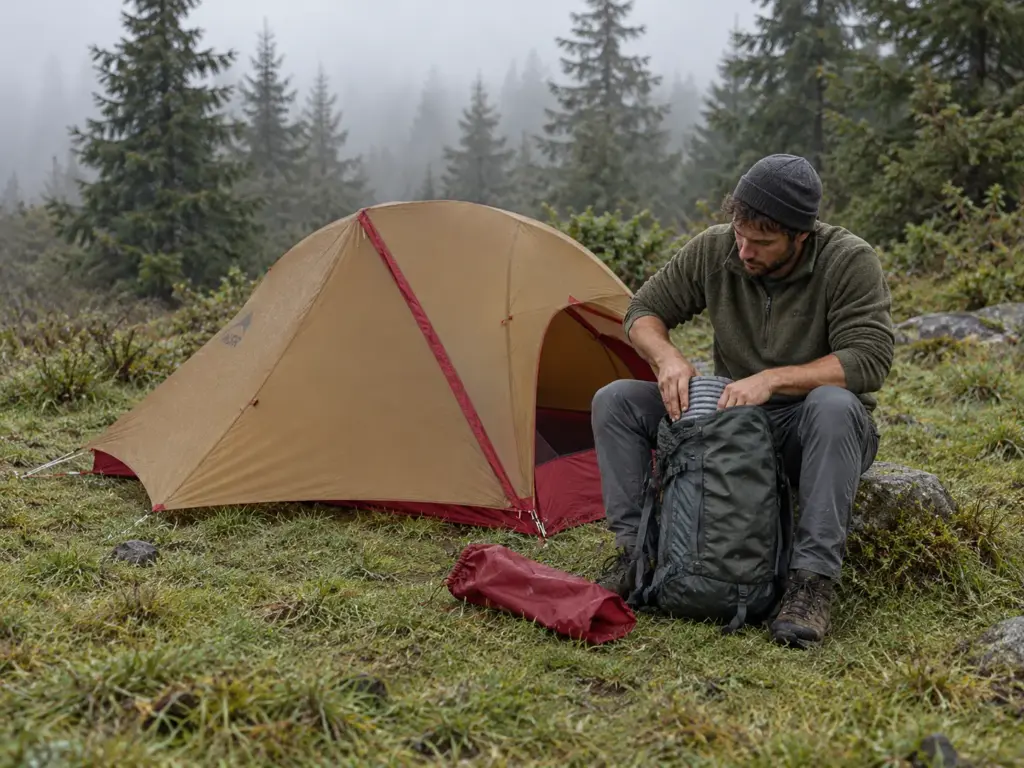
You are sitting on the living-room floor with a tent labeled “2-person” half out of its bag, a pack that already looks full without it, and a sleeping pad you haven’t even tried to fit yet. The spec sheet said everything fits, and the floor says otherwise. Learning how to choose a backpacking tent comes down to five calls made in order: who sleeps in it, what season it faces, what it weighs, whether it fits your pack, and how you will live in it. The sizing and snow-load numbers come from Cleverhiker, SectionHiker, Leave No Trace and the National Park Service, and the regrets come from first-time buyers in r/CampingGear, so nothing here is a lab test.
How to Choose a Backpacking Tent by Capacity, Not the Label
Ask r/CampingGear what first-tent buyers regret and the same story keeps coming back: a “3 or 4 person” dome that, in one commenter’s words, was “realistically 2 person with their gear inside.” The label counts sleepers lying shoulder to shoulder. It does not count packs, boots or the person who rolls over at 2 a.m.
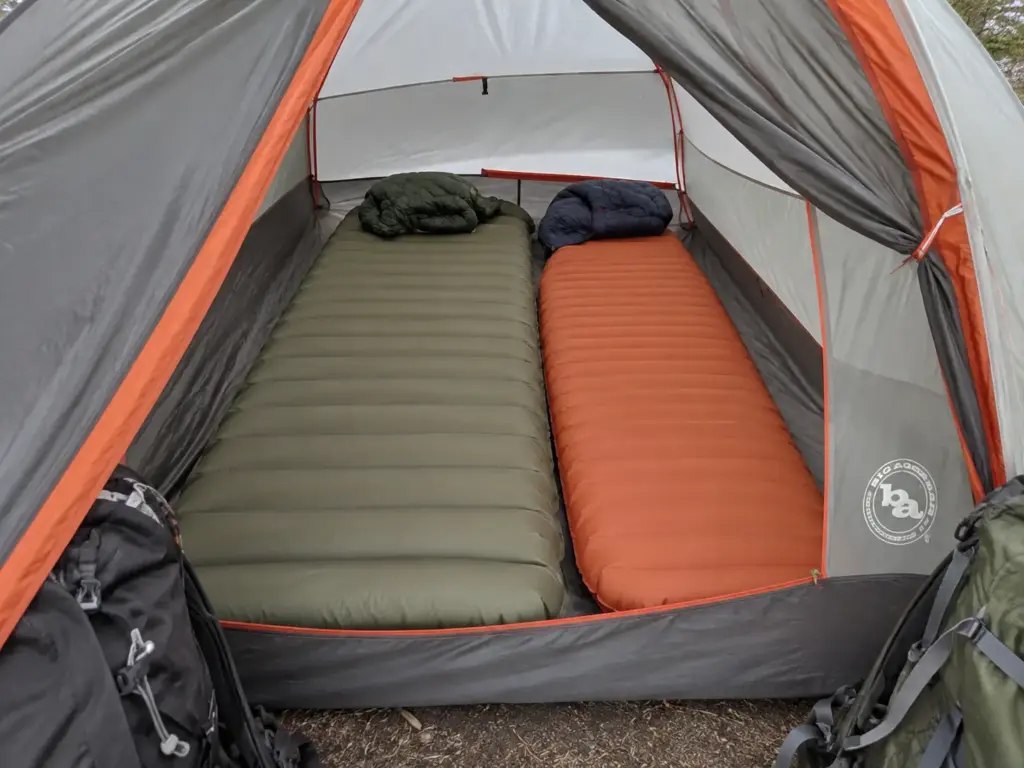
What “2-Person” Actually Means
Tent capacity is the number of sleeping bags that fit side by side with no room left over for gear. Treat the listed capacity as a ceiling, because the true capacity with people and packs is lower. Cleverhiker’s size guide puts the real-world read bluntly: a 2-person tent is “luxurious for 1 with gear inside, a tight fit for 2 with gear in the vestibule.”
Two adults with full packs are living in the tight version, and the vestibule becomes the closet whether the weather cooperates or not. That is also why a solo hiker who wants gear inside often skips a 1-person tent for a 2-person one, and why two people who want elbow room should size up.
Wall shape changes how that tight fit feels. The Big Agnes Copper Spur HV UL2 mtnGLO (Check it on Amazon) has the more vertical sidewalls that Cleverhiker singles out as friendlier for two people sitting up at once, which matters more on a rainy afternoon than the grams on the label ever will. If you know the tent will be shared every night, the pillar guide on a 2-person backpacking tent built for sharing every night shows how that size plays out across real itineraries.
Measure Your Pads Before You Buy
The pad is the part of the sleep system that decides the floor. According to Cleverhiker, a 2-person tent fits two regular (20 in) pads, and usually one wide (25 in) pad beside one regular. Two wide pads usually do not fit. That rule is easier to trust than a floor dimension on a listing, because pads are the one thing you can measure at home tonight.
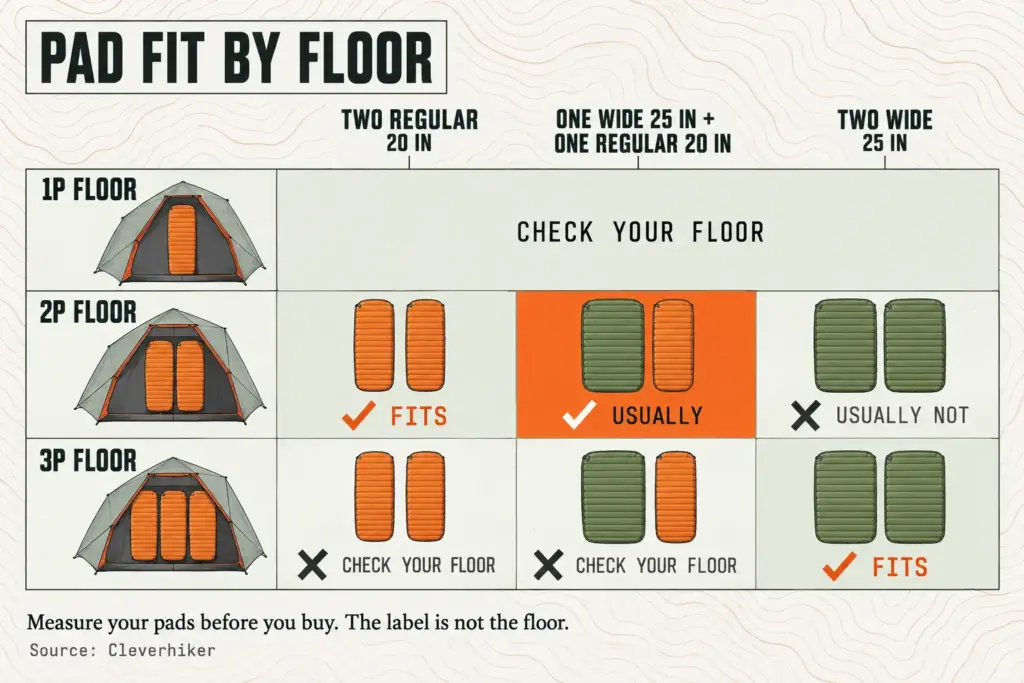
If one of you sleeps on a wide pad because of shoulders or a bad back, plan for a bigger floor from the start. Switching to a wide pad after buying the tent is how a perfectly good 2-person turns into a one-person tent with a roommate.
Lay your two pads on the floor, side by side, and tape the outline with painter’s tape. Then compare the taped rectangle to the floor dimensions of any tent you are considering. It takes two minutes and beats any label.
When a 3-Person Tent Makes Sense for Two
A 3-person tent is “luxurious for 2” with interior gear storage, per Cleverhiker, and it is the one that fits two wide pads. The cost is weight and a bigger footprint on the ground, so it only earns its place if the two of you value room over every last ounce. Splitting the poles and tent body between two packs takes most of the sting out (more on that in the weight section below). No 3-person tent is recommended here, so use the pad test above to decide whether you actually need the extra floor.
3-Season or 4-Season: Match the Tent to the Worst Weather
Picture the late-October weekend that forecasts “a chance of flurries” and ends with the fly sagging under a wet inch of snow at 2 a.m. The average weather on the trail doesn’t pick your tent. The worst night you are willing to be caught in does.
What a 3-Season Tent Is Built For
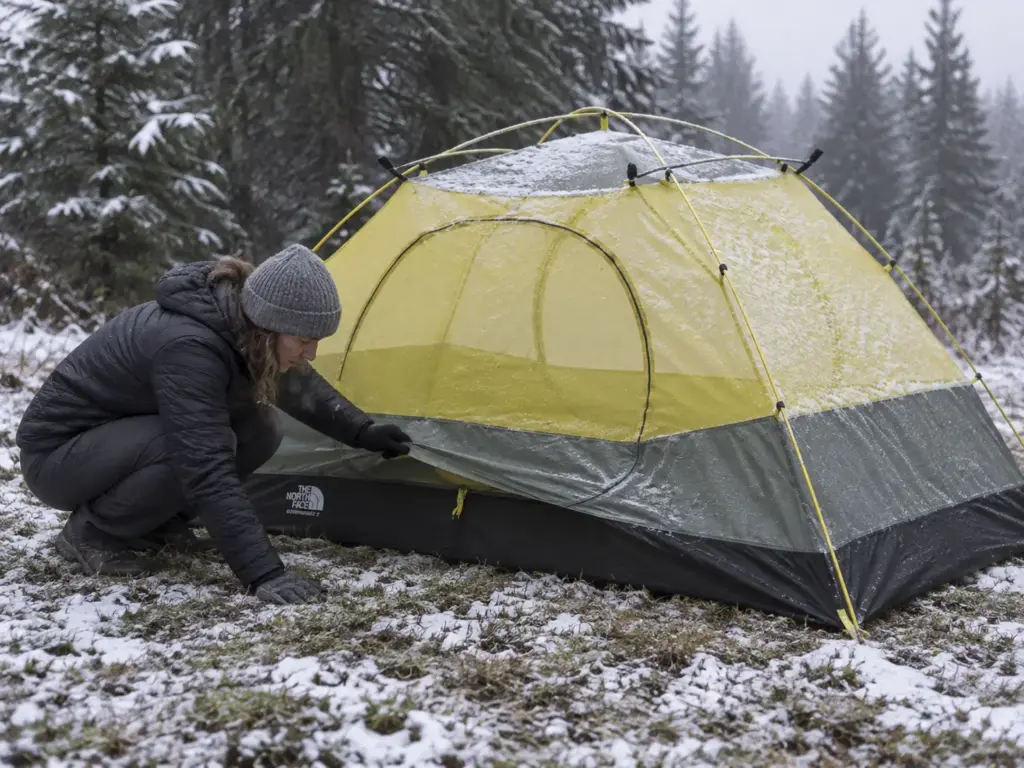
A 3-season tent is built for spring through fall: rain, wind and plenty of bugs, so it carries a lot of mesh for airflow and keeps weight low. Its weather resistance is meant for ordinary storms, not for a blizzard. The North Face Stormbreak 2 (see it on Amazon) is a good example of the class: a 2-person, 3-season tent for trips where the forecast stays honest. What it is not is a storm shelter.
Four-season tents trade ventilation and weight for stronger poles and fewer mesh panels, and that’s the trade you pay for only if you expect to need it. An extended season tent sits between the two for cold shoulder-season trips.
Snow Load: Where a 3-Season Tent Stops
SectionHiker’s working threshold is about 3 in of overnight snow, and less if the snow is saturated with water. Treat that as a rule of thumb, not a spec: light, dry flakes are one thing, and a few inches of wet snow on a mesh-heavy roof are another. Pole material matters too. Aluminum poles or carbon poles are what you want in the cold, because fiberglass tends to shatter in cold temperatures, according to SectionHiker.
Where you pitch matters as much as what you pitch. Crater Lake National Park requires winter backcountry campers to stay at least 100 feet back from the edge of the caldera, because snow cornices can be deadly, and the park warns that blue skies can turn to whiteout within a few hours. Even the right tent can’t fix a bad site.
Cold also sneaks in low. SectionHiker points out that most 3-season walls “seldom go all the way to the ground,” which leaves a gap for wind. Piling snow or digging a shallow pit at the base closes it.
When You Need More Than 3 Seasons
If your plans include sustained snow, exposed alpine camps or shoulder-season storms, step up. Nobody needs a mountaineering tent for a July weekend, and nobody should trust a mesh-heavy 3-season tent in a real blizzard. For the full comparison of wind ratings, pole design and where each class fails, see 3-season vs 4-season tents and what wind and snow decide.
Weight and Packed Size: Which Number You Are Reading
A r/CampingGear thread started by someone whose dad bought him a 7-lb tent after doing his own research drew a blunt answer from commenters: unless you plan a long-distance hike, the weight matters less than the videos suggest. Another reply made the same point more plainly: a couple of miles in, and the weight is manageable. Both are opinions, not data, but they are the pushback a first-time buyer needs against the ultralight crowd.
Minimum, Packaged and Carried Weight
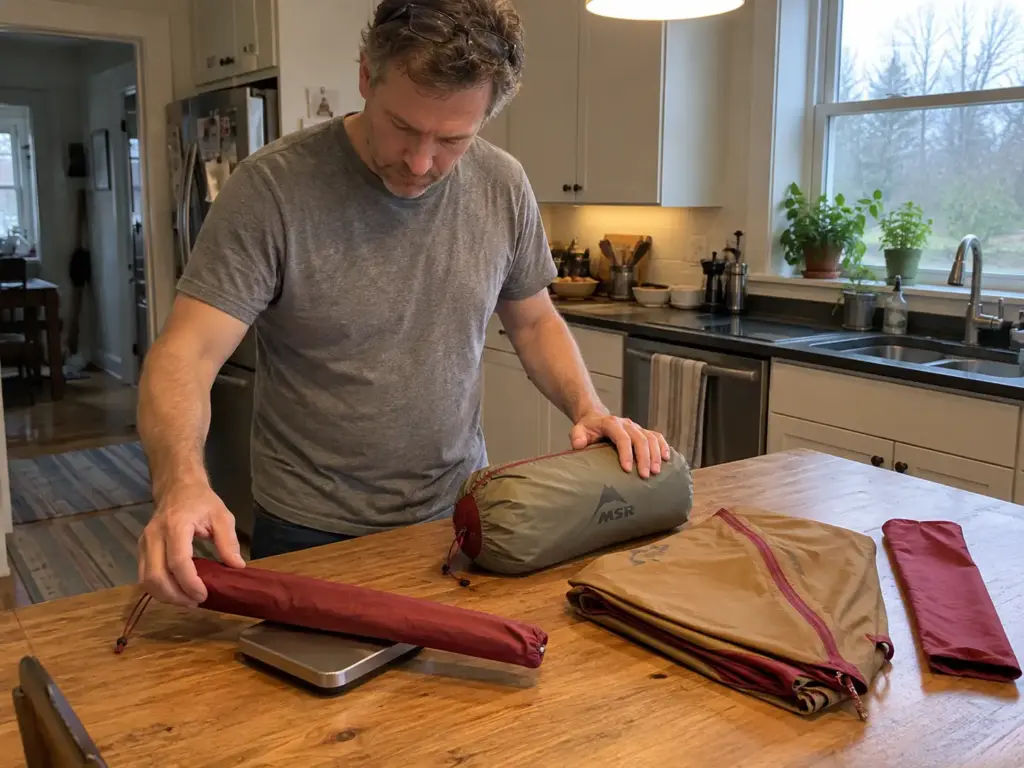
Three different numbers sit on one spec sheet. Minimum trail weight covers the tent body, fly and poles. Packaged weight includes everything in the bag, stakes and sacks and all.
What you carry is somewhere between the two, and the gap can be pounds. Read which number a seller is quoting before you compare two tents, and add the result to the rest of your pack weight, not to an empty pack.
The MSR FreeLite 2 (view on Amazon) sits at the light end of the 2-person range and is a useful benchmark: if a tent weighs well above it, there should be a reason you can name, such as more room or a tougher floor. To see how each category stacks up, check what each pound costs by tent category.
Split the Tent Between Two Packs
A shared tent splits cleanly: one person carries the tent body, the other the fly and poles, and the stakes go with whoever has room. Both packs carry about half the weight, and neither hiker is stuck hauling a single long bundle. One commenter put it this way about heavy 4-person A-frames: they are great for two or three people to split.
The Pack-Fit Test: Will the Tent Fit Beside Your Sleep System?
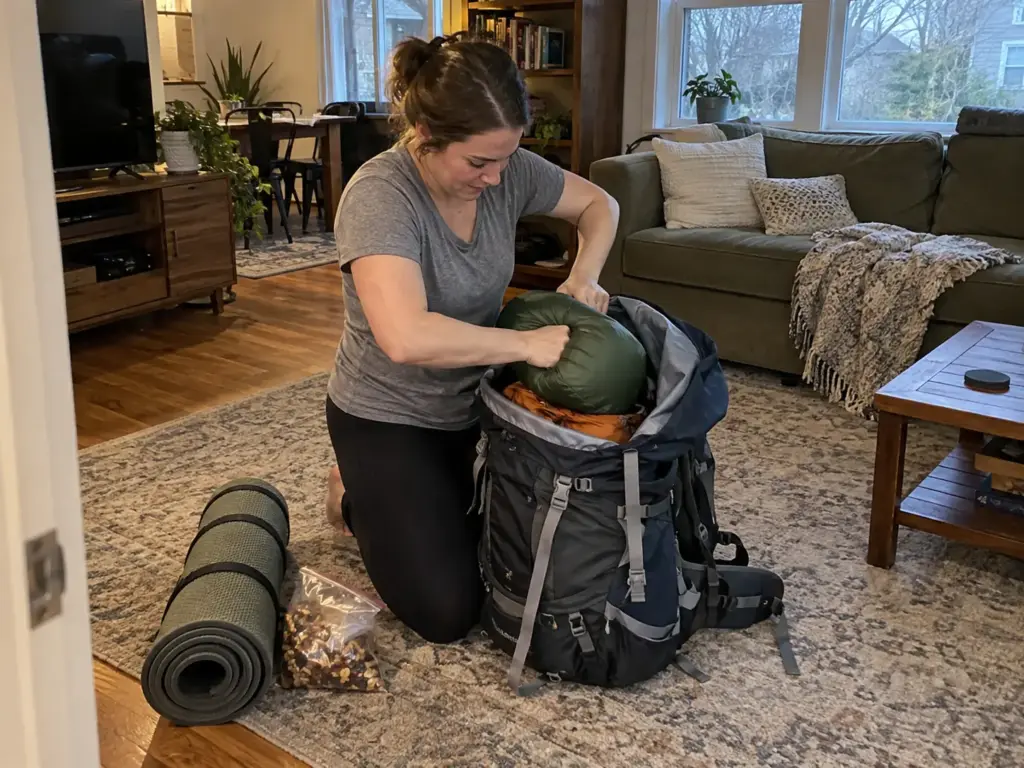
The buyer who finds out at the trailhead that the tent bag is the only thing left over, riding on top of a full pack, learned a lesson the spec sheet never mentioned. Packed size is printed on every listing. Whether that size fits in your pack, next to your sleeping bag and pad and food, is something you can only find out by trying. This is my method, built from how a pack actually gets loaded, so treat it as a rule of thumb and not a finding.
Why Packed Size Beats Packaged Weight for Pack Fit
Weight is what your shoulders feel. Packed size is what your pack feels. A light tent in a fat stuff sack still takes up the same room as a heavier tent in a slim one, and pack volume is what runs out first when the pack is nearly full.
The tent is also three separate shapes: the tent body, the fly and the poles. Poles are the awkward one, because a long section may fit only in a side pocket or under a compression strap, and that’s a detail no weight figure will show you.
The Four-Item Test: Bag, Pad, Tent and Food
Run this at home before you commit to a tent, in this order:
- Lay out the sleeping bag, pad, tent body, fly, poles, stakes and food bag on the floor.
- Load the pack in the order you would pack it for a trail: sleep system first, heavy items close to your back, food where you can reach it.
- Add the tent pieces last, since they are the last big thing to go in.
- Close the pack and see what is left over.
If the tent only fits strapped to the outside, my rule of thumb is that the pack is too small for the tent, not the other way round. Strapped-on gear snags on branches, gets wet and shifts your balance on climbs. If everything fits inside with the lid closing normally, you have a fit. If it only fits with the pack stuffed to the point where you cannot reach your water, you do not.
The same logic scales to any gear you add later. When you are ready to carry the tent beyond the living room, how to go backpacking with a tent, from pack to pitch walks through the next step.
Take your own sleeping bag and pad to the store, or buy somewhere with a good return policy and run the test at home. Some guides advise exactly that, and the return window counts as part of the test.
What to Do When the Tent Does Not Fit
There are only three fixes, and one of them costs you nothing. First, split the pieces: poles in a side pocket, fly in a compression strap, tent body inside. Second, look for a smaller packed size in the same capacity, which usually means a lighter, thinner-fabric tent.
Third, accept that the pack is the problem, and size it up. That is not a failure. A tent is a constant on the trail; the pack is the part you can change.
Before you buy a bigger pack on reflex, read why a weekend doesn’t need a bigger pack than overnight. The answer to a tight fit is sometimes in the sleeping bag or food bag, not the tent.
Livability: Floor Shape, Wall Steepness and Doors
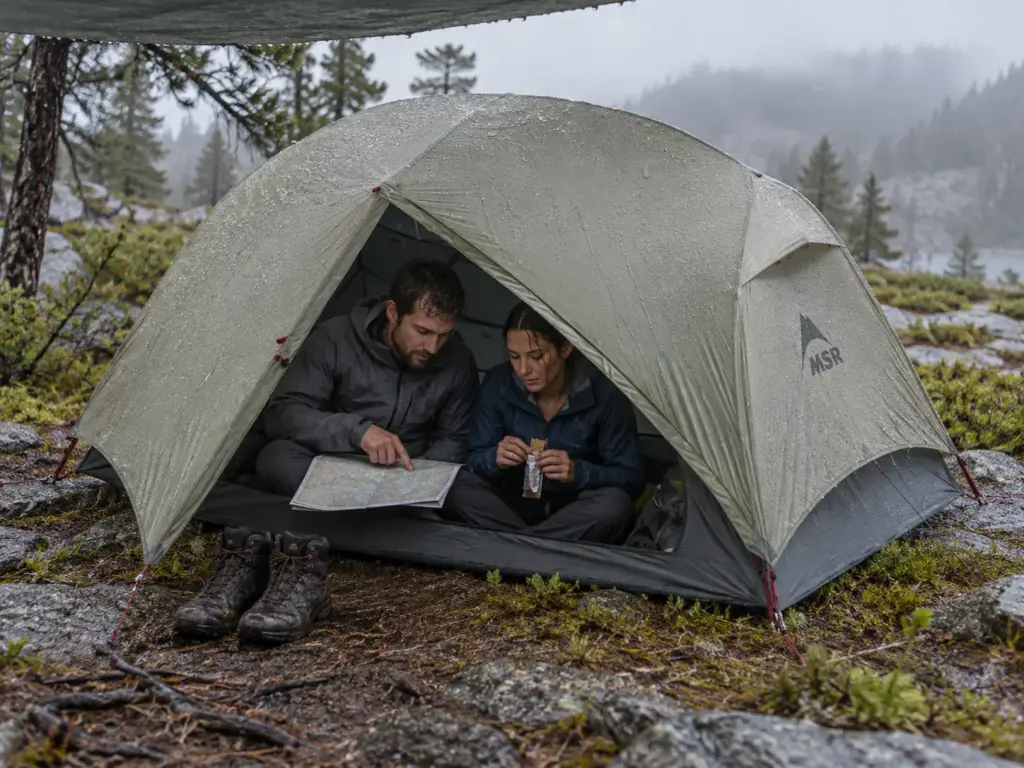
Two adults trying to sit up in a slanted-wall tent while it rains, with headroom only in the center, are the best argument for looking at walls before weight. Livability is what you notice after two nights, long after the spec sheet is forgotten. Floor area gets all the attention, but peak height and wall shape decide how much of that floor you can actually use.
Wall Shape and Sit-Up Space
Cleverhiker draws the line clearly. Slanted-wall 2-person tents, with the NEMO Hornet 2 and Big Agnes Fly Creek HV UL 2 named, have headroom only at the center peak.
Tents with steep walls and more vertical sidewalls, including the Big Agnes Copper Spur HV UL 2 and the MSR Hubba Hubba LT2 (check it on Amazon), feel less cramped for two. Cleverhiker calls the Hubba Hubba LT2 “tight but still doable for two,” which is honest and useful. You don’t have to like the compromise, but you should know it exists.
One commenter, a 3-person tent owner, admits that none of his tents are tall enough to “stand or crouch in, all of them are sitting height.” That is the baseline. Anything taller is a bonus; anything shorter than sitting height is a problem.
Doors, Vestibules and Where the Wet Stuff Goes
Two doors mean nobody climbs over a sleeping partner at night. Vestibule area is where wet boots and muddy packs live, so check it as well as the floor. Neither shows up in a weight figure, and both decide whether you enjoy being stuck inside. A full rain fly is another feature worth insisting on; one commenter calls it “a must.”
For rainy days, another commenter advises bringing a lightweight camp tarp and a length of paracord so you can rig extra sheltered space outside the tent. That’s one commenter’s advice, not a tested protocol, but it solves a real problem for very little weight.
Mesh and Ventilation
Mesh panels and a high door vent help the tent breathe and keep the inside from turning into a sauna. They also make a tent colder in wind, so ventilation is a trade rather than a feature. A double-wall design (a mesh inner under a separate fly) breathes more easily than a single-wall tent, which saves weight but gives moisture fewer places to go. If you want to dig deeper into how moisture builds up and what to do about it, see tent condensation management and the ventilation tips most people miss.
Freestanding, Semi-Freestanding or Trekking-Pole: How It Stands Up
Picture the first-timer who buys a trekking-pole tent for the weight and meets a campsite full of rock. How a tent stands up decides where you can pitch it, and that decides how forgiving your first nights will be.
Freestanding: Forgiving on Any Ground
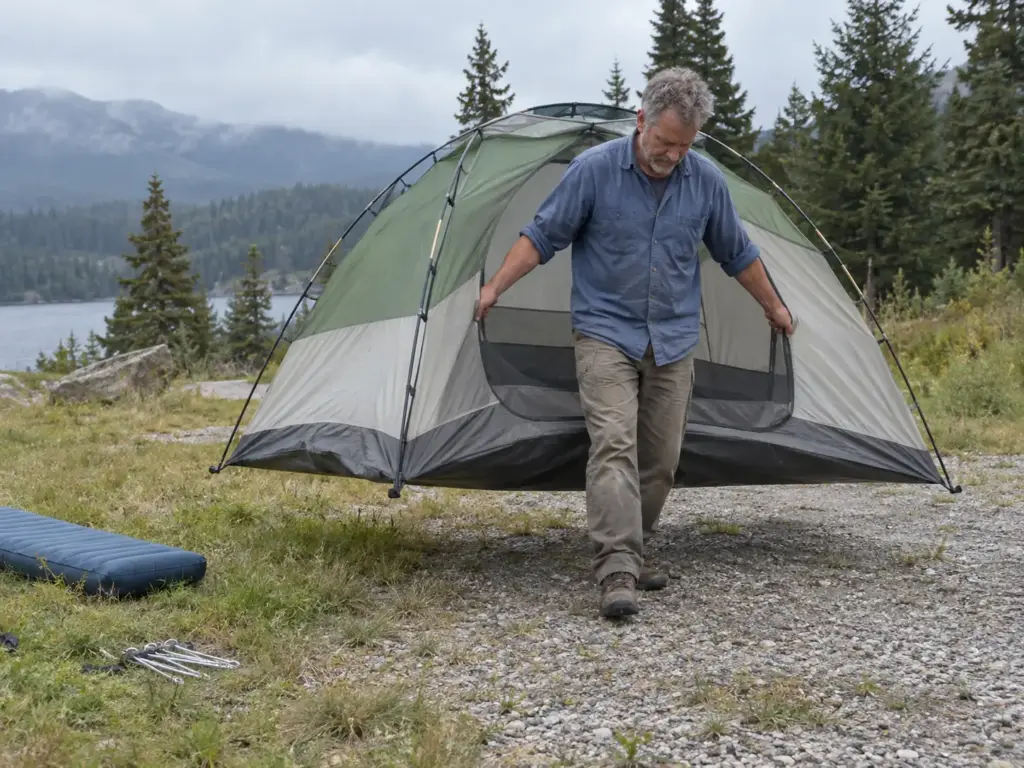
A freestanding tent holds its shape on its own poles. You can move it before staking it, shake out the dirt, and pitch it on hard ground or a wooden platform where stakes won’t go. Staking still matters in wind, even for a freestanding tent, because a tent that can stand on its own can also be blown away on its own.
Semi-Freestanding and Trekking-Pole: Lighter, Pickier
Semi-freestanding tents need stakes at the corners or one end to take their full shape. A trekking pole tent uses your own poles and relies on stakes, guy lines and a good site, which makes it the lightest and the least forgiving. Wind resistance depends far more on how well you stake and guy out the tent than on the label.
As a first-tent rule of thumb, a freestanding tent forgives a rushed pitch on any ground, while the others reward practice. An expensive trekking-pole tent on a first trip is a bet on skills you haven’t built yet, so do a test pitch at home before you leave. For the full comparison, read freestanding vs non-freestanding tents and the terrain that decides it.
Fabric, Waterproofing and Floors: What Wears Out First
A zipper that rips away from the mesh and a thin floor worn through by a sharp stick both show up in commenters’ regrets, and both are avoidable by checking the right spec before you buy.
Denier and What It Tells You
Denier (written D) measures fabric thickness. A lower number is lighter and less abrasion-resistant, a higher one is heavier and tougher. Spec sheets mix everything from 10D polyester mesh to 15D nylon, 20D ripstop nylon, 68D polyester and 70D nylon, so read which fabric belongs to the fly, which to the walls and which to the floor.
The floor is the part that takes the ground’s abuse every night, and it’s the one part you cannot patch easily on the trail. When two tents look alike on paper, the floor fabric is a quiet tiebreaker.
Waterproof Coatings and Wet Storage
Tent fabrics are waterproofed with a polyurethane coating or a silicone coating, rated by hydrostatic head in millimeters of water column. Ratings such as 1200mm or 1500mm show up on spec sheets, and seam tape or sealer covers the stitching. The rating matters less than how you treat the tent.
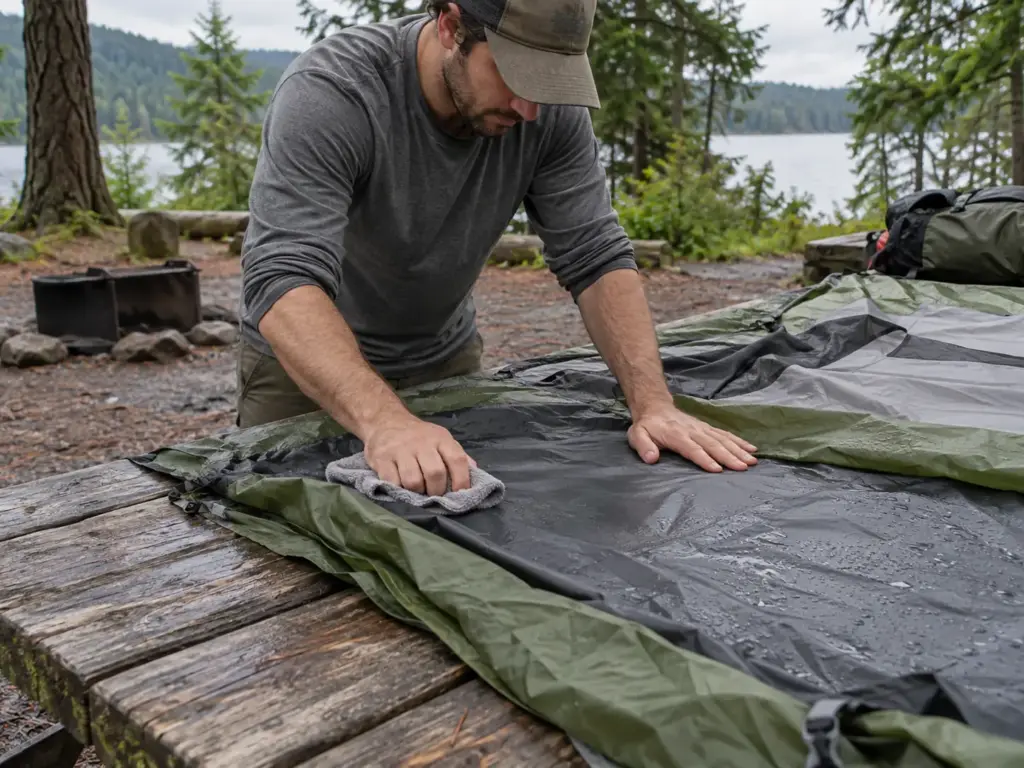
Coatings break down through a process called hydrolysis, and they break down faster when a tent is stored wet. The care rule is simple: dry the tent completely before you stuff it. Commenters also report zippers failing under tension and thin floors wearing through, so check both when you inspect a tent in the store or a used one on the seller’s lawn.
Seam work is its own topic; see seam sealing mistakes that leave tents leaking for the common errors.
Footprint or Ground Cloth: The Cheap Way to Protect the Floor
The floor is the one part of the tent you cannot patch on the trail, and a sharp stick under thin fabric turns into a repair bill. A footprint is a sacrificial layer between the floor and the ground. Whether you need one depends on your floor fabric and your ground.
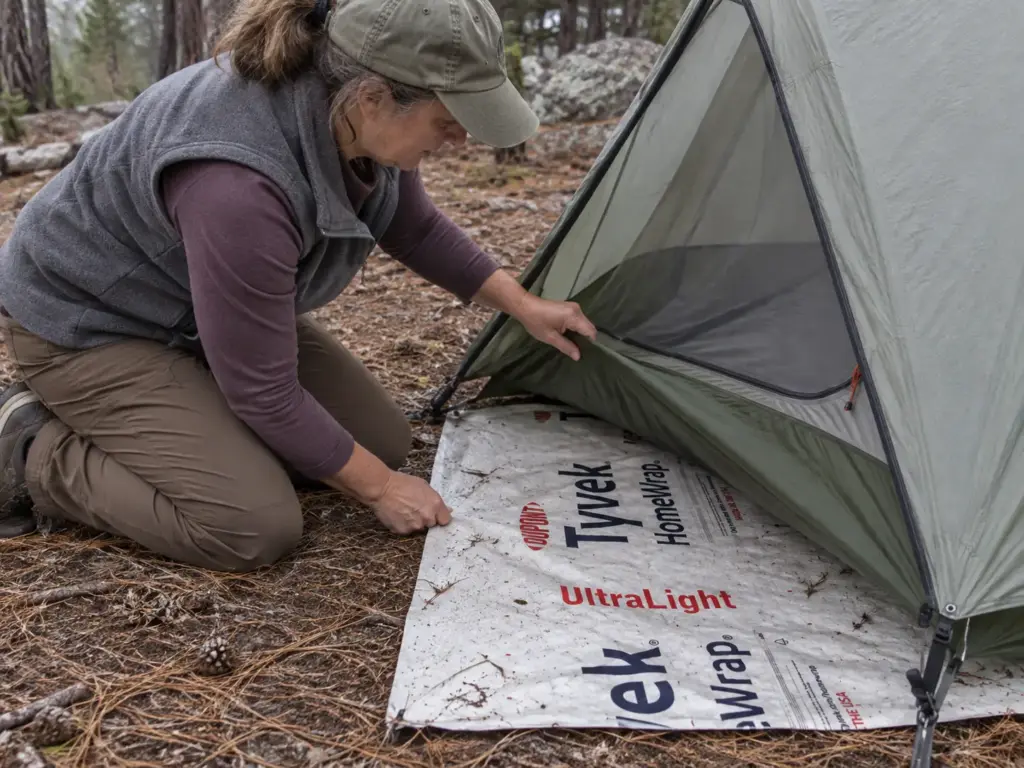
Whether you buy one from the tent maker or cut a groundsheet from a cheaper material is a decision with a real price gap and a real durability gap.
The Budget Route: Tyvek or Polycro
Two cheap materials do the job. Tyvek footprints weigh about 4 to 7 oz, according to Garage Grown Gear. Polycro, a polyethylene window insulation film, weighs about 1 to 2 oz. Polycro is lighter but “not nearly as durable as Tyvek,” and it needs extra care near sharp rocks.
For most first-time buyers, Tyvek is the more forgiving choice: heavier by a few ounces, but it survives a bad campsite.
The Tyvek Ground Sheet & Tent Footprint (check it on Amazon) is a ready-made version of that budget route. It comes in several sizes, so pick one that covers your tent floor and trim it. Because Tyvek and Polycro are often sold in rolls or kits, a solo hiker can easily buy more than they need; a sheet cut to size avoids that.
Size matters more than most people expect. A footprint should be “slightly smaller than the bottom of your tent,” per Garage Grown Gear. If the sheet is the same size or larger, rain can run onto it, pool and flood the floor, which defeats the whole purpose. Trim it a little inside the floor edge so no corner pokes out.
To decide whether you need one at all, read whether you need a tent footprint at all, and why your floor denier decides it.
Pitch the tent in the yard, lay the sheet under it, and look for any edge peeking out past the floor. Trim until none shows. Do it dry on a calm day, not at dusk on the first night of a trip.
The Brand Route: A Footprint Cut for Your Tent
A footprint made for your tent is shaped to its floor, so there is nothing to cut and nothing to guess. The Big Agnes footprint for the Copper Spur UL 2 Person (view on Amazon) is one example.
The listing names the Copper Spur UL, so match it to your tent’s exact name before ordering and don’t assume it fits every Copper Spur version. You carry the weight of a full sheet, so it is a convenience, not a requirement.
Pick the Ground Before You Pick the Sheet
The ground decides how much wear the floor takes, whatever you lay underneath. Leave No Trace’s guidance is to pitch on durable surfaces such as rock, sand, dry grass or compacted dirt, and to keep at least 200 feet from water and trails in the backcountry. That keeps the floor out of the mud and the tent away from the water’s edge and the trail.
It also makes a Tyvek sheet last a lot longer than it would on gravel and sticks. Choosing the site first and the sheet second gets better results than buying a thicker footprint for a bad spot.
Where to Spend and Where to Save on a First Tent
The beginner standing between a basic, heavy, durable tent and a light one that costs several times as much, for a trip they haven’t taken yet, is asking the right question. Where does the money change the outcome?
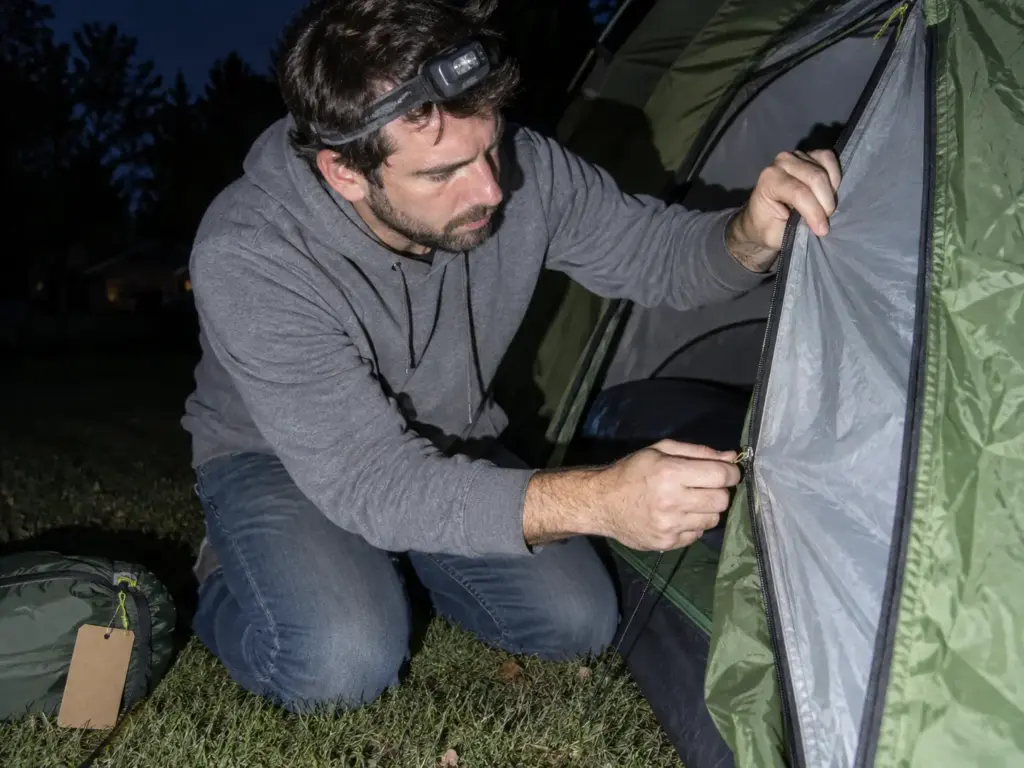
Spend on three things: a full rain fly, a floor that matches your ground, and a size that fits your pads. These decide whether the tent works at all. Save on the last few ounces, the brand-name extras and anything pre-cut that a sheet of Tyvek can replace. A plain starter tent that fits those three beats a pricey one that doesn’t, and a big cheap car camping tent is a different animal that won’t make the hike.
Used is a legitimate route too. One r/CampingGear commenter recommends a Eureka Timberline: “Excellent basic tents, durable and good enough for most purposes, won’t break the bank.” A used tent still has to pass the pack-fit test and the floor and zipper checks above, so inspect it before you buy.
Some guides advise buying a first tent from a seller where you can return it. That way your first night in the yard, with a full test pitch, counts as the real test.
Lay It All Out on the Floor Before You Buy
Size to your pads and your pack, not the label. Match the season to the worst weather you will meet, and the weight to the trips you actually take, not the lightest tent on the list. Protect the floor with the cheapest sheet that fits.
Tonight, lay your sleeping bag, your pad and the tent bag out on the floor and run the four-item test. If everything goes in the pack with the lid closing normally, you are ready to buy. If it does not, you just saved yourself a trailhead surprise.
Frequently Asked Questions
01How do you choose a backpacking tent for the first time?
Start with who sleeps in it, then the season, then the weight, and finish with the pack-fit test. Size the tent to your sleeping pads, not the label. Buy from a seller with a good return policy so your first night in the yard counts as a test.
02Is a 5 lb tent too heavy for backpacking?
No, a 5 lb tent is not too heavy by itself, because it depends on trip distance and how many people share the load. On short trips, r/CampingGear commenters say the weight matters less than ultralight videos suggest. Split the tent body, fly and poles between two packs to make it manageable.
03Is a 3-person tent too big for backpacking?
No, a 3-person tent is not too big for backpacking if two people share it and want room for gear. Cleverhiker calls a 3-person tent luxurious for two, with space for gear inside. The trade-off is extra weight and pack space, so split the pieces between packs and run the pack-fit test first.
04How to pick a tent for backpacking?
Pick capacity by pad size, season by the worst weather you expect, and weight by trip length, then confirm it fits your pack. Then check that the tent fits in your pack beside your sleeping bag and pad. Floor shape, wall height and doors decide how it feels after two nights.
05Is it worth buying a used backpacking tent?
Yes, a used backpacking tent is often worth buying as a first tent, as long as the floor and zippers are sound. Check seams, coatings and poles, and run the pack-fit test before you hand over cash. A basic, durable tent beats a worn ultralight one for most beginners.

I've spent more than a decade researching hiking gear and trail technique. I read the specs, the forum threads and the long-term reviews, and every pick here comes with what it gets wrong.
End of the trail
You read every mile of this one. Here's where the trail goes next.