In this article
You walk into this decision believing it’s a question about ankle support. It isn’t. The choice between hiking shoes and hiking boots is settled mostly by weight and terrain, and the weight part is far bigger than the number on the spec sheet suggests, because an ounce on your foot does not cost the same as an ounce in your pack. Ask anyone who has spent a decade watching long-distance hikers quietly abandon boots for low-cut shoes, and you get a more complicated answer than “boots are for serious hiking.” Here is the verdict on every criterion that actually decides it, including the exact terrain where boots earn their weight back.
Here is the head-to-head, criterion by criterion, with a real winner in every row instead of a shrug.
| Criterion | Hiking Shoes | Hiking Boots | Winner |
|---|---|---|---|
| Weight | Roughly 1 to 2 lb per pair | Roughly 2 to 4 lb per pair | Shoes |
| Durability | About 500 miles | 1,000+ miles, often resoleable | Boots |
| Cost over 3 years | Replace, no repair option | Resole extends the same pair | Boots |
| Break-in | Essentially none | Weeks of easy mileage | Shoes |
| Breathability and dry time | Mesh drains and dries fast | Membrane traps sweat and water | Shoes |
| Mud and shallow water | Low collar lets debris in | Sealed mid or high cuff | Boots |
| Technical terrain | Flexible, adapts to the ground | Stiff sole plus ankle collar | Boots |
What Actually Separates a Hiking Shoe From a Hiking Boot
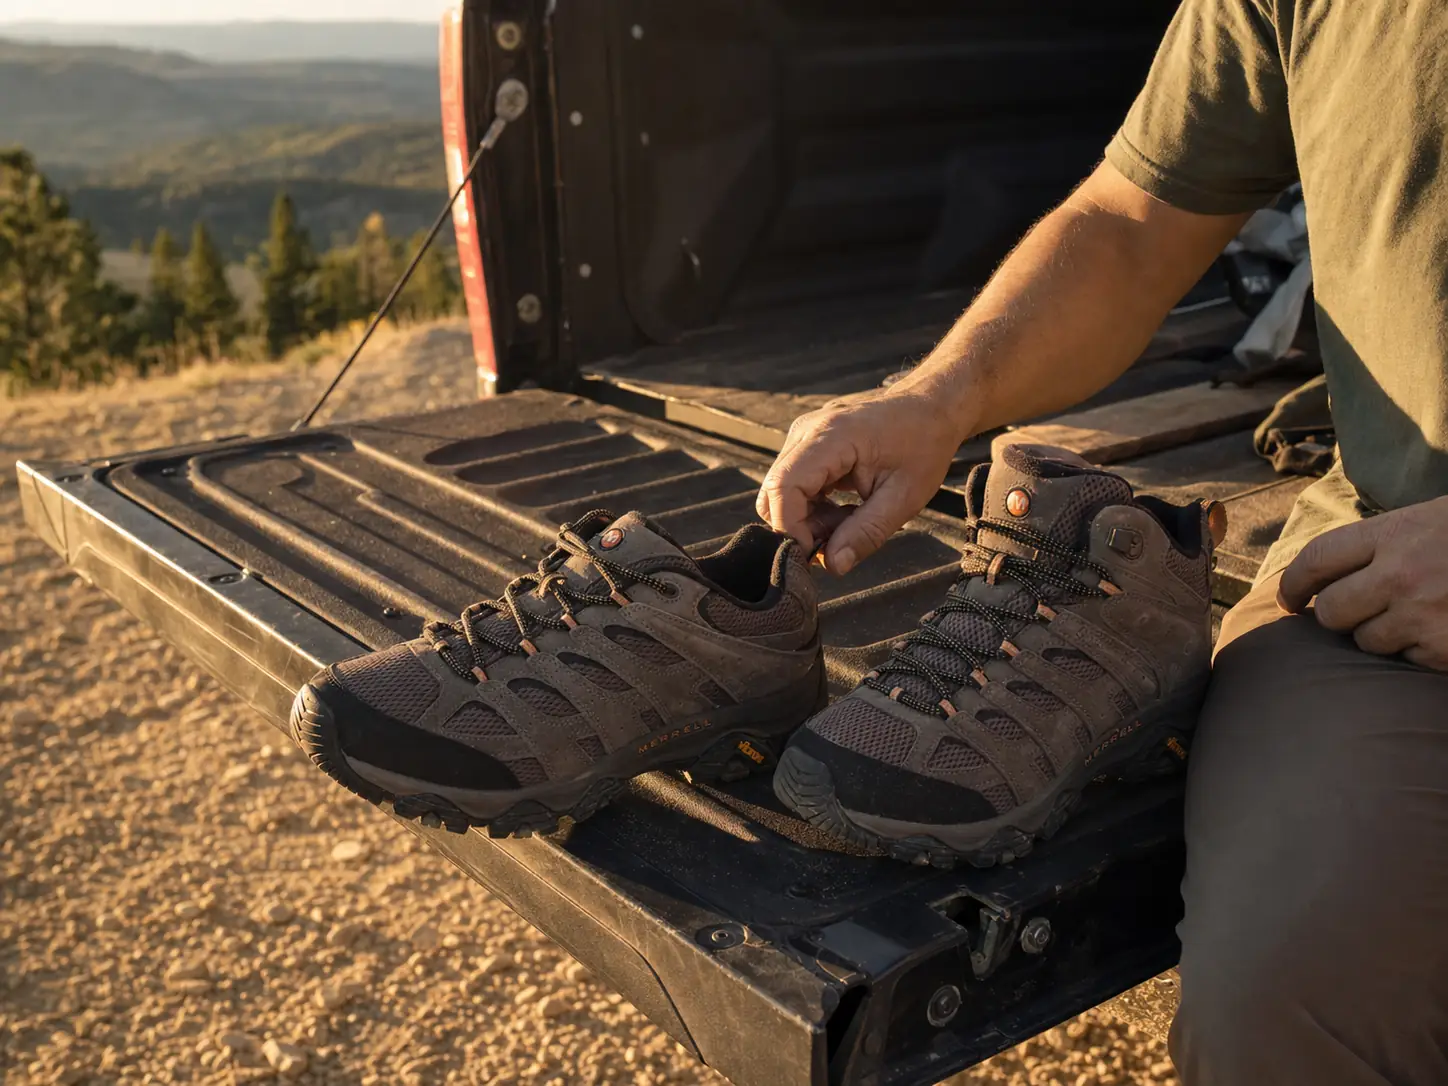
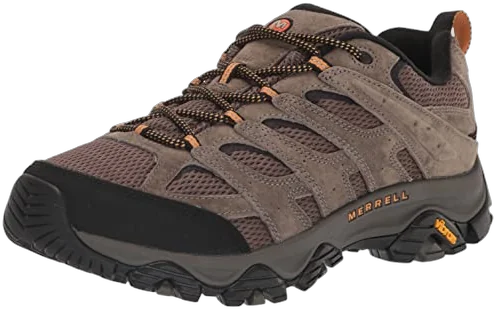
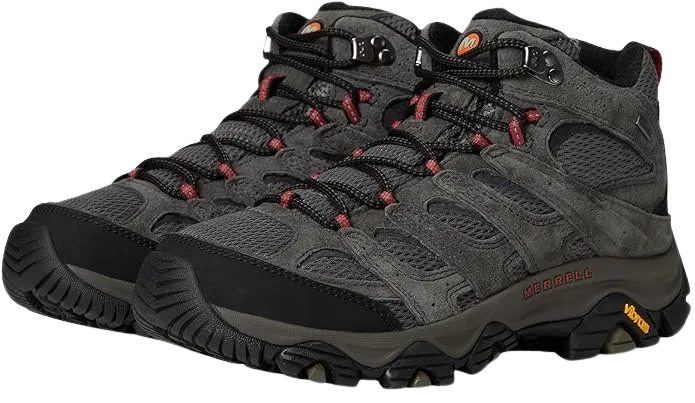
The honest way to compare these two is to put a shoe and a boot from the same family side by side, so nothing gets confounded by brand or price. Same last, same outsole compound, one variable changed. That is exactly what the Merrell Moab 3 family gives you, which is why both sit below as the reference pair for everything that follows.
Cut Height and What the Collar Really Does
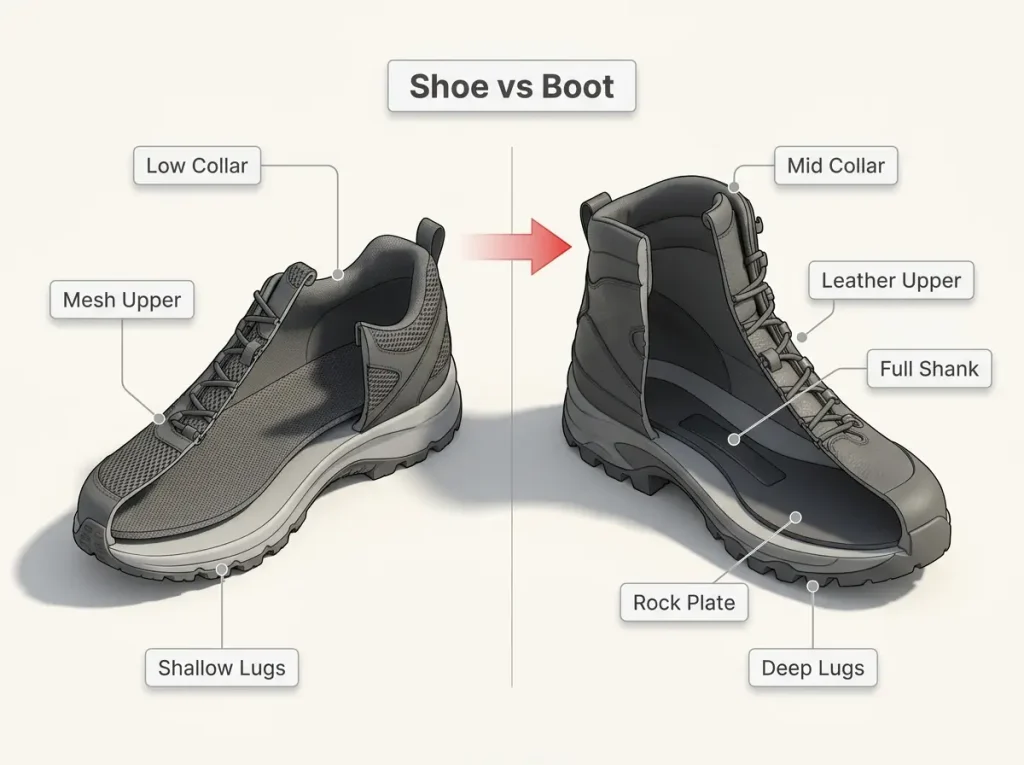
A low-cut shoe ends below the ankle bone. A mid-cut boot wraps it. A high-cut boot sits above it. This is the only difference most buyers can see from across a store, and it is the least decisive one on the list.
What the collar genuinely does is keep grit, mud, and shallow water out of the shoe, and add a small amount of lateral resistance if, and only if, the boot is properly fitted. What it does not do is guarantee protection from a sprain, which we get into further down.
Upper Materials, Mesh Through Leather
Hiking shoes lean on engineered mesh and synthetic panels. They breathe, they drain, and they give up abrasion resistance in exchange. Full-grain leather uppers and heavy synthetics do the opposite: they shrug off rock scrape and thorn, hold their shape for years, and stay warmer and slower to dry.
Look at the front of the shoe while you’re at it. A molded rubber toe cap is the difference between kicking a root and shrugging it off, and it shows up far more often on boots than on lightweight mesh shoes.
That material choice is what decides almost everything downstream, from lifespan to break-in time to whether the pair can ever be repaired.
Midsole Stiffness, Shanks, and Lug Patterns
Here is the difference nobody can see and everybody feels. A stiff midsole with a three-quarter or full shank spreads pressure across sharp, uneven rock instead of letting every edge press up into your arch. A flexible midsole lets your foot do that adapting itself, which is fine on dirt and punishing on talus.
Lug pattern follows the same logic. Boots run deeper lugs and a pronounced heel brake for loose descents under load; shoes run shallower, faster-rolling tread.
The Weight Penalty You Don’t Feel Until Mile Ten
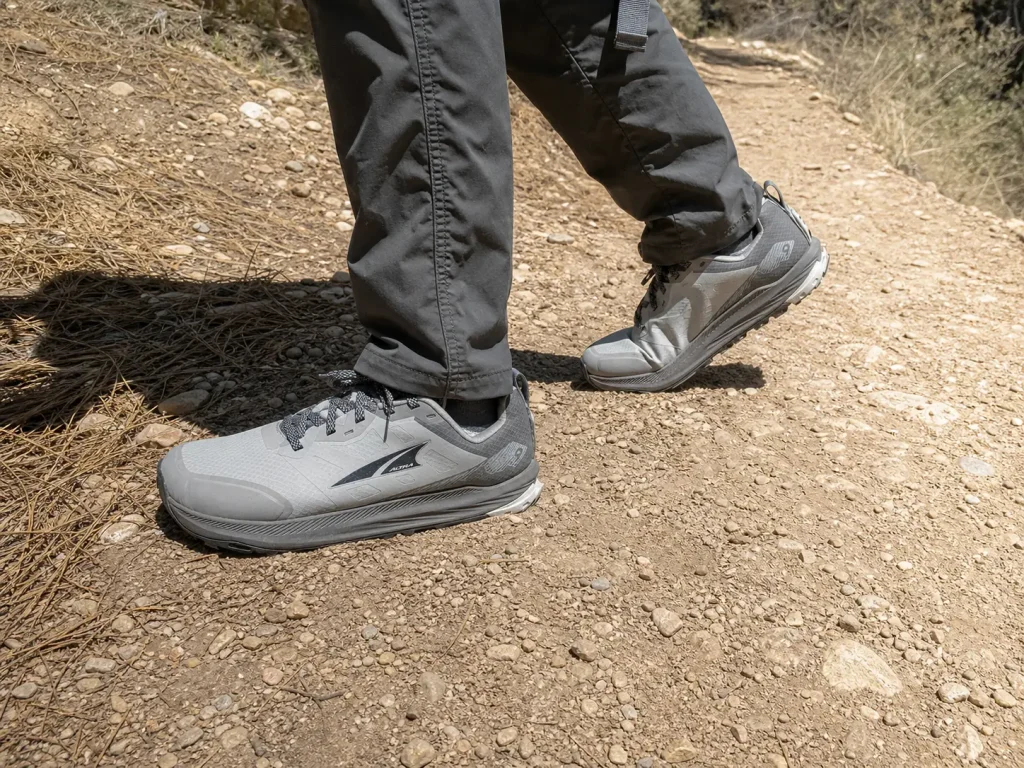
Someone in a parking lot hefts a boot, hefts a shoe, says “eh, a pound and a half,” and shrugs. Eight hours later their legs file a formal complaint. The reason is that footwear weight does not enter the equation at face value.
What a Pound on Your Feet Actually Costs
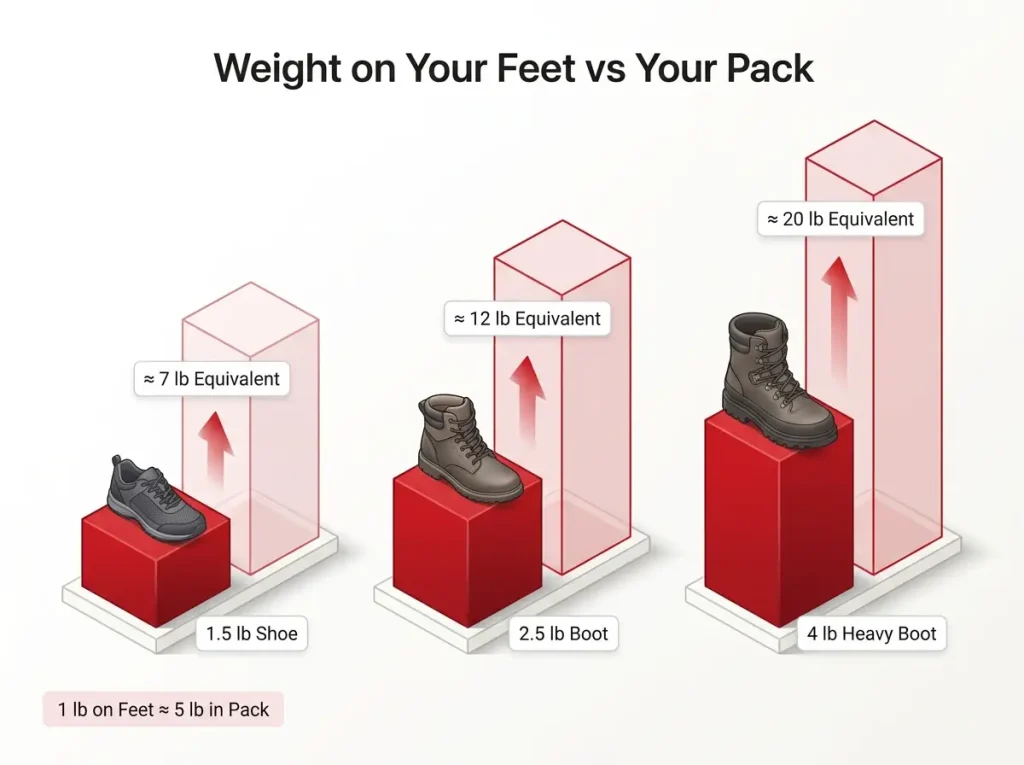
Hikers have repeated the rule for decades: a pound on your feet costs about five in your pack. More careful work on energy expenditure puts the multiplier somewhere around 4.7 to 6.5 times. Either way, the direction is the same and the magnitude is not small.
The mechanism is simple. Your pack rides near your center of mass and moves in a mostly straight line. Your feet accelerate from a dead stop to faster than walking speed and back again, thousands of times an hour. Weight down there gets paid for on every single one of those cycles.
Real Weights, Shoe vs Boot
A light hiking shoe can come in around a pound. Midweight all-purpose boots land in the two to three pound range, and heavy-duty boots push four. So the raw gap between a light shoe and a serious boot is often two pounds or more before the multiplier touches it.
Now run the math nobody bothers to run. A three-pound boot against a one-and-a-half-pound shoe is not a “pound and a half difference.” Put it through the multiplier and it hikes like roughly seven to ten extra pounds in your pack by the end of the day. That is not a preference question anymore. That is a second full water bladder you agreed to carry.
Where the Penalty Shows Up on the Trail
It does not show up as pain. It shows up as foot fatigue and pace decay in the last two hours, which happens to be the same window when most stumbles and rolled ankles occur. The irony is worth sitting with: the footwear bought for ankle protection can contribute to the tiredness that causes the twist.
The common mistake is judging any of this by picking both pairs up in a store. Static heft tells you close to nothing about a fifteen-mile day.
How Long Each One Actually Lasts
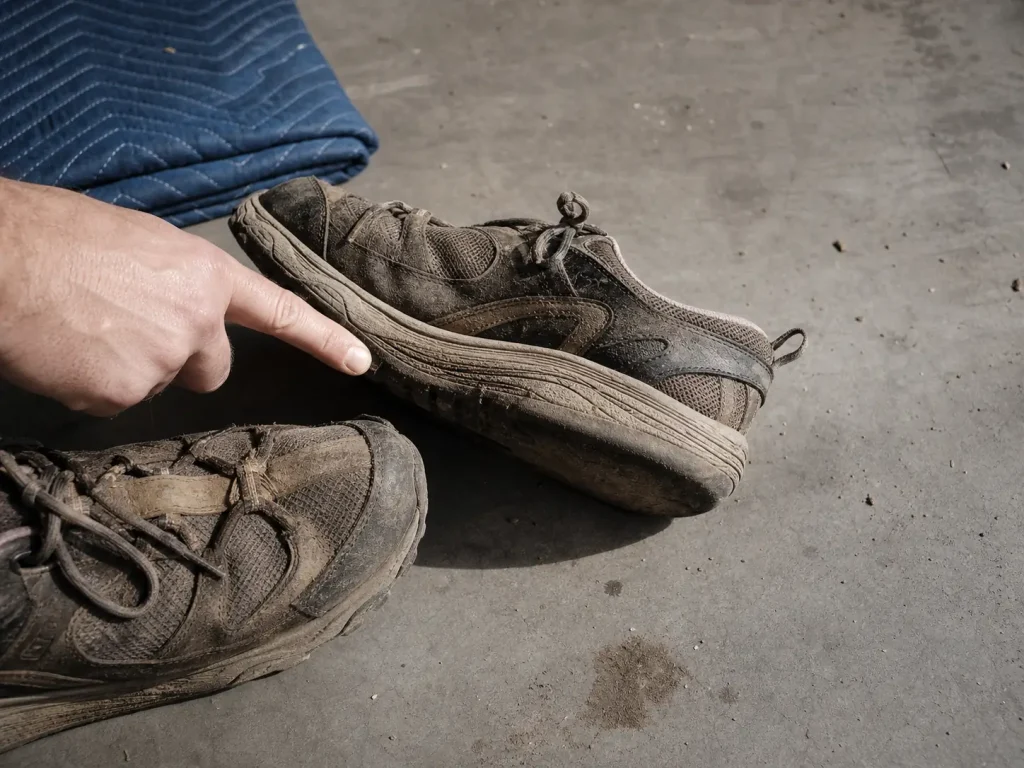
Hikers call it the 500 versus 1,000 mile line, and most people hear it as a quality judgment. It isn’t. It is a construction judgment.
The Mileage Numbers
Hiking shoes typically retire somewhere around 500 miles. Hiking boots typically run past 1,000 before the sole and midsole are finished. Both numbers move with terrain and load: abrasive granite and a heavy pack shorten them, groomed dirt trail stretches them.
What Wears Out First
Almost everyone watches the tread and almost everyone is watching the wrong thing. Midsole compression usually arrives first. The EVA foam that cushions nearly every modern shoe and boot takes a permanent set, stops rebounding, and quietly stops absorbing impact while the outsole still looks perfectly serviceable.
A shoe that looks fine can be functionally dead underfoot. Press a thumb into the foam along the outer heel. If it feels dense and creased instead of springy, the pair is done regardless of what the tread says.
Why Boot Construction Buys the Extra Miles
Boots last longer because leather resists abrasion far better than mesh, and because a sole attached the right way can be taken off and replaced. Foam-and-mesh builds cannot be re-manufactured. The tradeoff between leather and synthetic uppers is really a tradeoff between lifespan and weight, and it is the same fork in the road as everything else here.
What Resoling Really Saves You Over Three Years
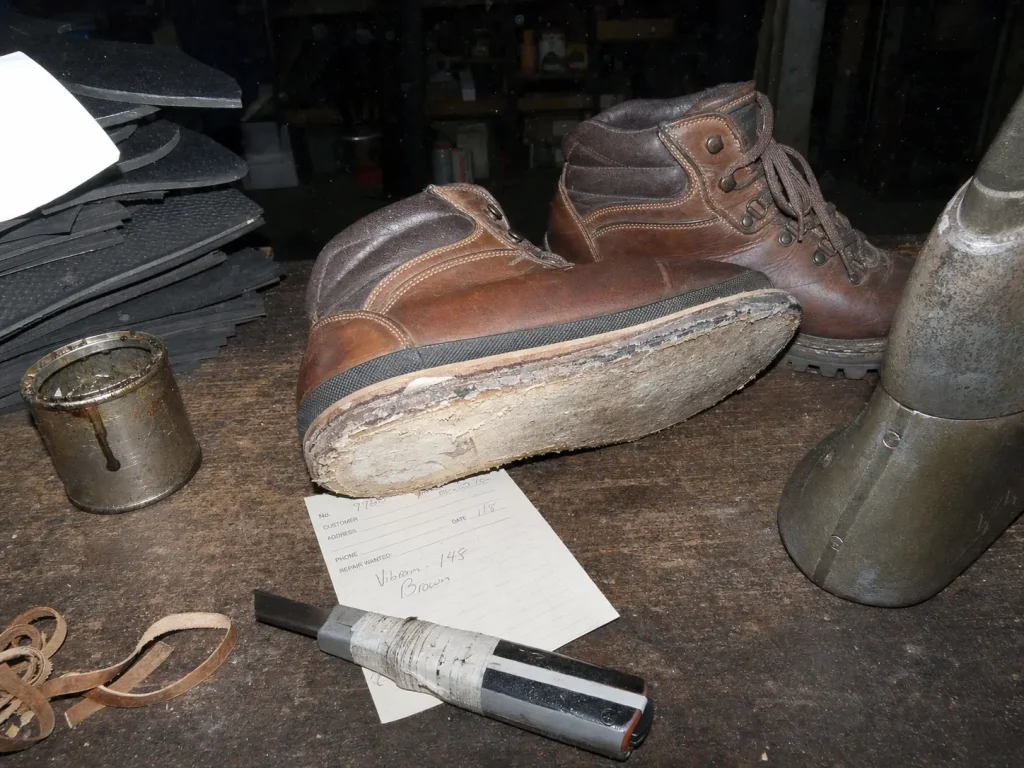
Everyone argues about the sticker price on day one. Almost nobody asks what a pair costs per mile across three seasons, which is the only number that matters if you hike regularly. So let’s actually do it.
What a Resole Costs and How Often
A quality resoling job runs roughly $80 to $150, commonly landing near $100. Boots generally want one every 300 to 500 miles of hard wear, though that varies with terrain and how quickly you notice the lugs going round. Our full resoling cost and value breakdown itemizes what drives a quote up or down.
The Three-Year Math
Take a resoleable boot and resole it once. That single pair now spans somewhere in the range of 1,500 to 2,000 total miles on one upper. Covering the same ground in hiking shoes means burning through three or four pairs, with no repair option available at any point along the way. You are replacing every time, never repairing.
Expect to spend somewhere around $150 to $250 for boots built well enough to be worth resoling, and that purchase plus one resole quietly outperforms the shoe replacement cycle on cost per mile over three seasons. The catch is that this only holds if you actually hike enough miles to reach the crossover, which is why the honest answer is different for someone doing six hikes a year than for someone doing sixty.
When Resoling Stops Making Sense
Two things end the case. The first is construction: plenty of mid-tier boots are cemented rather than welted and were never designed to be reopened. If resoling is part of your plan, check how the sole is attached before you buy, because that one construction detail decides whether the option exists at all.
The second is the upper. When a cobbler quotes you something creeping toward half the price of a new pair, that quote is a diagnosis. It means the upper is going too, and the pair is telling you it’s finished.
Get a resole quote before you replace a decent pair of boots, not after you’ve already ordered the new ones. Cobblers quote near-replacement prices only when the upper is genuinely finished, so the quote itself is free diagnostic information about whether your boots have another season in them.
Waterproofing, Breathability, and the Bucket Problem
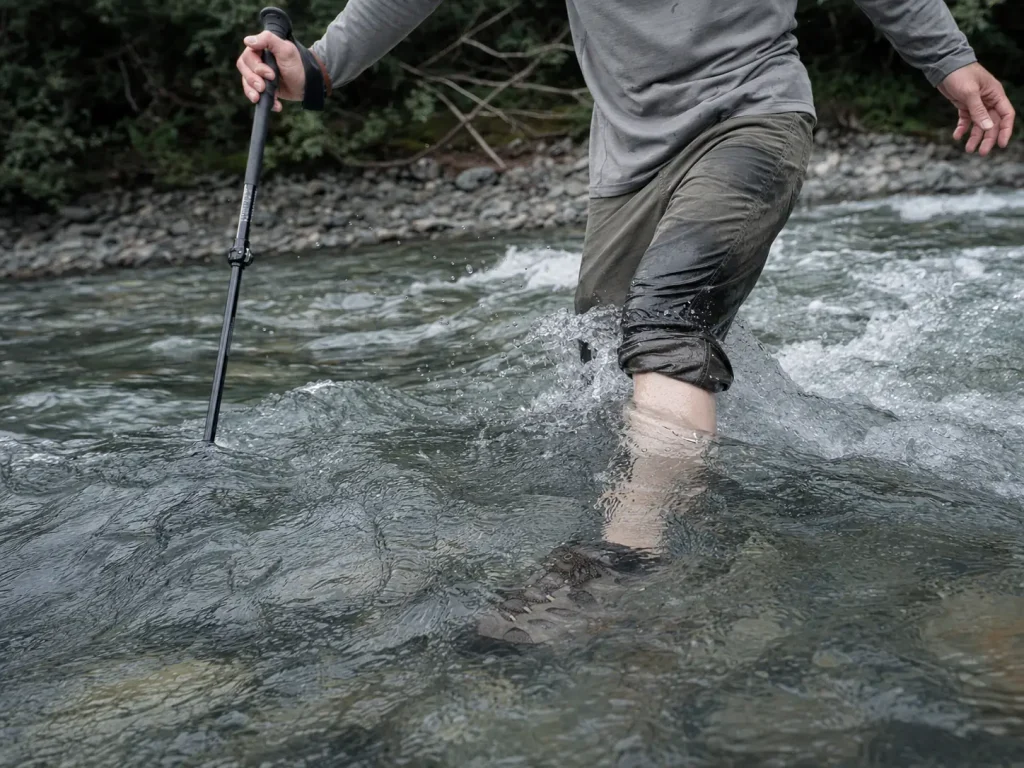
Picture the crossing that starts ankle-deep and turns out to be thigh-deep. Up to the cuff, waterproofing is the best feature on your footwear. One inch past it, it becomes the worst, and now you are the person with a pint of water in each boot and four hours of walking left.
What a Membrane Actually Blocks
A waterproof membrane, whether it’s Gore-Tex or a brand’s in-house equivalent, keeps splash, dew, wet grass, and shallow mud on the outside. It also keeps sweat vapor on the inside, because the same barrier works in both directions. Mesh does the reverse: it lets water in freely and lets it out just as freely.
There is no version that does both jobs. Anyone selling you one is selling you a compromise with a better marketing budget. The breathability cost of a membrane is real, and it is highest exactly when you are working hardest.
The Bucket Problem in Deep Crossings
Once water tops the collar, waterproof footwear at any height holds water in as effectively as it once kept water out. A quick-draining non-waterproof shoe empties in a few strides and dries as you walk. A membrane boot stays full and stays heavy.
Waterproofing is a shallow-splash and cold-weather feature, not a submersion feature. If your route includes real water, drainage matters more than sealing, and that is a genuinely counterintuitive call most gear advice never makes.
Choosing by Conditions, Not by Default
The mistake is buying waterproof as a blanket safety feature for every trip. In warm weather a membrane can leave your foot as soaked from sweat as an open shoe would be from the outside, with far worse dry time. Pick the membrane for cold, wet, shallow conditions, which is exactly what mud season hands you. Skip it for hot, dry, or deep ones.
Break-In Time and What It Costs You
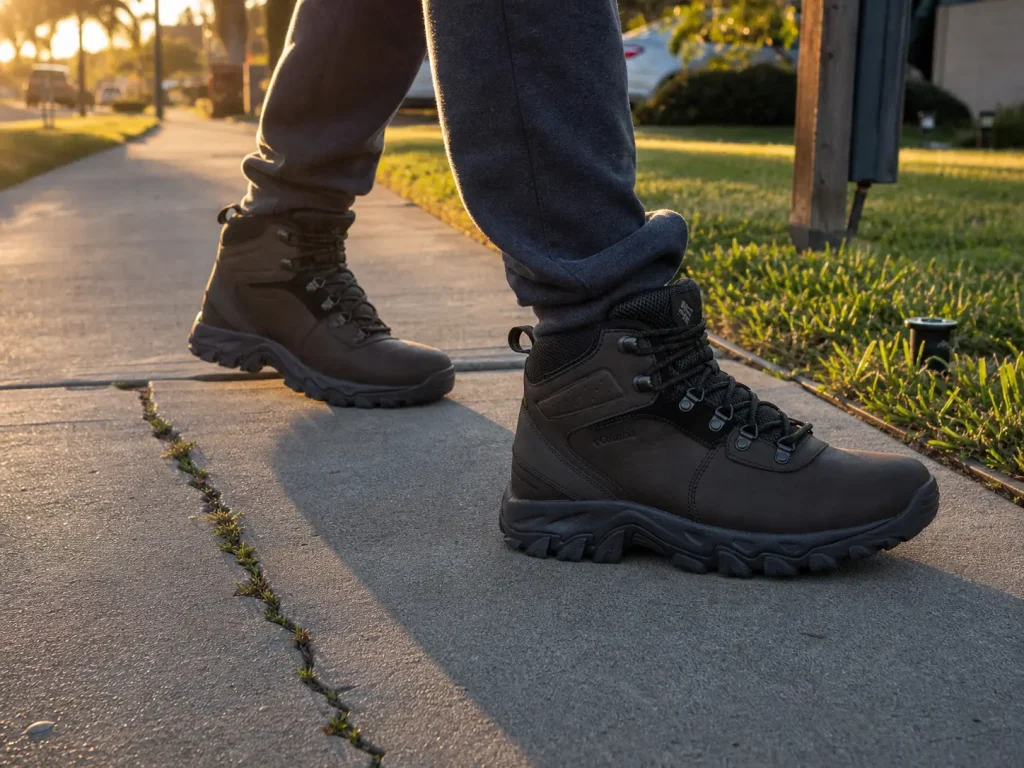
Some footwear you wear out of the box on Saturday. Some footwear wants weeks of easy mileage before you trust it on a real day. If your trip is ten days out, that stops being a preference and becomes a scheduling constraint.
Why Shoes Skip the Break-In
Mesh and foam conform to your foot almost immediately. That is most of the appeal for people who buy a pair on Thursday and hike Saturday. There is essentially no break-in period to plan around.
How Long Boots Actually Need
Boots need a genuine runway, and leather boots need the longest one. The stiffer the upper and the more leather in it, the more mileage it takes before the flex point settles where your foot actually bends. Our break-in timeline by material puts real numbers on how long each build takes.
Skipping that window is the classic route to hot spots and blisters on day one of the trip you bought them for.
Fit Details That Cut the Break-In Short
Fit rules do more than any trick. Snug everywhere, tight nowhere, heel locked in the pocket, tried on with the moisture-wicking socks you will actually hike in. Sizing up half a size accounts for feet swelling on long days, which is real and catches people who fit their boots at nine in the morning.
Ankle Support, and What the Research Actually Found
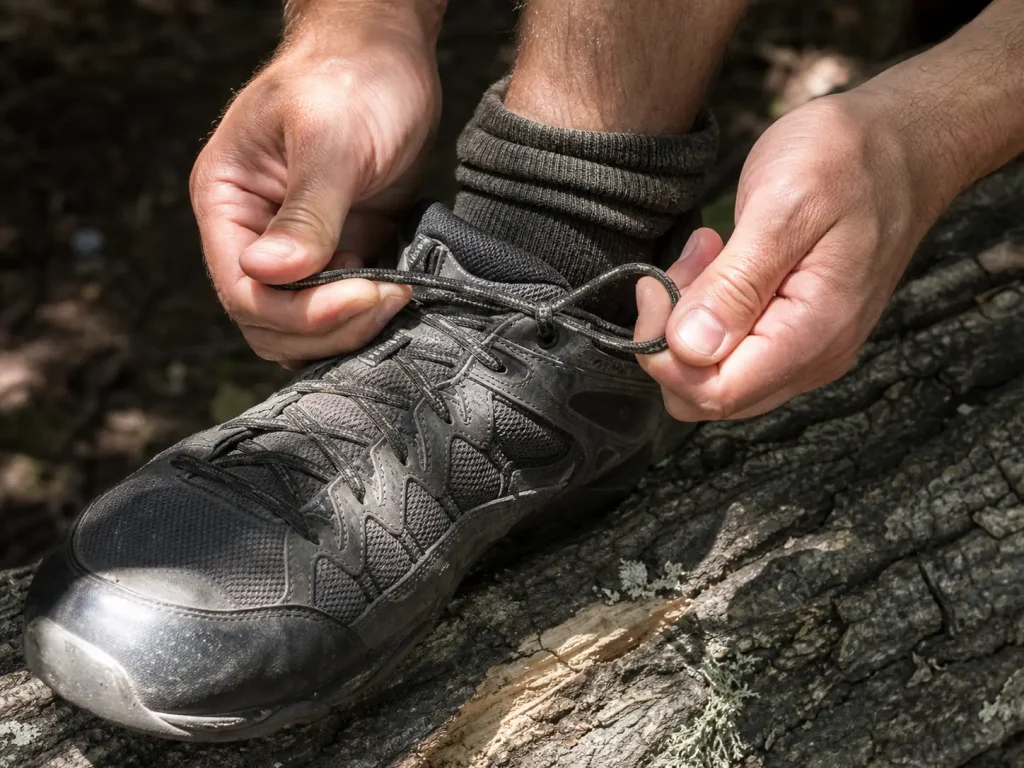
This is the belief every reader brings to the question, and it is the one place where the honest answer is that the evidence is split. Which is, on its own, more useful than the confident yes every gear guide gives you.
What Hikers Believe
Higher collar equals more ankle support equals fewer sprains. Every major retailer and brand states it as settled. It is not settled.
What the Studies Actually Say
Some clinical work found that boots restrict static ankle range of motion without reliably preventing the dynamic movements that actually produce a sprain. Other work found reinforced ankle support did cut injury risk meaningfully under certain conditions. Both findings are real, both are published, and neither wins outright.
And as the American Academy of Orthopaedic Surgeons notes, ankle sprains remain one of the most common injuries regardless of what’s on your feet. That frequency is exactly why the question deserves a real answer rather than a slogan.
Why Fit Beats Collar Height
Here is what the research split actually points to: fit, terrain, and your own injury history decide this, not collar height by itself. A sloppy, poorly-fitted high-cut boot with a heel that slides can be less stable underfoot than a well-fitted low-cut shoe with a locked heel.
If you want the full biomechanical case rather than the summary, our pillar guide on what shoes to wear when hiking walks through the evidence in depth and settles where it lands.
When Ankle Height Genuinely Matters
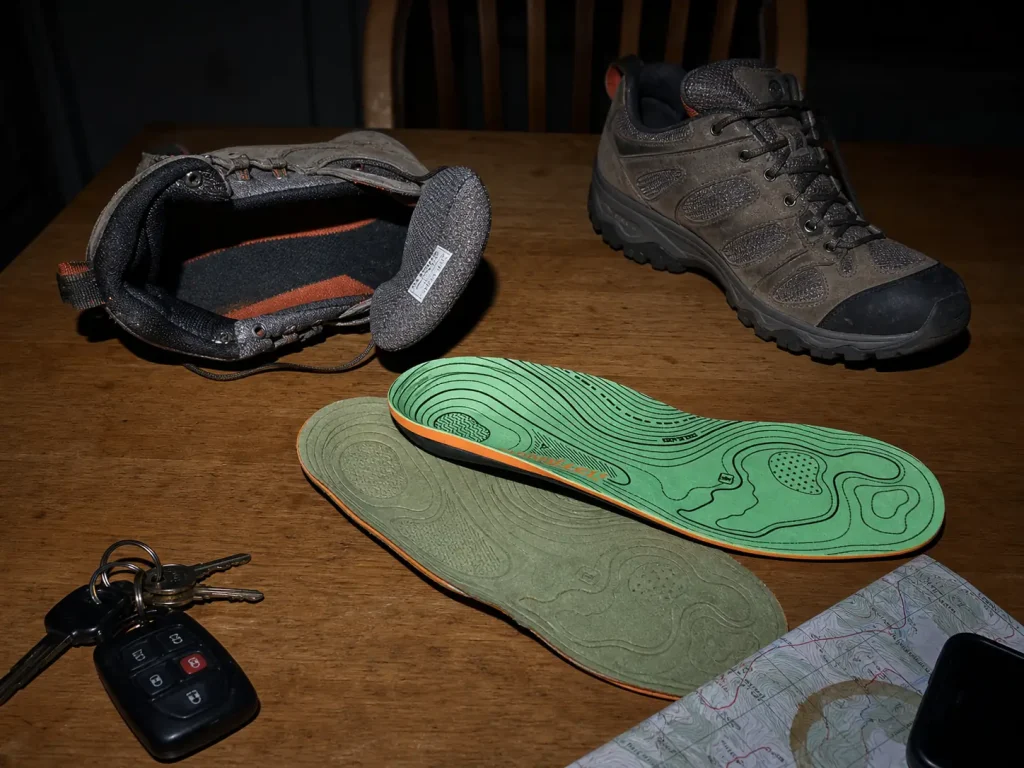
“It depends” is a useless answer unless someone tells you what it depends on. So here are the specific cases where that extra collar is worth its weight, and the cases where it is weight for nothing.
Prior Injury History and Technical Ground
The strongest genuine case for a higher collar is a prior ankle injury combined with technical terrain. Previously injured tissue has less margin, and technical ground supplies the twist. Put those two together and the boot is doing real work.
Note that it takes both. A history of sprains on groomed dirt trail does not make the case on its own, and neither does technical terrain for someone with no injury history and strong ankles.
Overpronation, Flat Feet, and Plantar Fasciitis
This is where most advice goes wrong. Overpronation and flat feet need a stability platform and a supportive last. Plantar fasciitis needs arch support and a stable base underfoot. Notice that none of those needs are located at the ankle.
They are midsole and insole problems wearing an ankle-support costume. A boot can supply the platform, but so can a low-cut shoe with the right insert, at a fraction of the weight. The Superfeet Hike Support Insoles (check them on Amazon) are the budget-friendly first move here: solve the actual biomechanical problem, then decide whether you still need the collar. If your issue runs deeper, whether orthotics in hiking boots help covers the prescription end of that question.
Why Fit Quality Is the Real Variable
None of it works if the fit is sloppy. A boot does not compensate for a heel that slides inside it, and it does not reliably stop dynamic sprain mechanics in someone who is already well fitted in a low-cut shoe.
Learn the heel lock lacing technique before you spend money on a taller boot. Thread the lace through the top eyelet to form a loop on each side, cross each lace end through the opposite loop, then pull down hard. It pins your heel into the pocket, and hikers cite it constantly as mattering more for real stability than collar height does.
The Exact Terrain Where Boots Win
Every guide in this space says “technical terrain” and then never defines it. Define it. You should be able to look at your next trip’s conditions and know the answer without decoding a euphemism.
Scree, Talus, and Unstable Rock
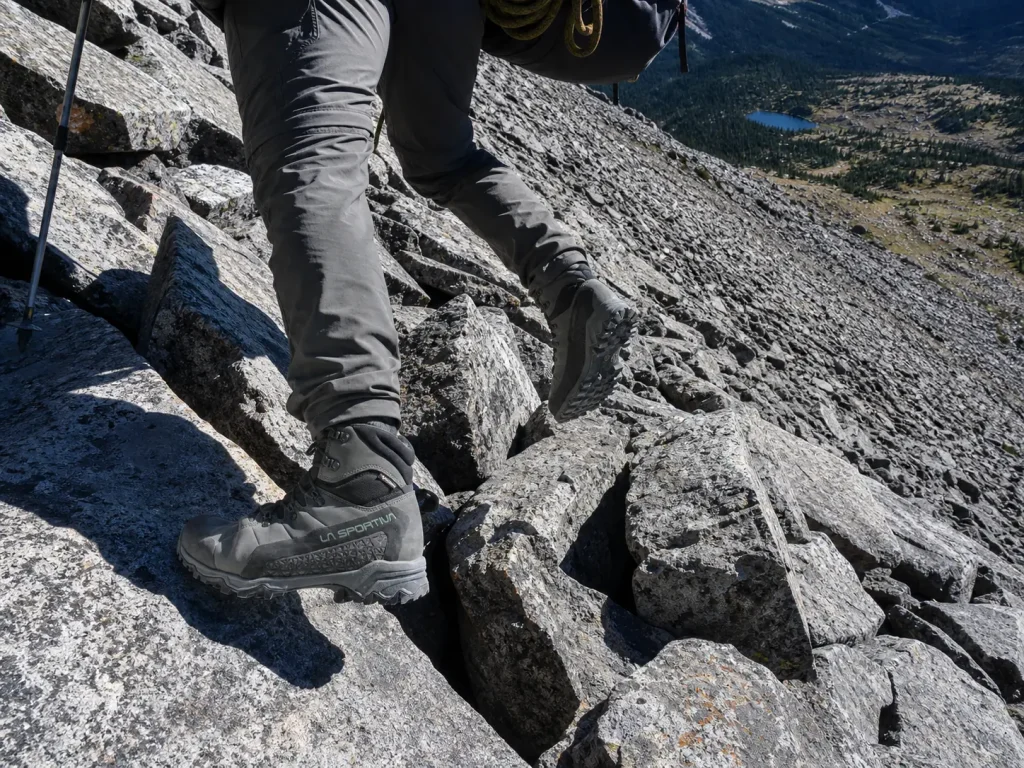
Scree and talus fields are the clearest case on the list. A stiff sole bridges across unstable rock and distributes pressure instead of letting every edge press up into your arch, and the collar guards the ankle when a block shifts underfoot. This is the terrain where the weight penalty is genuinely bought back in safety.
This is also where a technical boot separates from a general-purpose one. The La Sportiva Nucleo High II GTX (men’s · women’s) sits at the premium end of that spectrum with a high cut and a notably stiff platform. It is the right tool if your trips genuinely include scree, off-trail, and snow, and it is plain overkill if they don’t. Matching boot stiffness to the ground you actually walk on is the whole skill here.
Off-Trail, Deadfall, and Spring Snow
Off-trail travel and bushwhacking bring hazards you cannot scan for: deadfall, hidden holes, sharp edges under leaf litter. A rock plate and an abrasion-resistant upper earn their keep in ways that are hard to appreciate until something jabs at your instep.
Spring snow brings postholing, where a leg punches through a weak crust and drives snow straight down an open collar. The hiking community treats this as an automatic boot call, usually a boot plus gaiters. Sub-freezing temperatures make a similar case, since boots have the internal volume for thicker socks and the insulation options low-cut shoes generally lack.
The Exception, Deep Water Crossings
Then there is the case that runs the other way. Deep, thigh-high crossings actually favor a non-waterproof, quick-draining shoe over waterproof footwear of any height. Hikers describe the moment vividly: the crossing goes past the cuff and the waterproof boot instantly becomes the heaviest, slowest-drying thing on the trail.
If your route is defined by water rather than rock, the boot case weakens rather than strengthens. That exception is worth stating plainly, because a comparison that only ever tilts one direction isn’t a comparison.
Trip Length, Pack Weight, and the Call You Actually Make
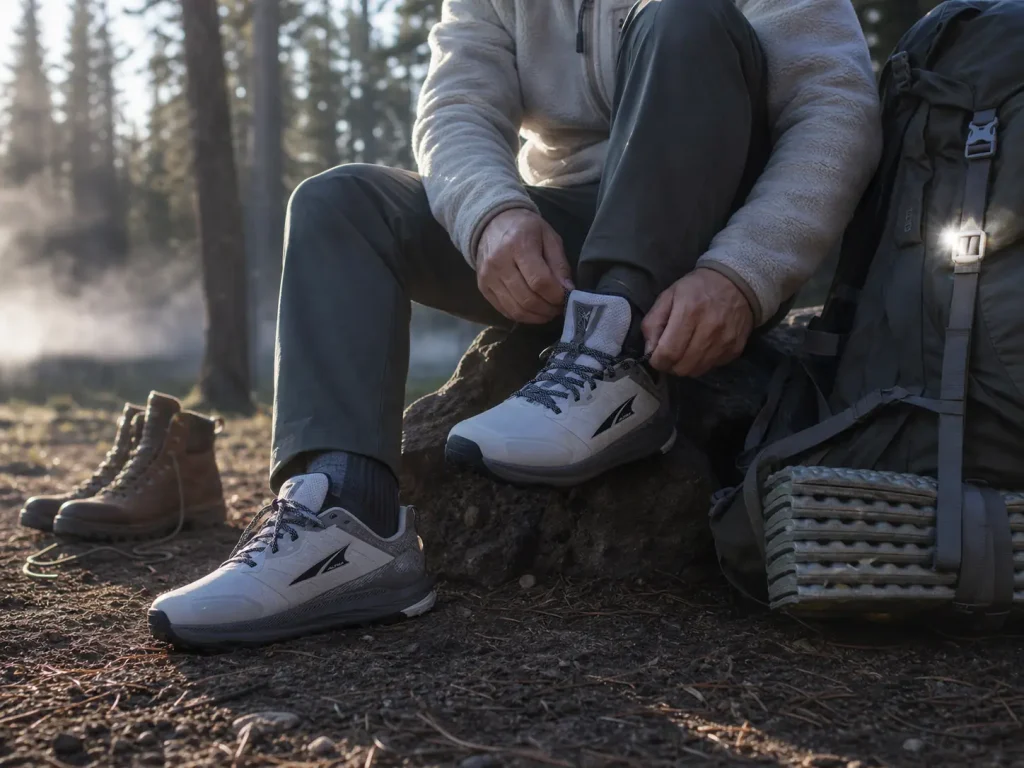
Strip out brand, price, and opinion. Three inputs decide this: how far you are going, how much weight is on your back, and what is under your feet.
The Baseline Rule
Start here. Trail shoes for shorter day hikes without heavy packs or technical terrain; boots for backpacking, any multiday hike with camp gear on your back, heavier loads, or genuinely technical ground. That framing holds up well, and it matches how the American Hiking Society’s own footwear guidance ties the call to trip length, pack weight, and terrain rather than to brand loyalty.
Where Pack Weight Flips the Answer
Trip length argues for going light, because the weight multiplier compounds with every step and a long day has a lot of steps. Pack weight argues the other way, and it argues loudly. Once you are carrying a genuinely heavy load, your foot becomes load-bearing for the pack too, and a stiffer platform underneath stops the arch from collapsing into every irregularity in the trail. Rucking makes that case faster than anything else, since a deliberately weighted pack is the entire point of the outing.
For the long-day, moderate-pack, non-technical case, the Altra Lone Peak 9 (men’s · women’s) sits in the trail-runner-as-hiking-shoe category that the thru-hiking crowd moved to for weight and dry time. Its zero-drop geometry and wide toe box are genuine changes to how your foot loads, not marketing, which means they need the transition window covered in the next section.
If You’re Newer to Hiking
Newer hikers still building foot strength and the eye for reading trail often do better starting in a supportive boot and moving lighter as both catch up. That is a real distinction almost nobody splits out. If the framework has pushed you toward boots, how to choose a hiking boot takes it from here.
Own Both and Rotate by Trip
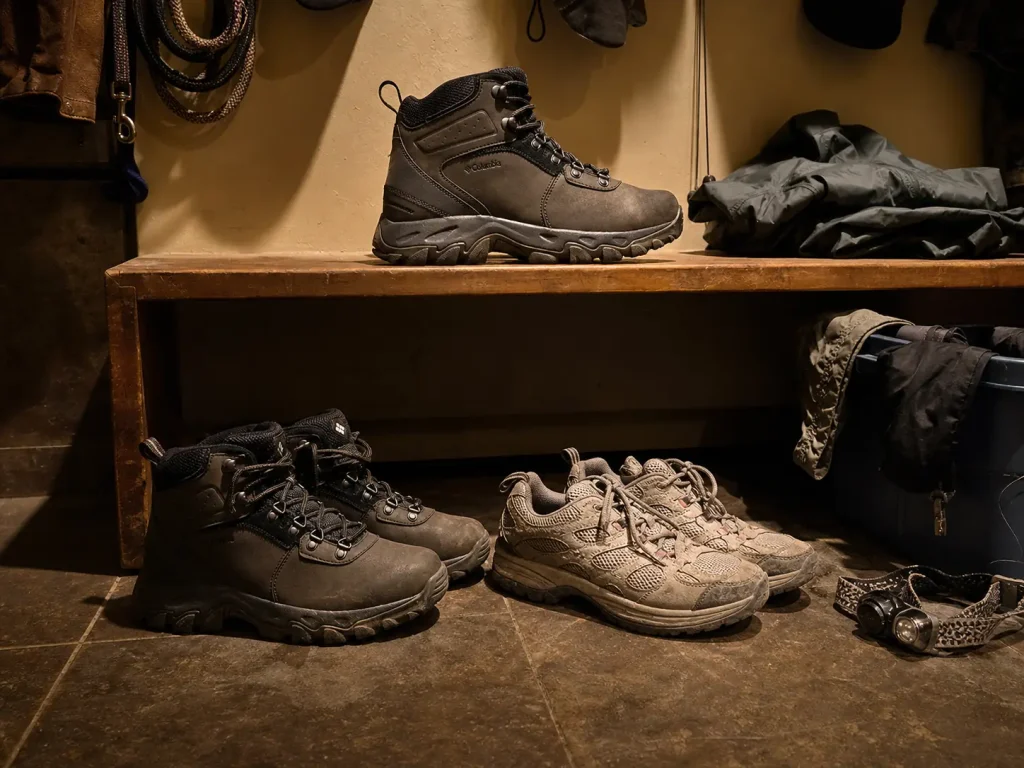
The question was never really which one is better. Experienced hikers stopped asking it years ago. They own both and grab by trip, and the only thing missing from every guide on this topic is the actual rule.
The Grab-by-Trip Rule
Shoe for day hikes, groomed trail, warm and dry conditions, and light packs. Boot for loaded multi-day trips, technical ground, spring snow, and cold or wet weather. That is the whole rule. Grab by trip, not by loyalty and not by what you happen to own.
Building that rotation does not require two premium purchases. The Columbia Newton Ridge Plus II Waterproof (men’s · women’s) is the honest budget-friendly answer for the boot half. If it only comes out for the handful of trips that genuinely need it, it does not need to be the expensive pair. It needs to be the right pair for those days.
What Happens to Your Feet When You Switch
Here is the part nobody warns you about. Switching your primary footwear type is a real physiological transition, not a comfort preference. A PubMed-indexed study on the transition to minimalist footwear found real, measurable stress on the foot during the adjustment window, in the form of bone marrow edema that showed up over a ten-week period.
Your foot is learning a different load path. The muscles that a stiff boot was doing the work for have to wake up and take over, and that takes weeks of easy mileage, not one hike. Budget three to six weeks of low-stakes walking before you trust a new shoe type on a big day.
Building the Rotation Without Buying Twice
The most common mistake in this whole topic is judging the switch after a single outing. Soreness in the first few hikes gets read as “these don’t work for me” when it is simply the adjustment doing what adjustments do.
Hikers who push through it tell a different story. One recurring account in the community involves a hiker who moved from years in broken-in boots to trail runners and finished a Grand Canyon rim-to-rim with no pain and no blisters. The fear that shoes cannot handle a big day is usually a fear about unadjusted feet, not about the shoes.
When you switch shoe types, do it in the off-season and do it on errands. Wear the new pair to the grocery store and around the neighborhood for a few weeks before it ever sees a trail. It costs you nothing, it front-loads the entire adjustment window, and it means your first real hike in them is boring instead of memorable.
The Verdict
Weight is the variable most people ignore and it deserves top billing. An ounce on your foot costs several times an ounce in your pack, and it compounds on every step of every mile, which is why a boot’s spec-sheet weight understates what it actually asks of you.
Boots win on named, specific ground: scree and talus, off-trail travel, spring snow, sub-freezing temperatures, and heavy loads. Everywhere else the extra weight buys very little, and that “everywhere else” covers most of the hiking most people actually do.
And the real answer for anyone who hikes regularly is both, with the pair chosen by trip rather than by habit. There is no single piece of versatile footwear that covers a July day hike and an April postholing slog equally well, and treating the call as personal preference is what keeps people carrying the wrong pair. Pull up the conditions for your next hike, run distance, pack weight, and terrain through the three inputs, and you will probably find the answer was obvious the whole time. It just got buried under an argument about ankle support.
Frequently Asked Questions
01When should I wear hiking boots vs. hiking shoes?
Wear boots for loaded multi-day trips, technical terrain like scree and talus, off-trail travel, spring snow, and cold or wet conditions. Wear hiking shoes for day hikes, groomed trail, warm weather, and light packs. Trip length, pack weight, and terrain decide it.
02Can boots be used as hiking shoes?
Yes, boots work anywhere hiking shoes do, but you pay for it in weight, heat, and break-in time. Nothing about a boot fails on easy terrain. You are simply carrying capability you aren’t using, and the weight multiplier makes that a real cost on long days.
03What is the best footwear to use when hiking?
The best hiking footwear is whatever matches your trip length, pack weight, and terrain, since no single category wins outright. Fit quality matters more than the shoe versus boot question itself. A locked heel in a well-fitted low-cut shoe beats a sloppy boot every time.
04Do I need hiking boots for day hikes, or are trail shoes enough?
For most day hikes, trail shoes are enough. The exceptions are day hikes onto genuinely technical terrain, into spring snow, or with a heavy pack. Those conditions bring the boot case back regardless of how short the day is.
05How long does it take to adjust when switching from boots to hiking shoes?
Give it three to six weeks of easy mileage, not one hike. The switch is a real physiological transition as your foot learns a different load path. Early soreness is normal and routinely misread as incompatibility, so don’t trust the new pair on a big day until the runway is done.
Risk Disclaimer: Hiking, trekking, backpacking, and all related outdoor activities involve inherent
risks which may result in serious injury, illness, or death. The information provided on The Hiking Tribe is for
educational and informational purposes only. While we strive for accuracy, information on trails, gear, techniques,
and safety is not a substitute for your own best judgment and thorough preparation. Trail conditions, weather, and
other environmental factors change rapidly and may differ from what is described on this site. Always check with
official sources like park services for the most current alerts and conditions. Never undertake a hike beyond your
abilities and always be prepared for the unexpected. By using this website, you agree that you are solely
responsible for your own safety. Any reliance you place on our content is strictly at your own risk, and you assume
all liability for your actions and decisions in the outdoors. The Hiking Tribe and its authors will not be held
liable for any injury, damage, or loss sustained in connection with the use of the information herein.
Affiliate Disclosure: We are a participant in the Amazon Services LLC Associates Program, an
affiliate advertising program designed to provide a means for us to earn advertising fees by advertising and linking
to Amazon.com. As an Amazon Associate, we earn from qualifying purchases. We are also an official affiliate partner
of Black Diamond Equipment via the AvantLink network. If you click on a Black Diamond affiliate link and make a
purchase, we may earn a commission at no additional cost to you. We also participate in other affiliate programs and
may receive a commission on products purchased through our links. Additional terms are found in the terms of
service.