
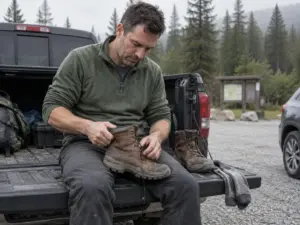

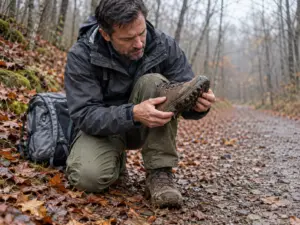
















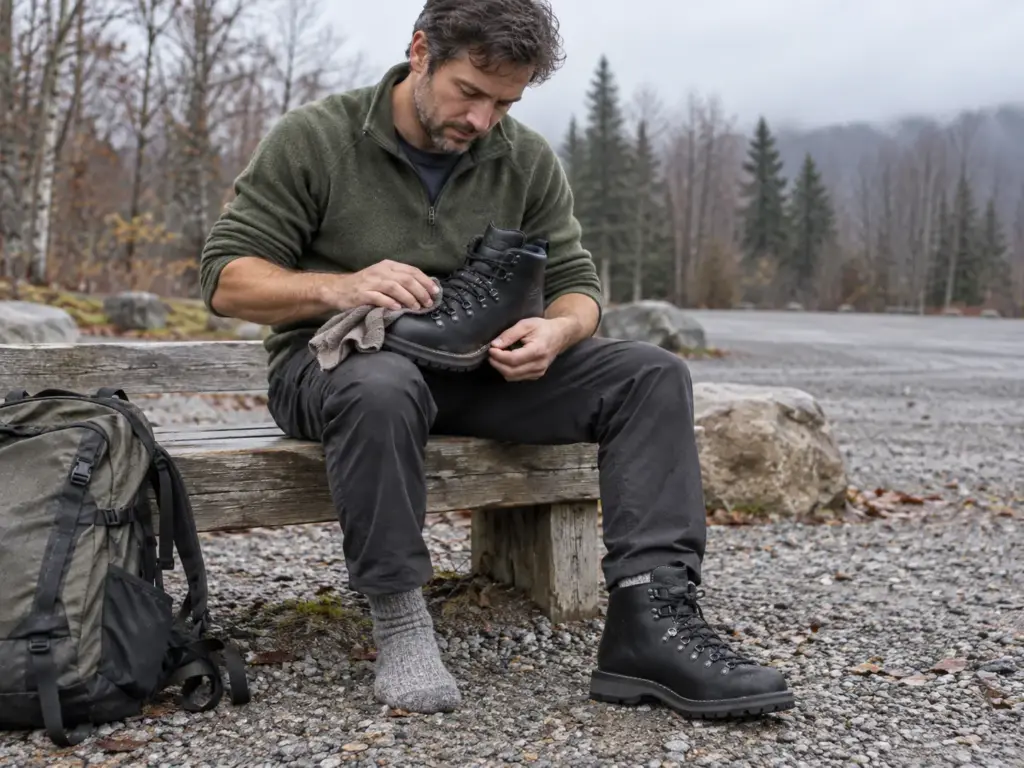
A poster on the Backpacking Light forum described a pair of leather hikers bought in 1980, rubbed with Sno-Seal most seasons, that stayed on trails for 34 years. What finally retired them was the heels, not the leather. That is the real story behind men’s leather hiking boots: the upper can outlive the sole by decades, and a boot whose sole can’t be replaced dies the day the sole does. This guide is built from cobbler surveys, forum threads and the boot makers’ own construction choices rather than a gear-lab bench, and it covers which boots are worth shortlisting, how to fit and break one in, and the care mistake that can end a resole before it starts.
Here is the short version, sorted by what you want from the boot.
| If you want… | Shortlist this | The catch |
|---|---|---|
| The best all-round full-leather boot | Zamberlan 1007 Vioz Hike GTX RR | Premium tier and not a beginner’s first boot; leather asks for patience |
| A boot a cobbler can rebuild | Danner Mountain Light II 5 Inch GTX | Stitchdown construction rewards care; the wrong wax can undo the advantage |
| Day hikes and lighter loads | Lowa Renegade EVO GTX Mid | Check the construction before you plan on a resole |
| Backpacking in traditional leather | Hanwag Banks GTX | Premium tier; confirm your size before you commit |
| Mountain terrain and heavier use | Meindl Bhutan MFS | More boot than a day hike needs |
Men’s Leather Hiking Boots: What You Gain and What You Pay For
Leather is one answer among several, and how to choose a hiking boot by terrain, height and fit comes before the question of material. If you have already landed on leather, this section checks the decision before any money changes hands, because the people who regret a leather boot almost always regret the break-in, not the boot.
What Leather Gives You
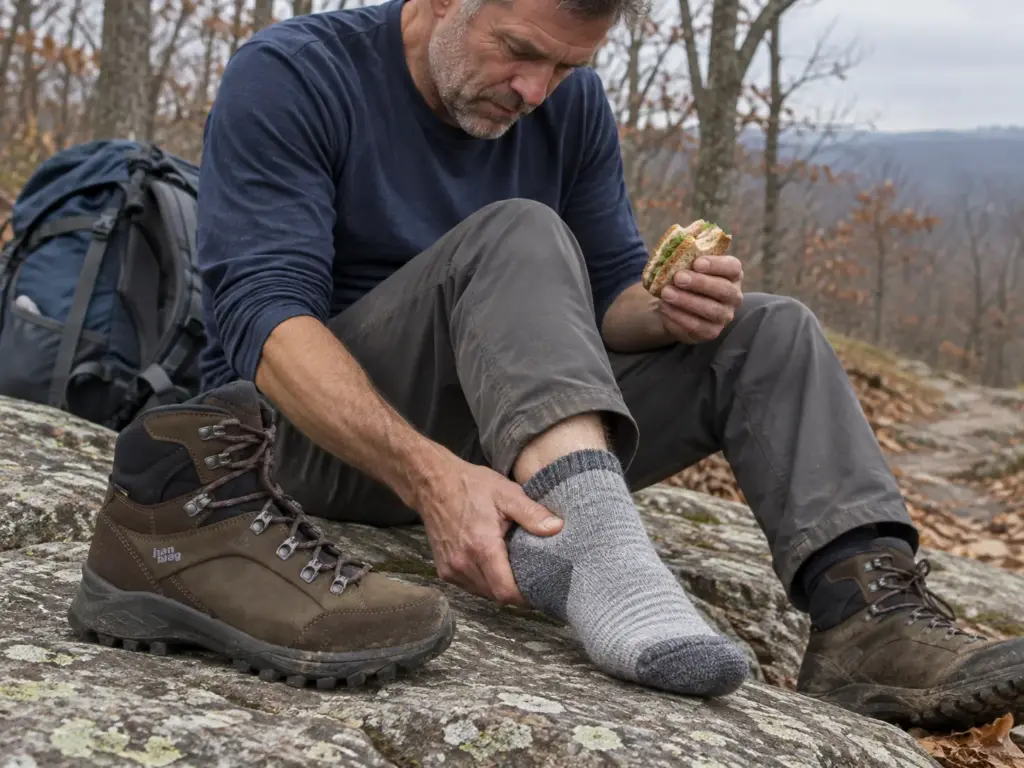
A leather upper outlasts most synthetic ones, takes wax or a waterproof liner well, and on the right construction a cobbler can put a new sole under it. Those three things are why people keep buying leather in an age of mesh. Durability is the headline, but repairability is the part that changes the math: a synthetic boot is finished when the sole lets go, while a well-built leather boot is only finished when you decide it is.
Leather also molds. Over time it takes on the shape of your foot in a way that foam and fabric never quite do, which is why a pair that has been worn in properly feels less like footwear and more like a tool you own. That feeling is also the reason people send a boot to a cobbler instead of replacing it.
What It Costs You
Break-in is the first bill. A university outing program’s boot guide notes that leather takes longer to break in than lightweight boots, and that is the price of the durability, not a flaw in the boot. Nobody enjoys the stiff, unforgiving stretch before leather gives, and no amount of marketing copy shortens it.
Weight is the second bill. A leather boot with a lining and a stiff sole is heavier than a trail shoe, and heavy boots show it on the thousandth step of a long day, not the first. Check the weight per boot on the spec sheet, because a pair that looks identical on the shop wall can differ by more than you would guess.
The third bill is breathability, and it is worth saying flatly: leather breathes worse than mesh. Add a Gore-Tex-type liner and a leather boot can run warm in summer, a complaint reviewers raise often about boots in this category. If your hikes are hot, that matters more than the leather grade.
When a Synthetic Boot Is the Smarter Call
Skip leather if you hike fast, stay mostly on dry trails, or simply dislike breaking boots in. Synthetic hiking boots exist for exactly that reader, and the Merrell Moab 3 Mid GTX is the usual control: a lightweight, mostly synthetic mid boot that feels fine sooner and gives up the long life. Check the listing for the exact materials before you decide.
The trade is simple. Synthetic wins on comfort in the first week and loses on the fifth year, and leather versus synthetic over five years of use lays out how that plays out if you want the long version. If you would rather replace a boot every few seasons than learn to look after one, buy the synthetic and don’t feel bad about it.
Full-Grain, Nubuck or Suede: Picking the Leather for Your Trail
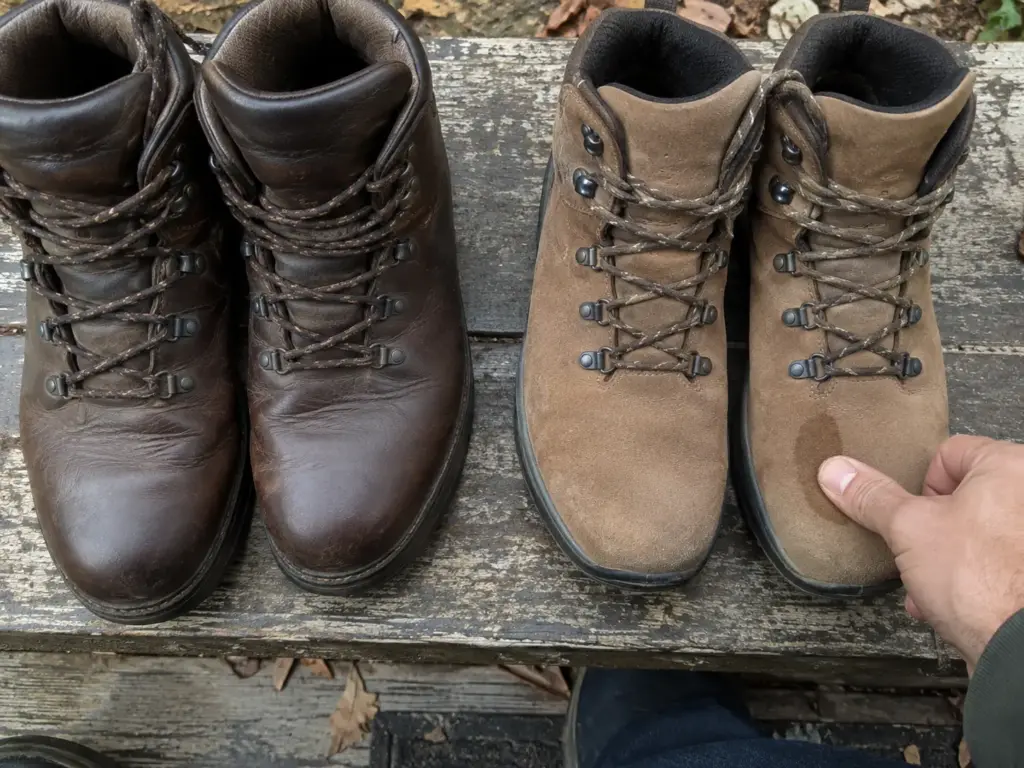
Three boots sit on the shop wall looking nearly identical, and nobody explains that the leather on each is different. The finish decides how the boot feels out of the box, how it handles rock, and how long it takes to get wearable.
Full-Grain Leather
Full-grain is the top layer of the hide with the surface left intact. Full grain leather boots last longest and take longest to break in. They are the stiff, serious option, and the ones a cobbler is happiest to see on the bench.
Nubuck Leather
Nubuck is leather with the surface buffed to a short nap. It feels softer out of the box, breathes a little better and dries faster than full-grain. The catch is that the nap does not survive sharp rock: nubuck breathes better but loses its nap on sharp rock, so it suits mud and forest trail better than scree or sharp-edged granite.
The classic mistake is buying nubuck for a rocky route and watching the surface fray into a fuzzy mess. Full-grain vs nubuck is mostly a terrain question, not a quality one.
Suede, Split-Grain and Leather-Fabric Hybrids
Suede leather and split-grain are lighter and dry faster, and they mostly sit on lighter boots, often paired with fabric panels. That is general category knowledge, not a finding from a specific source. They trade some of the durability that makes leather worth buying for lower weight and an easier break-in.
Reading a Spec Sheet Before You Buy
Look for the words full-grain, nubuck or one-piece leather upper. A one-piece upper has fewer seams, and seams are where water gets in and stitching lets go. A gusseted tongue, which is joined to the upper along both sides, does the same job at the front of the boot by keeping water and grit from slipping in at the laces. Then find the construction line, which matters even more than the leather and gets its own section next.
If a listing says leather and nothing else, the spec sheet is hiding something. Look for the leather type by name and the construction method. A boot that tells you neither is asking you to guess, and guessing is how you end up with a cemented sole under a premium upper.
Construction, Soles and Stiffness: What Decides How Long a Boot Lasts
Two boots with identical leather can live completely different lives. One gets rebuilt three times and walks for a decade. The other goes in the bin the first time the tread is gone. The difference is almost never the leather, and if you want resoleable hiking boots, the construction line on the spec sheet is the one to read first.
Stitchdown, Goodyear Welt and Cemented: Which Boots Can Be Resoled
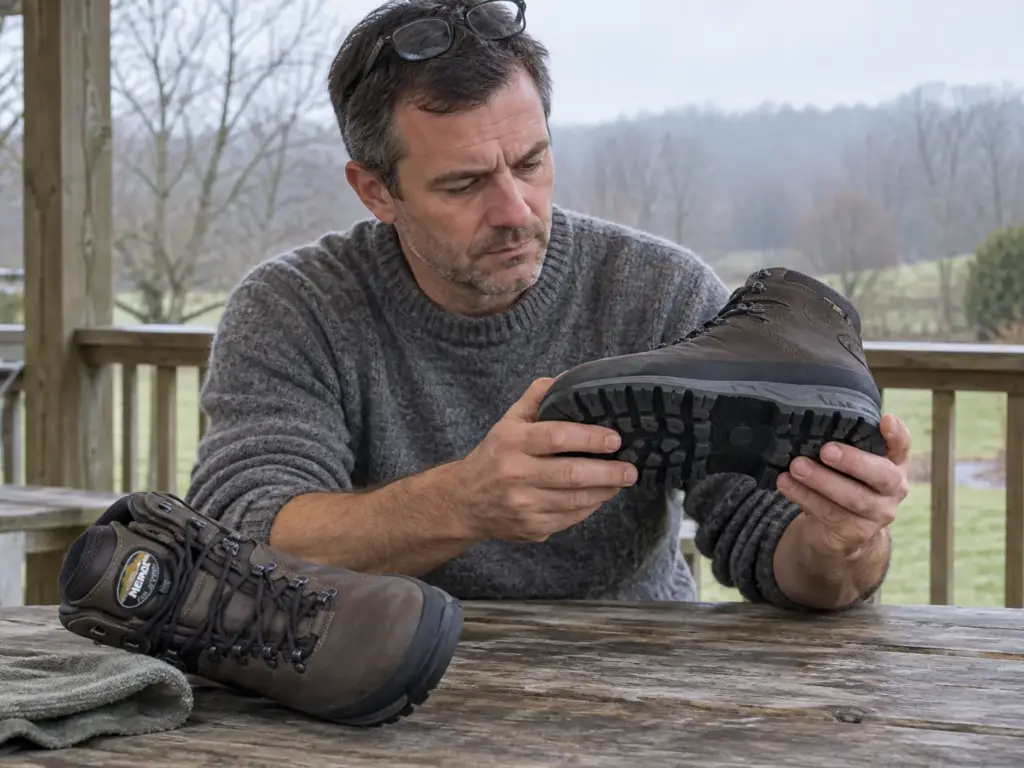
According to BootSpy, only Goodyear-welt, Blake-stitch and stitchdown boots are worth recrafting, and cemented boots usually are not. Welted and cemented construction compared on how long they last is the deeper read, but the short version is that a stitched sole, whether stitch down construction or a welt, is built to be taken apart, and a cemented boot is glued together and meant to be thrown away.
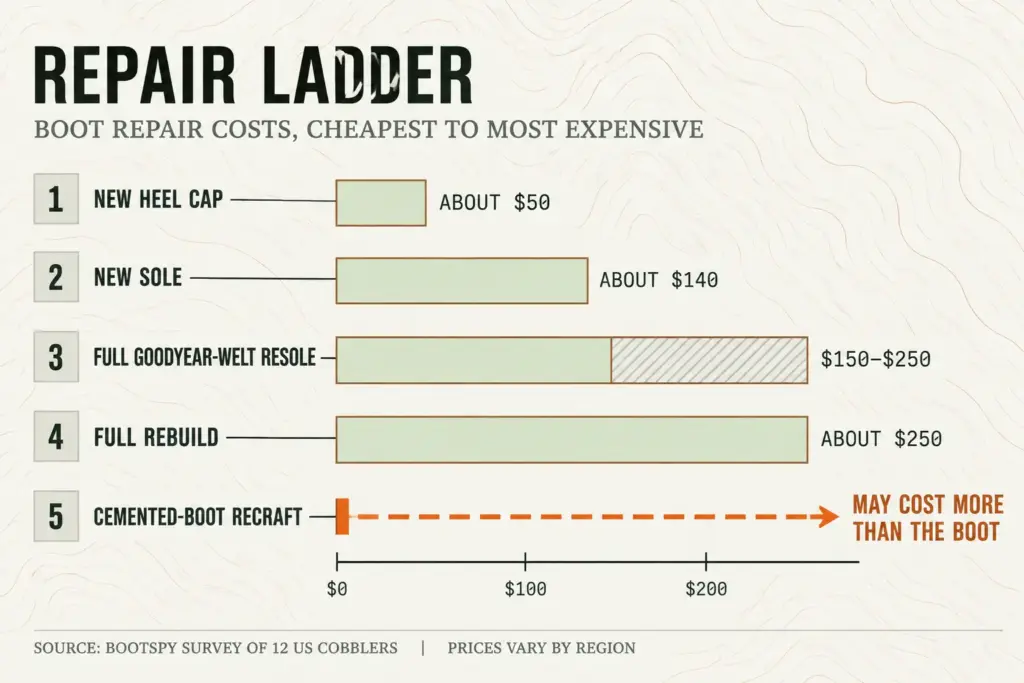
Recrafting a cemented boot means adding a welt or converting it to stitchdown, and BootSpy estimates that conversion at likely over $300, which can be more than the boot itself. In plain English, plan to replace a cemented boot, not rebuild it.
There is one more wrinkle: how the cobbler does the work. BootSpy notes that a cobbler who rewelts by hand can do it on the same boot indefinitely, while a machine recraft works only once or twice before the welt leather is spent. When you call a shop, ask which method they use. It decides how many lives the boot has left.
Outsoles and Lug Depth
Vibram is the name you will see on most premium leather boots, and a Vibram outsole usually carries a model name like Megagrip, Kletterlift, Rene Trac or Masai. The model matters less than the lugs. Deep, widely spaced lugs bite into mud and shed it; shallow, tightly packed lugs are fine on dry rock and packed trail and skate on wet ground. Check the outsole in photos before you buy, and don’t assume a brand name guarantees the tread you need.
Stiffness, Shanks and Crampon Compatibility
Three parts do the stiffening: the midsole shank under the arch, the heel counter that cups the back of your foot, and the overall torsional rigidity of the boot, which is how hard it fights being twisted. A stiffer boot carries a heavier load without the foot folding around every rock, gives you more ankle support and stability on loaded descents, and a stiff enough boot will take a strap-on crampon.
The trade is cushioning and comfort on easy ground, which is why a stiff boot feels wrong on a casual walk and right under a heavy pack. Most day-hike leather boots won’t, and forcing a crampon onto a boot that wasn’t built for it is asking for a strap to fail on ice. Check the maker’s spec sheet for crampon compatibility rather than assuming it from the look of the sole.
Pinch the boot at the midsole and try to twist it. A boot that wrings like a dishrag will flex under a pack and tire your foot by afternoon. A boot that resists is built for weight. Neither is wrong, but you want to know which one you’re buying before you load it up.
Five Men’s Leather Hiking Boots Worth Shortlisting, by Trail Type
The decision at the trailhead is really three decisions: a day hike, a backpacking trip or a mountain route. Each wants a different boot, and every pick below comes with the honest catch. The card is the summary; the paragraphs under it are the substance. None of this is a lab result, so treat each pick as a shortlist entry and check the spec sheet before you buy.
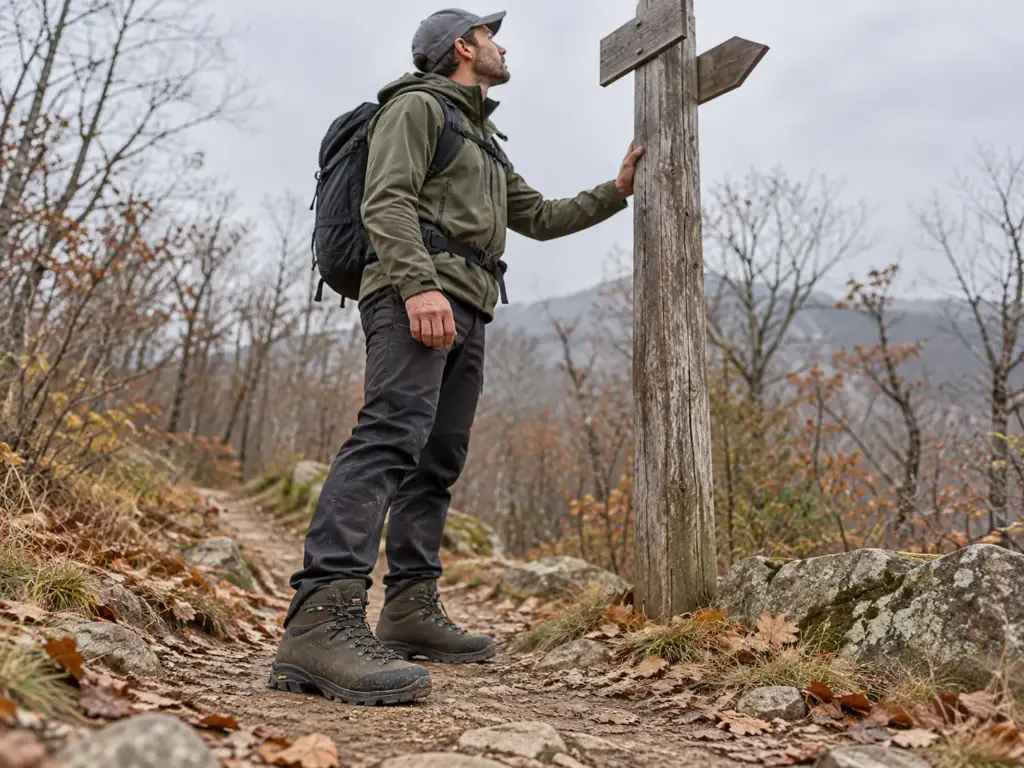
Best Overall Full-Leather Boot: Zamberlan 1007 Vioz Hike GTX RR
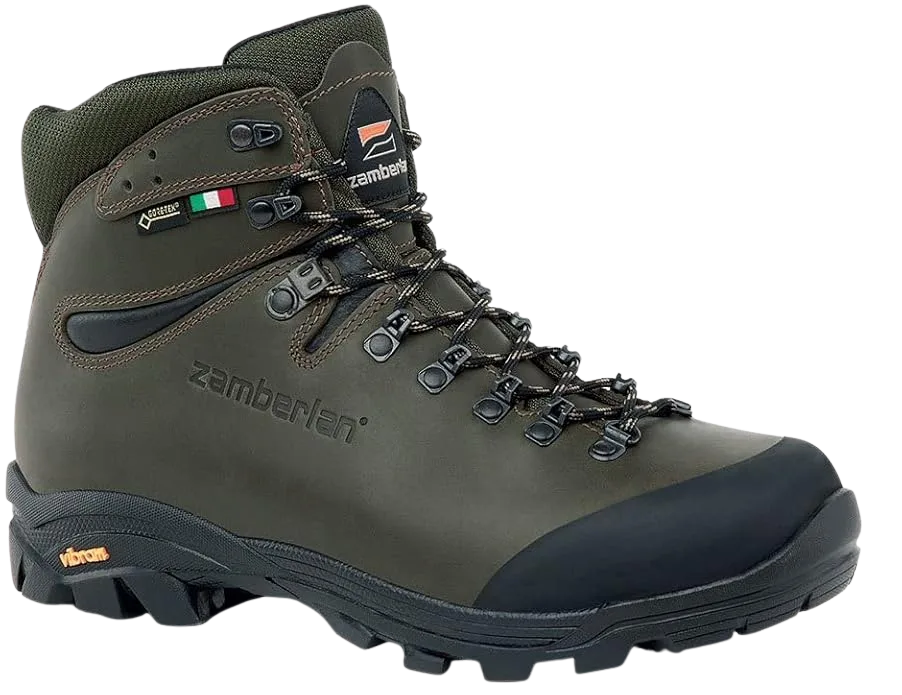
The Zamberlan 1007 Vioz Hike GTX RR is the one to start with if your goal is a single boot that survives years of hard use. It sits at the traditional end of the category: leather you break in, not a boot you walk out of the store wearing happily. That is exactly what makes it the right answer for the brief and the wrong answer for a first pair. Skip it if you dislike break-in or hike mostly in heat.
If you want the same leather family at a different tier, the Asolo Fugitive GTX is the alternative worth a look. Read the spec sheet for the leather and construction before you commit, because that is where boots in the same family quietly diverge.
Best for Resoling: Danner Mountain Light II 5 Inch GTX
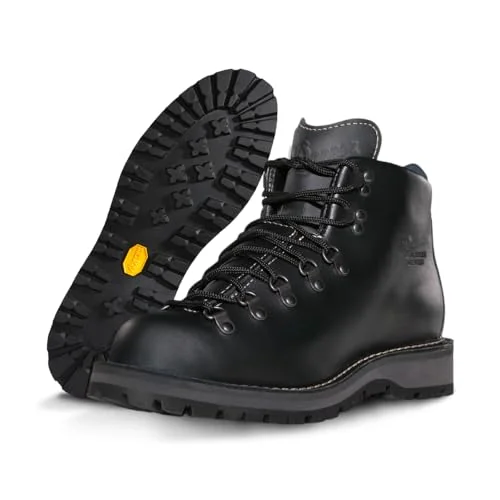
Name the version carefully. The listing text for the Danner Mountain Light II 5 Inch GTX describes a full-grain leather upper and a stitchdown, recraftable build, which is exactly the profile a cobbler wants to see. The Mountain Light II is the version this link points to, so make sure the model you order matches the name you shortlisted.
The honest catch is that the advantage is conditional. A stitchdown boot is only as repairable as you leave it, and the care mistakes in the section on boot care below are the ones that can quietly cancel it out. Read that section before you open a tin of anything.
Best for Day Hikes: Lowa Renegade EVO GTX Mid
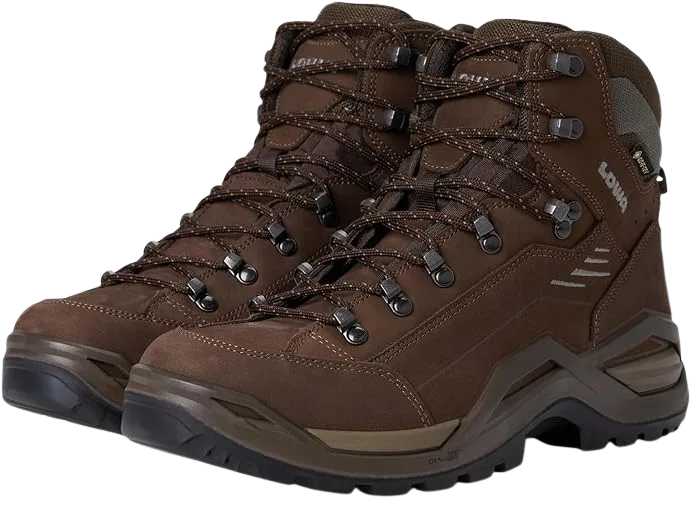
The Lowa Renegade EVO GTX Mid is the mid-height pick for day hikes and lighter loads, a day hiking boot and a reasonable first step into leather for a hiker who doesn’t need a mountain boot. It is the one where the construction check matters most. Look for how the sole is attached on the spec sheet before you count on a cobbler rescuing it later. If it turns out to be cemented, treat it as a boot you wear out, not one you rebuild.
Best Traditional Leather for Backpacking: Hanwag Banks GTX
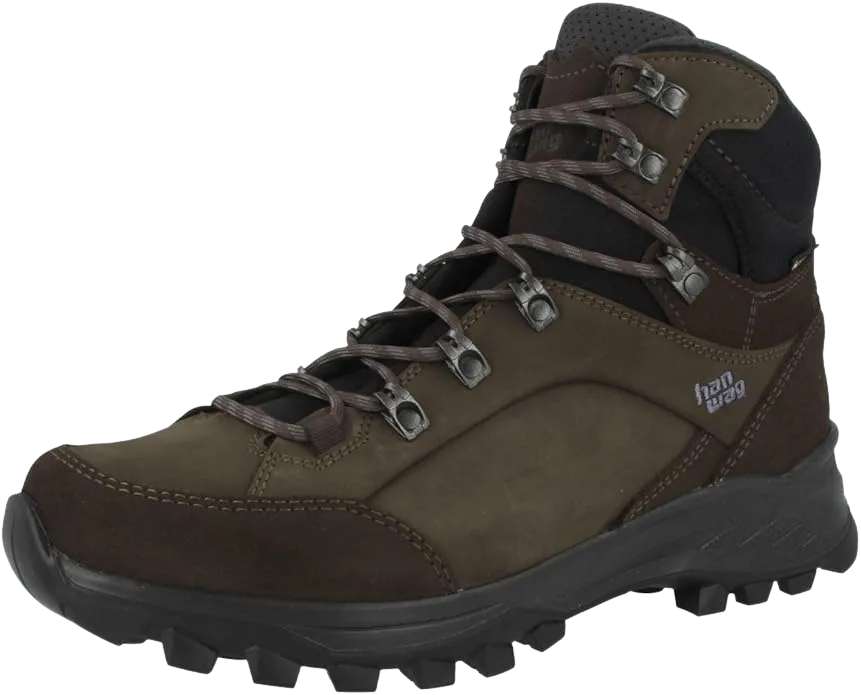
The Hanwag Banks GTX is the traditional-leather answer for backpacking, the kind of boot that makes sense when the load is heavy and the days are long. Its honest catch is the premium tier: the boot punishes a bad fit more than a cheap one does, because you will be living in it. Confirm your size and the last on the product page before you click buy, and read the fit section below before you do.
Best for Mountain Terrain: Meindl Bhutan MFS
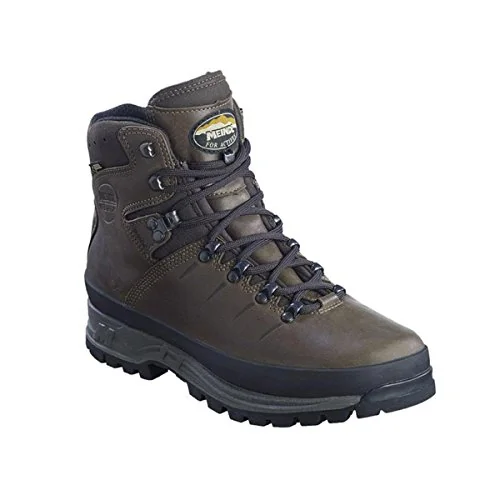
The Meindl Bhutan MFS is the heavier trekking boot for mountain terrain and tougher use, and it is more boot than a day hike needs. Confirm on the product page that you are looking at the men’s fit before you buy. If you are weighing how far a stiff leather boot can go, where a heavy leather hiking boot ends and a mountaineering boot begins is worth reading first, because the line is blurrier than the shop wall suggests.
Fit and Width: Getting the Last Right Before You Break Anything In
The boot looked right in the box, and the little toe disagreed by the first real descent. That is the number-one reason leather boots get returned or abandoned, and it is a fit problem long before it is a leather problem.
Toe Box, Heel Hold and Instep
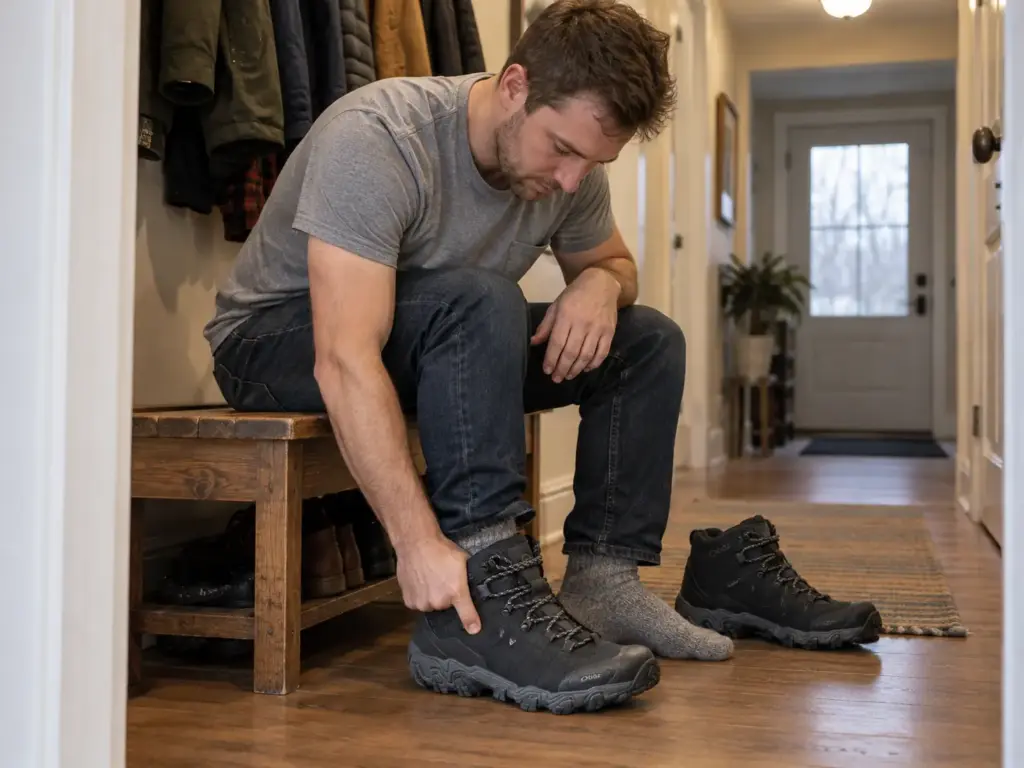
Fit is a shape problem before it is a size problem. Three things decide it: how much room the toes have, how firmly the heel is held, and how much volume the instep gives. A boot can be the right length and still wrong on all three.
Leather forgives width a little over time and does not forgive length. So a heel that lifts after sensible break-in, or a toe that bumps the front on every downhill step, is a fit problem, not stiffness, and no amount of wearing will fix it. That is the line between a boot that needs time and a boot that needs to go back.
Try boots on late in the day, in the socks you actually hike in, and with the insoles you plan to use. Feet swell as the day goes on, and a boot that feels fine at nine in the morning can feel tight by dinner. Kick the front of a hard surface with your toes pointed down; if they hit the front, the boot is too short.
Wide Feet: Where to Start Looking
If standard lasts pinch, look for a wide fit before you look at anything else. The Oboz Bridger Mid B-DRY and the KEEN Targhee IV Mid both have a reputation among wide-footed hikers, which is brand reputation, not a spec every width will match. Check which widths each listing actually offers, and check the upper material too: they are here as a fit starting point rather than as full-grain picks. Then compare against more wide-toe-box boots for men.
Narrow feet have the opposite problem, and a narrow fit in a wide last shows up as heel lift. Toebox width is the number that splits the two camps, and it is worth reading before you read the size. If you are between sizes, going up half a size can leave room for thick socks and downhill toe slide, but sizing up trades toe room for heel hold, so test any half size up with the socks and insoles you actually plan to hike in.
Breaking In Leather Boots: A Plan for the First Few Weeks
The first Saturday in new leather boots comes with a decision: wear them around the block, or just wear them to the trailhead. The second option is how people end up carrying their boots back to the car. Knowing the break-in period is coming isn’t a plan. Here is how to break in leather boots in stages, by what you do and what you watch for, not by a count on a calendar.
Stage One: Indoors and on Pavement
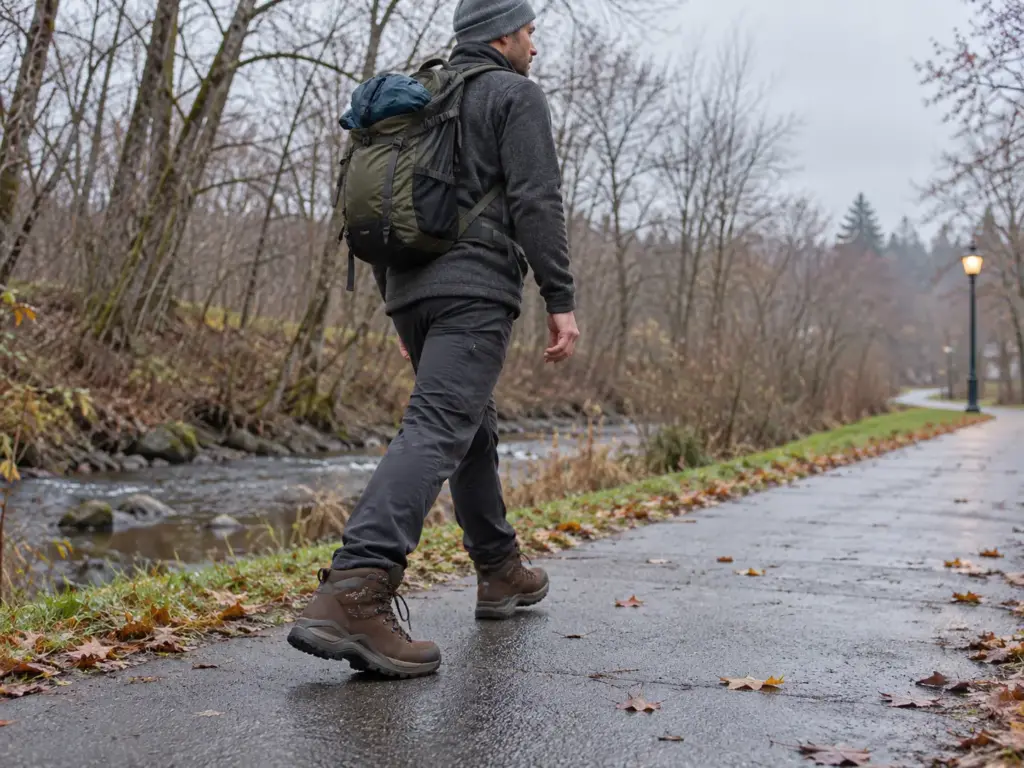
Start at home. Lace the boots the way you will lace them on the trail, wear the socks you plan to hike in, and wear them around the house on clean floors. Check for pressure points, heel lift and any spot that already feels sharp.
Then take them on pavement for short walks. If something is wrong, you want to find out while the boots can still go back. Check the retailer’s return policy before you wear them outside.
Stage Two: Short, Easy Trails
Move to short, easy trails with no load. The goal is to let the leather begin to give while the boot takes the first real flex of the sole. Watch for heel slip on descents and toe contact when you go downhill. Those two tell you more about the fit than any size chart.
Stage Three: A Loaded Outing
Now carry the weight you plan to carry. A boot that feels fine empty can feel different under a pack, because the load changes how your foot settles. This is where the leather starts to behave like it belongs to you, and where any remaining fit problems show up.
Stage Four: The Hike You Bought Them For
Only after the first three stages do the boots go on the big trip, and the first season is when you learn their quirks, so keep those early trips forgiving. Never debut leather on the hike that matters. The whole point of the earlier stages is that the boots arrive at the trailhead already knowing your foot.
What to Do at the First Hot Spot
When a spot starts to warm up, stop and deal with it. Don’t try to walk it off.
A hot spot that you ignore becomes a blister, and a blister in new leather can end the day. Adjust the lacing system, add padding or cover the spot, and note where it was. If it keeps happening in the same place, the boot is telling you something about the fit.
When It Is Not Break-In, It Is the Wrong Boot
There is a limit. If the heel still lifts, or a spot still rubs after a sensible break-in, that is a fit problem, not leather that needs more time. Return the boot.
The idea that a boot needs a rigid number of miles to become wearable is a sign it was probably the wrong boot. For a schedule that matches your boot’s material, a break-in schedule by material lays one out.
Break in the boots with the insoles and socks you will hike in, and change one thing at a time. If you swap insoles halfway through, you reset the fit and can’t tell which change helped or hurt.
Boot Care That Won’t Cost You a Resole
You are about to open a tin of wax on a brand-new pair. Stop and read this first. The care habits that feel responsible are the same ones that can complicate a later resole, and nobody at the shop tells you which is which.
The Wax Question on Gore-Tex Leather
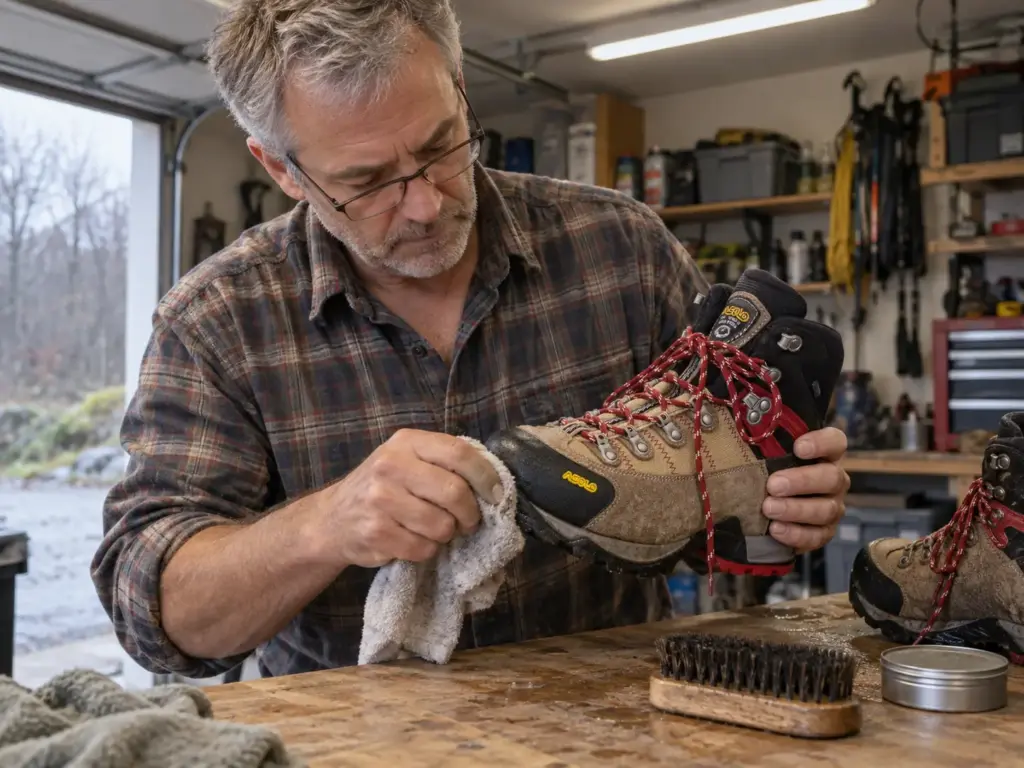
Section Hiker warns that Sno-Seal on a Gore-Tex leather boot seals the leather, describes the result as impossible to remove, and stops the leather from breathing. So decide before the first application, not after. Once you wax a Gore-Tex leather boot, there is no undoing it.
There is a second concern, and it is a forum anecdote, not a test. One poster in a 2014 Backpacking Light thread said Sno-Seal solvents risk dissolving the sole glue and that cobblers generally won’t resole a boot that has been sealed.
Another poster in the same thread said Sno-Seal has very little solvent. Nobody in that thread settled it, and no manufacturer statement or test backs either side. Honest uncertainty is the point here: the resole trap is a plausible mechanism plus anecdote, not an established fact.
The practical rule survives either way. Call the cobbler before you wax, and ask what they will and won’t work on.
Oils get a similar warning. One 2020 Rokslide post said an oil-type leather conditioner can clog the pores on Gore-Tex leather boots, and recommended little and often instead of heavy and rarely. That is one forum user’s opinion, not a test.
On the question of Obenauf’s, forum opinion is split: a cobbler recommended it in a 2014 thread, and a 2025 forum user calls it the best maintenance product they have used.
The forums disagree. Nikwax and Grangers are two more names you will meet on the shelf, and the same rule applies to every product, whatever the label says: any waterproofing wax is a question for your cobbler, not a settled answer. That goes double for an all-in-one hiking boot care kit, which bundles products you may not want on a boot you plan to resole. For a side-by-side look, wax versus spray waterproofing, compared covers the same decision from another angle.
Heat, Glue and the Sole Seam
Heat is the other trap. Waxing instructions often tell you to warm the boot so the wax soaks in, and Section Hiker’s method adds an extra bead of wax along the seam where leather meets the sole. In the Backpacking Light thread, one poster described warming Sno-Sealed boots in an oven, and another warned to take care not to melt the glue at the sole and upper interface. The useful distinction is between warming the wax and warming the boot seam: soften the wax, rub it in, let the boot cool, and keep concentrated heat away from the glue line.
The failure you are guarding against is glue failure at the sole seam, which shows up later as delamination, with the sole peeling from the upper, or as tread separation in the outsole. Heat, solvents and a boot that sat wet for days can each start it, and none of them announces itself until the sole has already begun to lift.
Before you wax, tell the cobbler what you plan to use and ask whether they would still resole the boot afterward. Five minutes at the counter costs nothing, and their answer tells you more about your boot than any forum thread.
What to Do After Every Hike
The safest habit costs nothing. Grit abrades leather, which is why a university outing guide tells hikers to clean their boots after a hike.
Brush the dirt off, wipe the boots down, pull the insoles and let them dry away from direct heat. Drying time is longer for lined leather than for mesh, so give wet boots a full day rather than a few hours near a fire. That small routine does more for the life of the leather than any conditioner, and it never complicates a resole.
Resole or Replace: The Math Before You Bin the Boots
You are standing in the garage with a pair that still feels great and a sole that is gone. Everything you’ve read says leather boots are repairable, and nobody tells you when repair actually pays. This is that math.
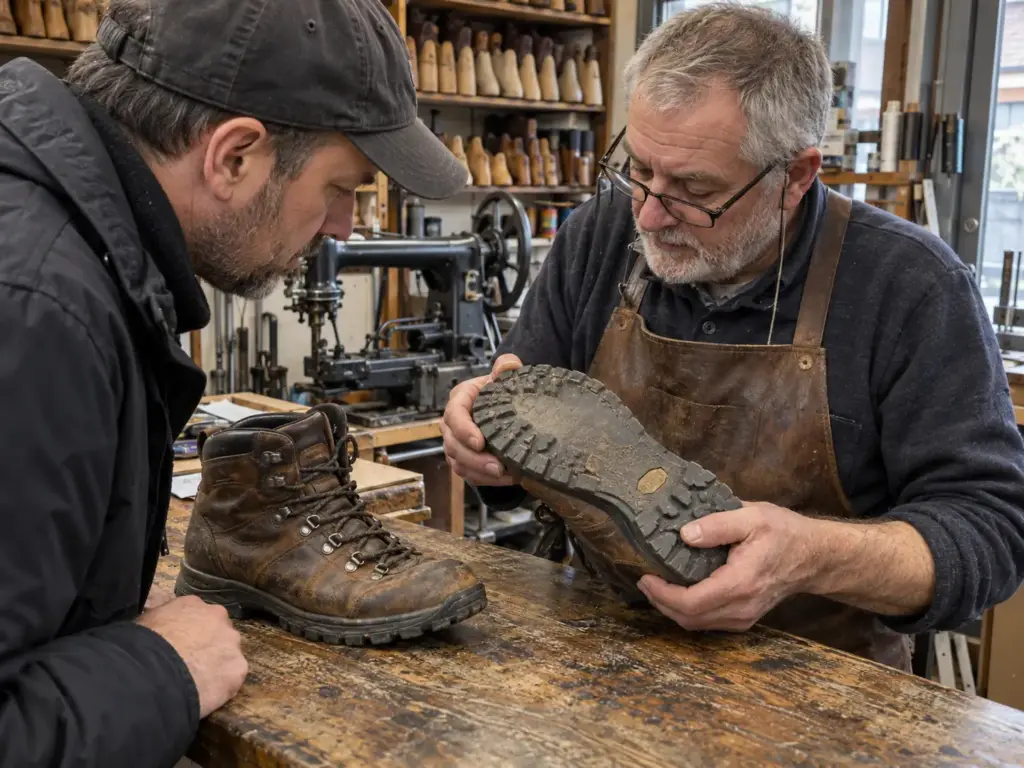
Start with what is worn. A heel-only fix is the cheap option, and it is right when only the rubber heel cap has worn through. A full resole is for a forefoot that wears through. Those are different jobs at very different prices, and the wrong call costs you either way: a full resole on a boot that only needed a heel is waste, and a heel patch on a boot with a dead forefoot is a stopgap.
Next, check the construction, because it decides whether the question even exists. A stitchdown or welted boot can be rebuilt. A cemented boot usually cannot be resoled cheaply, and as covered above, rebuilding one can cost more than a new boot. If the boot is cemented, the math is short: replace it.
Then price the repair, because resole cost is the number that settles the question. BootSpy surveyed 12 US cobblers and reported that a full Goodyear-welt resole runs $150 to $250, a new heel cap averages about $50, a new sole averages about $140, and a full rebuild averages about $250. That is one undated survey, and your local shop sets its own price, so call before you decide.
If you want construction types and cobbler tips in one place, our resoling guide, with construction types and cobbler tips goes deeper. Its figures come from a different source than the survey above, so treat the two as two data points, not one agreed price. And if you are not sure the sole is finished, the press test for worn-out hiking footwear tells you whether you are shopping for a resole or just worrying early.
Here is the rule of thumb, and it is BootSpy’s opinion, not a law: a resole starts to pay when the boot’s replacement price is high, and it is not worth doing on a cheaper boot. A heel-only fix costs a fraction of a full resole, so that is where the savings usually sit.
The decision runs in four steps.
Check the construction first. Then check what is worn, heel or full sole. Then compare what a replacement would cost against what the cobbler quotes. Last, ask how much you like the fit.
Before you hand the boots over, four questions to the cobbler save most of the surprises:
- Is this construction one you rebuild, or one you only patch?
- Do you rewelt by hand or by machine, and how many times can this boot take it?
- What is the quote for a heel cap alone, and what is it for a full resole?
- Would you still work on this boot after I have waxed it?
The last one connects straight back to the care section above, and a shop that answers it honestly is a shop worth keeping.
That last question is the hidden value. A broken-in boot that fits is worth more than a new one that does not, because the new one starts the break-in again and the fit lottery with it.
Ask the Cobbler Before You Buy or Wax Anything
Three things carry the whole decision. Leather is the right call when you want years of use and can take the break-in. Construction decides whether a cobbler can save the boot, so check it before you buy. And ask the cobbler before you wax.
Take the boot you already own to a cobbler and ask what they would do to it. If you are shopping, open the spec sheet first and find the construction line before you read anything else. Both take five minutes, and both change which boot you end up with.
Frequently Asked Questions
01What are the best leather hiking boots for men?
The best pick depends on your trail: Zamberlan Vioz for all-round full leather, Danner Mountain Light II for resoling, Lowa Renegade EVO for day hikes. Hanwag Banks suits traditional backpacking, and Meindl Bhutan suits mountain terrain.
02Are leather boots better for hiking?
Leather boots are better for hiking if you want durability and repairability on rough ground, and worse if you want breathability or no break-in. Lightweight synthetic boots suit fast day hikes in dry climates.
03Are leather hiking boots waterproof?
Leather alone is water-resistant at best, so most waterproof leather boots add a Gore-Tex-type liner or rely on treatment. Care changes the result, because sealing the leather with wax can cut breathability.
04Who makes the best men’s leather hiking boots?
No single maker wins, because each brand builds for a different job and the best men’s leather hiking boots depend on your trail and your foot shape. That is editorial judgment, not a ranking.
05Can you wax a Gore-Tex leather hiking boot?
You can wax a Gore-Tex leather hiking boot, but sealing the leather reduces breathability and may complicate a later resole, so ask your cobbler first. The resole concern is forum anecdote, not a manufacturer finding.

I've spent more than a decade researching hiking gear and trail technique. I read the specs, the forum threads and the long-term reviews, and every pick here comes with what it gets wrong.
End of the trail
You read every mile of this one. Here's where the trail goes next.