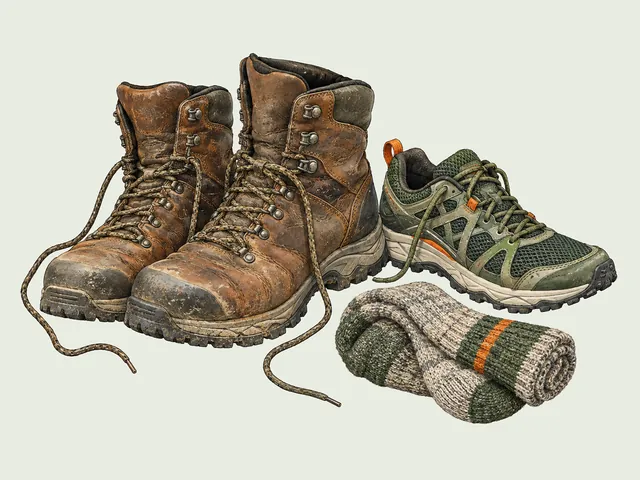
















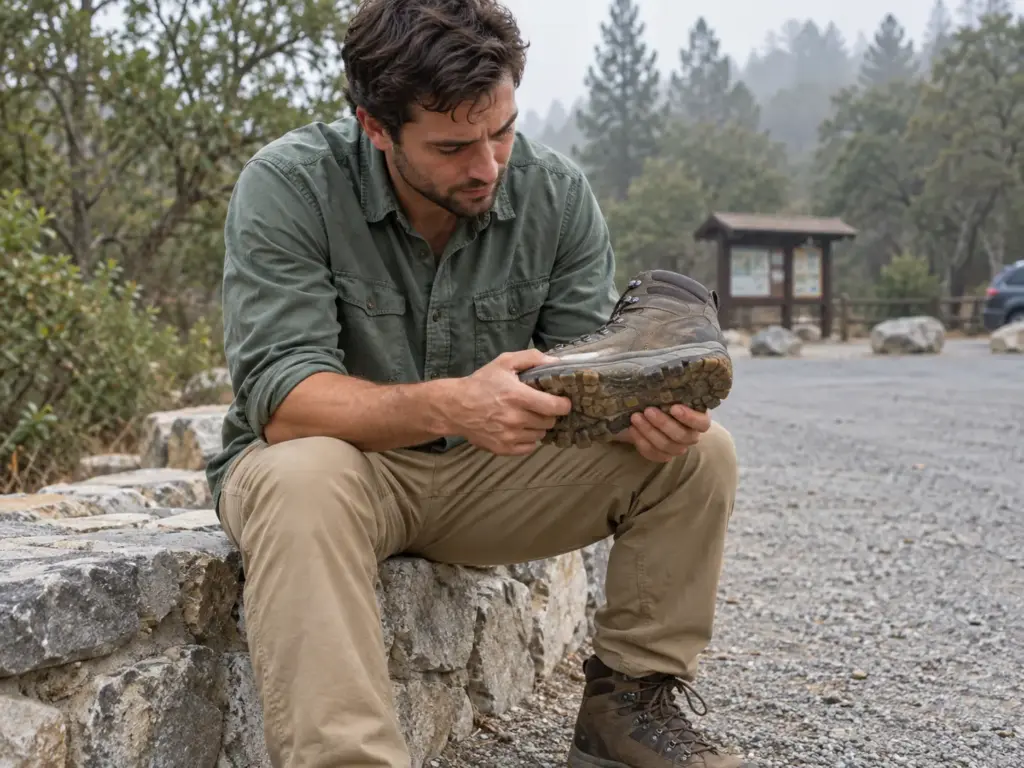
The sole starts flapping a mile from the car, on a boot that looked perfect on the closet shelf. One hunter described exactly that in 2020: the heel of his Asolo boot peeled away on a rainy hike, a gaiter strap was the only thing holding the sole on for the walk back, and Asolo’s own reply warns that even new-looking boots may have a crumbling construction.
The names are the easy half of hiking boot anatomy. The useful half is how each part gives out and what you can check before it does. This walk goes from the outside in, eight parts, with what each one does, how it usually fails and the check worth running before you buy.
Hiking Boot Anatomy Starts With the Upper
The upper is the part everyone studies in the store and the part that tells you the least about how long the boot will last. It’s everything above the sole that wraps your foot: the leather or fabric skin, the seams that join it and the panels that give the boot its shape.
Leather Uppers: Full-Grain, Split-Grain and Nubuck
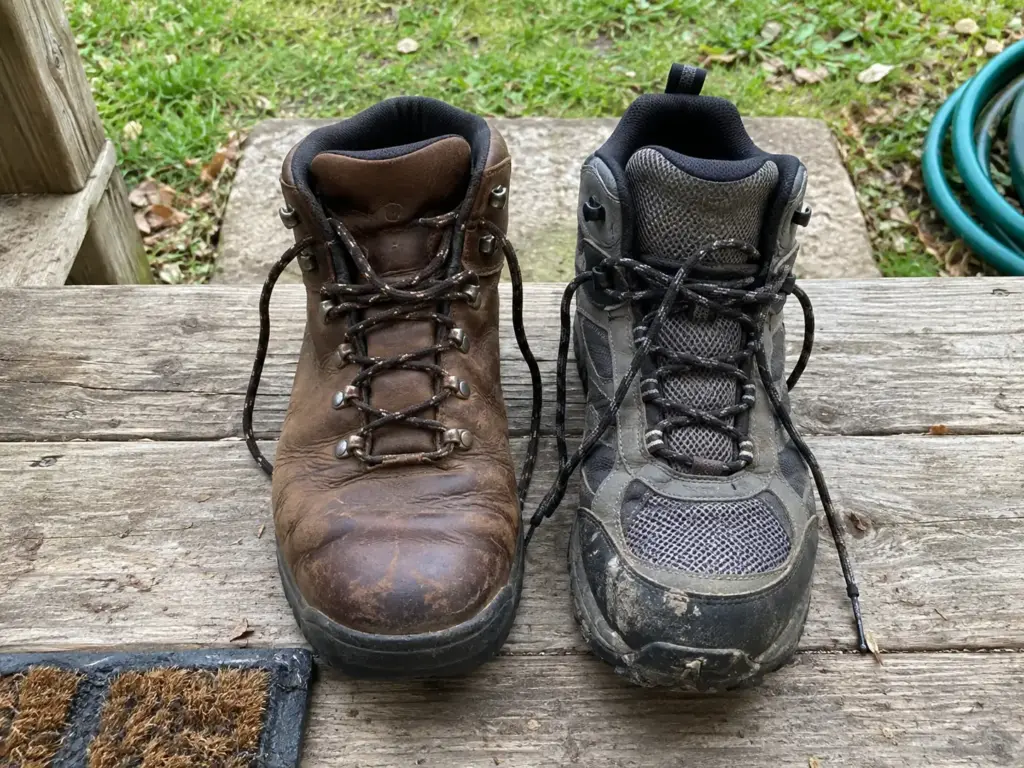
Leather shows up on tags in a handful of cuts. Full-grain leather is the hide with its natural outer surface left intact. Top-grain leather has that surface sanded smooth.
Split-grain leather is the fibrous layer cut from underneath, and suede is the soft, napped finish on that underside. Nubuck is top-grain buffed to a similar velvety nap. Same animal, five different surfaces, and the tag tells you which one you’re paying for.
None of these names is a durability verdict on its own. Read the leather type as a description, then judge the boot by how thick the leather feels and how it’s built.
Synthetic Uppers: Nylon Mesh and What Denier Means
Synthetic uppers are built from nylon mesh and synthetic leather panels. The thread thickness is quoted as denier, the number followed by a D: a bigger number means a thicker, tougher thread. That’s all it means. It isn’t a waterproofing rating or a quality score, and two boots with the same denier can still wear differently because the weave and the coatings matter too.
Synthetics usually feel lighter out of the box and need less breaking in. For how the two hold up over time, look at how leather and synthetic uppers compare over five years.
Where an Upper Fails First
Stitching gives out where the boot flexes. A seam sealer applied when you first see a thread wearing is the fix, and it works because the seam hasn’t opened yet. Waterproof boots complicate that: restitching needs a specialist, since a needle can pierce the membrane, as boot repairer Matt Menely told Outside Online in 2018.
Synthetic uppers carry a harder limit. The Journal of Mountain Hunting notes they can seldom be repaired, so a ruined mesh panel is hard to fix. That’s a limit of the material, not a verdict on it. The crease line over the toes is where an upper tells you its age, so flex the forefoot in your hands and look at that crease and the stitching beside it.
Collar, Tongue and Lacing Hardware Hold Your Foot In
You touch this group every time you put a boot on, and it’s where a fixable failure tends to show up first.
The Collar and Tongue: Padding, Gussets and the Part That Goes Up Your Leg
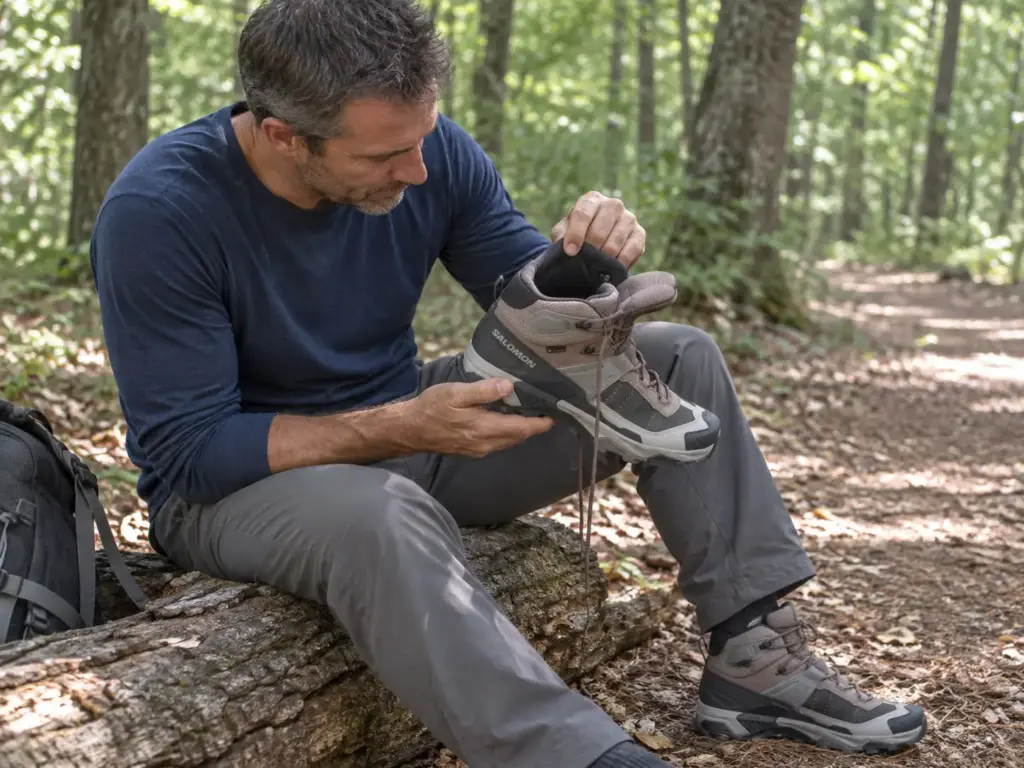
The collar is the opening of the boot and the shaft that runs up around your ankle. If you’ve wondered what the part of a boot that goes up your leg is called, that’s it. Padding in the collar cushions the ankle bone, a pull loop at the back helps you get the boot on, and the collar’s height is what separates a mid-cut boot from a low hiking shoe. See why a mid-cut collar beats an ankle-high one for most hikes.
The tongue sits under the laces. A gusseted tongue, also called a bellows tongue, is joined to the sides of the boot so grit and water can’t slip in. The Salomon X Ultra 5 Mid GTX (men’s · women’s) is a mid-cut boot with a Gore-Tex membrane, a handy example of a collar that rises above the ankle.
D-Rings, Eyelets, Speed Hooks and Quick-Lace Systems
The lacing system runs through D-rings, eyelets or speed hooks. Eyelets are punched holes, often reinforced with metal. D-rings are fixed loops stitched to the upper.
Speed hooks are open metal hooks that take the lace without threading it. Many boots add a locking hook at the ankle that pins the lace so tension below stays put.
BOA lacing and similar quick-lace systems swap the laces for a cord you tighten by turning a dial or pulling a toggle. They’re quick to adjust, and they have their own failure mode.
How Lacing Hardware Fails
Eyelets and hooks give out in two ways: rust, from saltwater and sweat, and impact, from banging against rock. One blown eyelet is survivable, since you skip it and lace around the gap. Several mean the boot is done, according to Menely. After a salty day, rinse the hardware with fresh water.
Quick-release laces have one documented weak point. Advnture notes that if they snap, they’re far trickier to replace than a plain lace. That doesn’t make quick-lace systems worse overall; it means you should know what a snapped one costs you before you rely on one in the backcountry.
Pull the laces evenly, one pair of eyelets at a time. Menely’s advice for making eyelets last is blunt: don’t yard so hard on the laces.
Lining and Membrane Keep Water Out and Sweat In
Waterproof sounds like pure upside. The honest version is that a membrane that blocks rain also slows how fast sweat leaves, and you get to decide which kind of wet you’d rather manage. This is the layer between the outside world and your sock, and you can’t see it.
Linings and the Gore-Tex Membrane
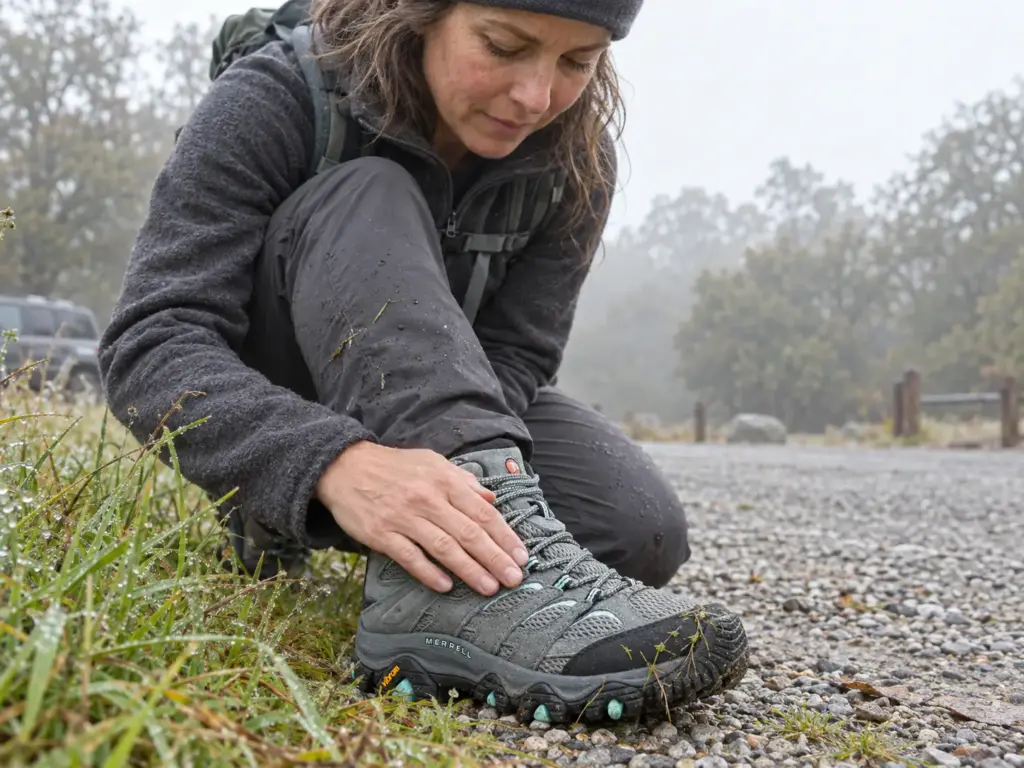
The lining is the soft, moisture-wicking layer against your sock. Tucked between the lining and the upper, most waterproof boots carry a membrane: a thin, waterproof-breathable layer, usually Gore-Tex or eVent. Spot GTX in a boot’s name and you’re looking at a Gore-Tex membrane.
The Merrell Moab 3 Mid GTX (men’s · women’s) is a Gore-Tex mid-cut boot, the kind where the membrane question applies.
The Breathability Trade-Off in Warm Weather
A waterproof membrane traps sweat in warm weather, and that’s the failure most hikers actually meet: wet feet from the inside, not a leak from the outside. The same boot that keeps a puddle out in April can leave your socks damp by noon in July.
You can’t inspect a membrane from the outside, so you can’t read its age either. The honest test is how dry your feet stay on a real walk, not what the label says. There’s a fuller breakdown of what Gore-Tex costs you in breathability if you hike mostly in summer.
Insulation for Cold Boots
Insulation such as Thinsulate or PrimaLoft belongs to winter boots. If you’re shopping for snow and cold, make sure it’s in the spec; in a three-season boot, it’s one more thing trapping heat.
Heel Counter, Toe Box, Rand and Toecap Shape the Fit
These four parts never show up in marketing, yet they decide whether your heel stays put and your toes stay off the front wall of the boot on a descent. They’re also the parts a bad fit exposes first.
The Heel Counter and Heel Cup
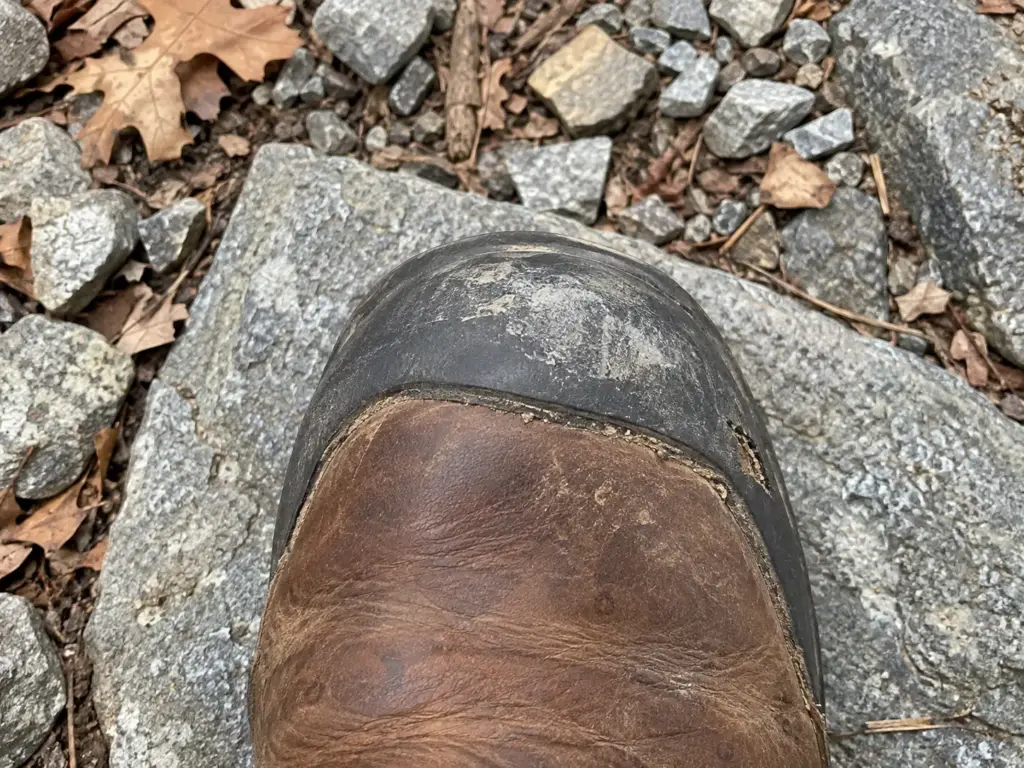
The heel counter is the stiff cup built into the back of the boot that holds your heel in place, and the shaped pocket it forms is the heel cup. When the fit is right, the heel stays down. When it isn’t, the heel lifts and the friction becomes a blister. A heel that lifts a little on every uphill step is a blister waiting for the last third of the hike.
Toe Box, Toecap and Rand
The toe box is the room in front of your toes. The toecap and the rand are reinforcement: the toecap guards the front of the upper, and the rand wraps the bottom edge where the upper meets the sole. Their job is to take scuffs and rock strikes so the upper doesn’t.
Toes shouldn’t press against the front of the box. Bad boot fit shows up as blisters and blackened toenails, according to T3, and it’s the reason wide-fit boots exist: toe-box shape matters as much as size. If your forefoot runs wide, look at boots built with a wider toe box before you size up.
The Insole Is the One Part You Can Swap
The insole, or footbed, is the layer your foot rests on, and it’s the part of the boot you can swap out in a couple of minutes. Most boots carry a removable insole that accepts custom orthotics, which makes the shop the place to settle it. Bring your own insole or orthotic and try the boot with it in. A boot that fits with the stock insole can feel too snug with a thicker one.
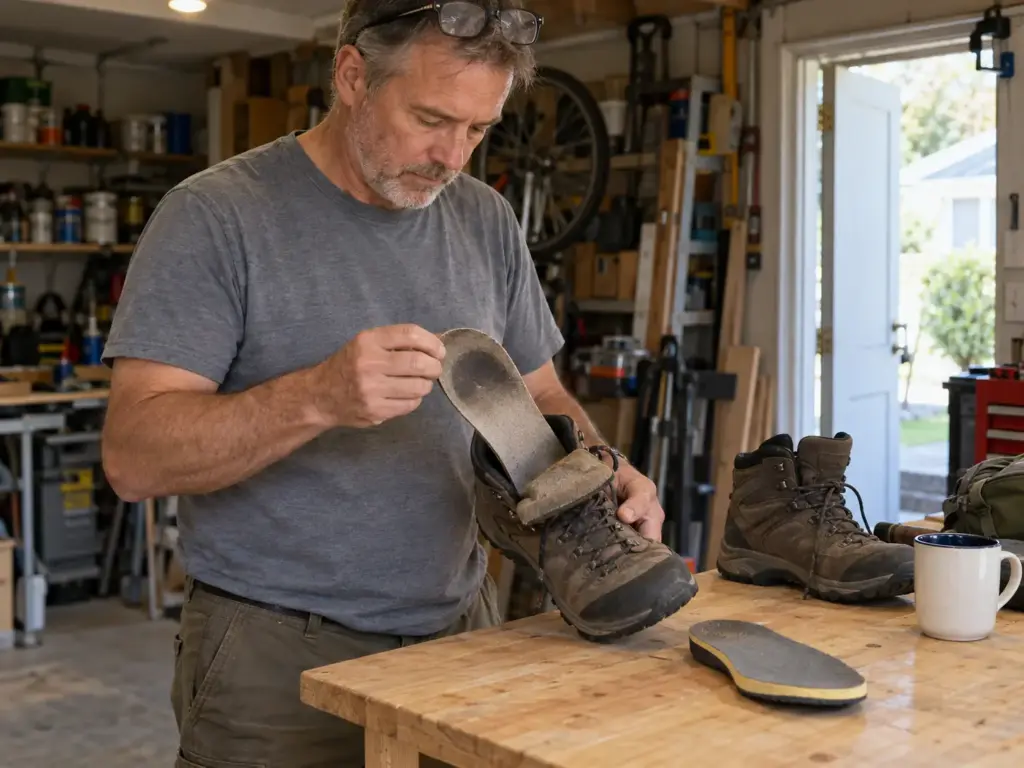
The stock insole compresses and flattens with use, and the fix for that is a replacement, not a new boot. Know the limit, though. An insole changes the fit and the cushioning feel, not the midsole under it, which is the part that actually carries the load (next section). For the money side, here’s whether an insole upgrade is worth it for long miles.
The Midsole Is Where Boots Quietly Die
The boot on the closet shelf looks fine, and the boot on the trail comes apart. This is the section the opening promised, because the midsole is the one part that can fail from the inside with nothing to see, and the cause is often age rather than miles.
EVA and PU: What Each Midsole Is Made Of
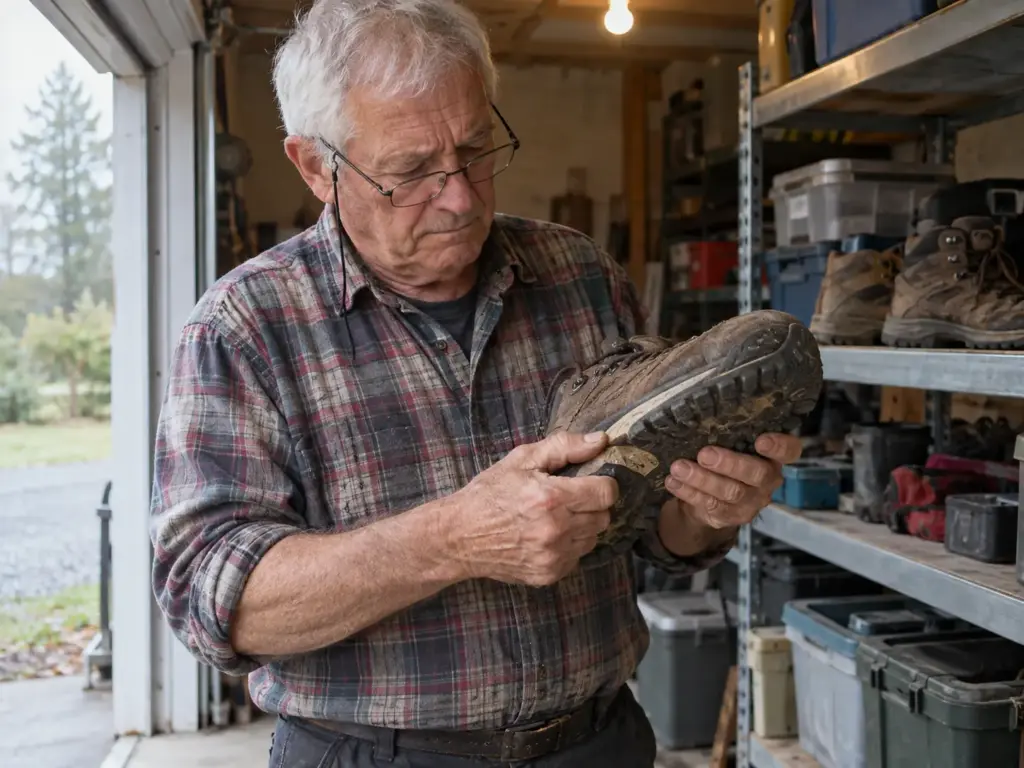
The midsole is the cushioning layer between the outsole and the insole. Two foams do almost all the work. EVA is lighter and cushions well. Polyurethane (PU) is firmer and bounces back under use.
Plenty of boots combine the two in a dual-density midsole. Looks tell you nothing here. Both foams hide under the upper and the outsole, so the only way to know what you have is the spec sheet or the maker. If the midsole ever needs to be replaced, whether that’s possible depends on how the sole is attached to the boot.
How a Midsole Fails: Miles for EVA, Age for PU
The two foams die differently, and that’s the useful part. EVA wears with use. Matt Menely, a footwear repairer since 1999, told Outside Online in 2018 that an EVA midsole is shot once it has 600 to 900 miles on it.
“Shot” is shop language for a midsole that no longer returns cushioning, and frequent hikers reach it sooner than the boot looks worn. Count the miles on the midsole, not just the years.
PU wears differently: it breaks down with age whether you use the boot or not. Menely’s example is a PU midsole that can lose its spring in ten years in a closet, while an EVA one can come out good as new.
The mechanism has a name, hydrolysis. Polyurethane slowly absorbs moisture over the years, gets harder and more porous, and eventually starts to crumble. In extreme cases the midsole disintegrates and the sole falls off.
Asolo’s written reply is the line worth remembering: even new-looking boots may have a crumbling construction. The deterioration happens from within, so there’s no visible sign. Asolo’s estimate is that it starts around six to seven years after the midsole is manufactured.
Read that date carefully. The midsole was made before the boot was assembled, and the boot may have sat in a warehouse and then on a shop shelf before it ever reached your feet. A pair bought on clearance may already be partway through that clock.
When a midsole is gone, the money answer is usually bad. In Menely’s words, more often than not a dead midsole means a dead boot: a new midsole costs more than the boot is worth.
Asolo’s own advice for any pair that has been sitting in the loft or cellar: take it on a short test walk before you trust it on a long trip. A short loop near the car is a cheap way to find out whether the midsole is still holding together.
Storing Boots So the Midsole Survives
Heat and damp speed hydrolysis up, so the storage rules write themselves. Keep boots dry and ventilated, and never leave them somewhere hot: the trunk of a car in July and a sun-baked garage are the two worst spots. Pull the insoles and loosen the laces so the inside can dry out after a wet day, then put them on a shelf where air moves.
A good storage spot slows the clock, but it doesn’t stop it. If you own a pair you haven’t worn in years, treat it like the hunter’s Asolos: walk it around the block before you assume it’s ready for the trail.
The Shank and Plates Decide How Stiff the Boot Feels
The shank is invisible, and it’s one of the biggest reasons two boots feel so different on rock. It’s a thin, stiff strip between the insole and the outsole that gives the boot structure under the arch, and plates add protection from rocks pressing up through the sole. Shanks are made from steel or from lighter composites, and the material is a design choice rather than a quality mark.

Stiffer helps on rough ground and with heavy loads. Softer is easier to walk in on smooth trails.
There’s no published wear schedule for shanks, so the warning sign is a feel: a boot that has gone soft and folds at the arch where it used to resist. You can’t tell what’s inside your own boot from the outside, and the shop check in a later section and the maker’s spec are the only real answers. For the full story, see what a boot shank is and how to check for one.
Outsole and Lugs Are Where the Boot Meets the Trail
The outsole gives you grip, and by how thin it gets, it tells you when the boot is nearly finished. It’s the one part that touches the ground, so it takes the most direct wear of anything on the boot.
Rubber Compounds, Lugs and the Heel Brake
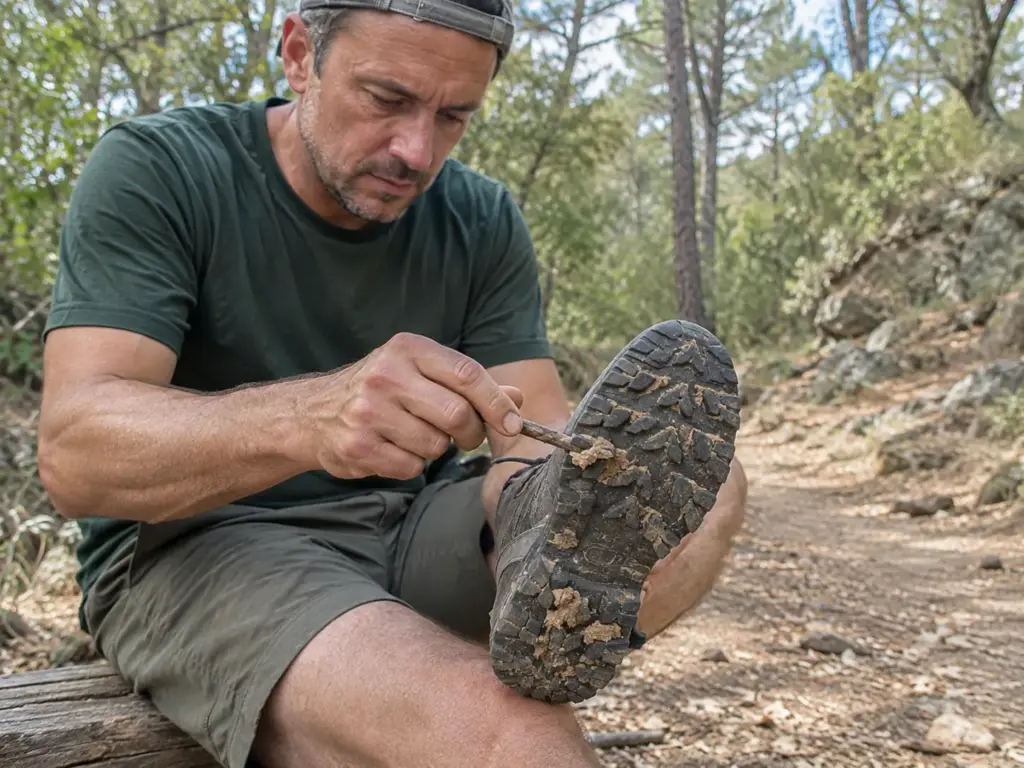
Lugs are the raised blocks of tread that bite into the ground; if you’ve wondered what lugs on a boot are, that’s the whole definition. Deeper, more widely spaced lugs shed mud better, and T3 puts typical lug depth at 3 to 5 mm. The lug pattern is the layout of those blocks. The heel brake is the angled edge at the heel that digs in on a descent.
Rubber compounds come with brand names, such as Vibram, Contagrip from Salomon and Skywalk from Scarpa, and a name on the sole doesn’t tell you how that rubber will behave on wet rock.
Crampon Welts and the B1 to B3 Ratings
Some boots carry crampon welts: stiff, notched edges at the toe and the heel where crampon bindings can grip. Boots are graded B1, B2 and B3 for crampon compatibility, and crampons are graded C1 to C3. If you’re buying for snow or ice, the rating pair matters, and the match is covered in whether your boots can take crampons. If you’re not, ignore the whole system.
How an Outsole Wears Out
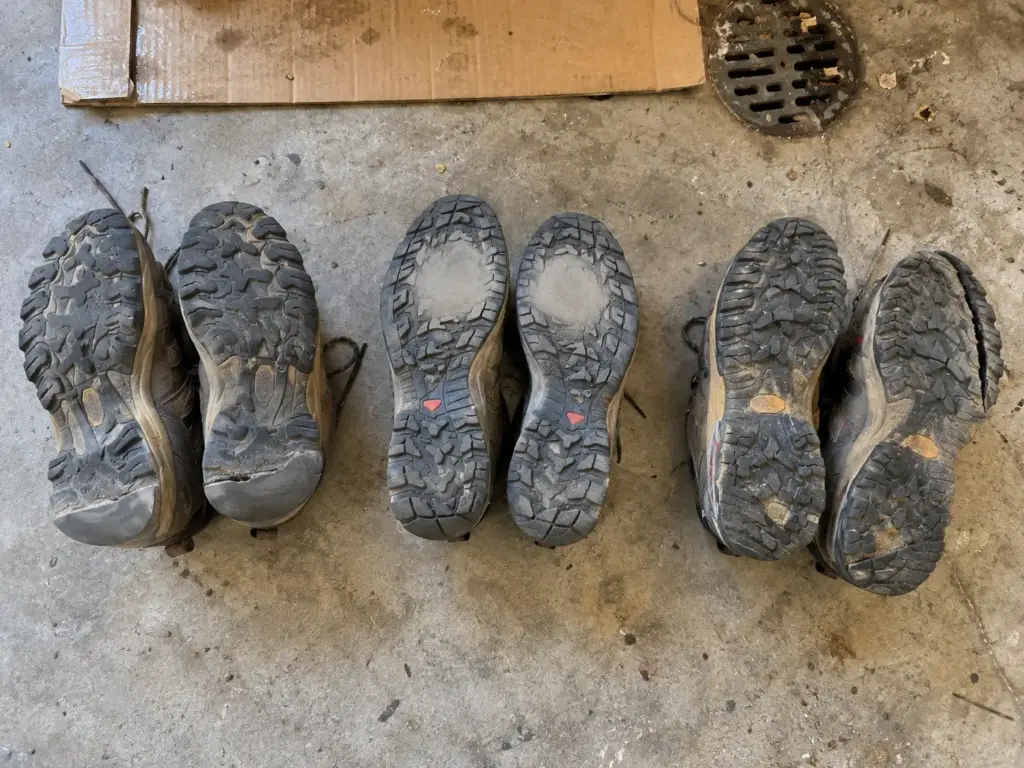
The outsole thins first at the heel and the ball of the foot, and tread life depends on the ground you walk more than on the calendar. Menely’s rule is that a thinning sole at the heel and ball means it’s time to decide whether to resole. That’s the field check, and you can do it in your driveway.
Whether resoling is possible depends on the maker. Most outdoor soles are now molded on rather than stitched, which makes resoling harder, so ask before you assume.
After each trip, turn the boot over and look at the heel and the ball of the sole. Those are the two spots Menely tells people to watch: when the tread there goes thin, you decide about resoling while the upper is still good.
Which Boot Part Wears Out First and What Is Worth Fixing
You’ve walked all eight parts, and now the question is the practical one: what should you check on the boots you already own? Boot parts don’t come with a lifespan table, so treat what follows as the timing that repairers and makers give, not as a hard order.
The Order Boots Usually Give Out In
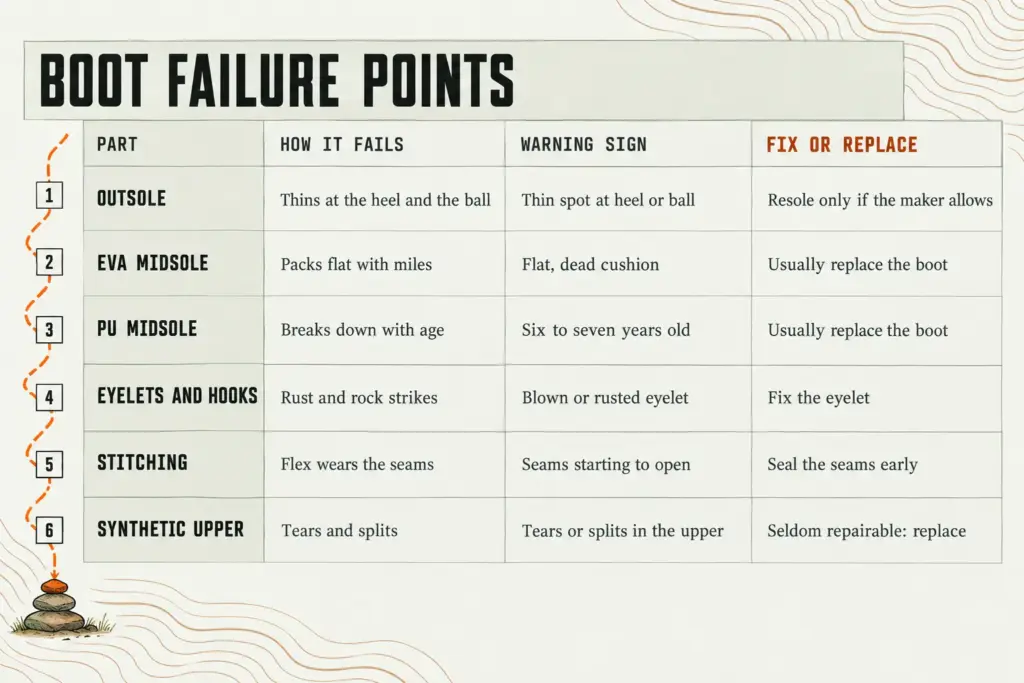
Start from the bottom. The outsole thins at the heel and ball, and how fast depends heavily on the terrain, so no mileage figure holds up across boots. An EVA midsole is shot at 600 to 900 miles, according to Menely.
A PU midsole fails on age instead, with onset around six to seven years after it was made (Asolo, via Rokslide) and a spring that can be gone in ten years in a closet (Menely).
Up the boot, eyelets and hooks go from rust or rock strikes, stitching goes where the boot flexes, and a synthetic upper tears in a way that’s seldom repairable. None of these has a reliable mileage figure. They have warning signs, and the warning signs are what you can use.
Fix It, Resole It or Replace It
Some fixes are worth it. One blown eyelet is survivable. A seam sealer applied early is a small job compared with a failed stitch.
A flattened insole swaps out in a couple of minutes, and laces are cheap. Those are the repairs that buy you a season.
Others are not. A dead midsole usually means a dead boot (Menely), and a synthetic upper can seldom be repaired (Journal of Mountain Hunting).
Resoling is a real option when the maker allows it, but ask first, because the answer decides whether a worn outsole is a repair or a replacement. What resoling really costs and when it pays off is the place to run the numbers.
A Five-Minute Walk-Around for the Boots You Already Own
Start with the bottom. Flip the boot over and find the thinnest place on the sole, usually at the heel or under the ball of the foot. That one spot tells you more than the label does.
Then run a finger over every eyelet and hook and look for rust or a bent edge, and check the stitching where the boot bends across the forefoot. Menely’s advice is to do this after each trip, and a rinse in fresh water after salt belongs to the same habit.
The midsole is the one you can’t read by looking. For that one, find out when the pair was made, not how the tread looks, and take an older pair on a short walk before you trust it. If the insole has flattened, swap it.
If something fails the walk-around, you now know which of the three answers it gets: fix it, resole it or retire the boot.
Shop Checks You Can Run With the Boot on Your Foot
You’re standing in a shop holding two boots that look the same. The most useful thing you can do is give your hands something to test. These are four checks, in order, and each is a rough read rather than a lab result.
The Flex and Twist Check
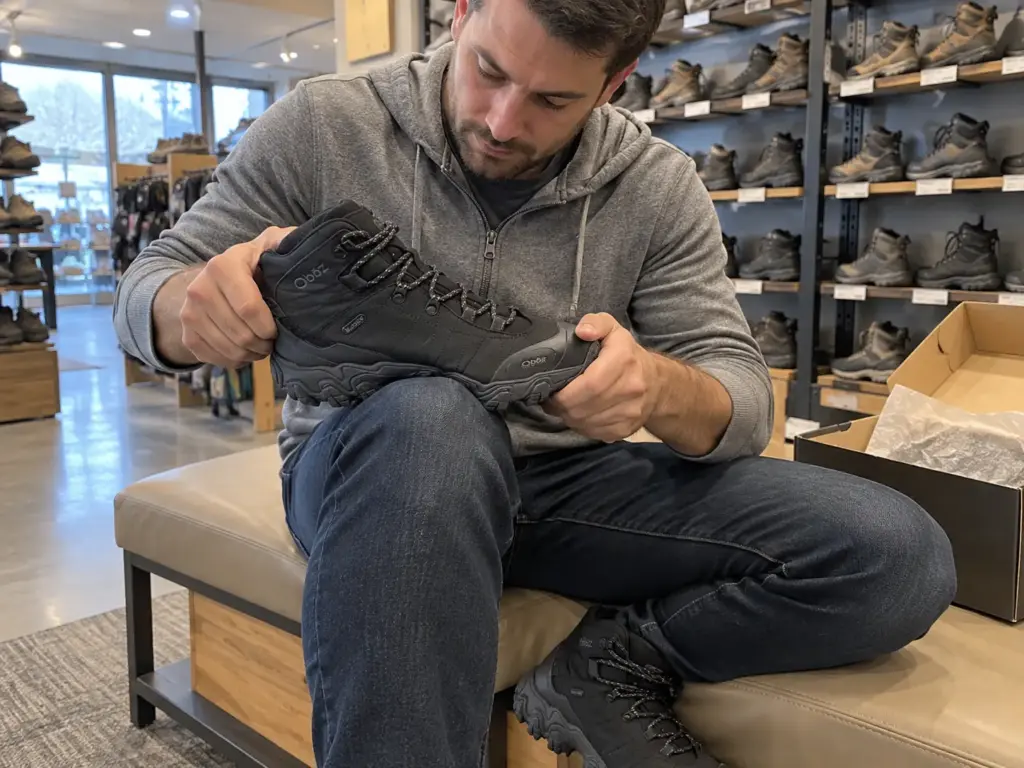
For the flex check, hold the boot by the heel and the toe and press the middle toward the floor. A boot that folds easily has little stiffness at the arch, and one that resists has more. This tells you stiffness, not material, so don’t read a steel shank into a stiff boot.
For the twist check, grip the heel in one hand and the toe in the other and twist like you’re wringing out a towel. A boot that twists easily gives you less support on uneven ground.
Both checks are your own hand test, and neither gives you a number. Run them on a pair you’re considering and on a pair you already know; the comparison is what means something. The Oboz Bridger Mid B-DRY (men’s · women’s) is a mid-cut boot with Oboz’s B-DRY waterproofing, a reasonable pair to run the checks on.
The Heel-Lock and Toe-Room Check
Lace the boot snugly, then step downhill. If the shop has a ramp or slope, use it. The heel should stay put rather than lift. If it slides, a different lacing pattern is worth trying before you give up on the boot.
Then check the toes. With the boot laced, kick the toe gently against the floor. Your toes shouldn’t press against the front of the box. Try the check again at the end of the day, when feet have swelled.
Fit is a safety issue, not a comfort one. A bad heel or toe fit turns into blisters and lost toenails a few miles from the car, and blisters end hikes.
Two Questions to Ask Before You Pay
The hand checks tell you about stiffness and fit. Two questions cover what your hands can’t reach.
The first is when the pair was made. A PU midsole starts its clock at manufacture, not at purchase, and a boot that has sat in a stockroom has been aging the whole time. The second is whether the maker allows resoling. Most outdoor soles are now molded on, so the answer isn’t always yes, and Menely’s advice is to ask before you assume.
If you already own boots, the same logic applies to old pairs: take them on a short walk before the long trip, which is Asolo’s advice again. When you’re ready to put it all together, here’s how to choose a hiking boot by terrain, height and fit.
Which Parts Matter Most for the Hikes You Actually Do
After eight parts and six failure points, you need a filter. A day hiker and a backpacker shouldn’t read this list with the same weights.
Day Hikers and Beginners
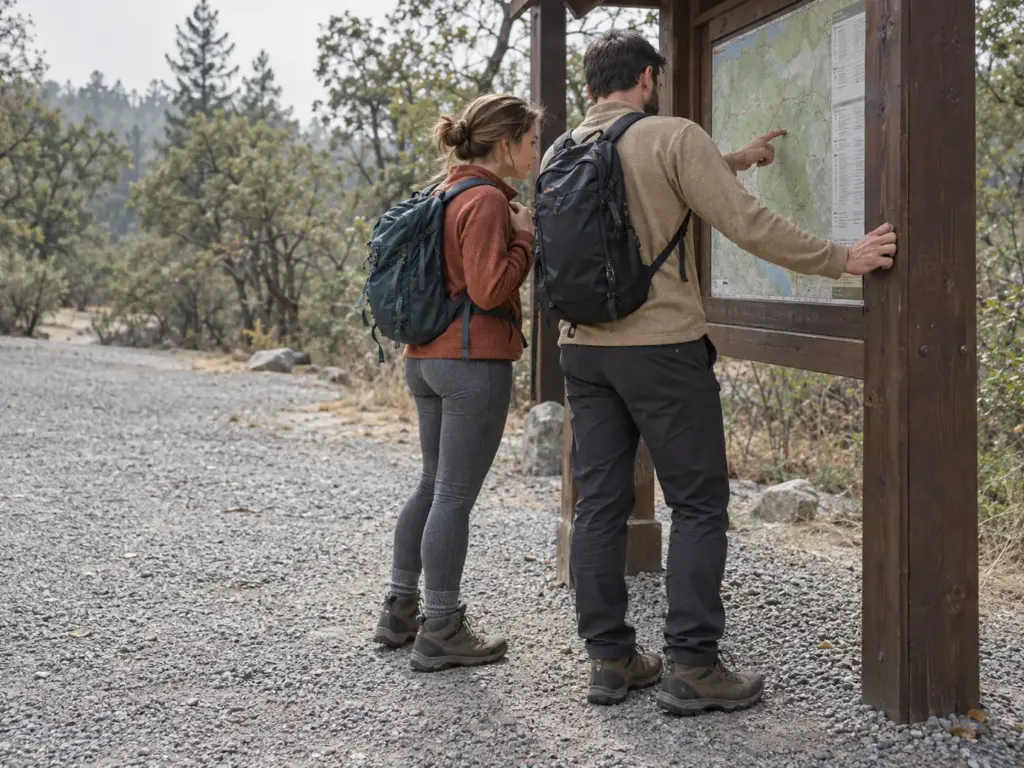
Fit comes first: the heel counter, the toe box and the insole. After that, the membrane question for your climate. Stiffness and crampon ratings rarely matter on a maintained trail, so don’t pay for them.
Backpackers, Rough Ground and Winter
Under a heavy pack and on rough ground, shank stiffness and outsole condition matter more. A midsole past its life under load is the failure to avoid, because it goes soft exactly when you’re carrying the most weight. Winter and snow bring insulation, crampon welts and the B1 to B3 rating into the picture; for icy terrain, T3 points to B2 and B3 boots.
Where Your Boot Money Goes
My view: spend on fit and on a sole you can resole, because those are the two things you can’t fix later. Be wary of features you can’t check yourself, since a premium price tag guarantees nothing. The Journal of Mountain Hunting describes a premium-priced boot whose lacing failed within a five-day hunt, which is the reminder that cost and durability aren’t the same thing.
Ask yourself which of the eight you’d notice failing three miles from the car. That’s the part worth paying attention to.
Turn Your Boots Over and Find the Thinnest Spot
Three things to carry out of this. A boot is eight parts, and the midsole, outsole, lacing hardware and stitching are the four that give out first. Age wrecks a PU midsole as surely as miles wear out an EVA one, so a boot that looks fine on the shelf can still fail. And you can check stiffness, heel hold and toe room in the shop with your hands, no spec sheet needed.
Before your next hike, turn your current boots over and find the thinnest place on the sole. That tells you how much time they have left.
Frequently Asked Questions
01What are the different parts of a boot called?
A hiking boot has eight working parts: the upper, the collar, tongue and lacing group, the lining and membrane, the heel counter and toe structure, the insole, the midsole, the shank and the outsole. The midsole, outsole, lacing hardware and stitching tend to give out first.
02Where should my toe be in a hiking boot?
Your toes should sit near the front of the toe box without pressing against it, with room to spread and move on a descent. A boot that crowds them leads to blisters and lost toenails. Kick the toe gently against the floor with the boot laced to test it.
03What are lugs on a boot?
Lugs are the raised blocks on the outsole that bite into the ground for grip. Their depth and spacing decide how a boot handles mud and loose ground, and deeper, wider-spaced lugs shed mud more easily.
04What is the part of a boot that goes up your leg?
That is the collar and shaft, the padded opening and wall around the ankle. Its height is what separates a mid-cut boot from a low shoe, and padding there cushions the ankle bone.
05Do hiking boots wear out if you never wear them?
Yes, polyurethane midsoles can break down with age even when the boots sit unworn, starting around six to seven years after the midsole is made, according to Asolo. That estimate is a rough one. Heat and damp speed it up.

I've spent more than a decade researching hiking gear and trail technique. I read the specs, the forum threads and the long-term reviews, and every pick here comes with what it gets wrong.
End of the trail
You read every mile of this one. Here's where the trail goes next.