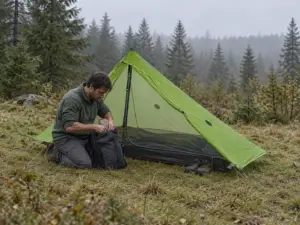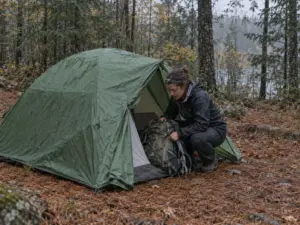
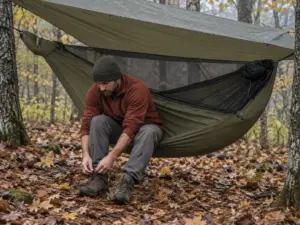
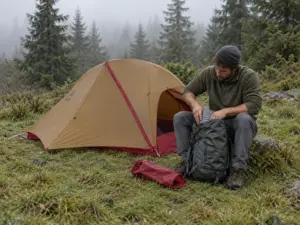

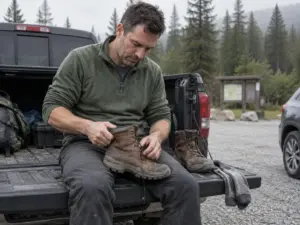

















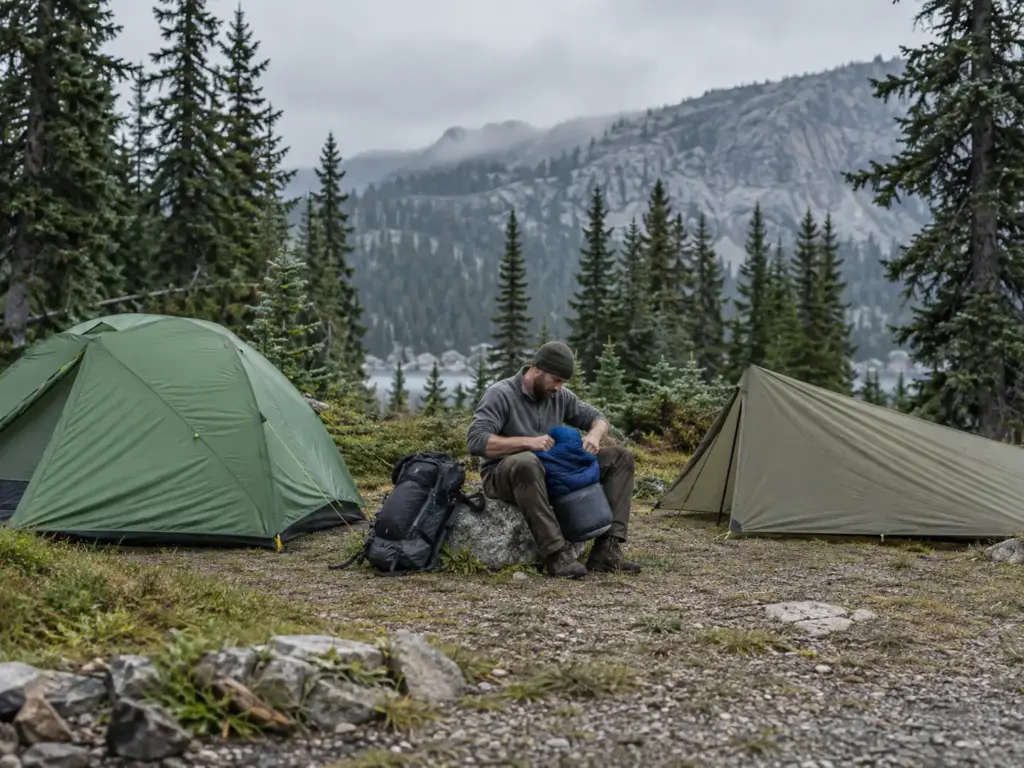
It’s almost dark, your legs are done, and the only flat spot left is a granite shelf with a skin of gravel on it, where the first stake hits rock two inches down and bounces back at you. A tent that stands on its own poles would already be up; one that hangs from stakes and trekking poles just became a puzzle you solve by headlamp, and that’s the exact night hikers in the r/Ultralight regret thread and on the Oregon Hikers forum keep describing. Put their stories next to what gear testers at Switchback Travel, Outdoor Life and Backpacker measured, plus the Leave No Trace campsite rules, and freestanding vs non-freestanding tents stops being a matter of taste: the ground you sleep on decides.
Below you’ll find what each structure really is, what the weight gap buys, how terrain, wind and setup change the call, why semi-freestanding is the honest default, and a clear pick by trip type. Here’s the short version, criterion by criterion.
| Criterion | Freestanding | Semi-freestanding | Non-freestanding (trekking-pole) |
|---|---|---|---|
| Weight | Heaviest for the same floor space | In between; the lightest trim fabric | Lightest, if you already carry poles |
| Rocky or hard ground | Stands with no stakes at all | Stands, but corners need stakes or rocks | Needs stakes or rock anchors to stand |
| Wind and rain | Fewest single points of failure; still stake it | Solid once the corners are anchored | Strong only when pitched taut and well anchored |
| Setup | Easiest to learn; fly goes on last | Easy, plus a few corner stakes | Learning curve, then fast; inner stays dry in rain |
| Interior space | Near-vertical walls, the whole floor is usable | Full size only when staked out | Sloped walls lose headroom at the edges |
| Best for | First tents, base camps, rock and platforms | Weekend backpacking on mixed ground | High-mileage trips with poles you already own |
Freestanding vs Non-Freestanding Tents and What Holds the Shape Up
Picture two tents on the same windy ridge at dusk. One is a classic dome tent that sits square and tight on its own frame. The other has a sagging corner because a stake slid out of thin soil, and the wall on that side is flapping against the sleeping bag.
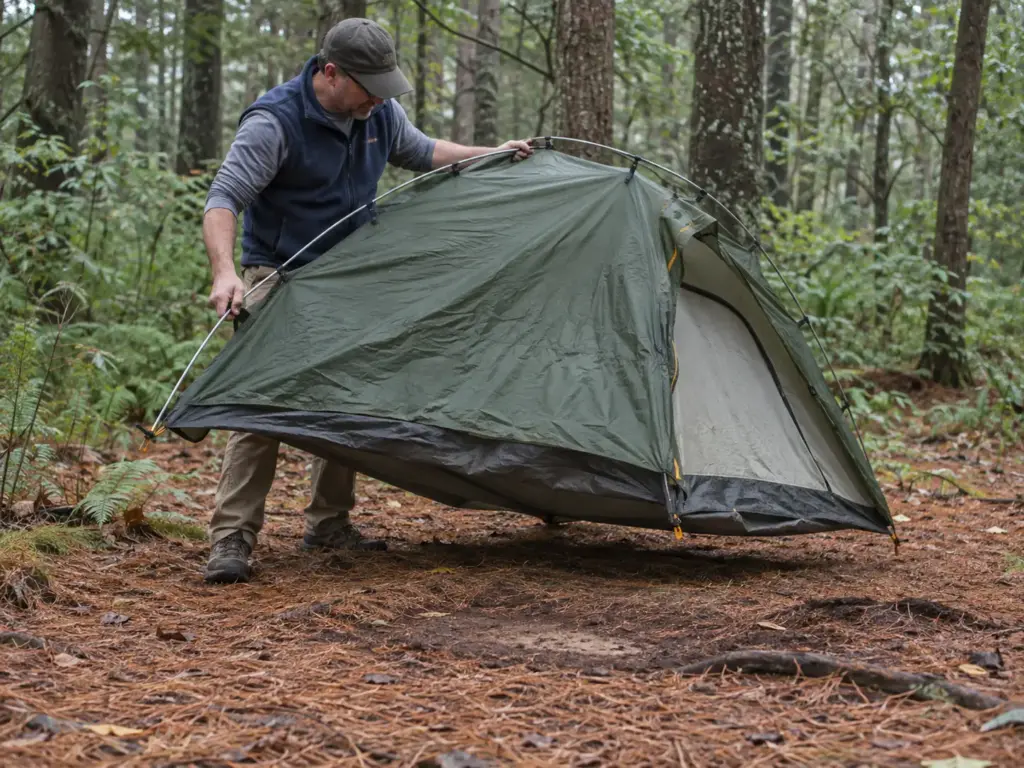
Both are good tents. They just hold their shape in completely different ways, and that difference drives every other trade in this article.
Freestanding: The Poles Do the Work
A freestanding tent holds its full shape on its own pole set before a single stake goes in. Pitch it, grab it by the frame, and you can carry it ten feet to a flatter spot or tip it on its side to shake the grit out the door. Switchback Travel’s testers describe the standard order: poles into the grommets, clip the tent body to the frame, then throw the rainfly over last. It’s the most forgiving and versatile way to learn, and if you’ve never done it, here’s how to pitch and pack a tent from scratch.
Non-Freestanding: Stakes and Trekking Poles Do
A non-freestanding tent (NFS in forum shorthand) flips the order. The stakes go in first, then your trekking poles, or a single dedicated pole, push the fabric up into shape. That shape only exists while the stakes hold. Pull one and that corner sags; pull the wrong one and the whole shelter folds onto your face.
You’ll also see these called trekking pole tents (TPT), and the people who love them love them for one reason: weight.
Semi-Freestanding: Where the Corners Still Need Stakes
A semi-freestanding tent sits in the middle. It has a pole structure, often a “hubbed” frame where the poles meet at a center hub, that stands up on its own. But the foot corners, sometimes the head corners too, need staking to reach full size and rigidity. Outdoor Life’s test puts it plainly: you can erect one without stakes, but you lose real estate inside.
Freestanding Doesn’t Mean Stake-Free
This is the misunderstanding that costs people tents. “Freestanding” is a pitching feature, not a no-stakes feature. The poles let the tent stand without stakes; they don’t make it stay where you put it, and they don’t make the fly work properly.
Here’s the mechanism. Once you crawl out to cook, a freestanding tent is a light box with a lot of wall area and nothing heavy inside. A gust gets under the floor edge and it rolls like a beach ball.
The Oregon Hikers thread has the classic version: leave one unstaked in a breeze and you may want to look for it in the next county. Some members of the same thread admit they skip stakes on calm nights, and others answer that this is exactly how tents end up sailing away.
The fly is the second reason. Nearly every double-wall freestanding tent needs stakes to pull the fly out into vestibules and to keep it off the inner wall so it sheds rain instead of wicking it through. Switchback says staking also maximizes the floor plan.
My rule is simple: stake every freestanding tent, every night, at least the four corners and the vestibules. On bare rock, tie those points to rocks instead. The poles are for standing up. The stakes are for staying put.
Before you leave a freestanding tent to filter water or wander for photos, stake the windward corner first and the rest before you walk away. One stake on the upwind side is the difference between a tent that shifts a foot and a tent you chase down the slope.
How Much Weight You Really Save Going Non-Freestanding
At the gear counter the spec sheets make it look simple: the trekking-pole tent is a pound or two lighter, so buy that. The question worth asking is whether that saving survives contact with your own pack, because it depends on what you already carry.
The Headline Gap Is Real, but Only With Poles
The best-case comparison comes from Switchback Travel. The Zpacks Duplex Zip, a non-freestanding two-person tent, weighs 1 lb 6 oz with carbon stakes and your trekking poles, and has a packed size of about 6 x 12 inches. The MSR Hubba Hubba LT2, one of the lighter freestanding two-person tents, weighs 3 lb 6 oz and packs to 5.5 x 20 inches.
That’s a real two-pound gap. But the Duplex number assumes the poles holding it up are already in your hands on the trail; if they aren’t, the gap shrinks the moment you buy them.
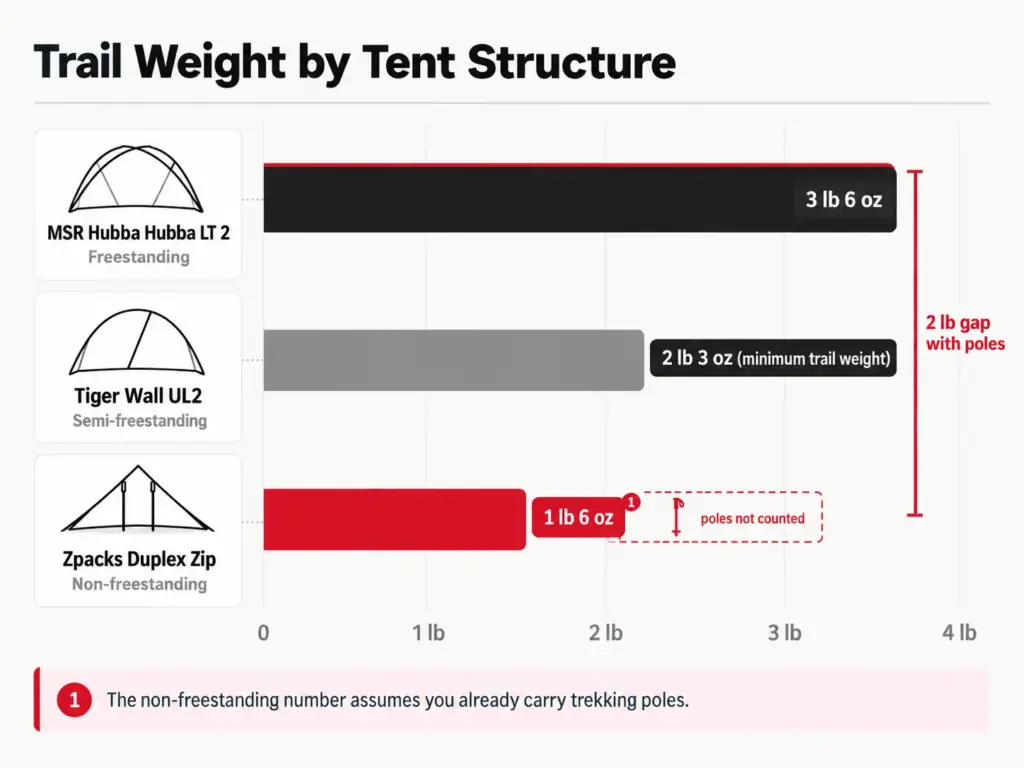
The typical case is smaller. Across the tents in Outdoor Life’s gear test, going non-freestanding saved about half a pound on average. Plenty of models sit in the middle, and the best-case and average-case numbers shouldn’t be confused. If you want to read spec sheets with a sharper eye, here’s what the tent weight specs hide, from minimum trail weight to packed weight.
Where Freestanding Weight Hides in the Fabric
Some ultralight freestanding tents do match trekking-pole weights. They get there with very thin fabric, like the 7D nylon in the Tiger Wall Platinum. The grams come out of the fabric, not the structure.
Switchback’s take is that if you want ultralight and durability together, a non-freestanding tent is likely to last longer. The fabric choice matters as much as the structure here, from silnylon to Dyneema Composite Fabric (DCF), so it’s worth knowing what fails first in silnylon and Dyneema before you pay for the lightest option.
Tent Weight vs Miles Per Day
The rule of thumb hikers repeat on the r/lightweight forum is blunt: a 4 lb tent is fine on an overnight and bad over a thousand miles. Weight matters in proportion to how far you carry it. On a three-mile walk to a lake, the extra two pounds of a roomy freestanding tent cost you nothing you’ll notice. On a long trail with big days, the same two pounds ride on your hips for every mile and every climb.
Terrain Decides Where Stakes Bite and Where They Don’t
The prettiest flat spot is often a rock slab, a sandbar or a wooden platform. Those are exactly the places that don’t offer stake-able ground. Choosing a structure without thinking about ground is the most common way people end up regretting a tent.
Rock, Slabs and Hard Ground
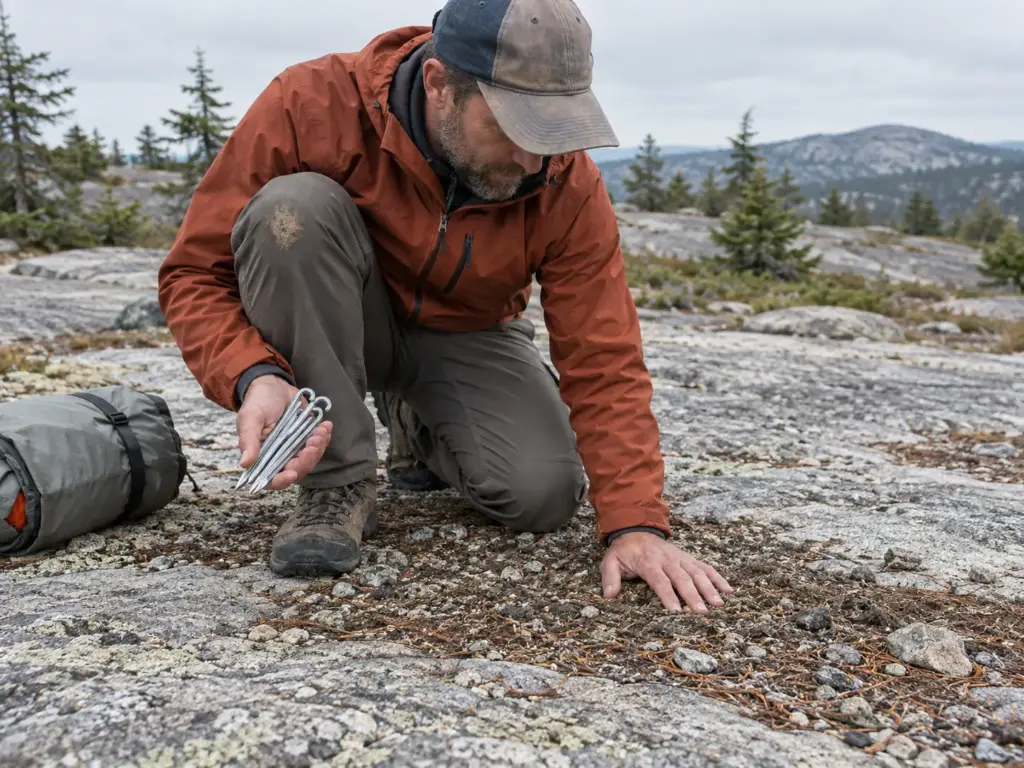
Outdoor Life calls exposed alpine and desert rock and hard ground notoriously difficult to stake, and anyone who has bent a thin stake on a hidden rock two inches down knows the feeling. Here’s the twist: Leave No Trace asks you to camp on durable surfaces, and its list is rock outcrops, sand, gravel, dry grasses and snow. The best low-impact sites are the hardest to stake. That’s the strongest argument for a freestanding or semi-freestanding tent there is.
You can still anchor any tent on rock if you work the system in order:
- Tie the guyline around a rock heavy enough that you can’t easily slide it.
- Lever the stake against a rock: push it in at an angle and lean a rock against the top so the load pushes the stake into the rock, not up out of the dirt.
- Thread a long stick through the stake loop, then load both ends of the stick with rocks.
That third trick comes up again and again in the Oregon Hikers thread, and it works because of leverage. A rock sitting on a loop just slides when the fabric pulls. A stick spreads the pull across two piles of rock and turns a small anchor into a wide one. It costs extra minutes at the end of a long day, which is fine on a calm evening and miserable in the rain.
On ground that takes a stake at all, better stakes are the cheapest upgrade for any tent. The MSR Groundhog Tent Stake Kit (7.5 inch, 6-pack) is the 7.5-inch stake Reddit’s wiki recommends for trekking-pole tents, a sturdier choice than the thin stakes that ship with most tents.
Sand, Gravel and Snow
Forum veterans say freestanding tents are easier to keep taut in snow, on rock slabs and in pea gravel or loose sand where stakes don’t bite. Sand is the sneaky one. A stake goes in easily, which feels like success, and then it pulls straight out the first time the wind loads the fly. Gravel does something similar: the stake sits in loose stones that roll away under tension.
A non-freestanding tent can still work on these surfaces, but only with buried anchors in sandy soil. The fix in soft sand is to bury a deadman anchor: tie the line to a stake, a stick or a stuff sack full of sand, bury it sideways and pack the sand down on top. It holds well. It also takes time per corner, and a trekking-pole tent can need a lot of anchor points.
Wooden Platforms and Shelter Pads
Wooden tent platforms show up at shelters along the Appalachian Trail and in the New Hampshire backcountry, where they protect fragile ground. A freestanding tent drops onto one and you’re done. A non-freestanding tent takes ingenuity: lines tied to the platform edges or eye bolts, or the rocks-on-a-stick trick through the stake loops.
Trekking-pole users in the r/Ultralight regret thread aren’t bothered by this. Their view is that the weight saving beats the extra ten minutes or so spent being creative.
Freestanding fans in the same thread push back with their own memory: some of their favorite nights were unplanned stops on rocky outcrops that couldn’t have taken a stake-dependent tent at all. Both are right. It depends how often you’ll face that platform.
Pick the Tent for the Ground You Camp on Most
Turn all of this into a decision and it looks like this:
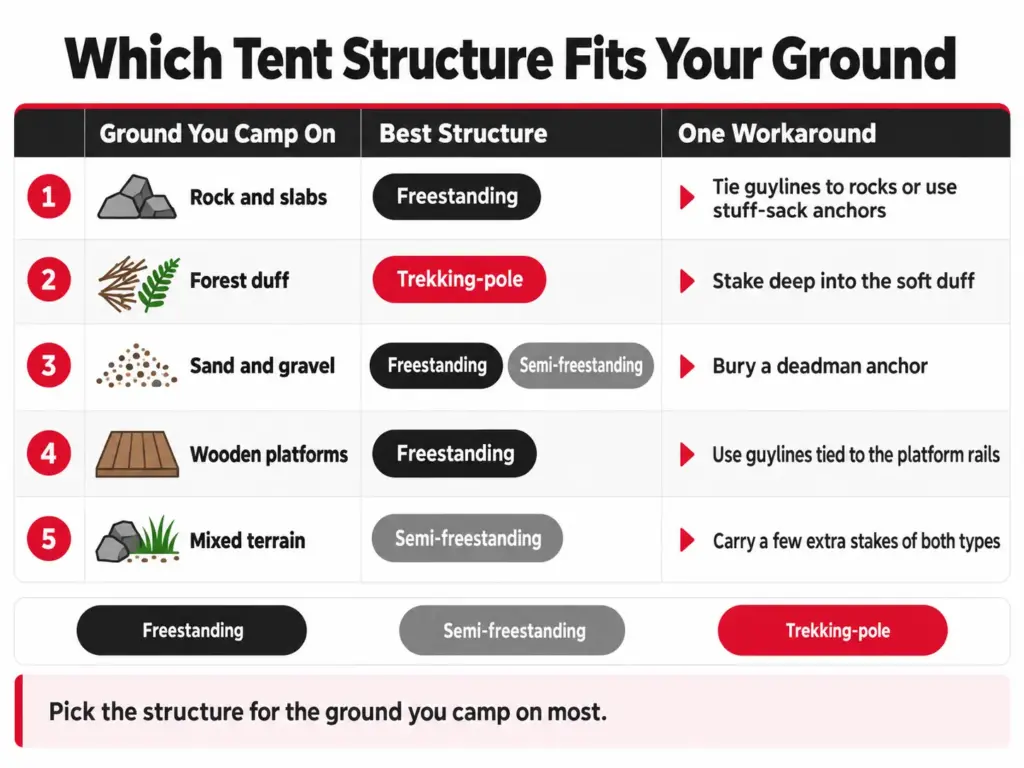
- Rock, slabs and hard ground: freestanding. Carry a few guylines for tying to rocks.
- Forest duff and soft dirt: any structure works; this is where trekking-pole tents shine.
- Sand and gravel: freestanding or semi-freestanding, with a deadman for anything that needs a guyline.
- Wooden platforms: freestanding, or a trekking-pole tent with cord for tying off.
- Mixed ground on weekend trips: semi-freestanding.
The regret zone for stake-dependent tents is consistent across hiker forums: rocky Northeast trails and desert or alpine ground. The repeated mistake is buying for the best-case soil instead of the soil you actually get. One commenter in the regret thread summed up why they never switched: too many nights with ground that was too hard or too soft to trust a shelter that needs stakes.
Look back at your last ten campsites, not your dream trip. If more than a couple were rock, sand or platforms, the trekking-pole tent will fight you more nights than it saves you weight. Buy for that list.
Wind, Rain and Why Non-Freestanding Tents Fail
“Which tent collapses in a strong wind?” is really a question about wind resistance and failure modes. Once you know how a tent fails, you know how to pitch it so it doesn’t.
Three Ways a Non-Freestanding Tent Fails
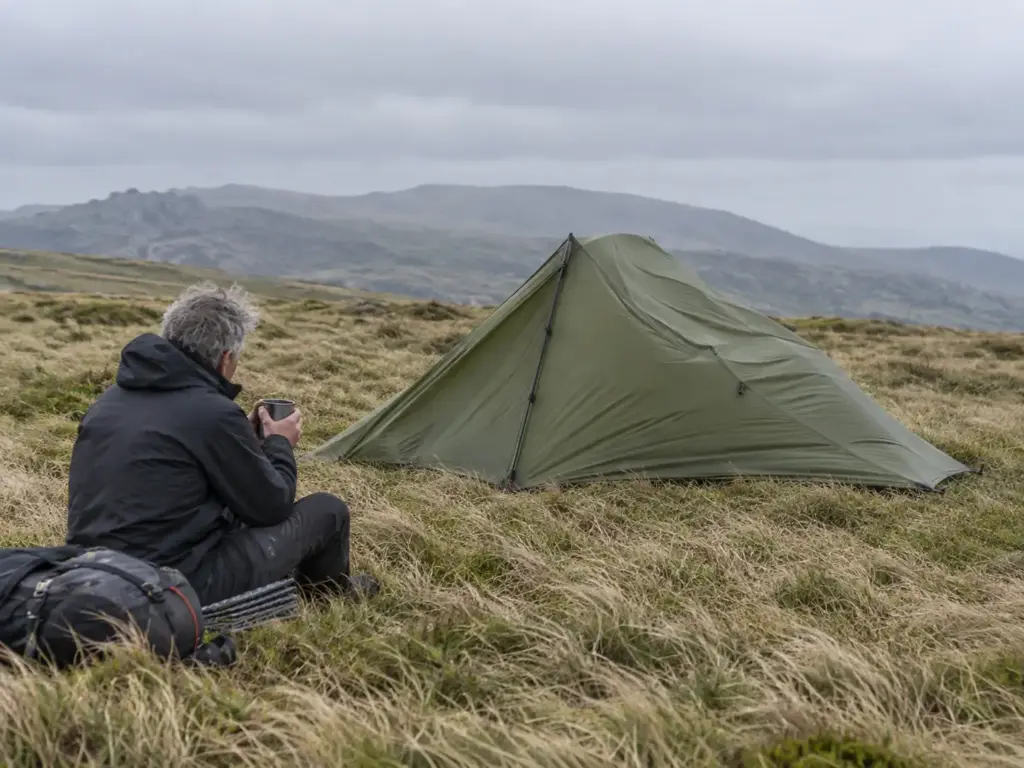
Switchback and Outdoor Life name the same three failure points: a stake pulls out, a guyline snaps, or a pole loses tension. The reason one failure can bring the whole shelter down is that a non-freestanding tent is a single tension system. The stakes pull the fabric outward, the poles push it up, and every corner is holding against every other. Lose one point and its load dumps onto the neighbors, which then pull harder on their own stakes.
A freestanding tent with a dedicated pole set is slightly stronger in this respect, because the frame carries much of the load and there are fewer single points of failure. And a stake-dependent tent is only as good as the ground: the same stake that bites hard in forest duff pulls out of sand, which is why the terrain section above matters for wind too. If you camp exposed above treeline or in winter, the structure is only half the question; how wind and snow decide between a 3-season and a 4-season tent is the other half.
How to Pitch It So It Holds
A trekking-pole tent pitched well is strong. A reply from Durston Gear shared on a Rokslide thread made the point directly: these tents are very strong, but they rely on being pitched well, with good stakes and extra guylines when needed. Here’s what “pitched well” means in practice:
- Drive stakes at an angle, leaning away from the tent, so the pull tries to drive them deeper.
- Aim for a taut pitch. A loose wall flaps, and flapping fabric works stakes loose over a night.
- Add the extra guylines when the wind picks up, not after the first gust.
- Use bigger stakes in soft ground and a buried deadman or rocks where stakes won’t hold.
- Point the narrow end of the tent into the wind so it sheds air instead of catching it.
Then check pole tension again before bed. Fabric can stretch as it gets damp, so a tent that was drum-tight at dinner may be sagging by midnight. Most nights that’s a two-minute fix; a slack wall in rising wind is what turns a nuisance into a failure.
Pre-tie your guylines at home and leave them attached to the fly. In a building wind you want to clip and stake, not untangle cord with cold fingers by headlamp.
Freestanding Isn’t Wind-Proof Either
The tent that actually blows away is usually freestanding, because people trust it to stay put without stakes. Stake the fly and corners every night, and guy out the windward side when the forecast looks unsettled.
Where you put the tent matters as much as the tent. The American Hiking Society’s advice is to camp on durable surfaces and check for dead branches overhead, and to use boulders or bushes to break the wind. A big rock on the upwind side does more for a small tent than any guyline you can add.
Setup, Space and Condensation Compared
The first-tent question is “how hard is it to set up in the rain?” The second-night question is “why is the wall wet?” Structure answers both.
Pitching in the Rain
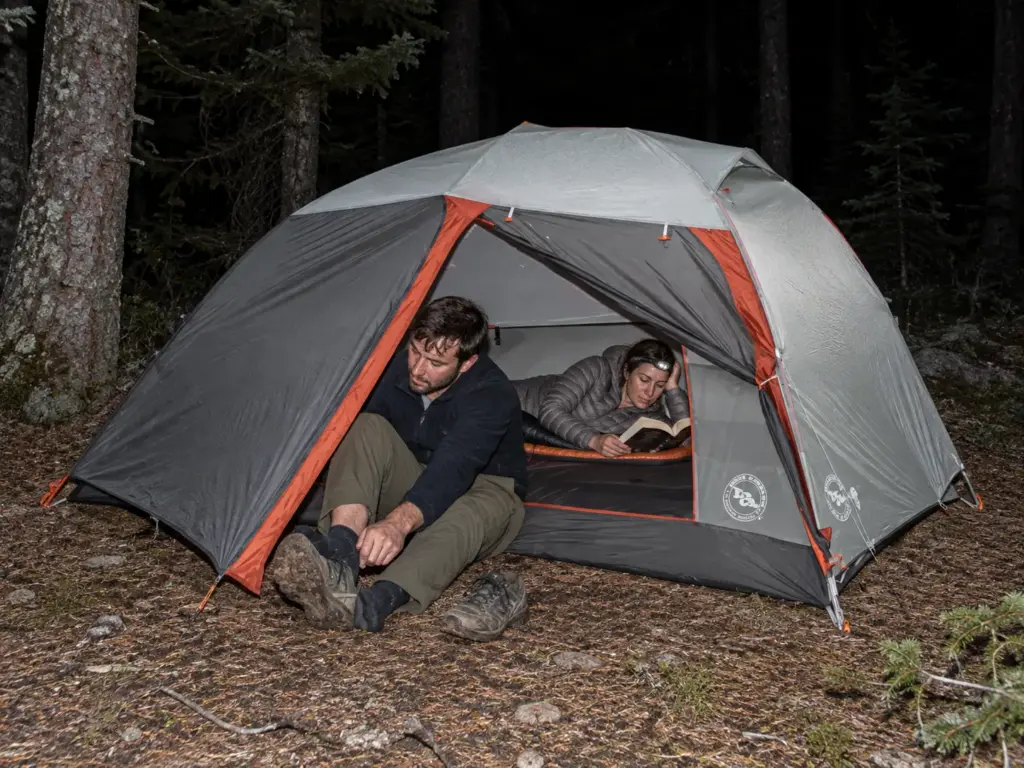
Freestanding tents pitch anywhere and can be moved after you see where the puddles form. The trade is that most of them pitch inner first, so in a downpour the mesh gets wet before the fly goes on. Non-freestanding tents have a steeper learning curve: pole height, stake order and guyline tension all have to be right. Once your hands know the routine, Switchback says they go up fast, and many can be pitched fly-first so the inner stays dry.
Commenters in the r/Ultralight regret thread mostly say the pitch becomes second nature. One reply adds the fair warning: you don’t hear from the people who had a bad night with one and never came back.
The common mistake is buying a pole-dependent tent and pitching it for the first time at camp, tired, in the rain, on rocky ground. Pitch it in the backyard first. Then pitch it again.
Headroom, Doors and Vestibules
Freestanding tents tend to have near-vertical walls, so the floor you pay for is the room you get. Non-freestanding A-frames slope down to the edges, which wastes headroom where your shoulders and feet go. Two people sitting up to play cards notice that fast.
The Big Agnes Copper Spur HV UL2 mtnGLO is the forgiving freestanding example: two doors, two vestibules and DAC aluminum poles that hold the walls steep. Two doors sound like a luxury until you share a tent and nobody has to crawl over anybody at 2 a.m. It’s a premium tent, and the Copper Spur line is Switchback’s top freestanding pick.
Single Wall vs Double Wall Condensation
Condensation follows wall construction more than structure, but structure nudges it. Many ultralight trekking-pole tents are single-wall, and single-wall tents condense more because your breath meets the only layer between you and the cold. Hikers on r/lightweight manage it by leaving a door open. A double-wall tent with a taut fly vents better because air moves between the layers, while a single wall leans entirely on the fabric’s breathability.
Pitch matters as much as fabric here: a fly that sags onto the inner wall drips through, and a fly pitched tight leaves a gap for air to move. For the full routine, these ventilation tips most hikers miss cover site choice, vents and the morning wipe-down.
Semi-Freestanding Tents Are the Honest Middle Ground
When someone at camp asks which structure to buy, the honest answer for most weekend hikers is semi-freestanding. It just comes with a caveat nobody prints on the box.
Why Semi-Freestanding Wins for Weekend Hikers
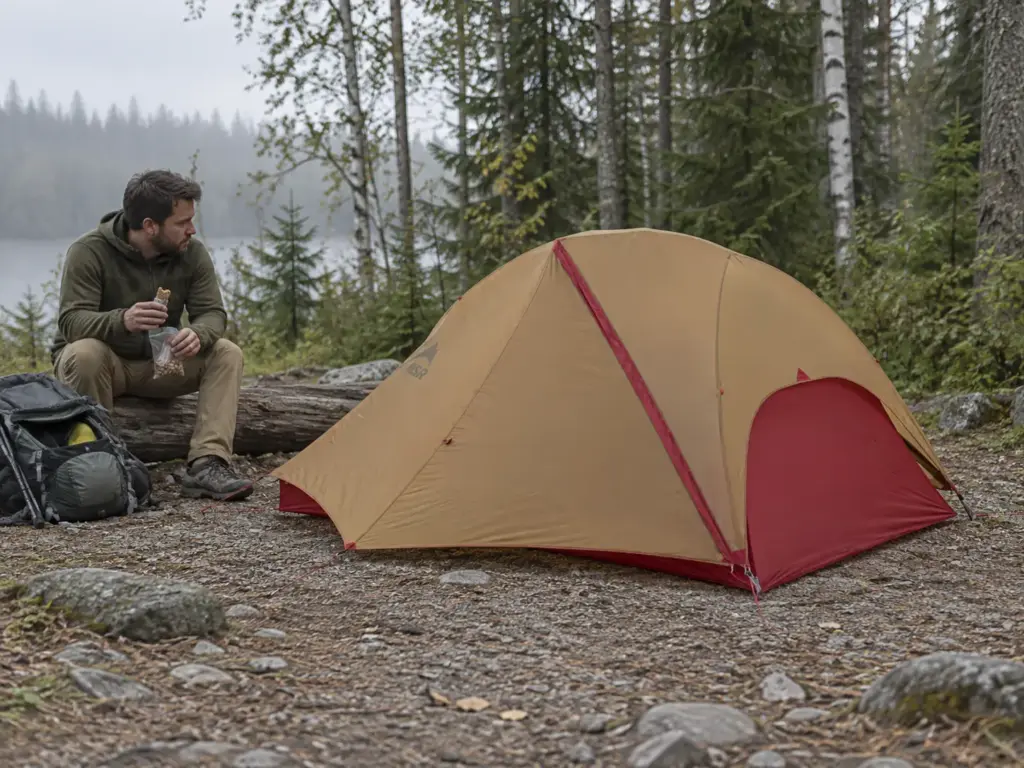
Semi-freestanding keeps a pole frame and drops weight. You get most of the freestanding comfort, a tent that stands on its own and pitches the same way every time, at a weight closer to the trekking-pole end. It’s also why Backpacker’s own favorites list leans semi-freestanding.
The NEMO Hornet Elite OSMO 2P (check it on Amazon) is the ultralight end of the category: a semi-freestanding two-person tent with two doors and a minimum weight of 1 lb 11 oz on the listing. That weight comes from thin fabric and a minimal frame, so treat it with care and pick tent sites without sharp debris. Big Agnes’s Tiger Wall UL2 is the other tent hikers name when they talk about the category; REI lists its minimum trail weight at 2 lb 3 oz, and it ships with nine 6-inch stakes. That count tells you something.
If you’re still deciding on capacity before structure, start with how experienced backpackers size a tent, because a semi-freestanding two-person tent is often snug for two adults.
The Catch Is the Corners
The semi-freestanding frame stands up, but the corners don’t reach full size until they’re staked. Without stakes you get a cramped, saggy tent, with the foot of the floor curling up and the walls leaning in on your sleeping bag. Switchback says it about the Tiger Wall; Outdoor Life says it about the whole category.
The MSR FreeLite 2 is the honest example. It mixes 10D mesh and 15D nylon to save weight, and its corners need stakes to give you the floor you paid for. That’s fine in forest dirt. On a granite shelf, it means anchoring the corners with rocks.
Forum regulars push this point further. Their argument: if you need stakes anyway, a trekking-pole tent is often noticeably lighter, so why carry a frame at all?
It’s a fair challenge. The answer is that a semi-freestanding tent still stands up while you sort out the anchors, and on bad ground that’s worth the weight. A trekking-pole tent doesn’t stand up until the anchors are already right.
Rocks and Poles When the Ground Won’t Hold a Stake
Hikers in r/lightweight describe a neat fix for semi-freestanding corners on rock. Thread a trekking pole through the corner loops at the foot of the tent, then lay rocks on the pole at each end. It’s the stick trick from the terrain section, using gear you already carry, and it gives you a wide anchor across both corners at once.
With a semi-freestanding tent, stake the windward corners first and fill in the rest after. The frame holds the shape while you work, and the corners that face the wind are the ones that carry the load.
What a Trekking-Pole Tent Costs If You Don’t Carry Poles
The product page says “uses your trekking poles”. That line assumes three things: that you own poles, that you own the right number, and that you don’t need them at camp. Here’s the honest accounting when one of those isn’t true.
Your Trekking Poles Become Tent Poles
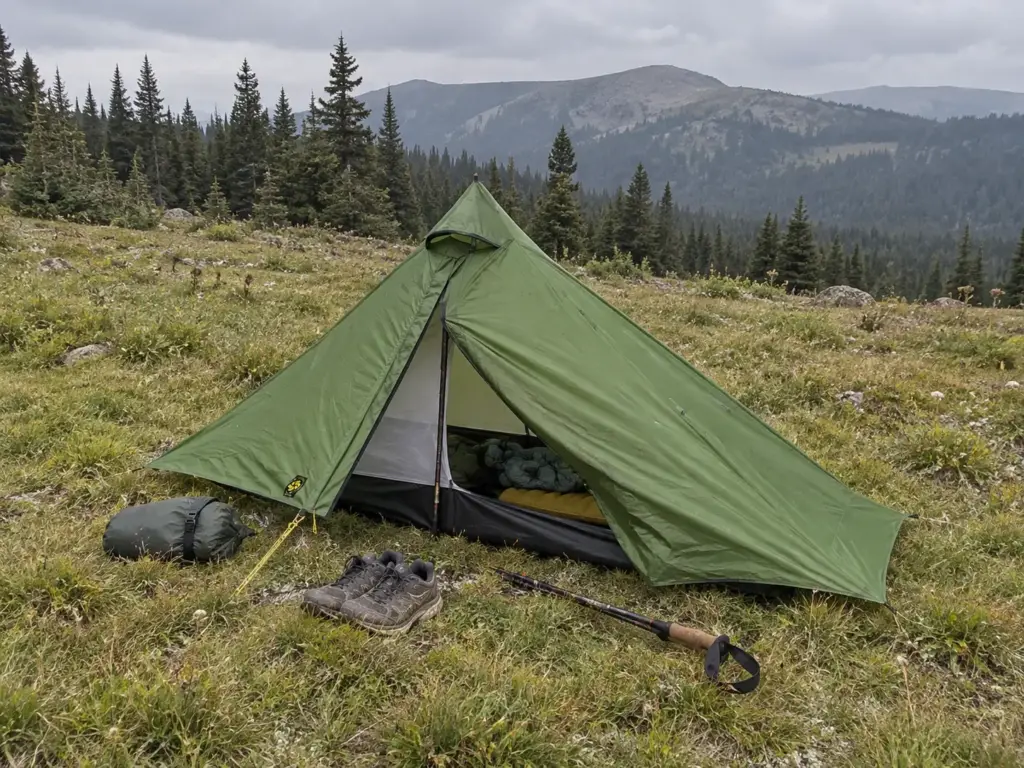
Most non-freestanding tents rely on your trekking poles to stand. Some need one; some need two. The Six Moon Designs Lunar Solo is the one-pole example hikers name in nearly every thread on the subject: a one-person trekking-pole tent at 26 oz. Gossamer Gear’s The One needs two poles set at a specific height, according to the r/Ultralight wiki.
Height is the detail that catches people. Each tent is designed around a pole length, and too short means a sagging ridgeline while too long strains the seams and stakes. If you’re new to it, learn how to set trekking poles as tent support so it holds before the first trip.
There’s a second cost nobody mentions on the box. Once your poles hold up the tent, they’re pinned there.
Picture it: you’ve pitched by a lake and want to scramble up the ridge behind camp for the sunset. Your poles are holding up the tent, so you either go without or take the tent down. It’s a small thing, until you’re on a base-camp trip built around day hikes.
If You Don’t Own Poles
Outdoor Life is clear on the money: non-freestanding tents are usually cheaper only if you already own trekking poles. Some makers sell a dedicated pole for hikers who don’t always carry theirs, but that adds weight and cost back in. The structure isn’t the savings. The poles you already own are.
If you’d have to buy poles, count them in the tent’s price and weight. A pair of carbon fiber poles like the Cascade Trekking Poles (Ultra Light 100% Carbon Fiber) sits in the mid tier, which wipes out most of the “trekking-pole tents are cheaper” argument. It’s still a good deal if you’ll walk with them, because poles help on descents and stream crossings. If you won’t, you’re buying tent poles that happen to have grips, and it’s worth knowing when poles are the wrong tool before you commit.
One Pole or Two Changes the Tent
A one-pole tent like the Lunar Solo is simple: one pole in the middle, stakes around the edge. The original poster in the r/Ultralight regret thread voiced a fear that sounds silly until you try one, of rolling over in your sleep and knocking down the pole, like Atlas dropping the ball. Commenters answered that almost everyone figures it out, and the pitch becomes second nature.
The trade-offs are real, though. A taller pole setting gives you more headroom but raises the tent’s profile in wind, so on exposed nights I’d drop the pole a few inches and give up the headroom. One-pole tents also pair well with hikers who carry a single pole on the trail. Here’s when one trekking pole beats a pair, which is worth reading before you buy a two-pole shelter you’d have to feed.
Which Tent to Buy for Your Kind of Trip
The decision fits on a napkin. Start with the kind of trip, then the ground, then the money.
Pick by Trip Type
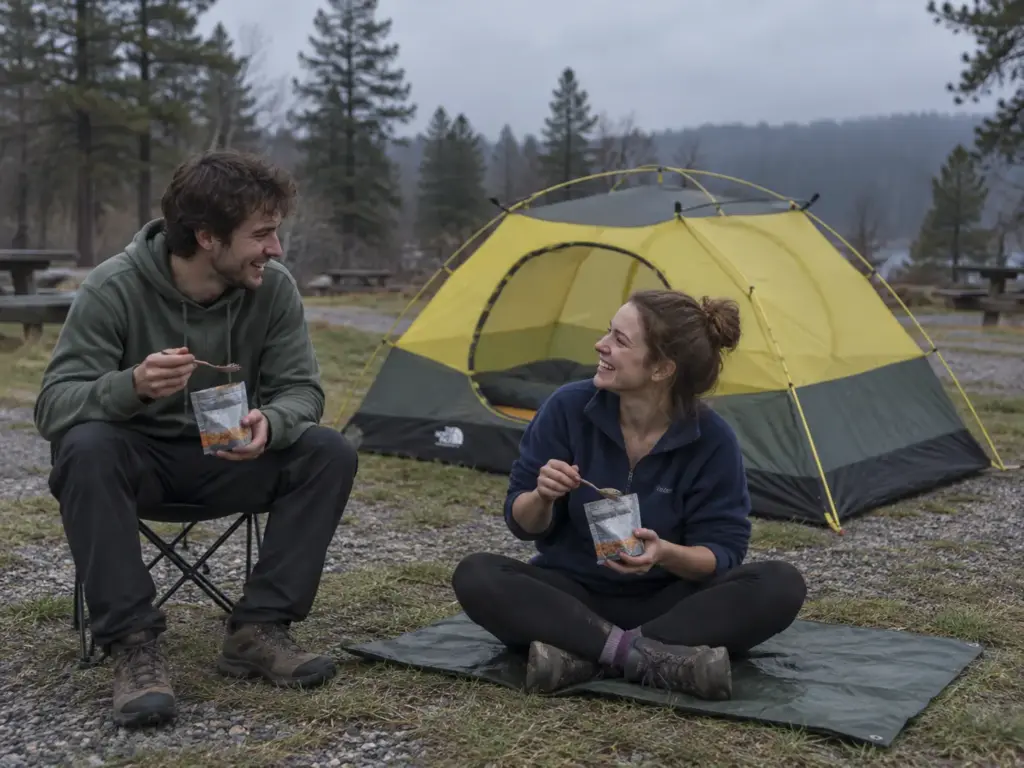
- Base camp or a first tent: freestanding. It forgives mistakes, moves after pitching and gives you the most room.
- Weekend backpacking on mixed ground: semi-freestanding. Light enough to carry, stands up on rock while you sort out the corners.
- High-mileage trips on stake-friendly ground, with poles you already carry: non-freestanding. This is where the weight saving pays you back every mile.
Hikers on r/lightweight land in the same place: base-camp trips favor freestanding, high-mileage trips favor semi-freestanding or trekking-pole tents. Once you know the structure, the next step is the model, and this two-person backpacking tent shortlist narrows it down by size, weight and livability.
The Budget Path for a First Tent
Lighter costs more in either category, Switchback notes, because ultralight fabrics and carbon poles are expensive no matter how the tent stands up. And a trekking-pole tent is only cheaper if you already own the poles. So the honest cheap route isn’t a cheaper structure. It’s a budget tent that brings its own poles and accepts some weight.
The The North Face Stormbreak 2 is that kind of tent: a budget-friendly two-person shelter with two doors and twin vestibules. It’s built for weekends and car-camping nights, not for long miles. Big Agnes’s Blacktail 2 is Switchback’s budget freestanding pick; for a side-by-side on that one, see our Blacktail vs Tungsten comparison.
Who Should Skip Non-Freestanding for Now
Hold off on a trekking-pole tent if you’ve never pitched one, if most of your nights are on rock, sand or platforms, or if you don’t walk with poles. None of that is permanent. Plenty of hikers start with a freestanding tent, learn what ground they actually camp on, and switch once they know the trade.
And sometimes the right structure is none at all. On dry, bug-free nights with a clear forecast, it’s worth knowing when to skip the tent altogether.
Match the Tent to Your Ground, Then Pitch It Once at Home
Pick the structure for the ground you camp on most, not for the spec sheet. Rock, sand and platforms favor a freestanding frame; soft forest dirt is where trekking-pole tents earn their keep.
Semi-freestanding is the honest default for weekend trips, and its corners still need stakes or rocks. Freestanding tents need them too, every night.
A trekking-pole tent saves weight and money only if you already carry the poles. Count them if you don’t.
Before your next trip, pitch whatever tent you own once at home, on the kind of ground you actually camp on: a gravel driveway, a hard patch of yard, a sandy spot by the lake. Ten minutes there saves an hour in the dark.
Frequently Asked Questions
01In freestanding vs non-freestanding tents, are freestanding tents better?
Freestanding tents aren’t better, just more forgiving: they stand without stakes, work on rock and sand, and can be moved after pitching. You pay for that in weight, so high-mileage hikers on soft ground often prefer a trekking pole tent.
02What type of tent is recommended for most camping situations?
A semi-freestanding or freestanding tent suits most camping, because it works on mixed ground and pitches the same way in rain. A non-freestanding tent is the upgrade for high-mileage trips on stake-friendly terrain with poles you already carry.
03Which tent is more likely to collapse in a strong wind storm?
A loosely pitched non-freestanding tent is more likely to sag or collapse, because a pulled stake, snapped guyline or slack pole each brings it down. An unstaked freestanding tent is the one that blows away, so stake every tent taut and guy out the windward side.
04What is the best freestanding tent for one person?
The best one-person freestanding tent is the lightest one whose floor and fabric you can live with, because the frame adds weight over a one-person trekking pole tent. Weigh that cost against the ground you camp on. See what thru-hikers pick for one-person ultralight tents.
05Do you need to stake a freestanding tent?
Yes, you should stake a freestanding tent every night, because staking maximizes floor space, opens the vestibules and keeps the fly off the inner wall. It also stops the tent from sailing away in a breeze while you’re out of it.
I've spent more than a decade researching hiking gear and trail technique. I read the specs, the forum threads and the long-term reviews, and every pick here comes with what it gets wrong.
End of the trail
You read every mile of this one. Here's where the trail goes next.