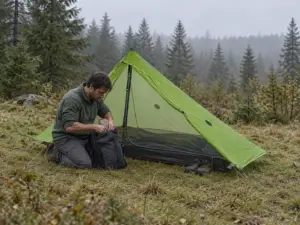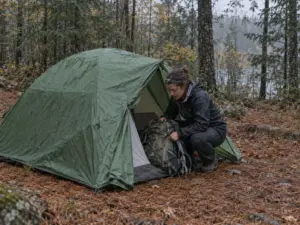
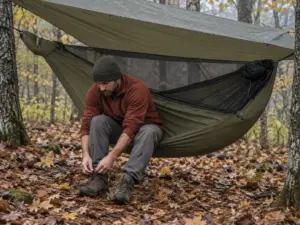
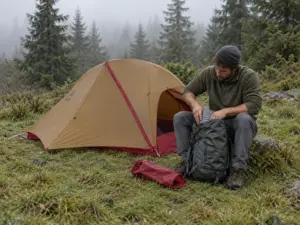


















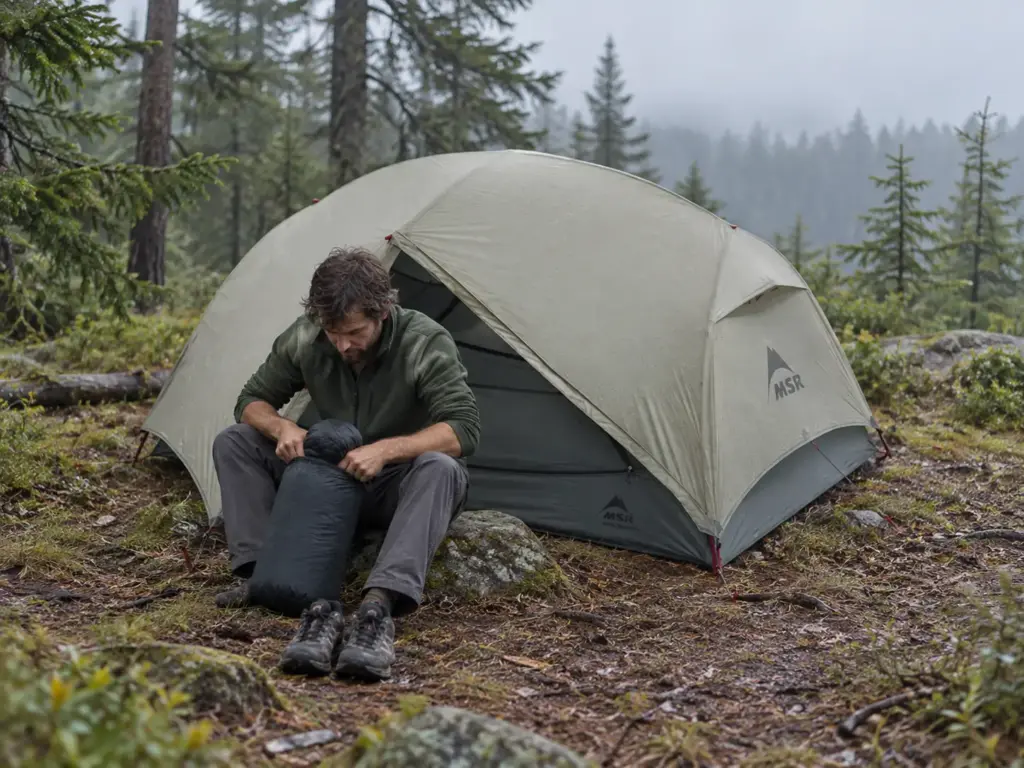
You and a friend crawl into a “2-person” tent at dusk, unroll two standard pads side by side, and the foot end of the floor squeezes them together, and then it starts to rain. The same short list of mistakes keeps coming up in community threads: a floor that tapers, stakes that fold in loose ground, and a warranty nobody read until a pole snapped. This guide covers the seven things that decide the best backpacking tents for you, the picks by use, and the three details that cost people the most sleep. Start with the table, then read the sections that match your trip.
| Your situation | Tent | Why in one line |
|---|---|---|
| Best for two | MSR Hubba Hubba LT2 | The room and weight balance pick for two people who share every night. |
| Lightweight for two | MSR FreeLite 2 | Light and freestanding, but reviewers call it tight, so it suits a close pair. |
| Solo | MSR FreeLite 1 | A one-person ultralight shelter for hikers who carry their own roof. |
| Budget for a close pair | The North Face Stormbreak 2 | Budget-friendly freestanding value for two people who sleep close. |
| Budget with room | MSR Elixir 2 | The start-here tent when you want a reputable brand without overspending. |
| Tapered-floor example | Big Agnes Copper Spur HV UL2 mtnGLO | A premium tent that shows why floor shape matters before you buy. |
How the Best Backpacking Tents Pitch: Freestanding vs Trekking Pole
Picture a hiker on a sandy coast who wants one tent for backpacking and for weekends near the car. Freestanding feels safer on sand. Then the lightest tents on the market turn out to be the ones that need stakes and trekking poles, and the question becomes whether to buy two tents. That exact debate played out in an r/CampingGear thread, and it is the whole shelter-type decision in one question.
Freestanding Tents
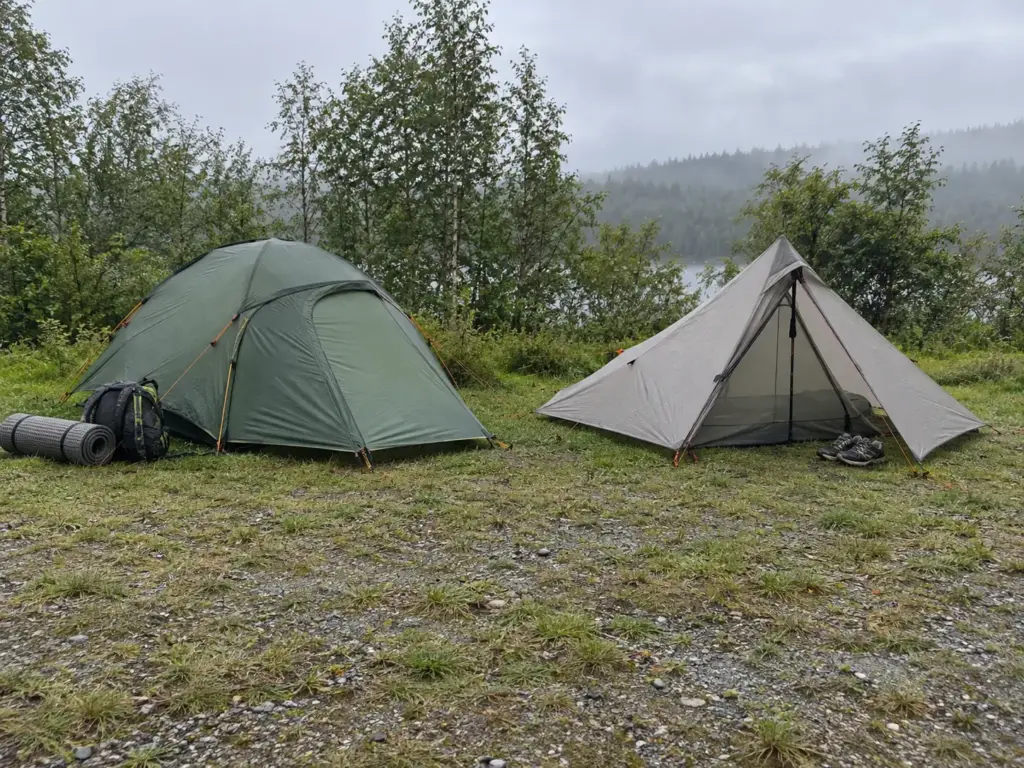
A freestanding tent holds its shape on its own poles. You can pick it up, shake the dirt out, and slide it ten feet to dodge a root without pulling a single stake. It also pitches on slab, gravel and packed sand, anywhere a stake will not bite, which is why it is the forgiving choice when you do not know your campsite until you arrive.
The cost is weight and packed size. Aluminum poles that carry the whole structure add up, and a tent with a full set of hubbed poles rarely matches a trekking-pole shelter ounce for ounce. Most people accept that trade the first few seasons, and they are right to.
Semi-Freestanding and Trekking-Pole Shelters
Semi-freestanding tents stand on poles but need a stake or two to open the vestibule or tension the fly. Trekking-pole shelters, also called a non-freestanding tent or trekking pole tent, use your hiking poles as the structure, so the tent itself carries no poles at all. They pack smaller and weigh less, and they depend on a good pitch and good stakes. Many designs allow a fly-first pitch, which keeps the inner dry if rain starts halfway through setup.
The learning curve is smaller than it sounds. A commenter on r/CampingGear says a trekking-pole tent goes up with “4 tent stakes and two trekking poles” in “2 or 3 minutes”, and another says theirs “takes less than 5 minutes”. The catch is the ground: no stakes holding, no tent. If you want the full terrain-driven breakdown, the guide on freestanding vs non-freestanding walks through which ground favors which design.
What to Pick If This Is Your First Tent
Buy freestanding. It keeps setup simple and forgives a sloppy pitch, a rocky site and a tired 8 p.m. brain. You can always move to a trekking-pole shelter later, once you know how you actually camp and which ounces you are willing to fight for.
The person on the thread who weighed sand against weight had it right when they said the best ultralight tents seemed to be non-freestanding. That is true. It is also the reason a first-timer who wants one tent for everything should start with freestanding and treat the lighter shelter as a second tent, if it ever comes to that.
Tent Weight: Packed Weight vs What You Actually Carry
The tent looks light on the spec sheet, then you add the stakes, the footprint and the stuff sack, and the number in your pack is a different number. Tent weight is the first place hikers fool themselves, usually by comparing two figures that are not the same figure.
Packed Weight vs Minimum Trail Weight
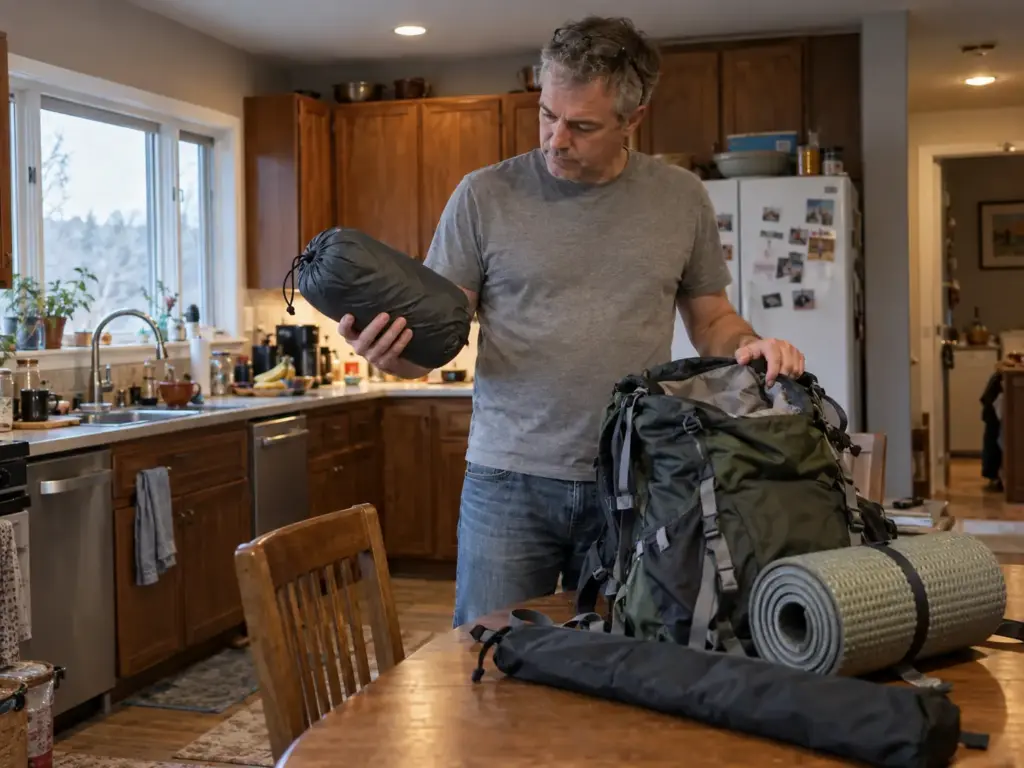
Packed weight, sometimes called packaged weight, counts everything in the box: tent body, fly, poles, stakes, stuff sack and guylines. Minimum trail weight counts only the tent body, fly and poles, the bare shelter you could pitch with improvised anchors.
A spec sheet that quotes the second number looks lighter by a few ounces. Neither is wrong. Know which one you are reading before you compare two tents.
Is a 5 or 6 lb Tent Too Heavy?
For a solo hiker, a 6 lb tent is heavy. For two hikers who split it, it is 3 lb each, which is lighter than most solo tents. The question is never the tent’s total, it is how many people carry it.
A hiker asking for a first real tent on r/CampingGear said anything “under 5 lbs or so” would already beat the old tent they had borrowed. That is the right frame for a beginner: the goal is a tent that is better than what you have now, not the lightest tent on the internet. If you plan to carry it alone for a week, weight matters more. If you share, a pound or two of extra room often pays for itself on the first rainy evening.
Weight Classes at a Glance
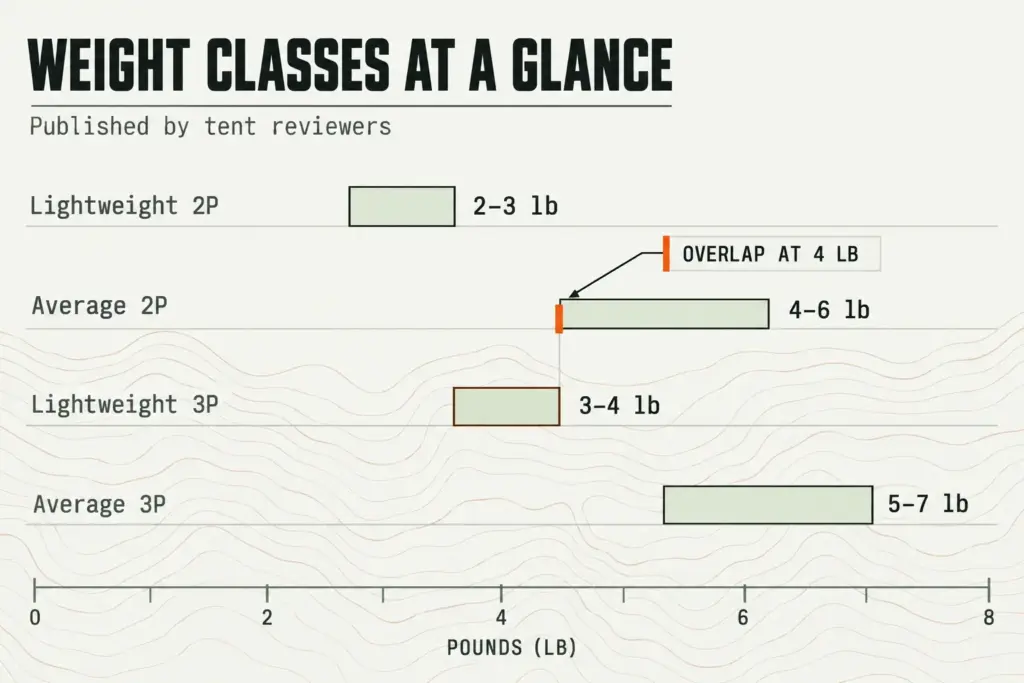
Tent reviewers publish rough weight classes that are useful as a sanity check: a lightweight two-person tent runs about 2 to 3 lb, an average two-person tent 4 to 6 lb, a lightweight three-person tent 3 to 4 lb, and an average three-person tent 5 to 7 lb. Notice the overlap. A lightweight 3P and an average 2P land in the same range, which is why a roomier tent is sometimes a better deal than it first looks.
Weight also trades against durability, and the thread’s original poster worried about exactly that: a tent light enough to carry but not so fragile that a dog or regular use as a car camping tent finishes it in a season. If you want to see what each pound costs in practice, this breakdown of what each pound costs by tent category puts numbers on the trade.
Tent Capacity: What “2-Person” Really Means on the Floor
The first night two people share a “2-person” tent, the label stops being a promise. It counts sleepers lying flat, not gear, a dog, a wet jacket or two elbows. The label tells you how many people fit if nobody rolls over.
Listed Capacity vs True Capacity
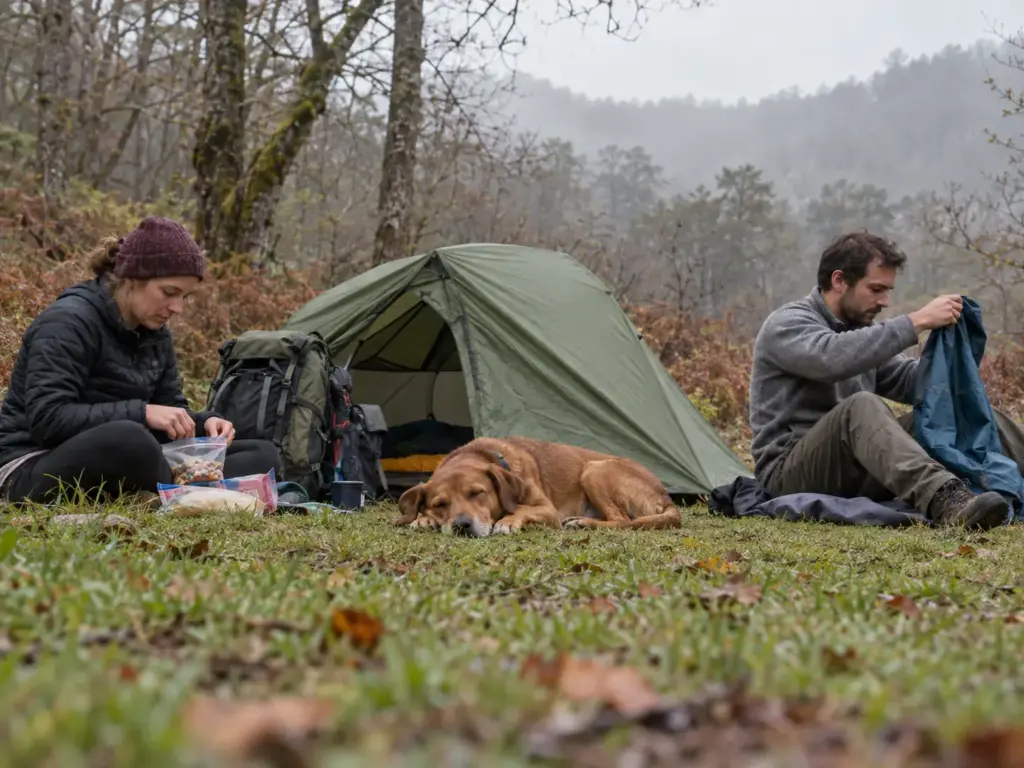
A 2P is a snug pair. A 3P, or 3-person backpacking tent, gives two people room for packs, boots and a place to sit up. The rule many hikers settle on: a 2P for one person, a 3P for two people who want to be comfortable. The original poster in that thread wanted a solo tent that could stretch to fit a friend, which is the same logic, and the same answer.
The part the label never mentions is the shape of the floor. Two tents with the same listed capacity can fit two sleepers very differently, which is the whole point of the floor taper section later in this guide. For the full walkthrough of how experienced hikers size a backpacking tent, that guide goes deeper than this one will.
When to Size Up From a 2-Person to a 3-Person
Size up when either of you is tall (check peak height too, because a low ceiling is the first thing tall hikers notice), when you sleep on wide pads, when you keep your pack inside, or when the trip includes more than two nights of bad weather. The extra square footage is the difference between a tent you tolerate and a tent you enjoy.
A commenter on r/CampingGear says three-person ultralight tents fit two 25-inch pads side by side, while most 2P ultralights have tapered floors. That is a community claim, not a lab test, but it matches what the floor numbers suggest. If the two of you share a tent every night, a 2-person backpacking tent built for sharing every night is the right category to read next.
Tents for a Dog or a Family
A dog changes the tent calculation, mostly because of floor fabric. A dog-friendly tent and a family tent share the same traits: a floor that takes abuse and room to spread out. Tent reviewers advise skipping the spendiest, thinnest ultralight tent if you have a dog, kids or are rough on gear. One reviewer found a tent with “plenty of room for two people and a dog”.
The community side is reassuring about trekking-pole shelters too. One commenter took theirs out twice with their dog and is “never worried about my dog knocking a pole over”. Either way, a thicker floor matters more than a lighter one, which brings the fabric section further down into play.
Single-Wall vs Double-Wall Tents and Condensation
You wake up and the inside of the tent is wet, the sleeping bag feels clammy at the edges, and it did not rain. That is condensation, and the wall design of your tent decides how much of it you meet.
Double-Wall Tents
A double-wall tent has a mesh canopy inside and a separate fly with an air gap between them. Moisture from your breath passes through the mesh, hits the cool fly and runs down the outside, away from you. The gap also makes ventilation easy: open a door vent and the whole shell breathes.
For a very wet, humid coast, a double-wall tent is the sane default. The original poster in the r/CampingGear thread asked for exactly that, “freestanding and double walled”, and said they were “worried about terrible condensation issues”. Another commenter said they were “really glad I got a double wall tent”. Most tents in this class are double-wall for that reason.
Single-Wall Shelters
A single-wall tent uses one layer. It is lighter and simpler, and they pitch fast. The trade is that the same fabric keeps rain out and holds your breath in, so condensation shows up on the inside wall, where it meets your sleeping bag.
Single-wall works in dry, cold, windy places where moisture freezes on the way out or the air is too dry to condense. In a wet forest, it is a gamble that most first-time buyers should not take.
Cutting Condensation in Wet Weather
Good condensation management starts from one fact: some condensation shows up in every tent. You manage it, you do not eliminate it. Open the vents and crack a door even when it is raining, because the moisture from your breath has to go somewhere.
Keep the fly off the inner wall by pitching it taut. Pick a site away from standing water, and avoid the lowest spot in a clearing where cold, damp air settles at night.
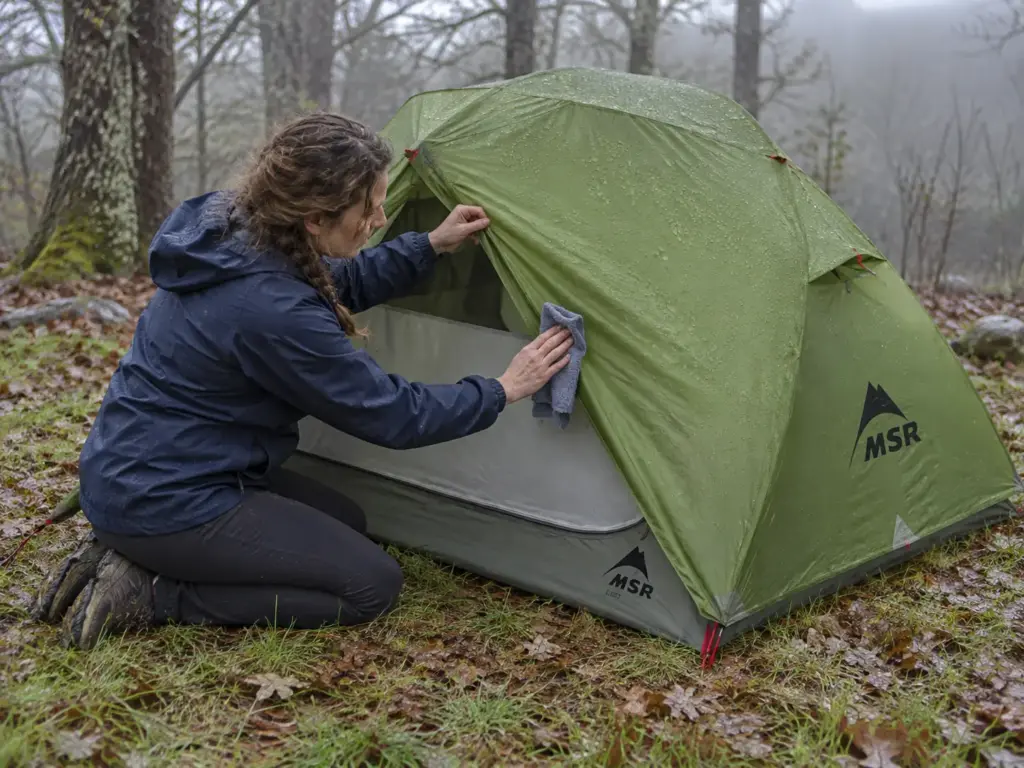
Before you pack up, wipe the inside of the fly with a spare bandana and shake it out. A damp fly stuffed into its sack is the start of tomorrow night’s condensation.
The ventilation tips most hikers miss cover the rest, including how door placement changes airflow.
Doors, Vestibules and Rainfly Coverage in Wet Weather
It is 2 a.m., you need to step outside, and your partner is asleep. The tent with one door means climbing over them with a wet jacket on. The tent with two doors means you never think about it.
Doors and Vestibules
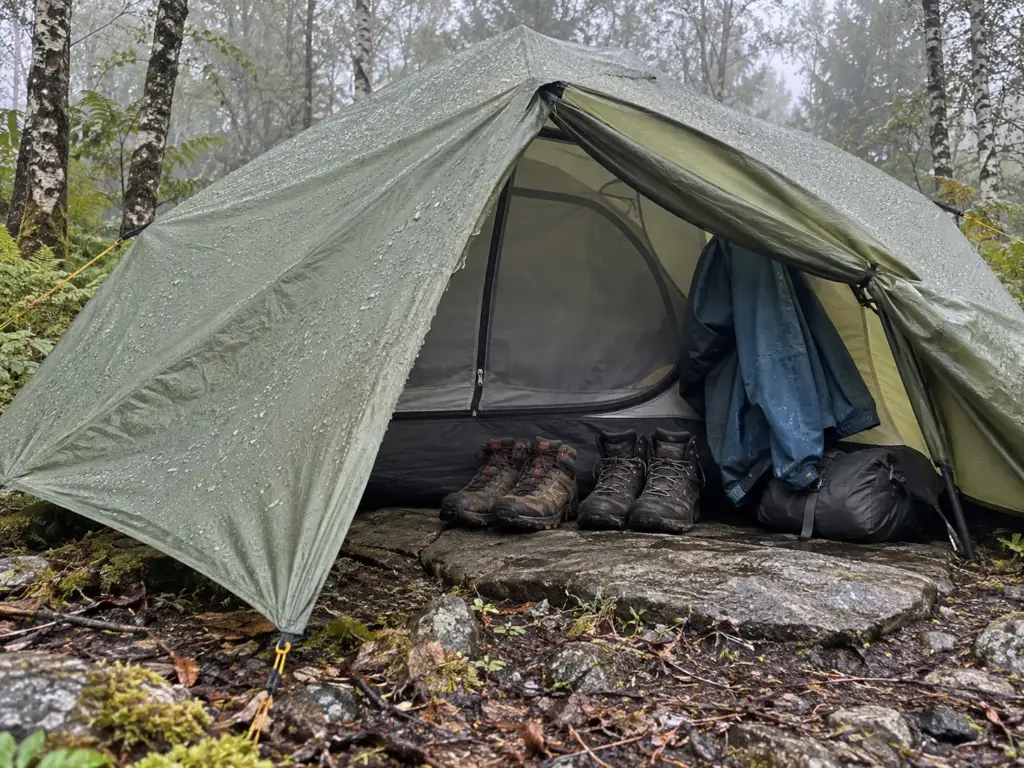
Two doors mean no climbing over your partner. Two vestibules mean each person gets their own storage for muddy boots and wet packs, outside the sleeping area. A commenter describes a tent with “2 large vestibules” and “2 independent doors” as “totally doable for 2”, which is the sort of sentence that sounds boring until your third rainy evening.
If you are solo, one door is fine. If you are two, two doors are not a luxury. It is the cheapest comfort upgrade in the whole category.
Rainfly Coverage and Ventilation
A fly that reaches near the ground protects the inner mesh from splash and wind-driven rain. A fly that is “too small”, the way one reviewer described a budget tent’s, leaves a weak point exactly where the weather hits first. Check how far the fly drops on the sides, not just over the doors.
Rainfly vents high on the fly let moist air out while rain stays out. That is the difference between a tent that is tight in a storm and a tent that is tight and damp.
What a 3-Season Rating Does Not Cover
Tents in this class are 3-season, built for spring through fall. None of them is a winter tent. No manufacturer publishes a snow-load or wind rating for these tents that this guide could verify, and snow claims you read on forums are anecdotal. Treat a 3-season tent as one with solid weather resistance for rain and only moderate wind resistance, and guy it out when the weather turns.
If your trips push into snow or high wind, read the guide on 3-season vs 4-season tent before you buy. On a plain note about cooking: keep the stove outside the tent. A closed tent and a lit burner is a bad combination that no spec sheet mentions.
Tent Fabric and Floors: What Wears Out First
The first rocky campsite is the one that scratches a thin floor. Then you start wondering about a footprint, and whether the lightest fabric was the right call.
Denier and Floor Fabric
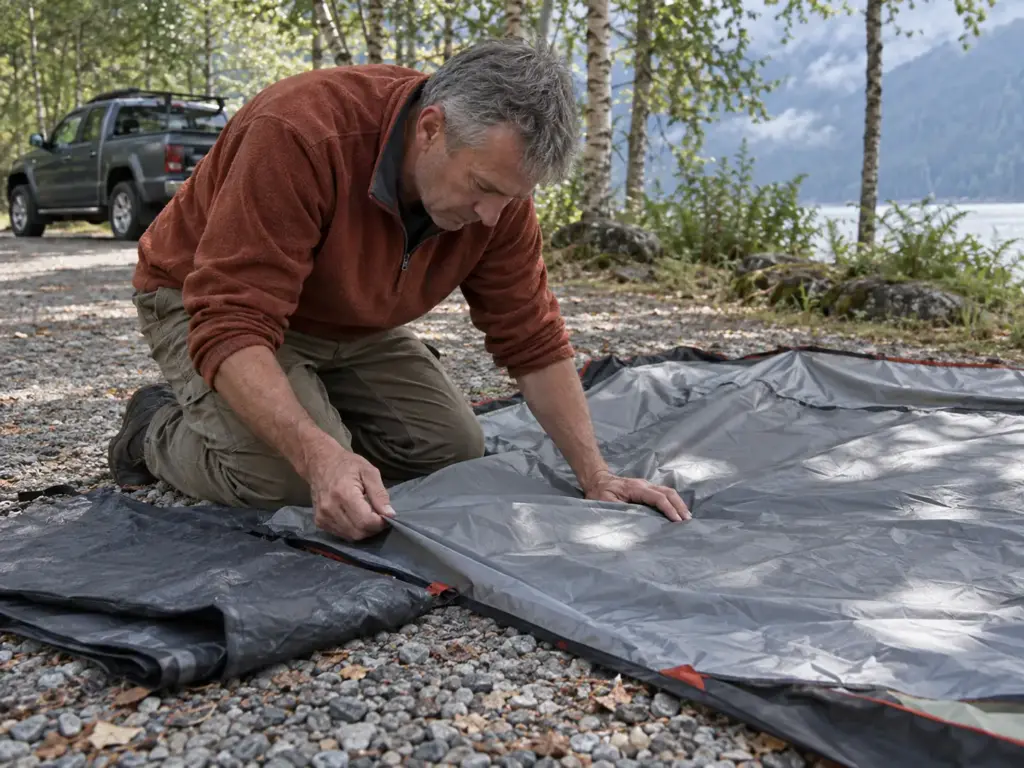
Denier is the thickness of the thread. A commenter on r/CampingGear says most ultralight backpacking tents use 20 denier fabrics, “perfectly fine for most conditions”. Budget tents lean thicker, with 75 denier as the usual comparison point in reviews. One commenter’s example was a standard 3P with a 68D fly, which weighs more and shrugs off abuse better.
The takeaway is that thin does not mean fragile and thick does not mean tough. Floors are the exception. A thicker floor is the best durability upgrade you can buy if you have a dog, kids, or a habit of camping on rough ground.
Silnylon, Sil-Poly and Dyneema
Silnylon (also written sil-nylon) is nylon coated with silicone. It is light and affordable, and it stretches and sags when wet, so you retension the fly after rain. Sil-polyester uses polyester in place of nylon, which resists stretching, so the pitch stays tighter. Dyneema composite fabric, also called DCF, is the expensive, very light option that does not stretch and does not absorb water, and the cost is the reason most first tents skip it.
For a beginner, silnylon or sil-poly on a double-wall tent is plenty. If you are curious about the premium end, a look at what fails first, silnylon or Dyneema shows where each one gives out.
Do You Need a Footprint?
A footprint is a groundsheet cut to fit under the tent. A commenter notes you can usually buy one from the manufacturer “to protect the floor from dirt, rocks and sticks”. The same thread had a commenter say the Copper Spur is “probably the most fragile, you should get a footprint for it”. That is one person’s opinion, not a test, but it shows the decision plainly: thin floor, rough ground, buy the footprint.
For a thicker-floor tent on soft ground, you can often skip it. The guide on whether your floor denier makes a footprint worth it works through the call by floor fabric.
Best Backpacking Tents by Use Case
You have the criteria. Now you want a short list. Each pick below comes with a plain reason, one honest limit, and who should skip it.
None of these recommendations rests on personal testing, and none will pretend to. They come from the specs, from tent reviewers, and from what hikers keep saying in community threads.
Best for Two Hikers
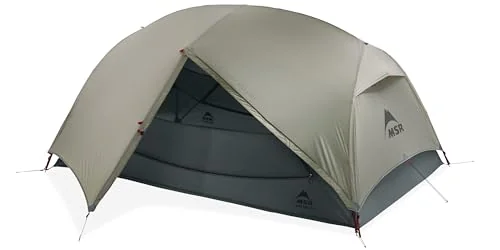
The MSR Hubba Hubba LT2 is the pick for two people who want one tent that works every weekend and still carries well on a long trip. Tent reviewers name it a leading lightweight tent for two, and it is the room-and-weight balance pick in this guide: not the lightest, not the roomiest, but the one with the fewest regrets.
The honest limit is the same one every two-person tent carries. This guide has no verified floor measurement for this exact listing, so do not assume two wide pads fit side by side without checking the dimensions yourself. Skip it if you are buying on a tight budget, or if you plan to share with a dog and a third person. It is also a premium-tier tent, so it is the wrong place to start if you are not sure backpacking is for you.
Lightweight Pick for Two
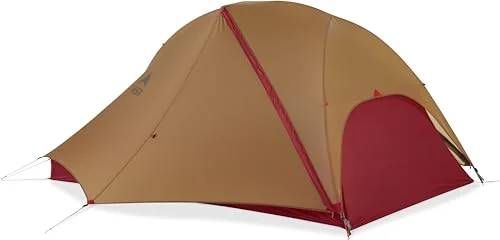
The MSR FreeLite 2 is for a close pair who count ounces. Reviewers who tested the two-person tents found it tight for two, which is not a flaw so much as a design choice: a lighter tent trades room for weight, and this one trades more than most. It is a good fit for a couple who sleep close, travel light and keep their packs outside.
Skip it if either of you is tall, if you sleep on wide pads, or if you tend to spend a lot of time in the tent waiting out weather. It is also a good test case for the floor taper section below: a tight two-person tent is exactly where the pad-width question gets decided.
Best Solo Pick
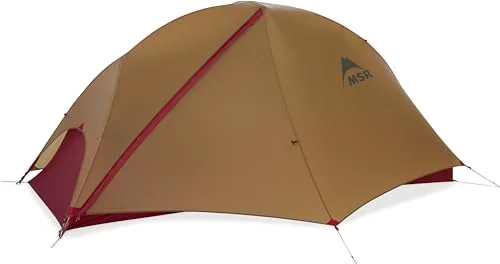
The MSR FreeLite 1 is the solo backpacking tent pick: a light 1-person backpacking tent that keeps your pack weight down on long days. Tent reviewers name it a solo favorite.
The honest limit is that a one-person tent is a one-person tent. If you are tall, restless or travel with a dog, a two-person tent used solo is a better answer, and the weight difference is smaller than you would guess. Skip this one if you ever expect to share. For a closer look at a solo tent matched to your height and budget, that guide covers the whole solo category.
Best Budget Picks for Two
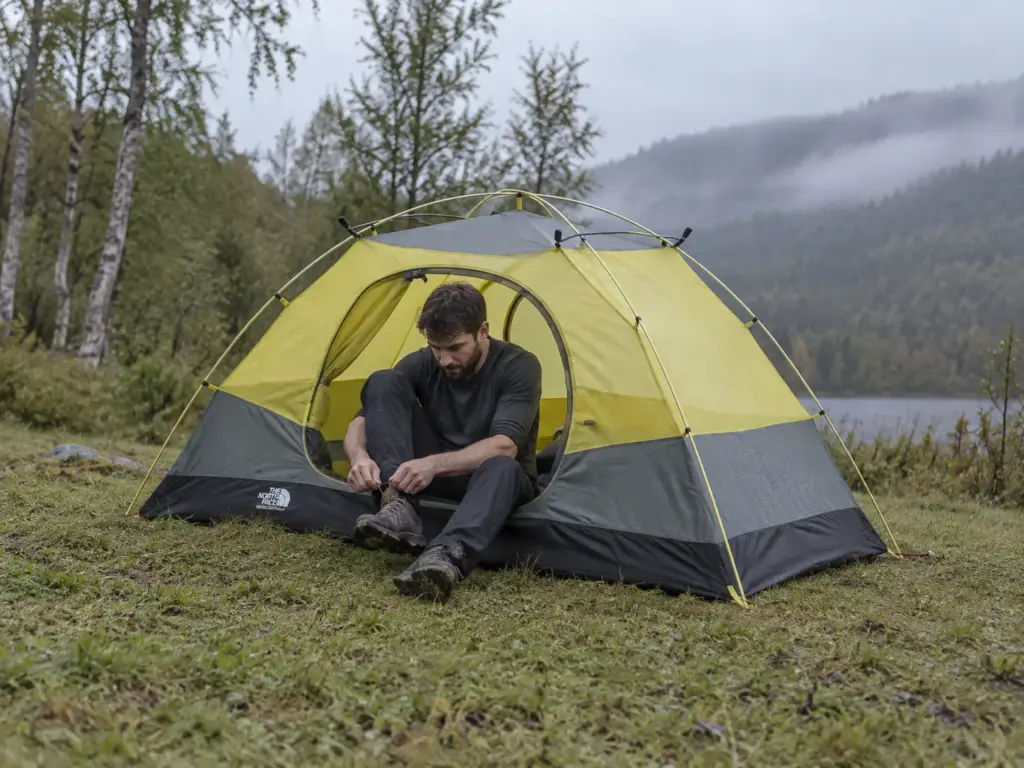
Two budget picks, each with a different job. The Stormbreak suits two people who sleep close and want a value tent. The Elixir suits a novice who wants room and a reputable brand without overspending.
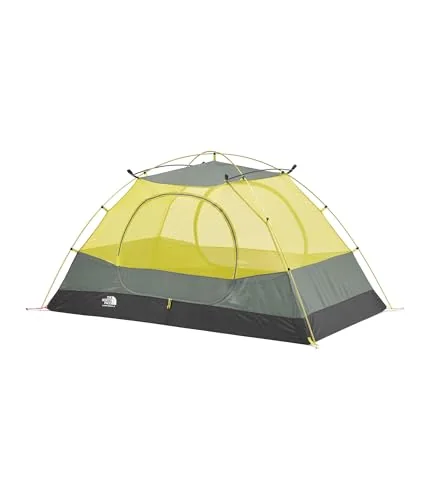
The Stormbreak 2 is the value play. Reviewers say the Stormbreak line is the best value for money in the category, and the two-person version suits a pair who sleep close. It is freestanding and easy to pitch, which is exactly what a first tent should be.
The limit is the budget tradeoff: it is not the lightest tent, and a tight two-person floor is a tight two-person floor. Skip it if you are tall, if you sleep on wide pads, or if every ounce counts on a long route.
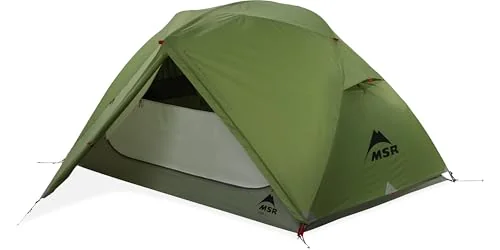
The MSR Elixir 2 is the “start here without overspending” pick. A commenter on r/CampingGear says it “ticks the boxes of 2 persons capacity, good construction and a reputable company, durable, easy to pitch”, which is the right checklist for a first tent. It is the budget-friendly alternative to the Hubba Hubba and the FreeLite 2, with a heavier pack weight and fewer premium features in exchange.
The limit: this guide has not verified its floor shape, so check the listing dimensions before you assume two wide pads fit. Skip it if you want the lightest possible tent or plan to carry it solo on a long route.
Two Sleeping Pads, One Tent: The Floor Taper Test
Two people. Two pads. A tent that is wider at the head than at the foot. The first night is fine, because your shoulders are at the wide end.
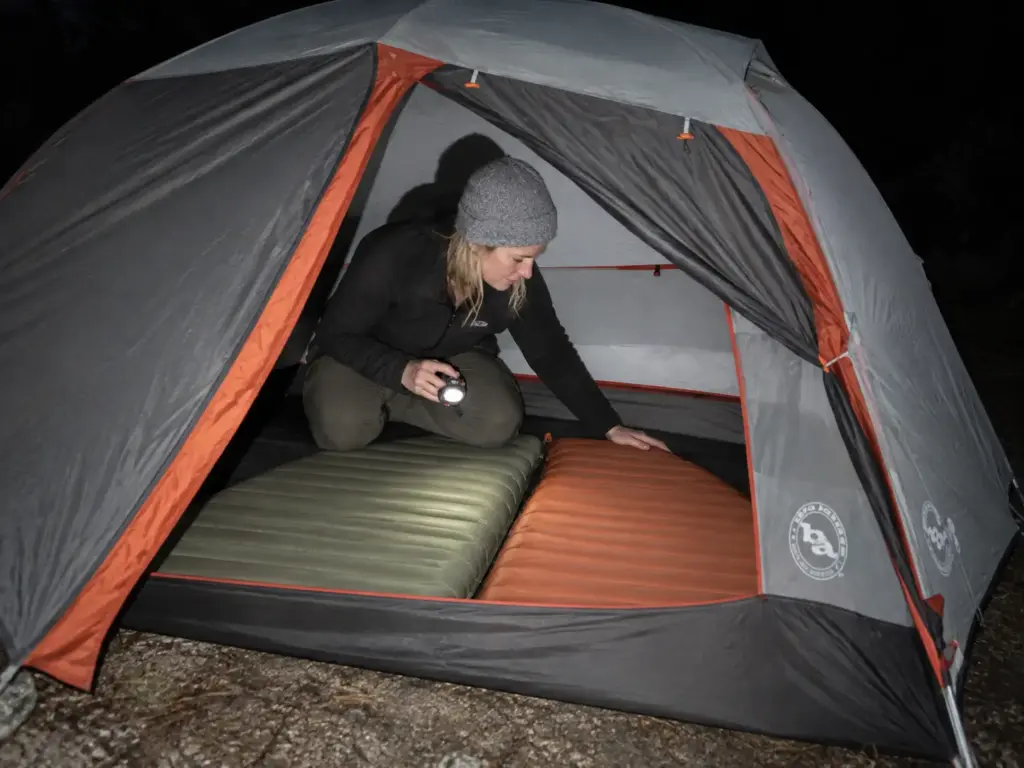
By 3 a.m. the pads have crept toward the narrow end, one of them is folding up the wall, and somebody is asking whether this is normal. It is. It is also avoidable, and the check takes ten minutes before you pay.
Why 20-Inch Pads Are the Quiet Deal-Breaker
Sleeping pad width is the number most buyers never check. Two standard 25-inch sleeping pads side by side need about 50 inches of floor width. With 52 inches or more you get some elbow room. A 2P that tapers to a narrower foot can fit two pads at the head and then pinch them together toward your feet, and the narrow end can leave a sleeper’s face against the mesh.
A commenter on r/CampingGear who says they own several of these tents puts it bluntly: “Most 2p UL tents have tapered floors and cannot comfortably fit two backpackers side by side.” The same commenter says a tapered floor limits you to two 20-inch pads, “very little room to sprawl out and is not great for side sleeping”, and says they have “fallen off many 20″ wide pads”. That last sentence is the whole problem. A 20-inch pad is narrower than most people’s shoulders and elbows at the hip, and a side-sleeper rolls off the edge in the night.
The same commenter names trekking-pole tents and non-tapered tents as the ones that handle side-by-side pads at 25 inches wide. Those are community claims, not verified here, and the tents they name are not products of this guide. The point holds anyway: the pad and the tent have to be matched, and the match is not on the label.
How to Measure a Tent Floor Before You Buy
Skip the listed floor area and the maximum width. Find the floor width at the head and at the foot, then measure where your shoulders and hips will actually sit. A maximum width is often the head-end number, which overstates the space for the rest of the night.
Then lay your two pads on a floor, a garage or living room works, and mark 50 inches. If your pads are wider than 25 inches, add the difference. Compare that number to the head-end and foot-end widths on the tent’s spec page.
Cut a piece of string to the width your two pads need, then hold it across the floor at the foot end of any tent you are considering. If the string does not fit, your pads will not either.
A real example makes it concrete. The UL2 version of the Copper Spur family lists a floor 52 inches wide at the head and 42 inches at the foot.
Two 25-inch pads need 50 inches, so they fit at the head with a little room and overlap the wall by about eight inches at the foot. That is not a flaw in the tent, it is a tapered floor doing what tapered floors do. It trades floor width for weight.
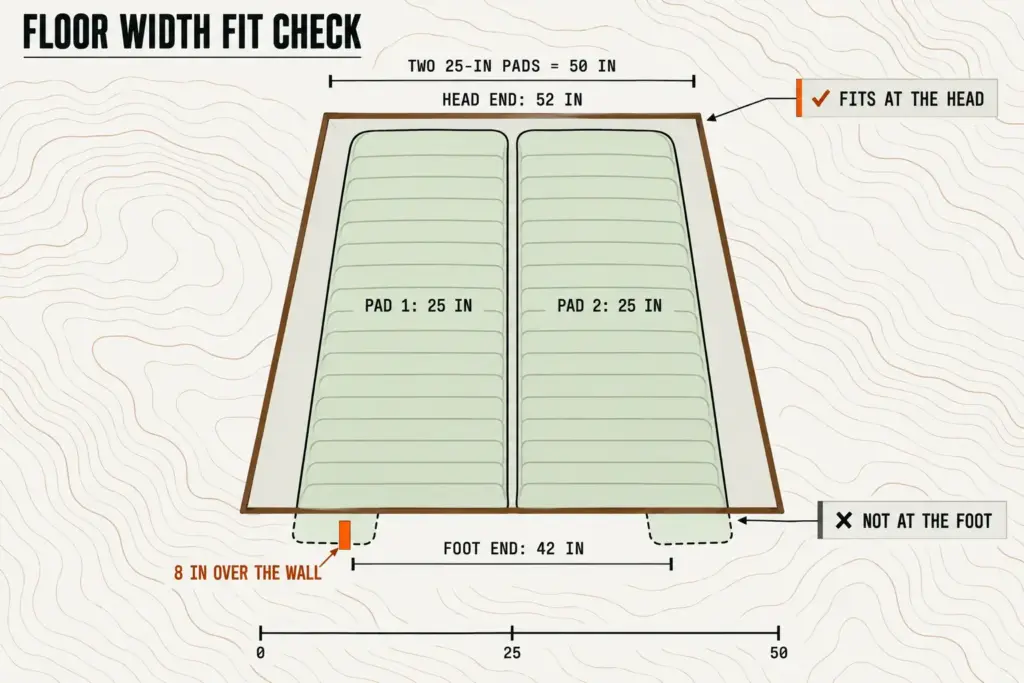
If you want more floor-area math, the floor-area math between two popular tents comparison shows how to work it out for two different designs.
What a Tapered Floor Looks Like
A tapered floor, sometimes called a bathtub floor with a narrow foot, is wide at the shoulders and narrow at the feet. It makes sense: your feet do not need 25 inches. The weight savings are real, and a rectangular floor costs extra weight for the extra corners of fabric and pole.
The fix can be on the pad side. A tapered pad, wide at the head and narrow at the foot, matches a tapered tent. One tapered pad listing shows 50 inches at the head and 40 inches at the foot, though sources disagree on its insulation value, so do not shop by that number.
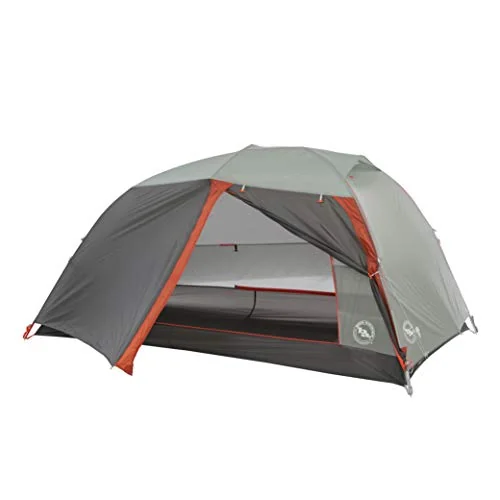
The Big Agnes Copper Spur HV UL2 mtnGLO earns its slot as the clearest example of the family’s design. It is the HV mtnGLO version, not the UL2 whose 52-inch and 42-inch floor figures appear above, so read the dimensions on the exact listing before you assume the same numbers. A commenter on r/CampingGear also called the Copper Spur “probably the most fragile”, so buy the footprint with it.
Skip it if you are on a budget, if you are two tall people, or if you want a tent with a rectangular floor. Buy it if you are a pair of ultralight hikers who accept a narrow foot end in exchange for a light pack, and who have measured the floor against their pads.
Stakes and Guylines: What Fails First on Sand and Wet Ground
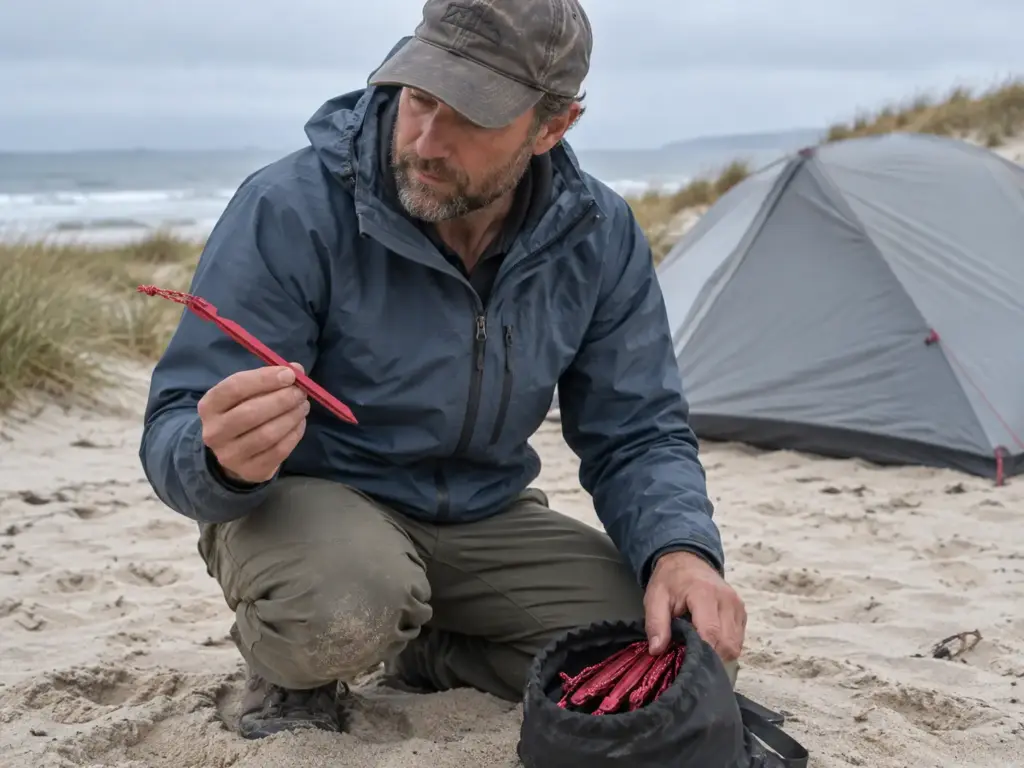
A hiker on the coast camps on sandy soil and wonders whether a tent that needs staking is a bad fit for the beach. It is a fair question. The tent is rarely the thing that fails. The stakes are.
Why Stock Stakes Fail in Sand and Wet Ground
“The stakes that come with most of these tents are not great,” says a commenter on r/CampingGear. That matches what hikers report on backpacking forums and in product reviews: thin wire stakes slice through loose sand under guyline load, and in soggy ground they simply pull out when the first gust leans on the fly.
The mechanism is simple. A stake holds because soil pushes back along its length. In sand, the grains slide past a thin shaft, so there is little to push against. In wet ground, the soil turns to paste and lets go.
Sand-specific stakes are wide, around 12 inches long, with holes so sand packs inside and grips. Those are heavier, so tents rarely ship with them.
Freestanding does not mean stake-free. A freestanding tent holds its shape without stakes, but it still sails across a campsite in a gust. It needs anchoring in wind like any other tent, and an anchor that is only a thin wire stake is a hope, not an anchor.
Stake Angle and the Deadman Anchor
Angle and stake placement matter as much as stake type. Drive a stake steep, so it resists in shear along its length. At a low angle, the guyline levers the stake out with each gust, like a lever pulling a nail. A forum member on a backpacking site makes this point clearly, and it is the single cheapest fix on this page.
For soft ground, the MSR Groundhog Tent Stake Kit 6-Pack uses a Y-beam shape that a forum member says holds well in soft to medium-soft soil. It is a budget-friendly upgrade over the wire stakes in the box.
For sand, a stake alone is rarely enough. Bury a deadman anchor: tie the guyline around a stuff sack full of sand, a stick or a flat rock, bury it deep and tamp the sand over it.
The load now pulls against a wide buried object instead of a thin shaft. In high wind, use a second stake at each contact point. The full method is in the guide on how to bury a deadman in sand.
Guylines for Windy Nights
“You should be guying out the tent properly in crappy or windy weather,” a commenter on r/CampingGear writes, adding that they use 8 stakes. Another commenter says, “Additional guyline is always a good idea so you can guy out your tent fully.”
The stock guylines on most tents are short and thin. A longer cord lets you reach a good anchor point, like a rock or a deadman, instead of staking where the ground happens to be soft. A thin reflective cord, like the ThreeBulls 1.8mm fluorescent reflective guyline, adds 65 feet of cord and a bonus: you can see it at night, which means you stop tripping on it on the way to the trees. It is a fix, not a required purchase.
A commenter in the same thread recommends aftermarket stakes and high-strength cord for exactly this reason. Wind is the one test a tent cannot be graded on in a store, so give it an anchor at every point you can, and expect to retighten the lines after the first hour.
Pitch with the door facing away from the wind and guy out the windward corners first. If the ground is soft, test one stake by pulling it sideways before you trust it. A stake that moves under your hand will not hold at 2 a.m.
Tent Warranty and Spare Parts: Check Before You Buy
Six months in, you have a bent pole, a receipt, and a question: what will the brand actually do? The time to ask is before you buy, not after the pole snaps on the second night of a trip.
What MSR’s 3-Year Warranty Covers
MSR gives a 3-year Limited Warranty to the original buyer for defects in materials and workmanship. Normal wear, punctures, abrasion, misuse and alteration are not covered. MSR repairs or replaces the product at its option, and it sells replacement poles and rainflies for select models. Repairs outside the warranty may cost a small fee.
That is the official picture, from MSR’s own warranty page. It is worth saying plainly because some of the talk in community threads is looser.
A commenter on r/CampingGear says MSR and Marmot offer a lifetime warranty. For MSR, that is not what the brand’s warranty page says. The term is three years. Plan on three years for manufacturing defects, not a lifetime.
A term in years matters less than parts. A three-year promise does nothing for you if the pole you need is not for sale, and MSR sells replacement poles and rainflies only for select models. Look up the parts list for your exact model before you buy, and keep the model name, the purchase date and a photo of the receipt somewhere you can reach from a trailhead. A claim without a date and a model name is a slow claim.
Questions to Ask Any Tent Brand Before You Buy
The same commenter claims some tent brands offer longer coverage and parts, while one major retailer’s house-brand tents get only a year and no parts. Treat those as one commenter’s claims, and check the warranty page of the exact brand and retailer before you buy.
Ask four questions: how long is the coverage, what counts as a defect and what counts as wear, does the brand sell poles and flies separately, and who does the repair?
A brand that answers all four clearly is a brand that expects to be asked. If you ever need to file, the guide on how to file a gear warranty claim that works covers the process from photos to follow-up.
Know what a warranty will not cover: wear, punctures, abrasion and misuse. That is why a footprint and careful staking protect your coverage as well as your floor. A tent that was dragged across granite is a tent with a claim nobody will honor.
When It Breaks on Trail
A warranty is a plan for when you are home. On the trail, you are the repair shop. A zipper that splits at camp, a pole that cracks on a gust, a fly that tears on a branch: all of these are fixable with a small kit and a bit of patience.
A basic repair kit with a pole splint, tape, a few feet of cord and a needle and thread covers most failures. Put one together before the trip and keep it in the same bag as the stakes. If you want a starting list, learn how to build a lightweight gear repair kit without adding weight you will resent.
Measure the Floor Before You Pay for the Label
Three things decide whether a backpacking tent works for you, and none of them is on the front of the box. Measure the floor, not the label: two 25-inch pads need about 50 inches of width, and a tapered floor that gives you 52 at the head and 42 at the foot will not hold them at the feet. Fix the stakes and guylines before you blame the tent, because stock stakes are the first thing to fail on sand and wet ground and a proper angle costs nothing. Read the warranty page before you pay, because MSR’s term is three years and every other brand’s term is yours to look up.
If you only do one thing before your first trip, lay your pads on a floor and mark the width on the tent’s stuff sack. It takes ten minutes and tells you more than any spec sheet. Then pitch the tent in the backyard once, with the stakes you plan to carry and the fly guyed out. A tent you have already pitched twice is a tent you will not fight in the rain.
Frequently Asked Questions
01What is the absolute best backpacking tent?
There is no single best backpacking tent; the best one fits your party size, your sleeping pads and your weather at a weight you will actually carry. For two hikers, the MSR Hubba Hubba LT2 is the balanced starting point in this guide.
02Is a 5 lb tent too heavy for backpacking?
A 5 lb tent is not too heavy for two hikers who split it, but it is heavy for one person carrying it alone. A 6 lb tent follows the same rule: divide it by the number of packs.
03Can two people sleep comfortably in a 2-person backpacking tent?
Two people can sleep in a 2-person tent, but comfort depends on floor shape. Two 25-inch pads need about 50 inches of width, and a floor that tapers toward the feet may only hold two narrower pads. Measure before you buy.
04Do I need a freestanding tent for sandy ground?
A freestanding tent is the more forgiving choice on sand because it holds its shape without stakes. It still needs anchoring in wind, so bring a deadman anchor and longer guylines.
05Should I replace the stakes that come with my tent?
Yes, if you camp on sand, wet ground or in wind, because the stakes in the box are thin and a common complaint among hikers. Sturdier Y-beam stakes and longer cord hold better and cost little.

I've spent more than a decade researching hiking gear and trail technique. I read the specs, the forum threads and the long-term reviews, and every pick here comes with what it gets wrong.
End of the trail
You read every mile of this one. Here's where the trail goes next.