In this article
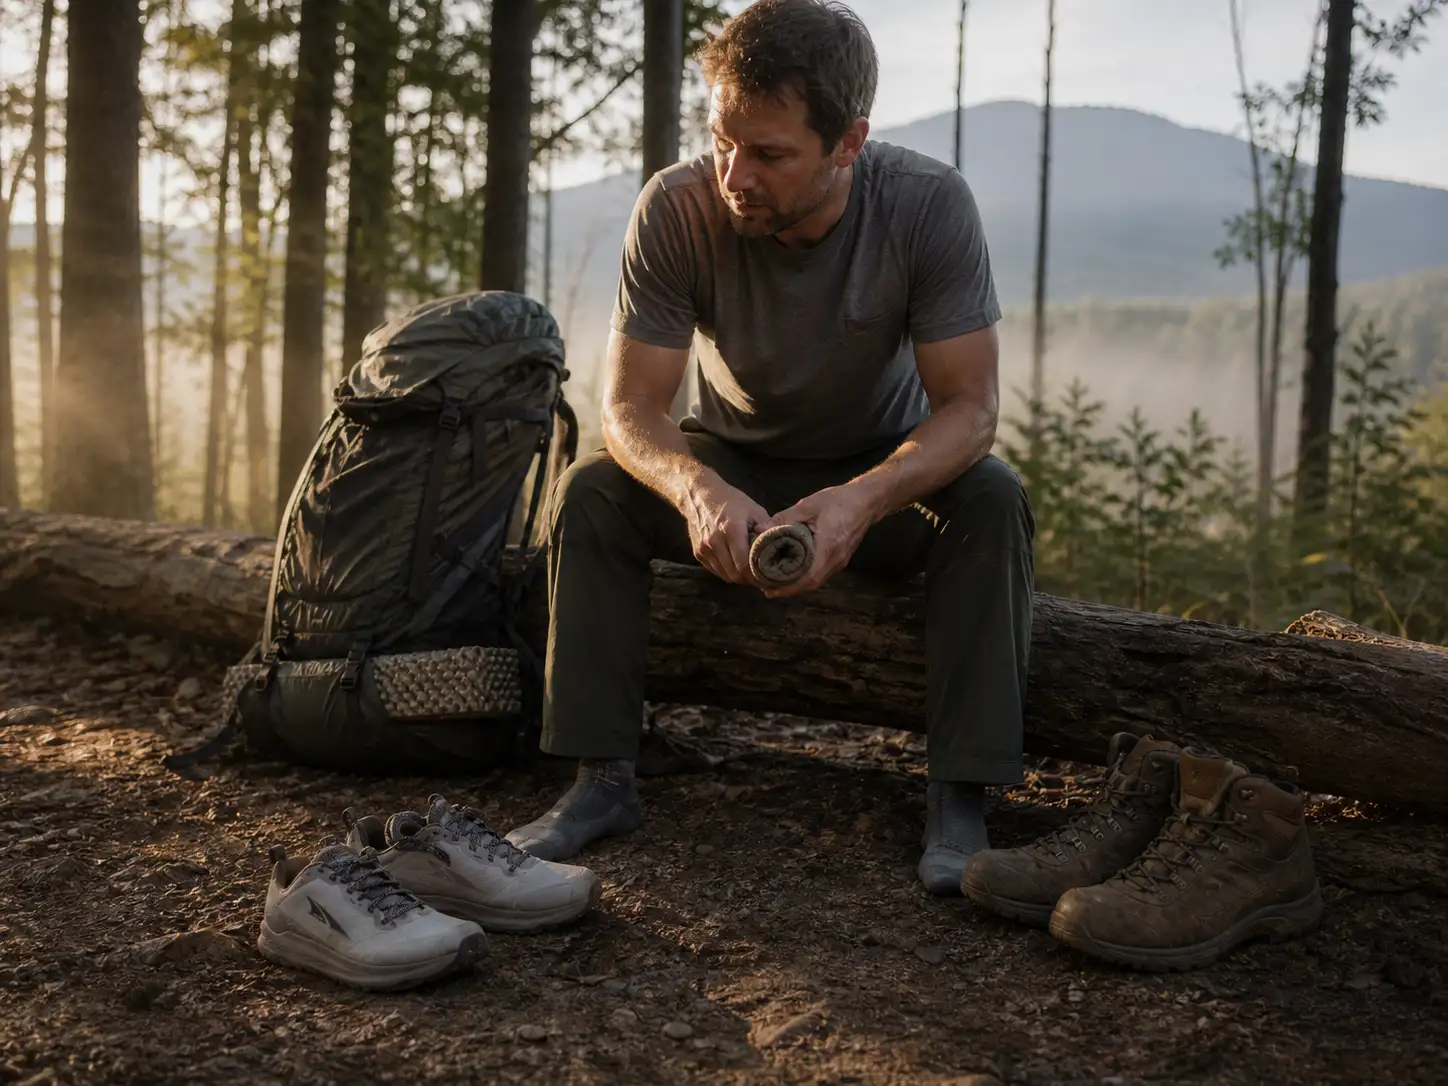
You’re standing in the gear shop with a trip three weeks out, one boot in each hand, and everyone you’ve asked has given you a different answer. The trail runners vs hiking boots for backpacking argument gets treated like a personality test, traditionalist against ultralight convert, and that framing is why nobody ever settles it. It’s a math problem with a handful of inputs, and pack weight is the biggest one.
On the Appalachian Trail, where 2,190 miles stress-tests every footwear opinion anyone has ever held, 87% of 2025 thru-hikers wore trail runners for the majority of the hike; that number was 71.8% back in 2019. What follows is the weight math, the ankle-support research, the trips where boots still win outright, and a decision framework you can run against your own trip.
Here’s how the two categories actually compare across the decisions that matter.
| Decision Point | Trail Runners | Hiking Boots |
|---|---|---|
| Pack weight | Best under ~30 lb on established trail | Start paying for themselves above ~35 lb |
| Weight per pair | ~20–25 oz | ~2.5–3+ lb |
| Terrain | Maintained trail, desert, long mileage days | Off-trail, scree, talus, technical ground |
| Water crossings | Mesh drains and dries in about an hour | Membrane holds water once submerged |
| Cold and snow | Loses outright once postholing starts | Wins; only a boot takes crampons |
| Lifespan per pair | 300–500 miles, replace | 1,000+ miles, resoleable |
| Break-in | None, wearable out of the box | Weeks for stiff leather |
The Weight Math Nobody Runs Before Buying
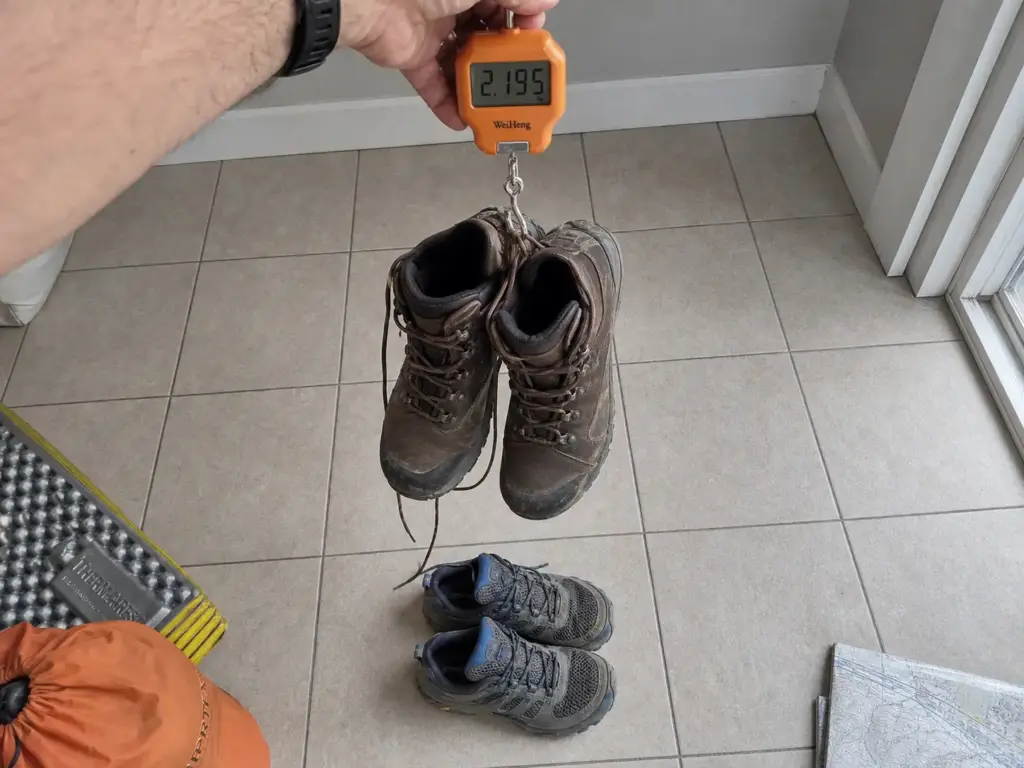
Everyone compares the two numbers on the shoe box and shrugs. A pound and a half, who cares. The part nobody mentions at the trailhead is that weight on your feet isn’t priced the same as weight on your back.
Trail runners land around 20 to 25 oz a pair; hiking boots run 2.5 to 3+ lb. Call it a 15 to 25 oz gap, which sounds like nothing until you apply the multiplier: weight on the feet costs roughly four to six times more energy than the same weight in your pack, so one pound on your feet works out to about five on your back. That ratio is confirmed repeatedly in a widely-cited Backpacking Light breakdown of the energy-cost research.
Your legs lift your feet every step. Your pack just sits there.
Now run the multiplication. A 3-lb pair of boots functions like an extra 15 lb of phantom pack weight, every step, all day. Fifteen pounds is a bear canister, three liters of water, and your tent.
You’d never volunteer to carry that, yet plenty of hikers strap the equivalent to their feet and then wonder why the last four miles felt so long. Run it oz-for-oz and it holds: a 10.6 oz footwear gap refunds about 2.65 lb of carrying capacity before you’ve cut a single item from your kit.
Before you shop, put both pairs on a kitchen scale. Not the manufacturer’s listed weight, which is usually a men’s size 9 and always optimistic, but the actual pair in your size. The number on the box and the number under your feet are rarely the same shoe.
The weight argument is settled, which is why the Appalachian Trail numbers moved the way they did; every disagreement left is downstream of it. The next question is which shoes survive a loaded pack, and the trail runners that hold up under a loaded pack are a narrower set than the running-shoe wall suggests.
The Ankle Support Argument, Checked Against the Research
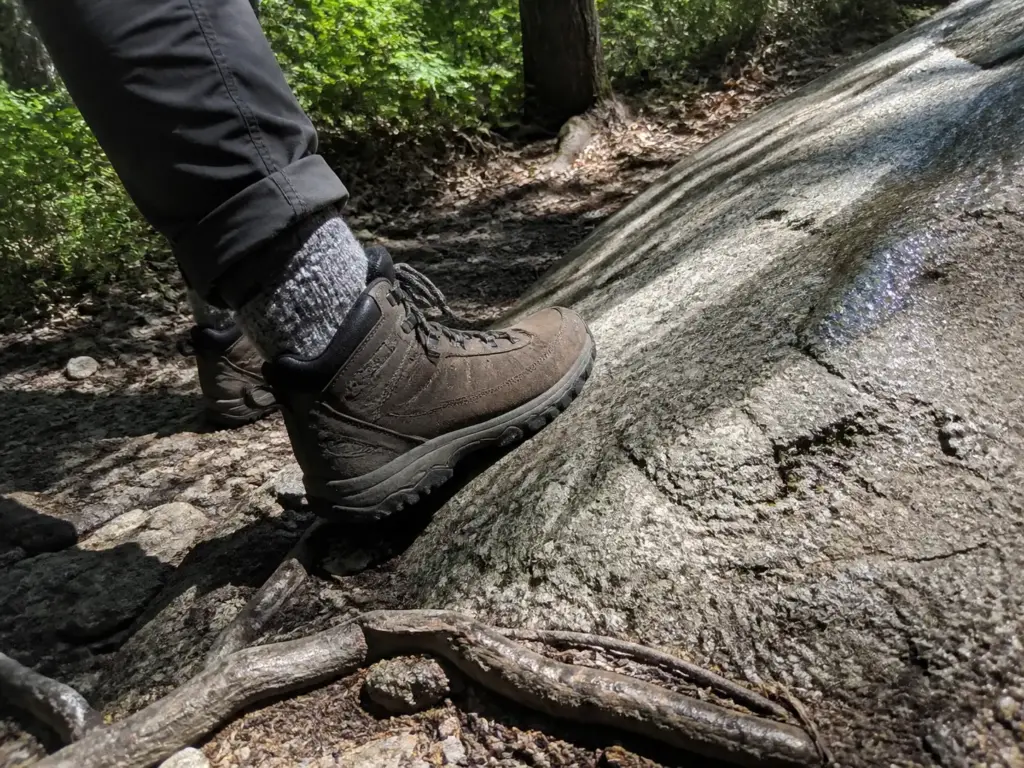
This is the argument every well-meaning relative makes the moment they hear you’re going backpacking. Wear boots, they support your ankles. It sounds like physics. The research says the cuff loses the exact fight it’s supposedly there to win.
What a boot collar can and can’t physically do
An ankle rolls when the foot inverts under load, usually because your heel landed on the sloped edge of a rock you didn’t see. The force in a real inversion runs three to five times greater than what a boot collar can resist, so the cuff isn’t built to stop that twist and no amount of lacing changes the numbers. It limits ankle mobility slightly and adds padding; it does not act as a brace. The full breakdown of the ankle support research is more consistent than the forum threads suggest.
Worth separating the cuts while we’re here, because the debate blurs them. Mid-cut boots sit just over the ankle bone and are what most people picture when they say “hiking boots.” High-cut boots rise higher up the shin and belong to mountaineering and heavy-load territory. Neither one changes the inversion math; they change how much of your leg is wrapped in fabric and how much that fabric weighs.
The Real Benefit Boots Do Deliver Is Proprioception
There is a genuine benefit, and it isn’t mechanical. More skin contact around the ankle improves proprioceptive feedback, your joint-position awareness, and that can trigger a faster protective reflex when the foot starts to go. Who it helps is narrow, though: hikers with a prior sprain and residual instability, the ones whose ankle already gives out on flat ground once or twice a year. For everyone else the signal is small and the weight cost is not.
If ankle protection is the actual goal
Prophylactic ankle braces cut injury incidence by roughly 70% in healthy athletes without meaningfully limiting range of motion. A low-profile brace inside a trail runner beats boot height on the thing you care about and weighs a couple of ounces instead of a pound and a half per foot. So if your ankles are why you’re buying boots, buy a brace and a lighter shoe. The mid-cut lineage, the Merrell Moab 3 Mid GTX and the imitators built on the same silhouette, earned its reputation on the ankle-support claim, and it’s the reputation doing the work, not the mechanics.
Waterproofing Is a Trade, Not an Upgrade
Waterproof feels like the paid upgrade version of a shoe. Then you cross one creek deeper than your ankle and spend two days learning what a membrane does when the water is already inside it.
What a membrane actually does in both directions
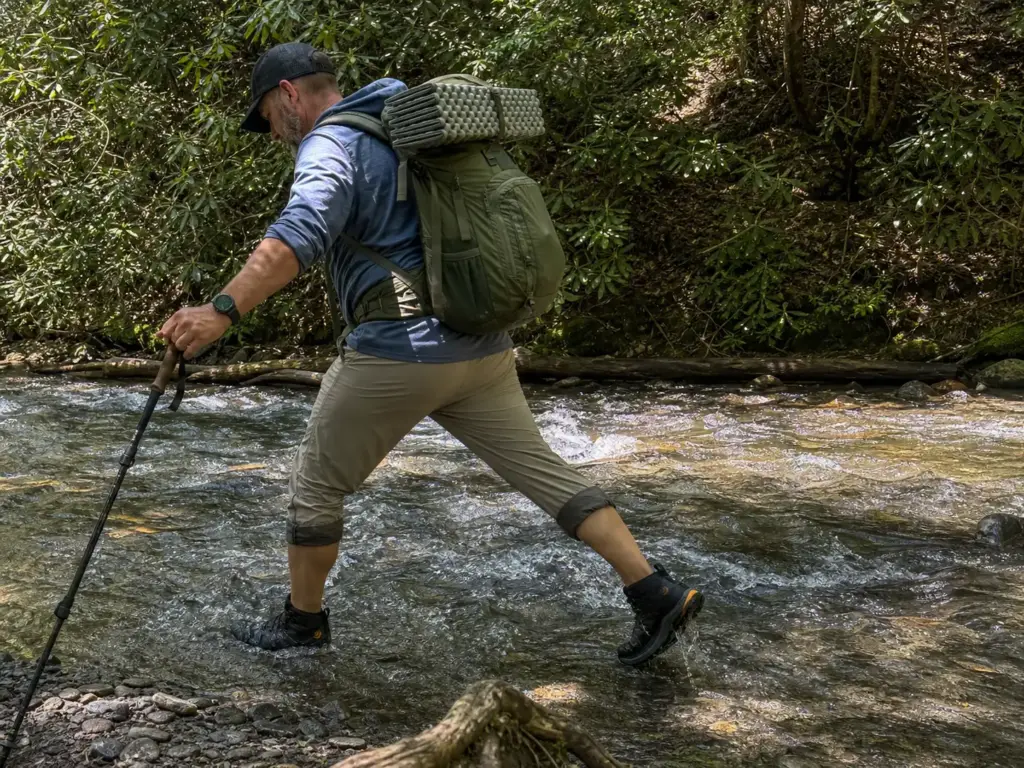
A waterproof membrane stops water getting in and stops it getting out, including the sweat your feet make all day, so breathability drops and on a warm climb your socks soak from the inside without a single crossing. The failure mode that matters is submersion: step into water above the collar and a Gore-Tex shoe fills, then holds it for hours, because the membrane blocking the creek is now blocking the drainage. Mesh floods instantly, drains just as fast, and dries in about an hour of walking.
Water crossings and the drain-and-go approach
On routes with repeated stream crossings, mesh runners are the practitioner default and it isn’t close. You walk through, your feet are wet, you keep walking, and an hour later they aren’t. Nobody takes shoes off, nobody balances on a wet log.
The pattern holds across categories, as how boots, shoes and sandals compare across wet terrain shows. Gaiters and Gore-Tex oversocks cover the rest: removable waterproofing beats waterproofing you’re stuck with for 400 miles.
When waterproof genuinely earns its place
Cold, wet and sustained is the combination that flips it. Shoulder season in the mountains, sleet at 9,000 feet, hiking where it never gets above freezing. There, wet feet stop being a comfort problem and become a frostbite risk, and the conservative instinct behind the old sturdy-boot advice makes a lot more sense. For that case the Topo Athletic Trailventure 2 WP (men’s · women’s) sits in the literal middle: waterproof membrane, mid-height cut, without the weight and stiffness of a leather boot.
Durability, Mileage, and the Shoe That Dies Quietly
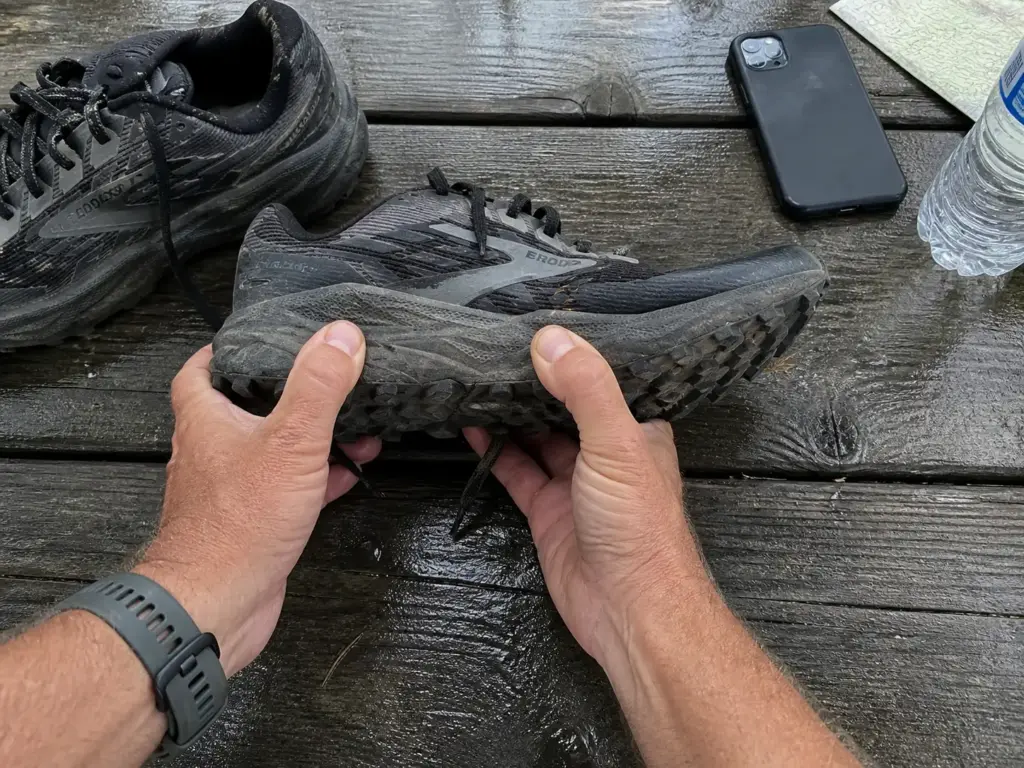
A trail runner does not fall apart. It looks fine right up until the day a rock bruise tells you the midsole gave up 150 miles ago. That’s the whole problem in one sentence, and it’s why mileage matters more than appearance.
The real mileage numbers
Trail runners start dropping off in cushioning and support around 300 to 500 miles. Altra models often stretch closer to 700, but the honest planning number sits in that window, and the range describes performance rather than disintegration: the shoe stays wearable long after it stopped protecting you.
Boots run a different curve. Full-grain leather with Goodyear-welt construction clears 1,000+ miles routinely and can be resoled rather than replaced, so the upper you break in once might outlive three pairs of runners. That’s the pro-boot case’s strongest surviving argument.
Cost per mile, the metric that actually compares them
Long-distance hikers compare footwear on cost per mile, not sticker price, and once you divide, the categories stop looking so far apart. A mid-priced runner good for 500 miles competes differently than the shelf tag suggests against a pricier boot resoled once at 1,500. Neither wins cleanly: boots take total pairs and packing logistics, runners take per-mile cost and never losing a week to break-in. A shoe that dies at 250 miles isn’t budget-friendly at any price, which is why shoes chosen for total trail mileage cluster in the mid range rather than the bottom.
Spotting a dead shoe before it hurts you
The story circulating in every hostel on the Appalachian Trail is the same: day 12, the shoes look completely intact, then one bad rock bruise makes it obvious the midsole flattened out 150 miles back and nobody noticed. The upper lies, because it’s built to survive far longer than the foam under it.
Check it with your hands instead. Press your thumb into the midsole along the forefoot; healthy foam pushes back, dead foam feels like a packed-down couch cushion. Look for compression wrinkles along the sidewall, and trust your mile count over the way the shoe looks.
Write the purchase date inside the tongue with a permanent marker the day the shoes arrive. Mileage estimates drift wildly after a couple of months, and the date is the only honest record you’ll have when you’re standing in a resupply town deciding whether to order the next pair.
If you want a runner that holds its shape longer, the Brooks Cascadia 19 (men’s · women’s) is the structured, standard-drop counterpoint to the zero-drop camp: 35mm of stack and a firmer upper that resists the blown-out sidewall a lot of lightweight runners develop by month two.
Toe-Bang, Swelling, and Why Descents Cost You Toenails
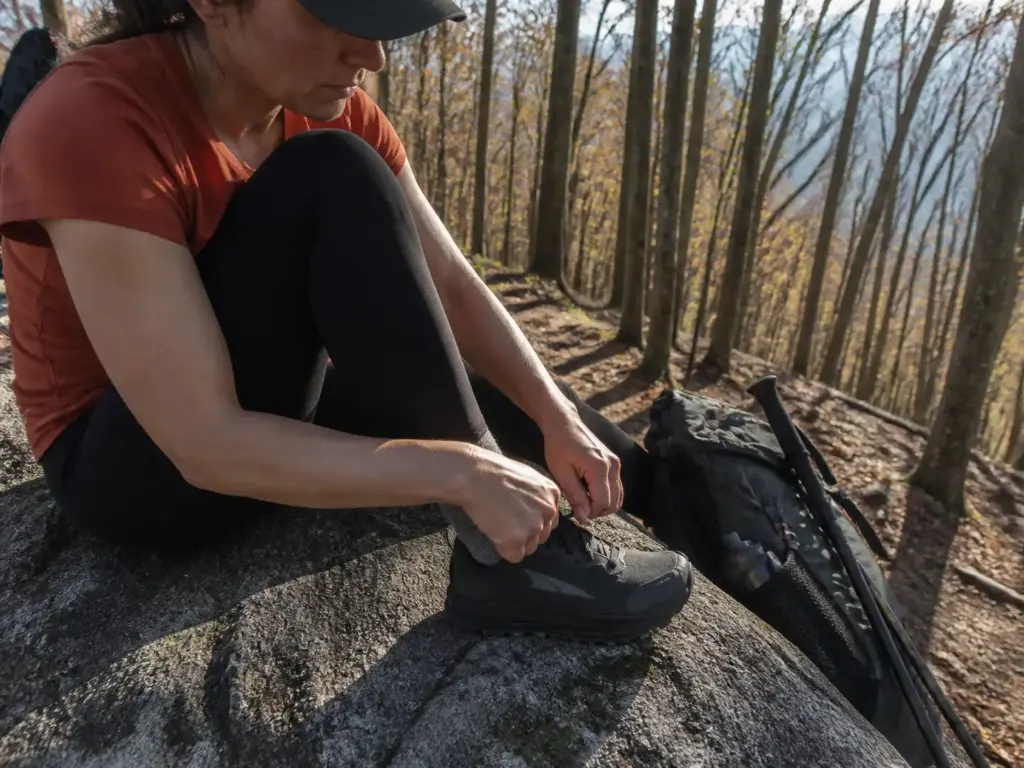
Nobody buys footwear thinking about the third day of a trip, when your feet are half a size bigger than at the trailhead and every descent drives your toes into the front of the shoe. Then the black toenail shows up and it’s too late to fix from the trail.
What toe-bang is and what causes it
Toe-bang describes the mechanism exactly: toes hitting the front of the shoe repeatedly on descent, where four miles of steep downhill bruises the nail bed and turns into toenail loss weeks later. What surprises people is that it isn’t a boots-versus-runners problem. It’s a toebox shape and lacing problem, and both categories hold shoes that do it and shoes that don’t. Blaming the category means buying the wrong replacement.
Feet Swell, So Plan for the Foot You’ll Have on Day Three
Multi-day mileage and long descents swell feet regardless of what’s on them, and by day three most hikers are wearing a foot measurably larger than the one they fitted at the store. Here’s where the common mistake lives: hikers size up for boots automatically, then buy trail runners in their street size, because a running shoe should fit like a running shoe. It shouldn’t, not for backpacking.
Going half-size up from your street size is the usual starting point for backpacking mileage, and knowing when to size up and by how much matters most in a tapered last, where the extra volume has nowhere to go but forward into your toes.
Where toebox width changes the outcome
Traditional tapered boot lasts are the named mechanism. They narrow toward the front, so on a descent the downward force drives your foot into a wedge that squeezes the toes together and forward at once. A wide toebox lets toes splay and spreads that force across the forefoot instead of concentrating it on the two longest nails.
The Altra Lone Peak 9 (men’s · women’s) is the design most consistently named as the fix, zero drop with a foot-shaped toebox that became the long-trail default for this reason. Worth knowing zero drop asks your calves and Achilles for an adjustment period, so it isn’t a shoe to buy the week before a trip.
The free fix works in either category: a heel lock lacing pattern. Run the lace through the top eyelets to form a loop each side, cross the ends through the opposite loop, pull down and tie. It anchors your heel so your foot stops sliding forward.
What goes inside the shoe does as much work as the shoe. A sock system built on moisture wicking merino or synthetic keeps the friction down where a cotton sock guarantees a hot spot, and quick-dry liners matter more in mesh runners than in boots because you’re counting on the whole package drying out while you walk. Insoles are the other half: most factory footbeds are a flat piece of foam, and swapping in one with real arch support changes how a shoe fits more cheaply than buying a different shoe. Fit both together, since a thicker sock and a fuller insole both eat volume you were planning to give your toes.
Terrain and Load, Where Boots Still Win Outright
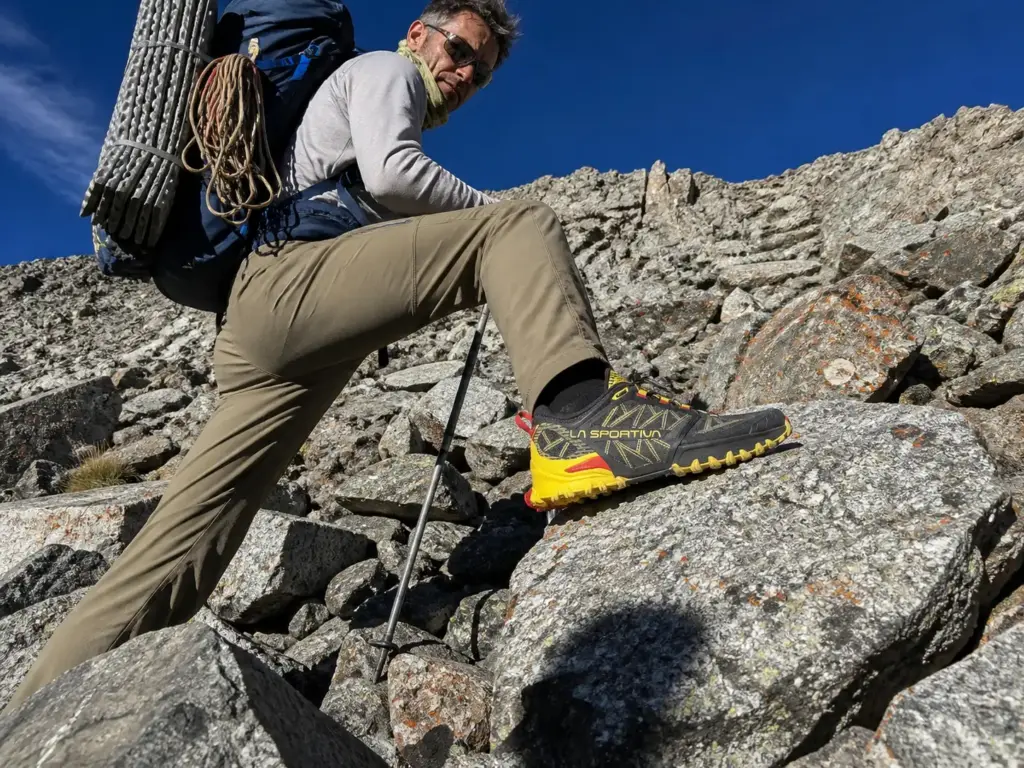
Trail runners won the weight argument and compete hard on mileage, and there are still trips where showing up in them is the wrong move. The park-service baseline recommends sturdy, rubber-soled footwear for uneven ground, and that advice isn’t outdated so much as written for conditions thru-hiker practice doesn’t cover.
Torsional rigidity and heavy loads
Torsional rigidity means how much a shoe resists twisting when one edge is on a rock and the other isn’t. Grab a shoe by heel and toe and wring it like a towel; a stiff boot barely moves, a soft runner twists most of the way around. On flat trail that means nothing. Under a heavy pack on uneven ground, it’s the difference between your foot staying flat and your foot following the rock. Above roughly 35 lb, and on off-trail or technical ground, sole stiffness starts paying for the weight it costs, because tired foot muscles hand the stabilizing job back to the shoe. It’s a load threshold, not a trip-length one.
Scree, talus, and sustained off-trail travel
On scree and talus what keeps you upright isn’t cuff height, it’s what sits between your foot and the rock: a rock plate stops a sharp edge driving into your arch, and outsole grip from deep lugs keeps you off loose stone. Plenty of hikers buy a taller boot when they needed a stiffer sole.
The La Sportiva Bushido III (men’s · women’s) is the rock-plated, aggressively lugged runner built for it. It’s also narrow and unforgiving. Not a beginner shoe, and not the pair for wide feet.
Cold, snow, and postholing
Postholing, punching a leg deep into soft snow every step, is the hard boundary where trail runners lose. Snow packs into a low-cut shoe, melts against your sock, refreezes at the next stop, and no technique fixes it. Crampon compatibility ends the argument outright: a crampon needs a sole stiff enough not to flex out of the bindings and, for most systems, a welt to clip to. A trail runner has neither, so check which boots actually take crampons before planning a route around a shoe that can’t.
Cold raises the stakes on everything else too. Wet feet in July are a comfort problem you walk off in an hour. Wet feet well below freezing above treeline are a frostbite risk, and that’s where a boot’s weight penalty becomes the cheapest insurance on the trip. Past that threshold it’s worth knowing where hiking boots stop and mountaineering boots start.
Break-In Time and the First-Week Blister Trap
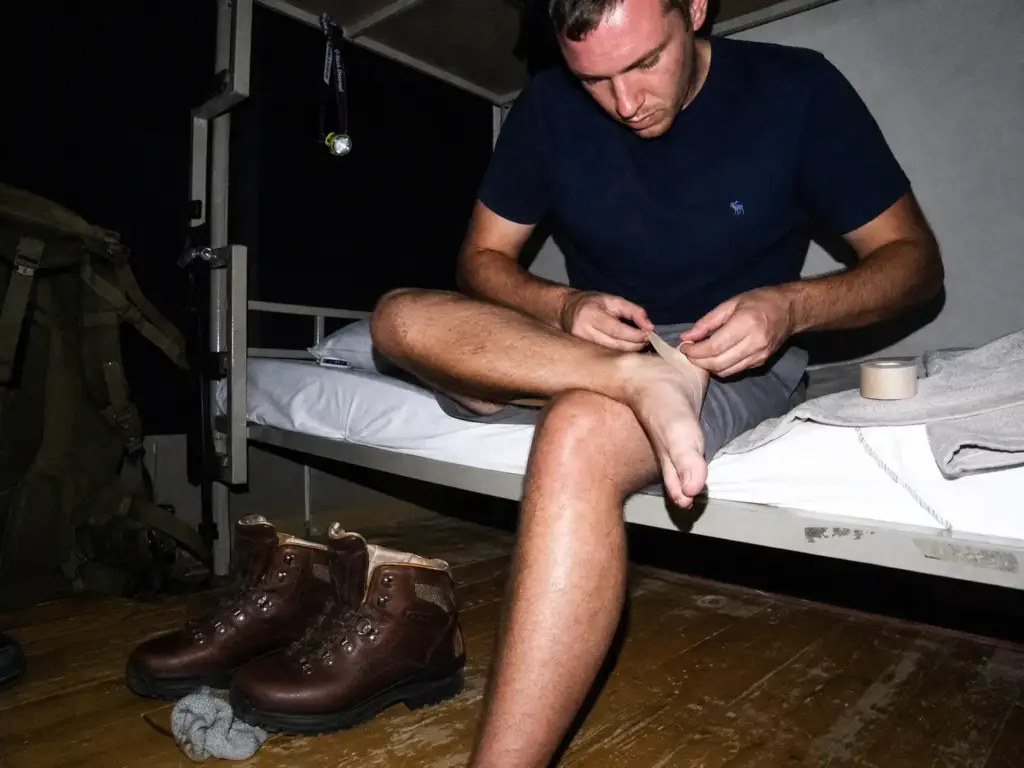
Boots ask for a relationship. Trail runners ask for nothing. That difference decides more first backpacking trips than any spec on the box.
Trail runners are wearable out of the box, which removes an entire failure mode from trip planning along with most of the first-week blister risk that comes with it. No conditioning schedule, no counting hours before departure. You buy them, you walk.
Stiff leather needs weeks of progressive wear, and skipping it is the classic first-trip mistake. The material has to mold to your foot, and the only thing that does the molding is time under load. How long each material really takes to break in varies more than people expect, which is why “a few weekend walks should do it” fails so often.
The pattern in first-trip stories is almost unfair: someone breaks in heavy leather for weeks, does everything the shop said, and still finishes week one with worse blisters than the friend who showed up in trail runners and started walking. The boots weren’t defective. Break-in is real for stiff leather; it just has to happen before the trip, not during it.
Synthetic mid-cut hybrids sit between the two and get overlooked. Some structure, days of break-in instead of weeks.
What It Actually Costs Across a Whole Trip
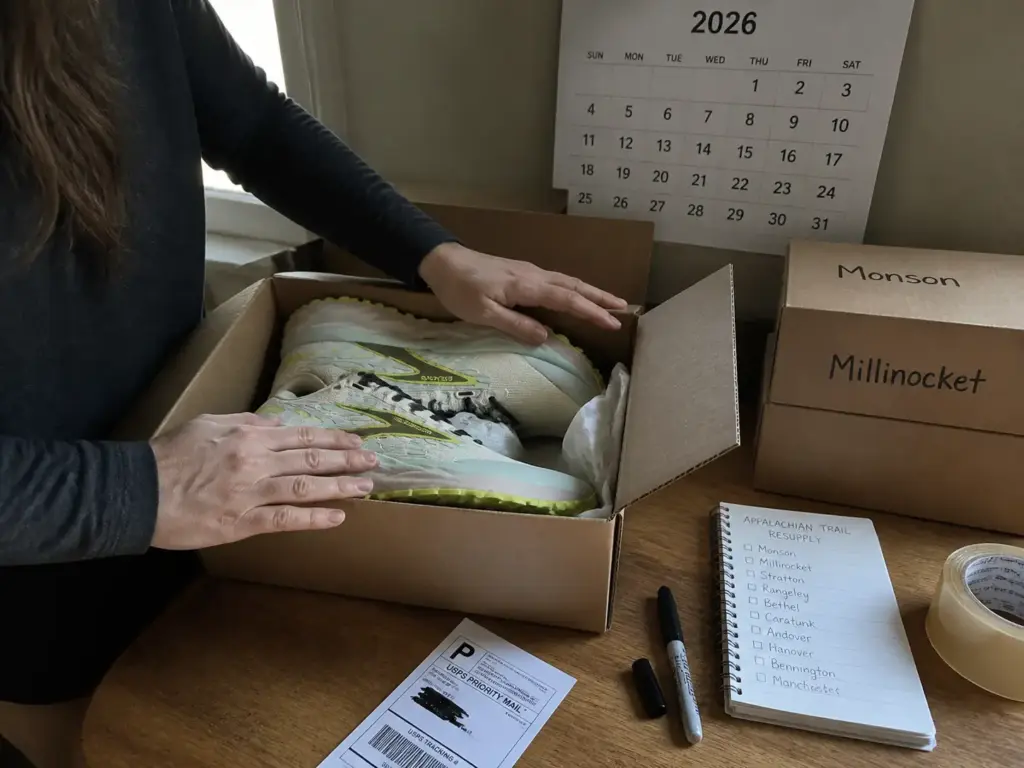
The budget conversation most people have is about one purchase. The budget conversation a thru-hiker has is about five.
The category ranges, plainly stated
Quality trail runners and quality hiking boots occupy different tiers, with boots sitting meaningfully higher upfront. Expect $100 to $150 for a trail runner built to survive a loaded pack, and $150 to $300+ for a boot worth breaking in. Below that floor the options skew road-adjacent, giving up the midsole density and outsole compound that matter over a season, so what separates a trail runner from a road shoe is worth reading before you take the discount.
The recurring cost nobody plans for
A PCT thru-hiker covering 2,650 miles goes through five or six pairs of trail runners, mailing replacements ahead to resupply points as the old ones die. That’s the actual pattern, not a worst case, and across a long trail it’s a multi-pair budget line rather than a single purchase. The boot’s higher upfront number looks different once the runner column has five entries in it.
Mail drops as routine logistics, not emergency planning
Buying pairs ahead and shipping them to planned resupply towns is the standard answer to mid-trip shoe failure, treated as ordinary logistics rather than a contingency plan. You know roughly where mile 400 and mile 900 fall, and you know the shoe lasts 300 to 500 miles, so the math writes the schedule for you. Ordering the model you already know fits also beats gambling on whatever a town outfitter stocks: trail towns carry two or three models, usually in the sizes nobody wanted.
Buy the replacement pairs before you leave, while the model you fitted is still in production and still in your size. Shoe companies rev their models annually, and the version that shows up in a resupply box six weeks later can be a different last with the same name on it.
The Decision Framework, Run Your Actual Trip Through It
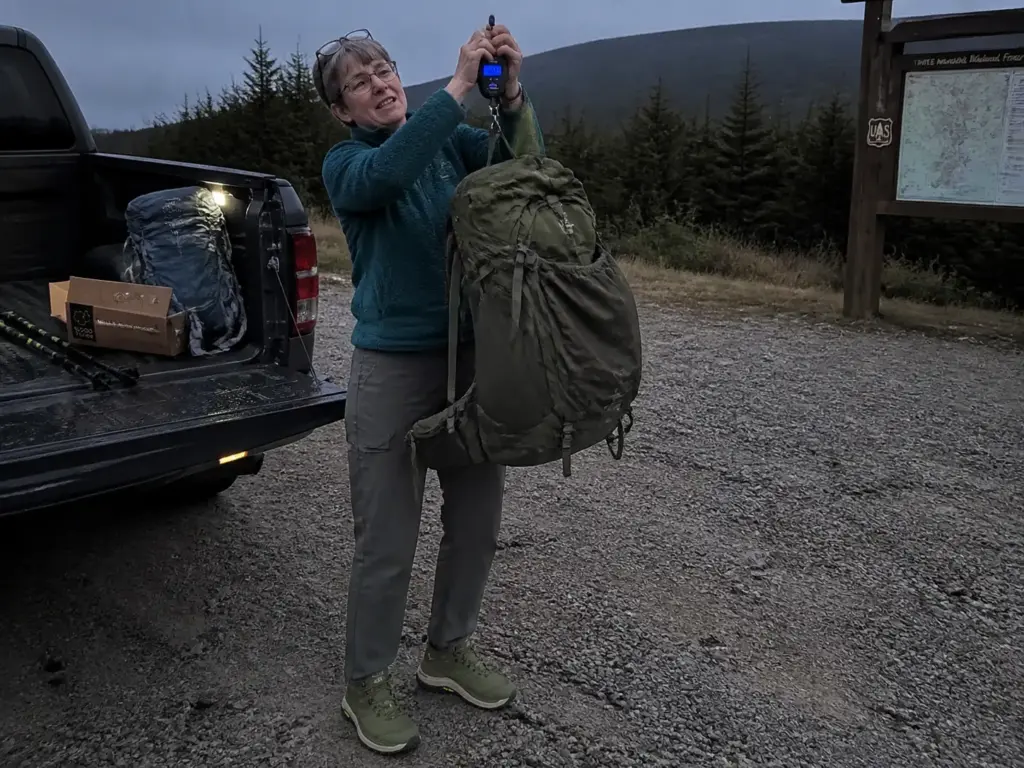
This is the part the forum threads never get to. Four inputs, in order, and the answer falls out the bottom without anyone having to defend a category.
Start With Pack Weight, the Variable That Decides Most
Under about 30 lb on established trail: trail runners, almost regardless of trip length. At 35 lb and up, or on heavy off-trail travel, you want a stiffer sole, a hybrid mid, or a boot. Somewhere in that 30 to 35 lb band the curves cross, and where depends on your legs and terrain more than on any rule.
The part worth sitting with: base weight is the lever you can actually move. Every pound cut from the pack widens your footwear options instead of narrowing them, so fix the pack first and the shoes get easier.
Then terrain, then season
Established trail is one thing. Scree, talus, and sustained off-trail travel are another, and that’s where sole stiffness and a rock plate matter more than anything printed on the box. Cushioning shifts it too, and how stack height changes what a trail runner can handle is the variable most hikers never think about until a long rocky descent makes them.
Season is the simplest input of the four. Three-season hiking on dry ground, trail runners handle it without an argument. Cold weather hiking near the postholing and crampon boundary, boot, no clever workaround.
Then your own feet and history
Prior sprains with residual instability are the narrow case where the proprioception argument applies, and even then a brace inside a lighter shoe beats a boot on the numbers. Then the rest of your foot: toebox width, foot swelling history, whether descents have cost you toenails before.
And the question people skip, have you actually broken in the boots in your closet, or are you planning to break them in on the trip? If it’s the second, you don’t own broken-in boots. You own a blister schedule.
Stop treating it as a permanent identity
The mistake that outlasts every other one here is committing hard to a category and defending it into conditions it was never built for. Postholing in trail runners because you’re a trail runner person. Cooking your feet in leather across forty miles of desert because you’re a boot person. The shoes don’t know what team you’re on.
Experienced long-trail hikers switch by segment, not by philosophy: trail runners through dry established trail and desert sections, then a stiffer boot or a waterproof mid-cut hybrid mailed to the town before a snowy pass, a scree field, or a heavy off-trail stretch. The footwear decision is per-segment, not per-hiker, and a mail drop is the whole mechanism.
That per-segment approach is why the middle of the category map keeps growing. Waterproof mid-height hybrids, stiffer runners with rock plates and fast-and-light boot-adjacent shoes all exist because the binary never described real trips well, so where speed hiking shoes fit between the two is worth knowing before you assume your only choices sit at the ends.
The Short Version
Weight on your feet costs four to six times what the same weight costs in your pack. That’s the whole argument in one line, and once you multiply it out, a 3-lb pair of boots is 15 lb of phantom pack weight you agreed to carry.
Boots still win on heavy loads, snow, and sustained off-trail travel, and pretending otherwise gets people hurt. A shoe that can’t take a crampon can’t take a crampon, no matter how many thru-hikers wear it in the desert.
The decision is per-trip, not per-hiker. Run pack weight, terrain, season, and your own feet through the framework every time, and let the answer change when the trip changes.
Weigh your loaded pack before your next trip, then run that number through the four checks above. If it comes in lighter than you assumed, your footwear options just got a lot wider.
Frequently Asked Questions
01Can you use trail running shoes for backpacking?
Yes, and most long-distance hikers now do. On the Appalachian Trail, 87% of 2025 thru-hikers wore trail runners for the majority of the hike. They work best on established trail with a pack under about 30 pounds, and the main adjustment is planning to replace them every 300 to 500 miles.
02Are trail running shoes the same as hiking shoes?
No. Hiking shoes are built on the boot side of the family, with a stiffer sole, more structure and more weight, while trail runners come from running design with more cushioning, more flex and far less weight. A low-cut hiking shoe sits between the two.
03Are hiking boots or sneakers better for hiking?
On maintained trail with a light pack either works, and the lighter option costs you less energy on every step. Boots earn their weight when the load goes above roughly 35 pounds, the terrain goes off-trail, or snow enters the picture.
04Are hiking boots good for backpacking?
They are good for specific conditions: heavy loads, technical off-trail terrain, snow, and crampon use. For three-season trips on established trail with a moderate pack, most long-distance hikers have moved away from them, and the foot-weight energy math explains why.
Risk Disclaimer: Hiking, trekking, backpacking, and all related outdoor activities involve inherent
risks which may result in serious injury, illness, or death. The information provided on The Hiking Tribe is for
educational and informational purposes only. While we strive for accuracy, information on trails, gear, techniques,
and safety is not a substitute for your own best judgment and thorough preparation. Trail conditions, weather, and
other environmental factors change rapidly and may differ from what is described on this site. Always check with
official sources like park services for the most current alerts and conditions. Never undertake a hike beyond your
abilities and always be prepared for the unexpected. By using this website, you agree that you are solely
responsible for your own safety. Any reliance you place on our content is strictly at your own risk, and you assume
all liability for your actions and decisions in the outdoors. The Hiking Tribe and its authors will not be held
liable for any injury, damage, or loss sustained in connection with the use of the information herein.
Affiliate Disclosure: We are a participant in the Amazon Services LLC Associates Program, an
affiliate advertising program designed to provide a means for us to earn advertising fees by advertising and linking
to Amazon.com. As an Amazon Associate, we earn from qualifying purchases. We are also an official affiliate partner
of Black Diamond Equipment via the AvantLink network. If you click on a Black Diamond affiliate link and make a
purchase, we may earn a commission at no additional cost to you. We also participate in other affiliate programs and
may receive a commission on products purchased through our links. Additional terms are found in the terms of
service.