

















Four jackets hang in front of you and every one of them says waterproof on the tag. One costs about what a tank of gas costs. One costs more than your boots, your pack and your sleeping bag combined.
Nothing on either hangtag tells you what the difference actually buys, and the honest answer is that most hikers need far less jacket than the roundups sell them, while the ones who genuinely need more need it for reasons nobody ever spells out. Below are five picks for a men’s rain jacket across four price tiers, plus the maintenance that decides whether any of them still works in year three.
What Actually Makes a Rain Jacket Waterproof
Almost every hiker has owned a jacket that stopped being waterproof. Almost none of them failed the way the owner thinks they did. The usual story goes like this: two hours into a steady drizzle, a cold clammy patch spreads under the arms and across the shoulders, you blame your own sweat for a while, and then you decide the jacket is finished.
It usually isn’t. The part that failed is almost always the cheapest, most repairable part of the whole system, and the expensive part underneath is still doing its job.
The Three Layers That Do the Work
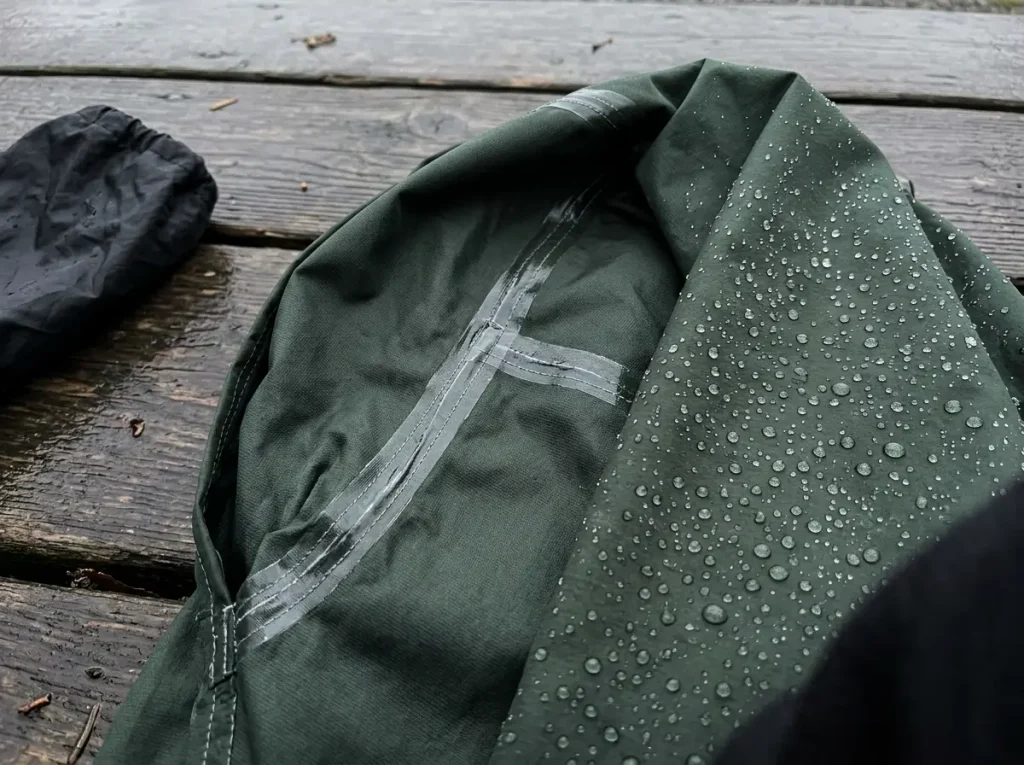
A waterproof rain jacket is three separate jobs stacked on top of each other. On the outside sits the face fabric, treated with a DWR finish, a durable water repellent coating whose only job is to make water bead up and roll off. Under that sits the membrane, a sheet with pores small enough to block liquid water but large enough to let sweat vapor escape. Holding the whole thing together are the taped seams, because a needle makes a hole and a hole leaks.
Almost every brand runs its own membrane, and the names get thrown around as if they were meaningfully different technologies. Gore-Tex is the one everyone knows, now built on an ePE membrane rather than the old expanded PTFE, with a C-Knit backer on the premium versions to cut weight and improve next-to-skin feel. Patagonia runs H2No, REI runs HydroWall, Helly Hansen runs Helly Tech Professional, Black Diamond runs BD.dry, and smaller technical brands build on licensed membranes like Pertex Shield and Dermizax.
They differ at the margins. All of them block liquid water and pass vapor, and none of them will save a jacket whose outer face has soaked through.
The face fabric under all that is usually ripstop nylon or recycled polyester, rated in denier, and the DWR on top of it is now almost universally PFC-free across every price tier. Seam taping is the quiet one: cheap jackets tape the main seams, better ones tape all of them, and a jacket sold as waterproof with untaped seams is not a rain jacket.
The trouble is that when any one of those three jobs fails, it feels identical from the inside. Cold. Damp. Betrayed.
Diagnosing which one actually went is the entire skill, and it is worth understanding how different membranes actually compare on breathability before you assume the membrane is the culprit, because it usually isn’t.
2.5-Layer vs 3-Layer, and Who Each One Is For
This is the spec that matters most and gets explained worst. A 3-layer shell bonds the face fabric, the membrane and an inner liner into one laminate. It is a single piece of material. That construction survives pack straps, brush and years of stuffing, which is why it costs what it costs.
A 2.5-layer shell skips the woven liner and replaces it with a printed or sprayed-on coating on the inside of the membrane. It is lighter, cheaper, and packs smaller.
That thin inner coating also degrades faster than a bonded liner does, sometimes flaking off in patches after enough seasons.
Neither approach is wrong. They are answers to different questions.
Here is the tell most buyers miss: Arc’teryx and Patagonia have both moved their shell lines to 3-layer construction only. So when a premium brand still sells you a 2.5-layer jacket, read it as a deliberate positioning choice. That is an ultralight or emergency piece, not the do-everything shell in the lineup.
The Features That Actually Change Your Day
Spec sheets list a dozen features and about five of them matter. A storm flap over the main zip is the difference between a zipper that seeps in wind-driven rain and one that doesn’t. Pocket placement matters more than pocket count: a chest pocket stays reachable under a pack’s sternum strap, while standard hand pockets sit exactly where a hipbelt lands. Jackets built for backpacking use hipbelt-compatible pockets raised above the belt line, and some ultralight shells add a single large drop pocket or dump pocket inside for a map or gloves.
At the wrists, velcro cuffs seal tighter over a glove and elastic cuffs weigh less and never wear out. A brimmed hood with a stiffened peak keeps rain off your glasses in a way a soft hood never will. Cut is the other half: an alpine cut runs longer in the back and roomier through the chest to clear layers and a harness, while an athletic fit trims that away for people who will never wear more than a fleece underneath. A few ski-oriented shells carry a RECCO reflector for avalanche recovery, which is genuinely useful in avalanche terrain and pure dead weight on a summer trail.
Why “Waterproof” and “Breathable” Fight Each Other
Every membrane is a compromise between two goals that pull in opposite directions. Block more water and you pass less vapor. Pass more vapor and you give up some resistance to sustained pressure.
Every claim about weatherproofing on a hangtag is a position on that tradeoff, not an escape from it. Marketing departments have spent thirty years pretending this tension doesn’t exist.
What that means on the trail: on a warm humid day, a fully sealed shell will make you damp from the inside no matter what it cost, because you are producing sweat buildup faster than any membrane on earth can move it. That is what pit zips are for, and it is why a jacket with pit zips beats a slightly more breathable jacket without them almost every time. If you want the numbers behind the marketing, it helps to know what a hydrostatic head rating is actually measuring, because that spec answers only half the question.
Best Overall: Arc’teryx Beta AR
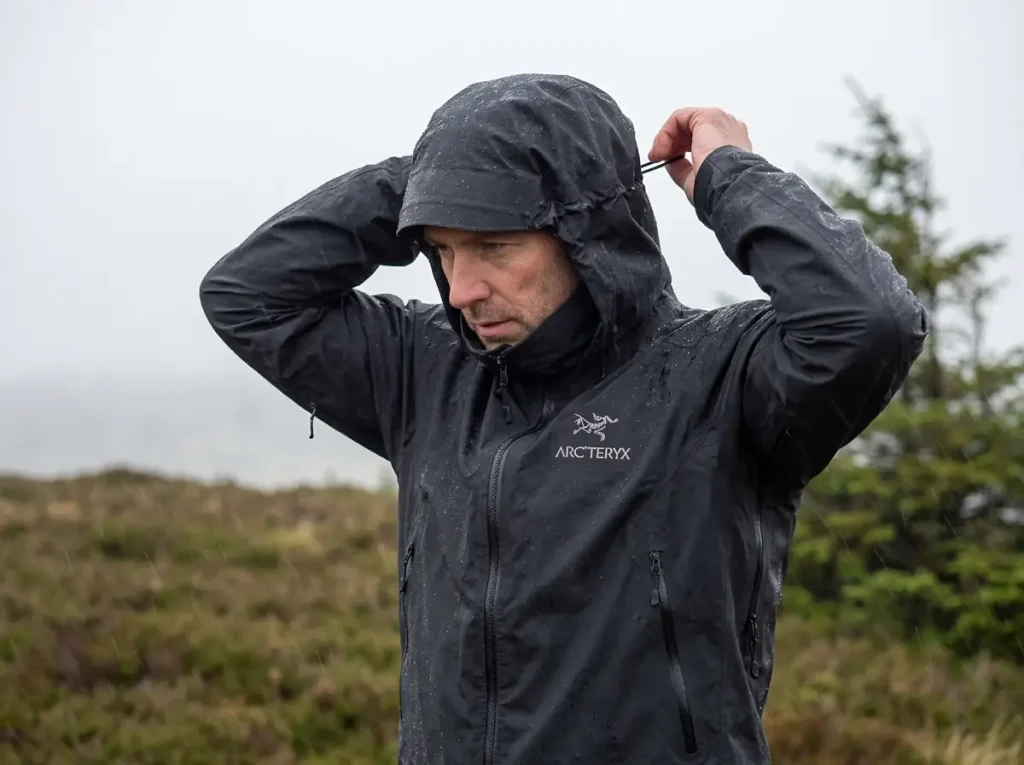
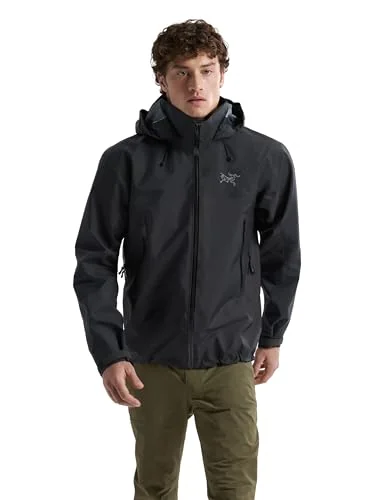
A premium pick has to earn its spot, not just sit at the top of a list because it costs the most. The Arc’teryx Beta AR earns it in one specific scenario: sustained, multi-hour, wind-driven rain in shoulder season, with a loaded pack on. That is the condition where the gap between tiers stops being theoretical.
What the extra money buys is not a better membrane in the first forty minutes. Most taped-seam shells handle the first forty minutes fine. It buys a face fabric tough enough to shrug off pack straps and wet brush without wearing through its DWR in a season, and a laminate that keeps moving vapor at hour three when the cheaper stuff has given up. If you are weighing this class of shell against a stretchier, more breathable option, it is worth reading where a hardshell stops and a softshell starts before you commit, because a lot of people buy a hardshell for conditions a softshell handles better.
Where it is wasted: occasional day hikes in a climate with brief afternoon showers. Buying this jacket for that use is buying durability you will never actually reach. You would have to hike hard in genuine rain for years to wear it into the range where the construction pays you back.
One fit note that matters more than it sounds. A 3-layer shell is cut to go over layers, not over a t-shirt, so it will feel roomy on a store rack and correct in the field. That connects directly to the layering section further down, and it is the single most common sizing mistake in this category.
The saddest jacket in most gear closets is a premium shell worn twice a year that still wets out, because nobody ever washed it and reactivated the DWR. Price does not substitute for maintenance. A neglected top-tier shell performs worse in real rain than a maintained budget one, every single time.
Best Budget: The North Face Venture 2
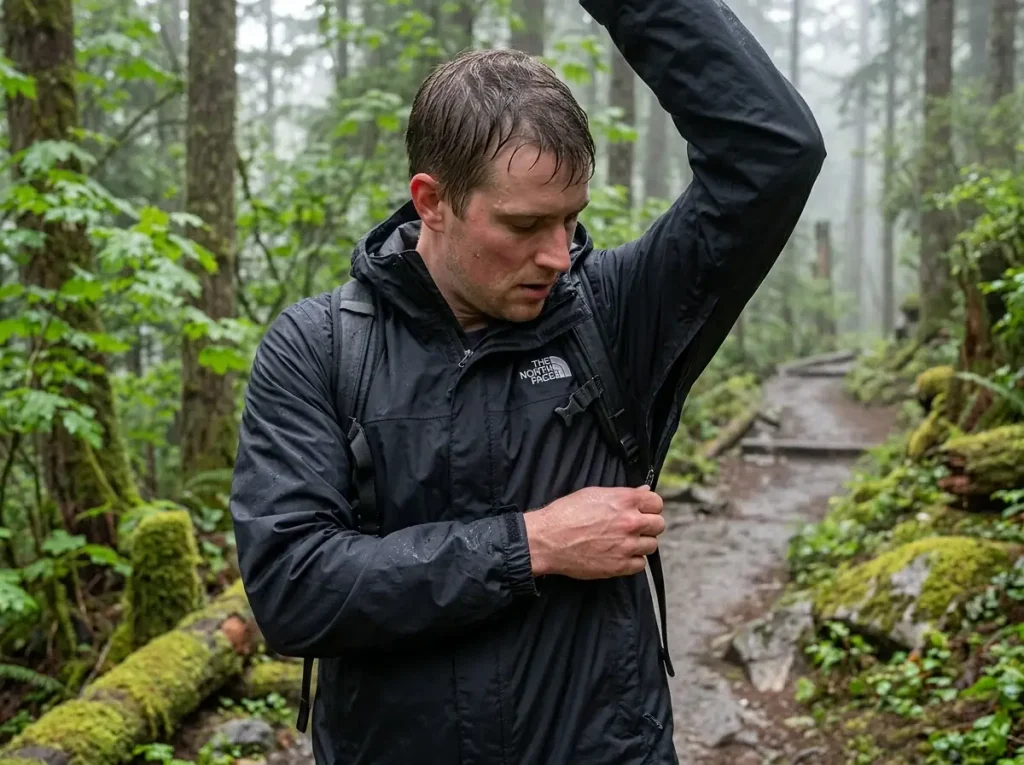
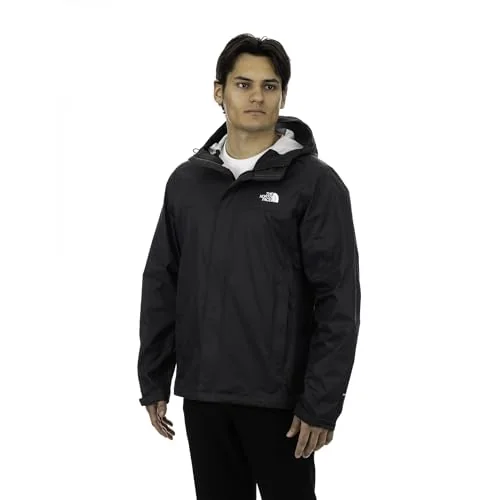
Every gear roundup treats this tier as the consolation prize, the thing you settle for. That framing is backwards. For most people reading this, the North Face Venture 2 is not a compromise, it is the correct answer, and the money you don’t spend here buys the tech wash and the reproofing spray that make it last.
Start with what you give up, because that is where roundups get vague. You give up sustained-rain performance: a 2.5-layer DryVent membrane under a lighter face fabric will start feeling clammy in hour three of steady rain where a Gore-Tex Pro laminate keeps going. You also give up abrasion resistance over years of pack straps. Both of those are real.
Now what you do not give up, which nobody says clearly enough. You do not give up taped seams. You do not give up a genuine membrane. You do not give up pit zips, which on a steep climb in warm rain matter more for how dry you feel than the membrane spec does.
A jacket in this class is not offering mere water resistance, it is waterproof, and the difference between it and a premium shell is measured in hours of exposure, not in whether it works.
Which leads to the decision rule this entire article is built on, and it is one number: how many hours of sustained rain do you actually walk in per year? Not how many miles you hike. Not how ambitious your trip list is. Hours in real rain, moving, with the jacket on.
A hiker doing three hundred miles a year in a dry summer climate might log four such hours. A hiker doing one hundred miles a year in the Pacific Northwest shoulder season might log forty. The second hiker needs the premium tier and the first one does not, and their mileage says the opposite.
That reframing is deliberate, because total mileage is the number people instinctively reach for and it is the wrong one. If you are still narrowing the field, the wider buying framework for hiking rain shells walks through the rest of the variables in one place.
One caveat worth stating flatly: nobody who hikes in genuinely wet country treats a mid-range shell and a 3-layer Gore-Tex Pro shell as interchangeable for all-day conditions. Pretending they are equivalent is exactly how people end up cold and calling it bad luck. The Venture 2 is the right jacket for the hiker it is right for, which is most hikers, and it is the wrong jacket for a week of Cascades drizzle.
Best Ultralight: Outdoor Research Helium
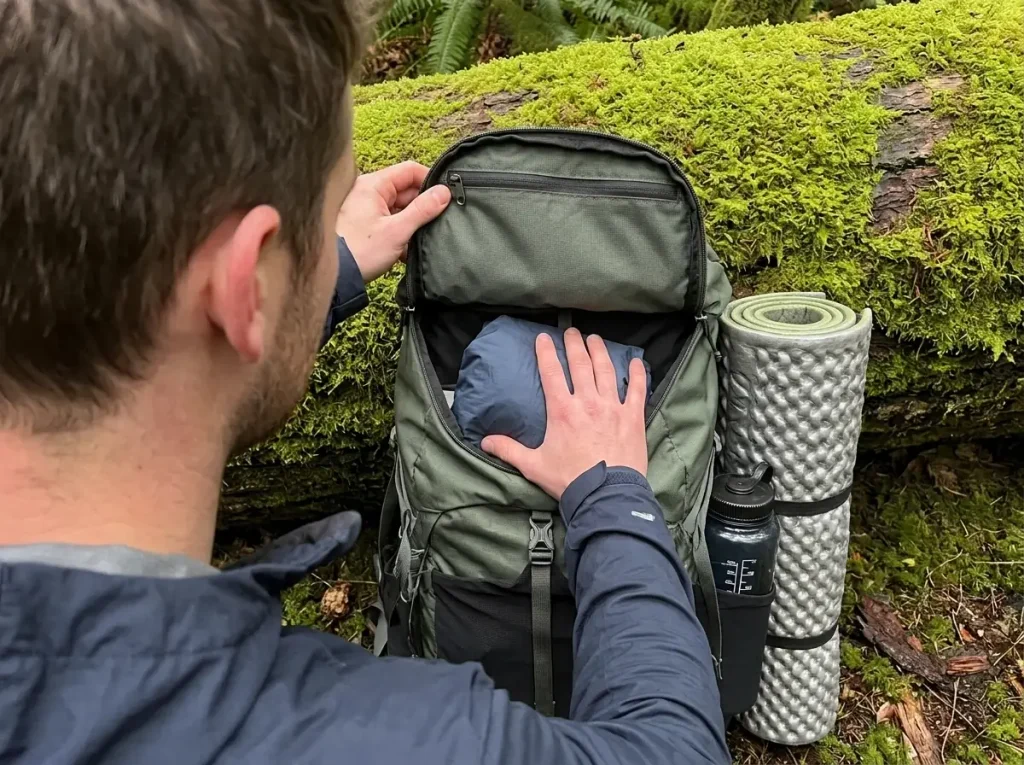
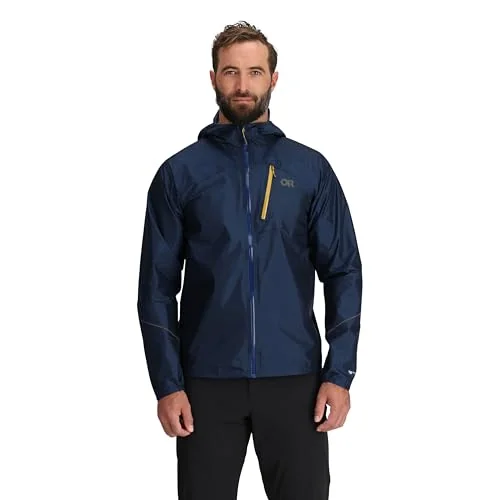
An ultralight shell is a bet, and it is worth naming the bet out loud. You are trading durability for the near-certainty that the jacket stays in your pack. This is the tier that matters if you count pack weight to the ounce, or if you are trail running and every gram is on your shoulders for hours. Nobody should expect it to be a quiver killer, the one jacket that replaces every other shell you own.
Roughly six and a half ounces disappears into a pack lid. Thirteen ounces gets weighed, considered, and sometimes left at home, which is how people end up in a squall with no shell at all. The Outdoor Research Helium wins that bet on a lot of summer trips.
The logic is specific: this is a jacket that lives in the top of your pack all season and comes out for an hour of afternoon convection rain, the kind that builds over a ridge at three in the afternoon and is gone by five. For that pattern, a heavier shell is dead weight you carry for twenty miles to use for sixty minutes.
Now the honest tradeoff. A thin face fabric under a loaded pack strap is precisely the abrasion scenario that wears DWR off fastest. It is not that the jacket falls apart, it is that the shoulders stop beading long before the rest of the jacket does, and once the face fabric wets out there you get that cold patch across the shoulders even though the membrane is intact.
On a light shell that timeline is measured in seasons, not years. If you want the full comparison of what gives out first at each weight class, which rain jacket fails first on the trail breaks it down failure mode by failure mode.
Who this is wrong for: anyone wearing the jacket for hours at a time, day after day, pushing through wet brush. That is not a weight problem, it is a wear problem, and the ultralight tier loses it.
DWR never fails evenly across a jacket. It goes first at the high-contact points: cuffs, collar, and the shoulder zone where your pack straps sit. When you run the bead test, test the shoulders. Testing the middle of the back tells you almost nothing, because nothing rubs there.
Best Ultra-Budget Backup: Frogg Toggs Ultra-Lite2
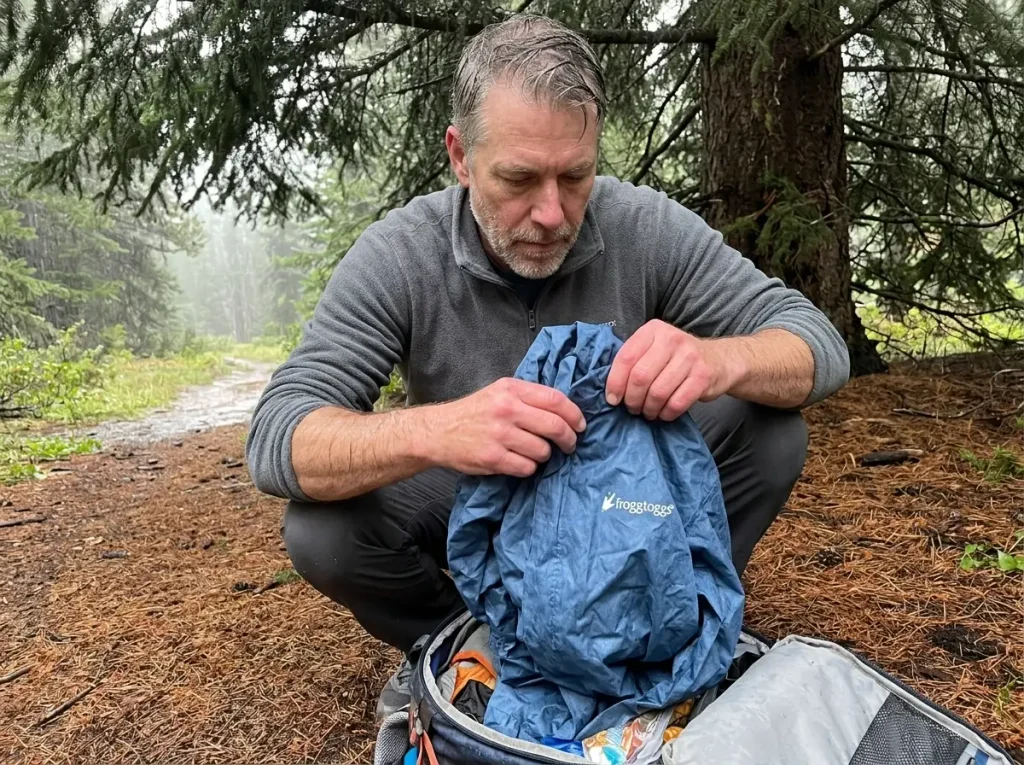
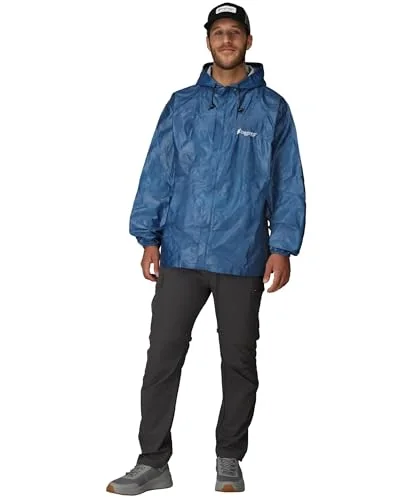
No competitor roundup covers this tier at all, which is a strange omission, because it is the honest answer for a specific and very common reader: someone who needs a real backup layer in the bottom of a pack rather than a jacket they plan to wear.
Understand first that the Frogg Toggs Ultra-Lite2 is not a budget version of the jackets above it. It is built on a different premise entirely. Everything else here is a woven face fabric with a laminated membrane behind it. This is nonwoven material, closer in structure to a heavy-duty fabric sheet, sealed with a polyurethane coating.
That distinction is the whole story, and it explains both what it does brilliantly and what it does badly.
What it buys: near-total waterproofness at a weight and price that make no sense in the traditional category. Rain does not get through PU-coated nonwoven fabric. There is no DWR finish to wear off, no face fabric to wet out, no membrane to clog with skin oils. It cannot really degrade the way a technical shell degrades, because it does not work the way a technical shell works.
What it costs: breathability, and durability against anything sharp. It moves vapor far worse than a real membrane, so on a hard climb you will be wet from the inside within twenty minutes. And where a woven face fabric would scuff and keep going, nonwoven material tears. Catch a sleeve on a branch and you get a rip, not a scratch.
So the use case is narrow and worth stating flatly: emergency and backup, carried as a spare. It lives at the bottom of the pack and comes out when the forecast lies to you, when someone in the group forgot theirs, or when your primary shell has finally wetted out on day four. The field consensus is not ambiguous on this point. Shells at this price are honest backup pieces, and the people who treat one as their only jacket on a multi-day trip are the ones who end up regretting it.
Which is exactly why it belongs in this article. At its weight and price, there is no real argument against carrying one alongside whatever else you own. It is the cheapest insurance in your pack.
Best for Everyday and Commuting: Columbia Watertight II
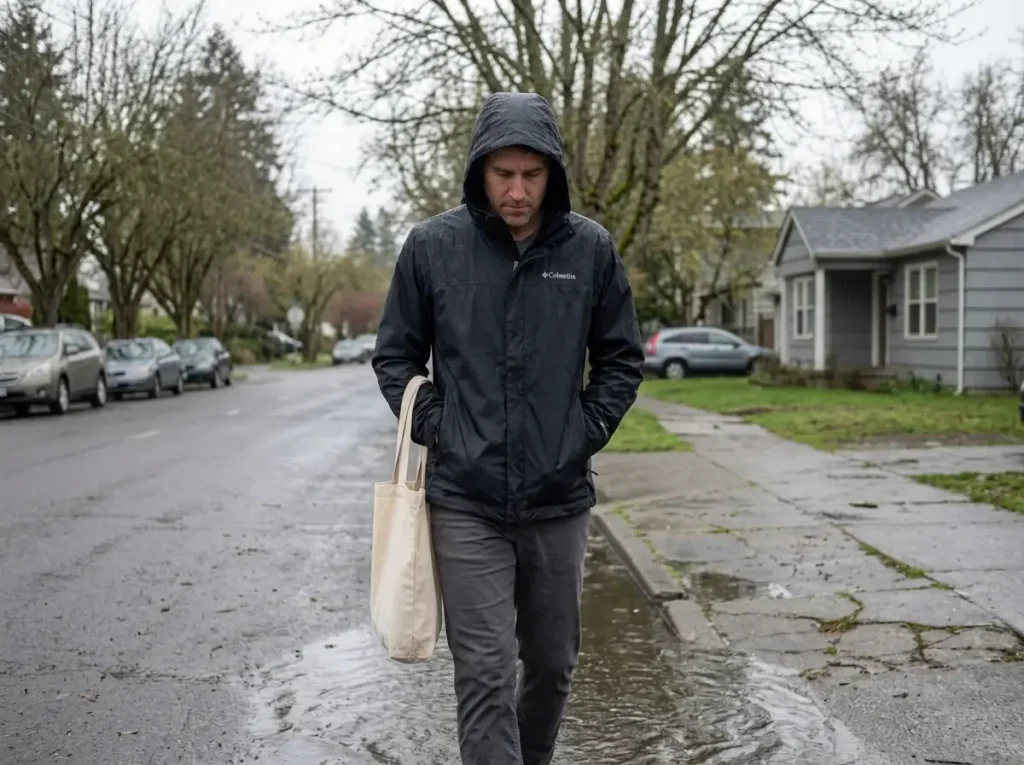
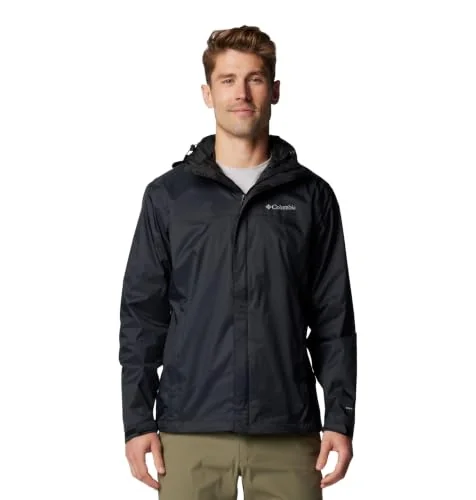
Gear roundups ignore the grab-it-and-forget-it jacket because it is not technical enough to be interesting to write about. It is, however, what a lot of people actually need, and pretending otherwise sends readers toward jackets that are worse for their real life.
The Columbia Watertight II runs around thirteen and a half ounces, which is roughly double the ultralight pick and noticeably more than the budget one. That weight comes from 2-layer construction: face fabric bonded to an Omni-Tech membrane, with a separate liner hanging free inside instead of laminated to it. This is the oldest approach in the category and the least fashionable one, and it has one genuine advantage. A hanging liner protects the membrane from skin oils, abrasion and general neglect better than a printed 2.5-layer coating does.
The use case is the one nobody writes up: car camping, dog walks at dusk, the school run, the commute, the shoulder-season errand that turns into rain before you get back. In all of those, packed weight is completely irrelevant because the jacket is either on you or on a hook. What matters instead is that it survives being treated like a normal piece of clothing for years.
Where it stops working is predictable: a long climb under a loaded pack. There the weight and the reduced breathability show up at the same moment, and you will be hotter and wetter than you would be in the Venture 2. That is not a flaw, it is the category boundary.
The maintenance warning applies double here, and it is the one thing that quietly ruins these jackets. A shell that lives on a hook by the door gets thrown in the machine with everything else, in whatever detergent is under the sink. That is the fastest way to strip a DWR finish, and it happens to everyday jackets far more often than to the ones that get treated as gear.
Why Your Jacket Wets Out, and How to Bring It Back
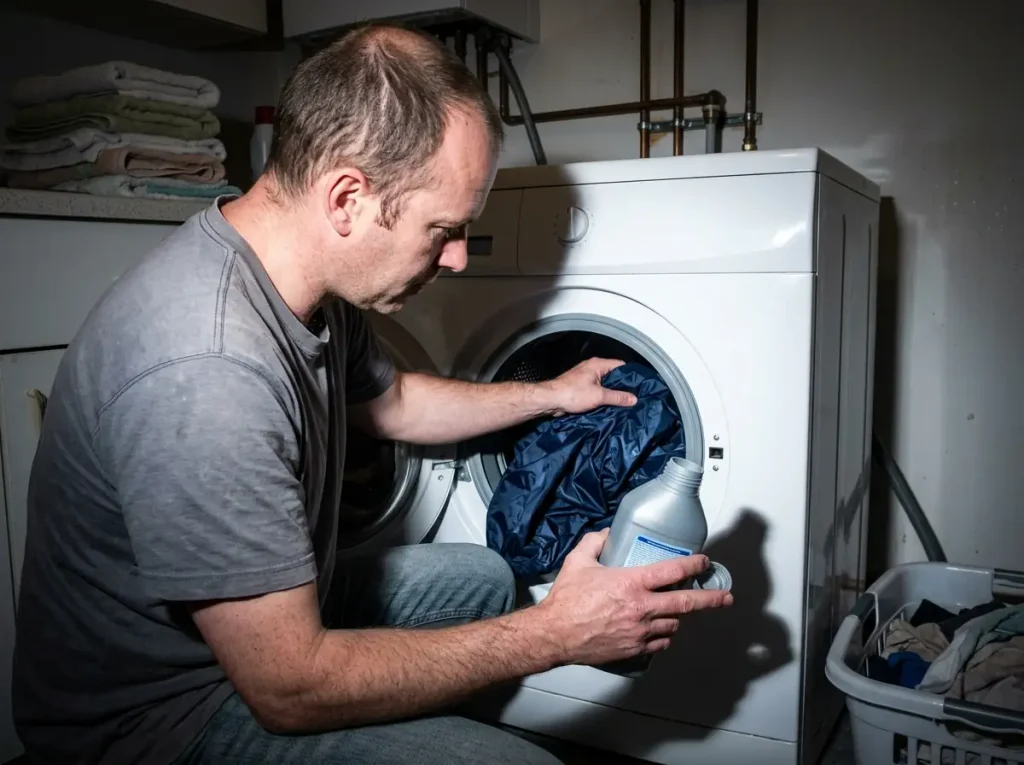
Here is the section that separates this from every roundup on the first page. You have almost certainly had a jacket “fail,” and you have almost certainly misdiagnosed it. The good news is that the fix usually costs a wash cycle and twenty minutes in a dryer.
What DWR Actually Is (and What It Is Not)
DWR stands for durable water repellent, and it is a treatment applied to the outside of the face fabric. It is not the waterproofing. The membrane underneath is the waterproofing. DWR’s only job is to keep the outer fabric from soaking up water like a towel.
It fails two ways, and neither is simple age. The first is abrasion at high-contact points: cuffs, collar, and the shoulder zone under pack straps. The second is buildup, dirt and skin oils that coat the fabric and prevent the treatment from doing its job even where it is still chemically present. That second cause is why washing a filthy jacket sometimes restores it completely.
Now the part that matters. When DWR fails, the face fabric saturates. That is what hikers mean by wetting out. The fabric goes dark, it gets heavy, and the vapor coming off you can no longer push through it, so it condenses on the inside.
You feel cold and wet and conclude the jacket leaked. It usually did not. The membrane is still blocking rain perfectly well. What you are wearing is your own trapped sweat, and it is a completely different problem with a completely different fix.
The Bead Test
Mist water on the shoulder of the jacket. That is the whole test.
If the water beads up and rolls off, the DWR is alive and your problem is elsewhere. If it darkens the fabric and soaks in, the DWR is finished in that zone and it is time to wash and reactivate before you assume anything about the membrane. Test the shoulders and cuffs specifically, since those go first. A jacket can pass the bead test on the chest and fail badly at the shoulder straps, and the shoulder is where you feel it.
Wash, Heat, Then Spray, In That Order
Three steps, and the order is what most people get wrong, because they skip straight to step three and buy a spray.
Step one: wash it in a technical wash, never regular laundry detergent. Nikwax Tech Wash, Grangers Performance Wash, whatever your shop stocks. No fabric softener, ever. Regular detergent leaves a surfactant residue that actively suppresses water repellency, which means washing a jacket “clean” the normal way makes it perform worse.
Step two: tumble dry on low to medium heat for about twenty minutes. Heat is what re-orients the DWR molecules on the fabric surface, and this step alone brings most jackets back. Skipping it is the single most common reason people conclude a shell is dead. REI’s own rainwear technicians recommend a wash-dry-heat cycle before ever reaching for a new DWR spray, which is worth remembering the next time a jacket looks finished.
Step three, and only if beading still fails after steps one and two: reapply DWR with a wash-in or spray-on treatment. Note the ordering, because reapplying DWR over a dirty jacket wastes the product. If you want the procedure spelled out with the specific timings and product types, the full heat-first protocol for restoring DWR covers it step by step, and the same principles apply if you need a walkthrough for washing a Gore-Tex shell specifically.
One expectation to set honestly: aftermarket DWR restores water shedding, but it lasts roughly half as long as the factory finish did. So if you hike often, budget for reproofing every season or two rather than treating it as a permanent repair. That is not a knock on the products, it is just how they work.
Run the wash-and-heat cycle at the start of the wet season, not after the jacket has already failed you on a trip. It takes an evening, costs nothing beyond the tech wash, and it is the difference between finding out your shell is finished at home and finding out three hours from the trailhead.
At some point reproofing stops being worth it, because a membrane really can delaminate and taped seams really can lift. If your jacket keeps wetting out even right after a full wash and heat cycle, three tests that tell you whether a jacket is actually finished will tell you whether you are maintaining a working shell or throwing money at a dead one.
The Habits That Quietly Ruin a Shell
Almost nobody destroys a rain jacket on the trail. They destroy it in the week afterward, at home, without noticing anything happened.
The first habit is stuffing a wet jacket into a pack and leaving it there for days. Trapped moisture against a membrane feeds hydrolysis, which is the chemical process behind delamination, and it also produces a mildew smell that no wash cycle fully removes. The jacket comes out of that stuff sack a little worse every time, and the damage is cumulative and invisible until the day the liner starts peeling.
The second is long-term compressed storage. A shell crammed into a stuff sack, thrown in a bin, and forgotten for a winter spends five months with permanent creases pressed into the laminate. Hang it in a closet instead. It takes the same amount of effort and adds years.
The third is the detergent problem from the other direction. It is not just that regular detergent fails to clean a shell properly, it is that it leaves behind residue that undoes the revival sequence above before it even starts. If you have washed a jacket in normal detergent, expect the first tech wash to be a recovery cycle rather than a maintenance one. The wider clothing-care routine that keeps DWR alive covers how this plays out across your whole layering kit, since the same residue problem hits base layers and fleece too.
As for how often to do any of this: the interval that actually matters is condition-based, not calendar-based.
Wash it when it is visibly dirty or when it stops beading. That is it. A jacket worn six times a year and a jacket worn sixty times a year do not need the same schedule, and treating maintenance as an annual chore means you either over-wash a jacket that was fine or under-wash one that has been quietly failing since August. If you prefer a structured routine to work from, a care schedule built for PFAS-free shells sets out the intervals for modern DWR chemistry, which behaves differently from the older stuff.
The pattern underneath all of this is worth saying plainly: the most neglected jackets in most gear closets are the expensive ones. People buy a premium shell, treat the purchase as the solution, and then never wash it because washing it feels risky. Meanwhile the budget jacket that gets cleaned twice a year outperforms it in real rain.
Wearing It Right: Cinching Down and Layering Underneath
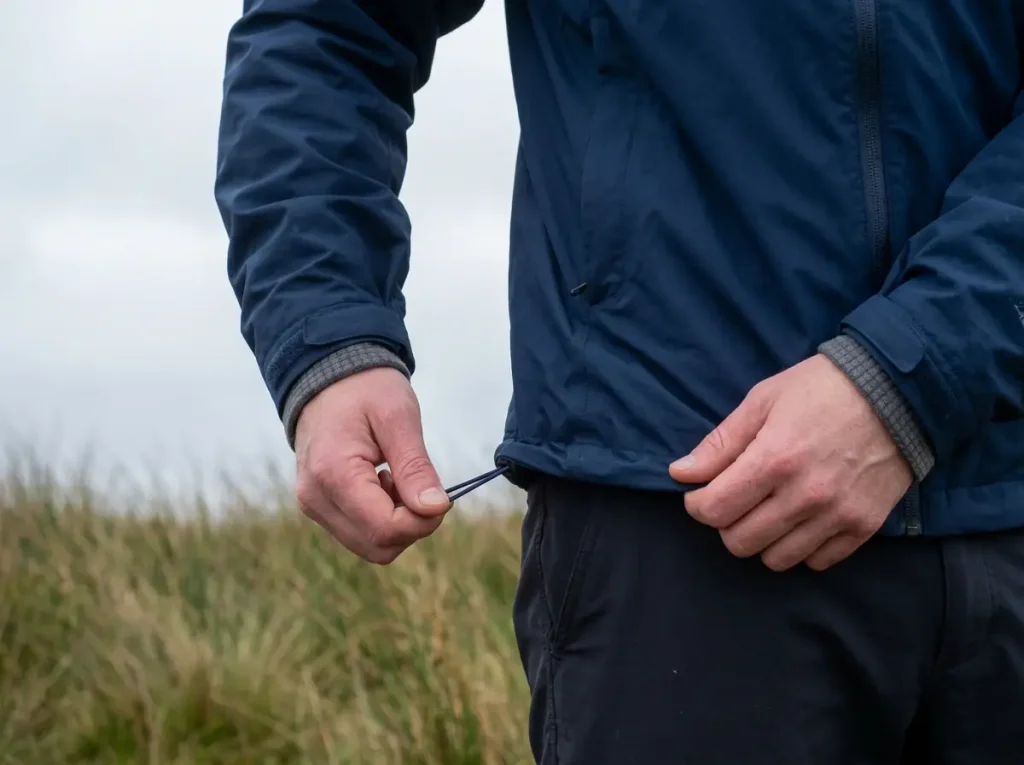
You own the jacket, you are still getting wet and cold, and the jacket is not the problem. Two failures cause most of it: sealing the shell badly, and putting the wrong things underneath it. Most people get less out of a good shell than a worse shell used properly would give them.
The Cinch-Down Sequence: Hem, Cuffs, Hood
Everyone cinches the hood first, because the hood is the part they can see and feel. That is the mistake, and it takes about ten seconds to fix.
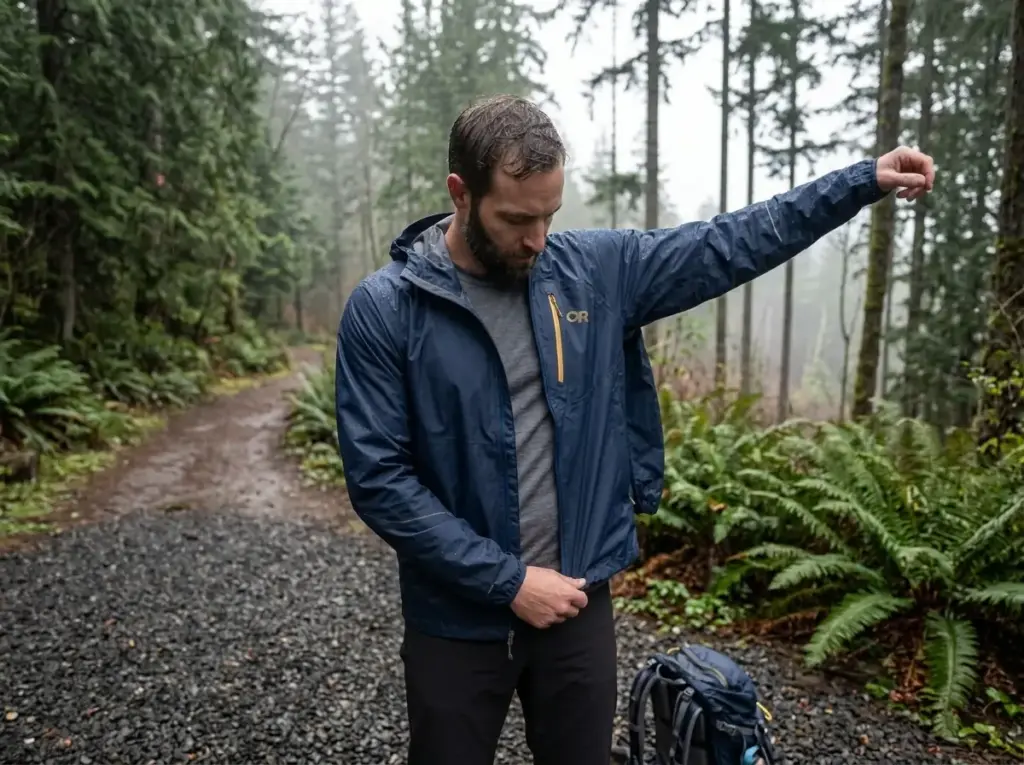
The order is hem first, then cuffs, then hood drawcords last, and all of it after the jacket is zipped and sitting where it will actually sit on you.
Here is why the order matters. When you cinch a hood on an unsettled jacket, you lock the collar into a position that shifts the moment the rest of the shell settles under a pack. The result is a gap at the neck, and in a real downpour a gap at the neck is a funnel that runs water straight down your back.
You will not notice it for the first twenty minutes. You will notice it very clearly at hour two, wondering what the point of an “adjustable” hood even is.
Cuffs go before the hood for a related reason: pulling the hood forward pulls the shoulders and shifts the sleeves, so cuffs sealed after the hood end up in the wrong place anyway.
What “snug” means changes at each point, and this is the part nobody writes down. At the hem cinch, snug means the cord seals against your hips with no bell of open fabric below, but loose enough that you can still lift a knee for a high step.
At the cuffs, snug means the closure sits flat over your glove or bare wrist with no pinching and no channel for water to run in along your forearm. At the hood, snug means the hood turns with your head instead of with the jacket. Turn and look over your shoulder. If you are looking at the inside of the hood, it is too loose, and a brim that does not track your eyes is a brim doing nothing.
That is field craft rather than a spec, and it is the kind of thing that only shows up once you have been out in weather long enough to notice the pattern. And since the jacket is only the top half of the problem, it is worth knowing where rain pants fit into the same system before your legs soak your boots from above.
The Layer Order That Works
A layering system is three jobs, same as the jacket itself. For cold sustained rain the order is: a moisture-wicking base layer, a light insulating layer over it, then the shell sized to fit over both without compressing them. That last clause is where sizing up stops being vanity and starts being physics.
Insulation works by trapping air, so compression destroys insulation value. A fleece squashed flat under a too-tight shell is a damp shirt with extra steps. This is why sizing is part of the layering decision rather than a separate one, and why a shell that fits perfectly over a t-shirt in the store is the wrong shell for a 38-degree day.
The base layer rule is not a preference. Cotton is useless as insulation once wet, so the layer against your skin has to be synthetic or wool. A wet cotton t-shirt under an excellent rain shell will make you colder than a cheaper shell over a wool base, and that is not close.
So the sizing rule follows directly: buy the shell to fit over the warmest thing you will realistically wear under it, not over what you are wearing in the store. If you want the specific failure modes here, four sizing mistakes that leave you cold covers the ones that keep repeating.
Reading the Temperature Band
The same jacket solves two completely different problems depending on the temperature, and knowing which problem you have tells you what to do.
A shell over a t-shirt in humid 60-degree rain is a ventilation problem. You are not going to get cold, you are going to get soaked from the inside, and no membrane on the market is going to out-breathe you on a climb. Open the pit zips, unzip the front a few inches, loosen the cuffs. Ventilation beats fabric technology here every time.
A shell over a fleece in 35-degree wind-driven rain is a warmth problem, and it runs on opposite rules. Seal everything, keep the loft uncompressed, and keep moving. This is the scenario the whole system exists for.
Between those two sits the band people underestimate, and it is the one worth taking seriously: hypothermia can develop at temperatures as mild as 30–60°F when you’re wet and windblown, according to the National Park Service. Freezing conditions are not required. The 45-degree drizzle with a steady breeze is the underrated one precisely because it does not feel like a serious situation, which is why people push on in a damp shell for three more hours instead of stopping to fix it. Wind is doing more of the work than cold in that scenario, which is why a wind shirt earns its place in the same kit even on trips where you never expect real rain.
One last reminder that the jacket is not a weather plan on its own: wet feet lose heat far faster than dry ones. You can have the finest shell made and still be in trouble with soaked socks at 40 degrees.
Which One You Should Actually Buy
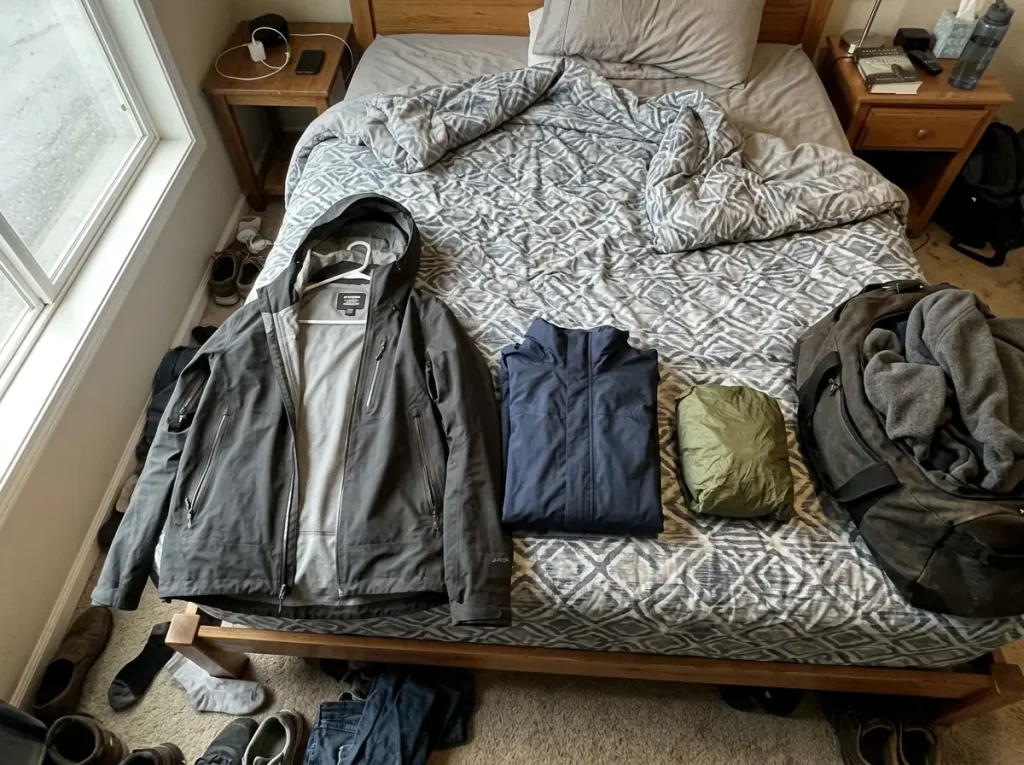
Every roundup opens with this. Putting it at the end means you arrive with the framework already in hand, which is the only way the answer means anything. A rain jacket is one component of a system, and the full rain gear system for hiking, explained plainly covers where the rest of it fits.
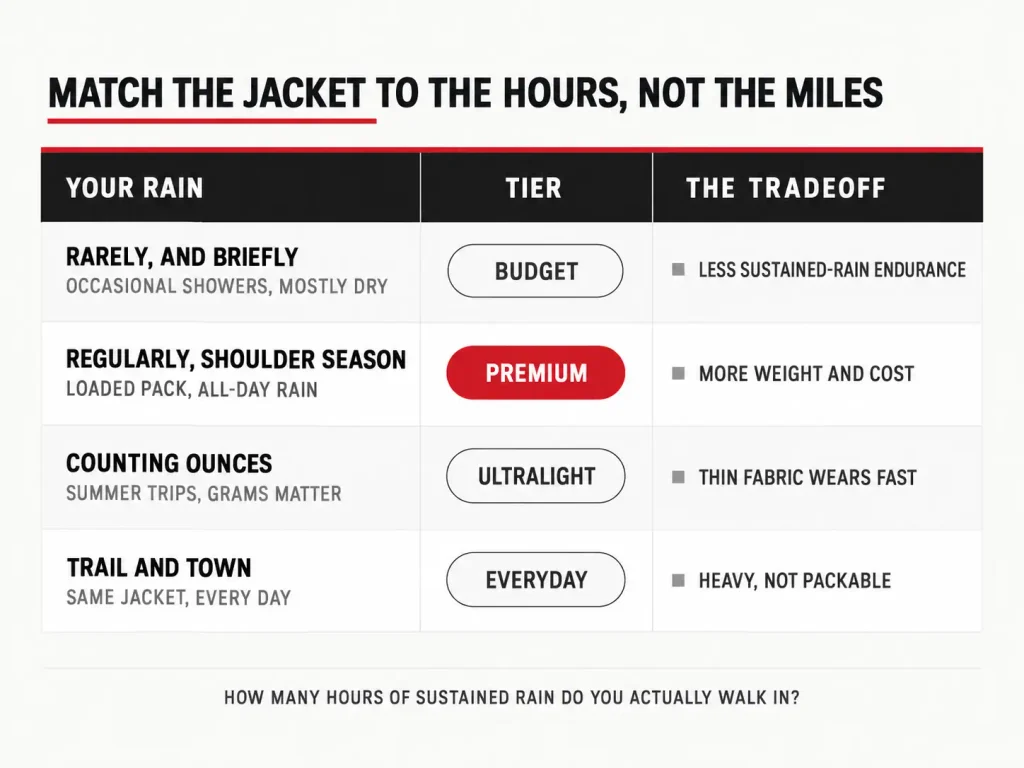
The decision reduces to one question, and it is the same one from the budget section: how many hours of sustained rain do you actually walk in per year?
Rarely, and briefly. Afternoon showers, a couple of genuinely wet hikes a season, mostly dry summers. The Venture 2 is your jacket, and the money you did not spend on a premium shell goes toward the tech wash and reproofing that keep it working for years. This describes most hikers, including plenty of experienced ones.
Regularly, in shoulder season, under a loaded pack. Pacific Northwest autumn, Appalachian spring, anywhere the rain settles in for the day rather than passing through. This is where the Beta AR earns the difference in price, and where a mid-tier shell will genuinely leave you cold on hour four.
Counting ounces on summer trips. The Helium, with the abrasion caveat understood and accepted. You are buying the certainty that the jacket is in your pack, not the certainty that it lasts a decade.
Trail and town on the same jacket. The Watertight II, because packability is irrelevant when the jacket lives on a hook and forgiveness matters more than grams.
Everyone, regardless of tier. A backup shell in the bottom of the pack. The Frogg Toggs weighs almost nothing and costs almost nothing, and the day your primary jacket wets out on a multi-day trip you will consider it the best thing in your pack. There is no argument against carrying one.
And the honest closing note, which is not the one a gear roundup usually ends on: the jacket that keeps you driest is the one you actually maintain, not the one with the highest price on the tag. If you are shopping for a partner as well, the women’s-fit equivalents of these picks run through the same tiers with the fit differences that matter.
The Bottom Line
Match the tier to hours of sustained rain, not to hiking ambition. The hiker who walks forty hours a year in real weather needs more jacket than the one who covers three times the mileage under blue sky, and mileage will tell you the opposite every time.
Most “dead” jackets are wetted-out jackets. Wash and heat before you spend anything, because the membrane is usually fine and the fix costs a laundry cycle.
The cinch order is hem, cuffs, hood. In that order, every time, after the jacket is zipped and settled.
Before the next wet forecast, mist some water on the shoulder of whatever shell is already hanging in your closet. That five-second bead test tells you whether you need a new jacket or just a wash cycle, and it answers the question faster than any roundup can.
Frequently Asked Questions
01What is the best waterproof raincoat for men?
The best men’s waterproof rain jacket overall is the Arc’teryx Beta AR, whose 3-layer Gore-Tex Pro construction holds up through hours of wind-driven rain under a pack. For most hikers the North Face Venture 2 is genuinely enough, since the tier you need depends on hours of sustained rain, not mileage.
02What is the best 100% waterproof jacket?
Every shell with taped seams and a real membrane blocks liquid water, so waterproofness is not what separates them. What varies is how long the outer face fabric keeps shedding water before it wets out and leaves you feeling damp from trapped vapor rather than a leak.
03Is anything better than Gore-Tex?
For sustained rain under pack-strap abrasion, 3-layer Gore-Tex Pro is still the durability benchmark. Other membranes beat it on their own terms, though: some are lighter, some breathe better in warm conditions, and most cost far less for equivalent basic waterproofness.
04How often should you reproof a rain jacket?
Reproof when the jacket stops beading water, not on a calendar. Wash it in a technical wash and tumble dry it on low heat first, since that alone revives most shells. Aftermarket DWR lasts roughly half as long as the factory finish, so plan on every season or two if you hike often.
05Can you wear a rain jacket in the cold?
Yes, as the outer layer of a system, never on its own. A shell blocks wind and rain but adds almost no warmth, so it needs a wicking base and an insulating mid layer under it. A temperature drop into that 30 to 60°F band is all it takes once you are wet and windblown.

I've spent more than a decade researching hiking gear and trail technique. I read the specs, the forum threads and the long-term reviews, and every pick here comes with what it gets wrong.
End of the trail
You read every mile of this one. Here's where the trail goes next.