In this article
You roll up to the Route 9W pulloff a little after nine on a Saturday, feeling smug about the early start. Twenty-odd spaces, all taken, plus a car idling in the entrance with its blinker on.
Set in the Hudson Valley an hour north of the city, Storm King Mountain is a 2.4-mile loop that people still manage to get wrong, and the ways they get it wrong fill years of comment threads under every guide that ranks for it. Almost none of those failures happen on the trail. Here are the four that do the most damage.
What the Storm King Mountain Hike Actually Asks of You
Every guide calls this hike moderate to strenuous, which tells you almost nothing. The honest version: 2.4 to 2.5 miles, between 629 and 893 feet of ascent depending on whose GPS you trust, topping out at 1,385 feet. What leaves people cooked at the ridge is that the climb is stacked into the first thirty minutes rather than spread across the loop.
Pace it like a flat 2.5-miler and the mountain corrects you within ten minutes. Pace it like a mile of stair-climbing followed by a ridge walk and you finish with energy to spare. That gap between the number on the page and the shape of the effort is the same reason how a hike’s difficulty rating can undersell its steep sections keeps catching people out across the Hudson Highlands.
The Short Loop vs the North Point Extension
Search “how long is the Storm King hike” and answers range from 2.3 miles to 9.1, because two different hikes share the name.
The standard loop trail runs Orange Trail up, Yellow/Blue Stillman Trail across the ridge, White Trail back down: two and a half miles, two to three hours with stops. The Storm King and North Point Summit extended loop is 9.1 miles with 3,106 feet of elevation gain, roughly six and a half hours, with a real water and daylight calculation attached. Same trailhead, entirely different day. Pick yours before you leave the house, not at the junction where they diverge.
Where the Climbing Actually Happens
The Orange Trail leaves the Route 9W lot and gets to business immediately. This is the climb up Butter Hill, and locals will tell you Butter Hill is not Storm King. Storm King is the ridge beyond it. The name traces to the Dutch Boterberg.
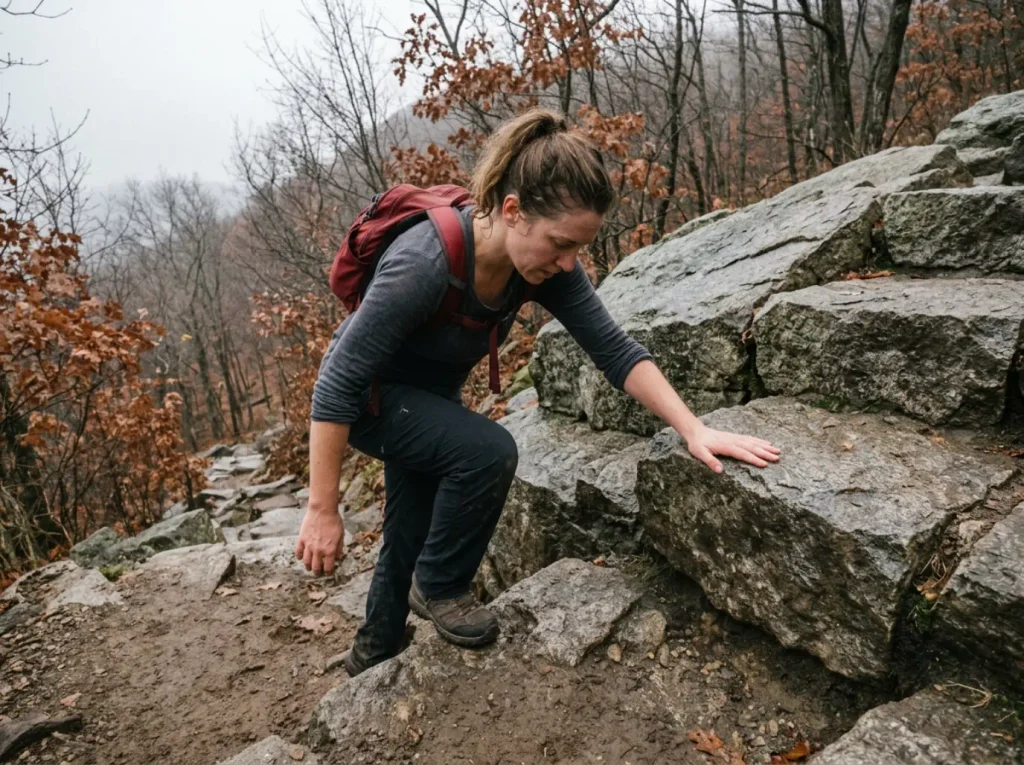
The rock scrambling is hands-on in places and never technical. Palm down, step up on a ledge, route-find around a boulder. The rock is Storm King Granite Gneiss, grippy when dry and a different proposition when it is not.
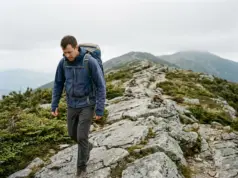
Past the top of Butter Hill the hike changes character: ridge walking, rolling terrain, viewpoints on both sides. Get through the first half hour without redlining and the rest is the easy part.
What to Wear and What to Carry
Treat this as a real day hike rather than a walk, because the terrain asks more than the mileage suggests. Sturdy hiking boots or trail shoes with lugs that still have edges are the one piece that matters most: the gneiss is smooth in places, and worn-flat soles skate on it. Sneakers get people down Butter Hill on their backside every season.
Dress in layered clothing you can shed at the top of the climb, because you will overheat in the first thirty minutes and cool off fast on an exposed ridge with wind coming up the river. Moisture-wicking fabric against the skin beats cotton here for the same reason it does everywhere: cotton holds the sweat you just generated and hands it back to you as a chill at the viewpoint.
The rest is short. Water, snacks, a headlamp, and something for gps navigation that works without signal. Coverage on the ridge is unreliable, so offline maps downloaded at home are worth more than any app that needs bars. Ten minutes of trip planning the night before, checking the forecast and the season, is what separates the people enjoying the panoramic views from the people rationing half a bottle of water and hoping the next junction is the right one.
Take your first real break at the top of Butter Hill, not before. Most people stop three times on the climb because they went out too fast, then push the ridge without looking up. Do it the other way around: grind the climb at a boring pace, then spend your stops where the views are.
Mistake #1 — Driving to a Trailhead You Cannot Legally Turn Into
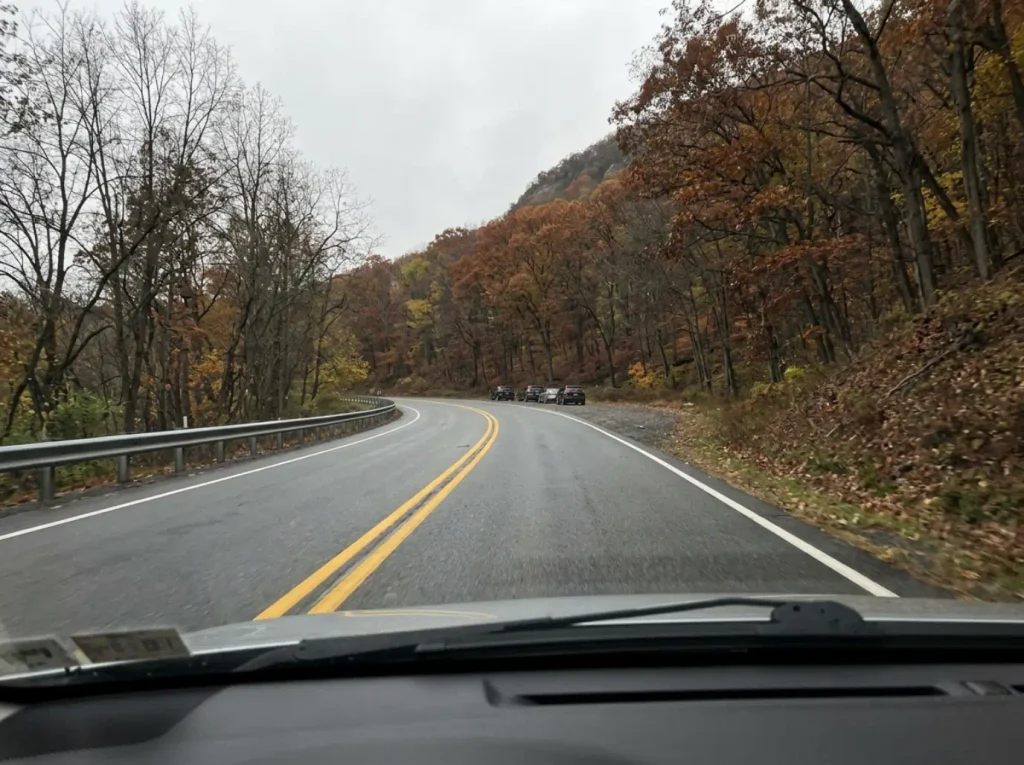
This one happens before anyone laces a boot, and it is the most useful piece of beta about this hike that nobody leads with. You can see the trailhead lot. You cannot turn into it.
Coming down Route 9W from the north, that left turn into the pulloff is not a maneuver you are permitted to make. The lot sits across a divided state highway with traffic moving at speed behind you. Drivers attempt it anyway, usually the ones who heard their GPS say “turn left in 500 feet” and took the machine at its word.
The fix is unglamorous and you have to know it in advance: keep driving. Continue roughly three miles north to the Route 218/293 cloverleaf, loop through, and come back southbound. The entrance opens cleanly on your right. Total cost, about six extra miles and ten minutes, which beats braking mid-highway with a line of cars behind you.
Set the Route Before You Lose Service
Cell coverage along this stretch is patchy, and the approach is the part people improvise. Pull up the directions while you still have bars, and pin the Esty & Hellie Stowell Trailhead as your secondary destination at the same time. Fifteen seconds in a parking lot saves you re-routing on a highway shoulder.
Note too that Route 218 is the Old Storm King Highway, a narrow cliff-hugging road carved into the mountain’s river face. Lovely drive, terrible shortcut. Save it for the way home.
Brief whoever is navigating on the cloverleaf loop before you get within ten miles. The mistake is never made by the person who knows about it. It gets made by the passenger holding the phone who watches the lot slide by and says “wait, that was it, turn around.”
Mistake #2 — Showing Up After the Lot Fills
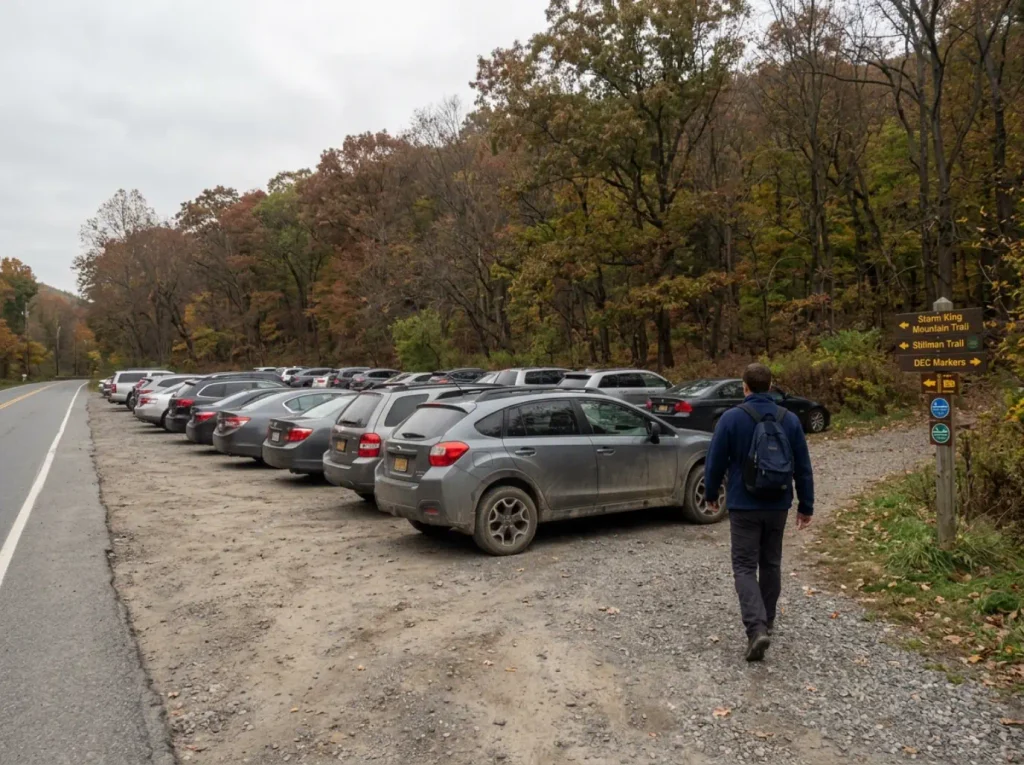
Twenty cars. That is the entire main lot on Route 9W. Every guide writes “parking fills up fast,” and not one gives you the number, the hour, or a plan B.
Here is both: roughly 20 spaces, full by 9:00 to 9:30am on a weekend, according to hiker report after hiker report going back years. One group described waiting 25 minutes for a spot, hiked anyway, and called it worth it. This is a scheduling problem with a known answer, not a crisis. But it does mean “we’ll head out around ten and see how it goes” is a decision to spend your morning in a car.
The Route 9W Pulloff and Its Real Capacity
The parking lot on 9W is a pulloff, not a facility. No attendant, no overflow parking, no gate. When it fills, the cars arriving next either wait, leave, or park somewhere they should not.
That last one deserves a flat answer: do not park on the shoulder of 9W. It is a state highway, and a tow is a bad end to a free hike. Storm King is one of the tighter examples in a region full of trailheads where the parking situation decides your whole day.
Timing changes the math. A weekday morning and you have your pick. A shoulder-season Saturday, arrive by 8:30. Peak foliage weekend, the busiest window all year, and even 8:30 is optimistic.
The Stowell Trailhead Backup on Bayview Avenue
This is the part almost nobody tells you, and it is why the parking problem is solvable rather than just annoying.
The Esty & Hellie Stowell Trailhead sits at 42 Bayview Avenue in Cornwall-on-Hudson. Larger lot, free, reaching the same western trail network, and it sees less traffic because most visitors have never heard of it. Slightly different approach, same ridge, same viewpoints.
Decide in advance rather than treating Bayview as a fallback you improvise into. If it is a weekend and you are not on the road by seven, just go there. Nearby, the same access problem shows up at Minnewaska, where picking the wrong entrance costs you the hike, a park with three separate areas and no obvious default.
Mistake #3 — Assuming There Is Water Somewhere on the Mountain
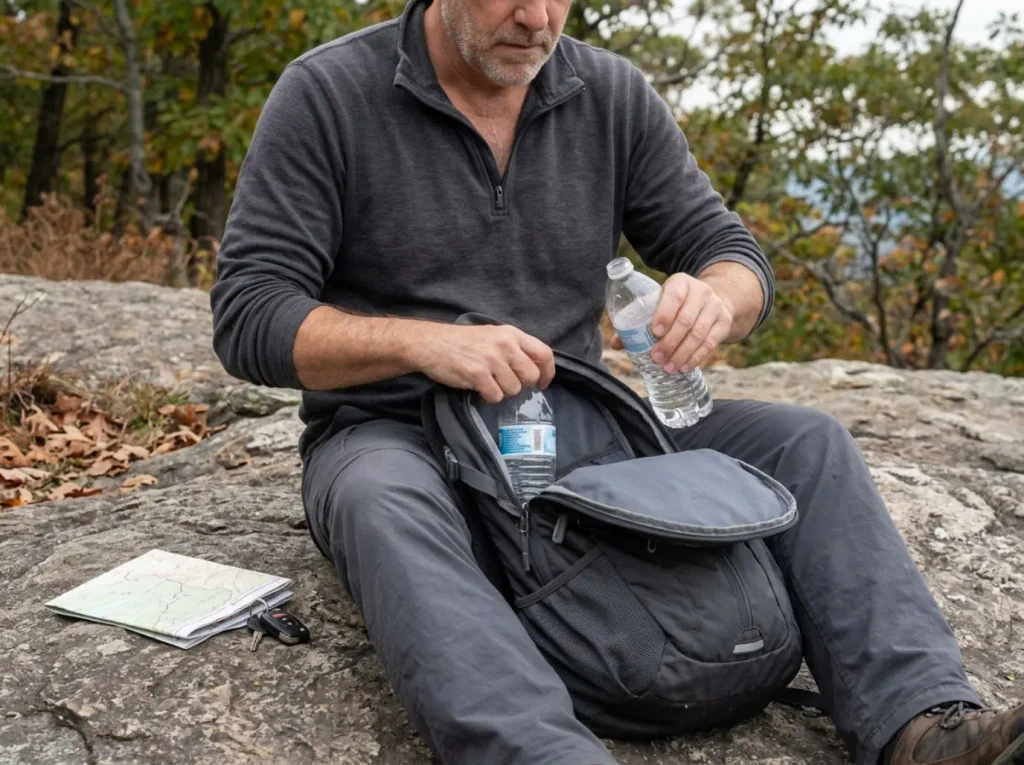
Storm King State Park covers 1,972 acres. No restroom facilities, no water fountains, no visitor center, no spigot behind a maintenance shed. Every drop on this hike is water you carried up from the car.
Nobody plans to run out on a 2.5-mile loop, which is precisely why it happens here. The distance reads casual, so people pack casual: a half-liter bottle in a jacket pocket. Then the Orange Trail front-loads the sweating into the first thirty minutes, on an exposed climb, in humidity that will not let sweat evaporate.
Running low on water sources here is unfixable mid-hike: no stream worth filtering, no bailout to a bathroom, no snack bar at halfway. The only correction is walking back to your car.
For summer, a liter per person is the floor and two is the honest number for anyone who sweats or moves slowly. Add more for kids and dogs, who cannot tell you they are struggling until they already are. Early dehydration on a short hike feels like ordinary tiredness, which is exactly why people ignore it.
Drink half a liter in the parking lot before you start walking. On a short hike with a steep opening, pre-hydrating beats rationing: the sweat loss happens in the first thirty minutes and no amount of sipping catches you up once you are behind.
No Ranger Station Means You Are the Support System
There is no staffed presence on this mountain. No ranger station, no kiosk, no patrol on the ridge. If something goes sideways, the contact is NYS DEC Dispatch and the response comes from off the mountain. The trail blazes and the corridor are looked after by the New York-New Jersey Trail Conference, which maintains and blazes this trail network, which publishes Map #113 for the West Hudson trails.
Which means the Ten Essentials still apply on a hike this short. A loop with no facilities and no on-site help is exactly where people leave the headlamp in the car because it is “only two miles.” A twisted ankle on Butter Hill at 4pm in November is a two-mile hike that finishes in the dark.
Mistake #4 — Turning Left Where the Orange Trail Ends
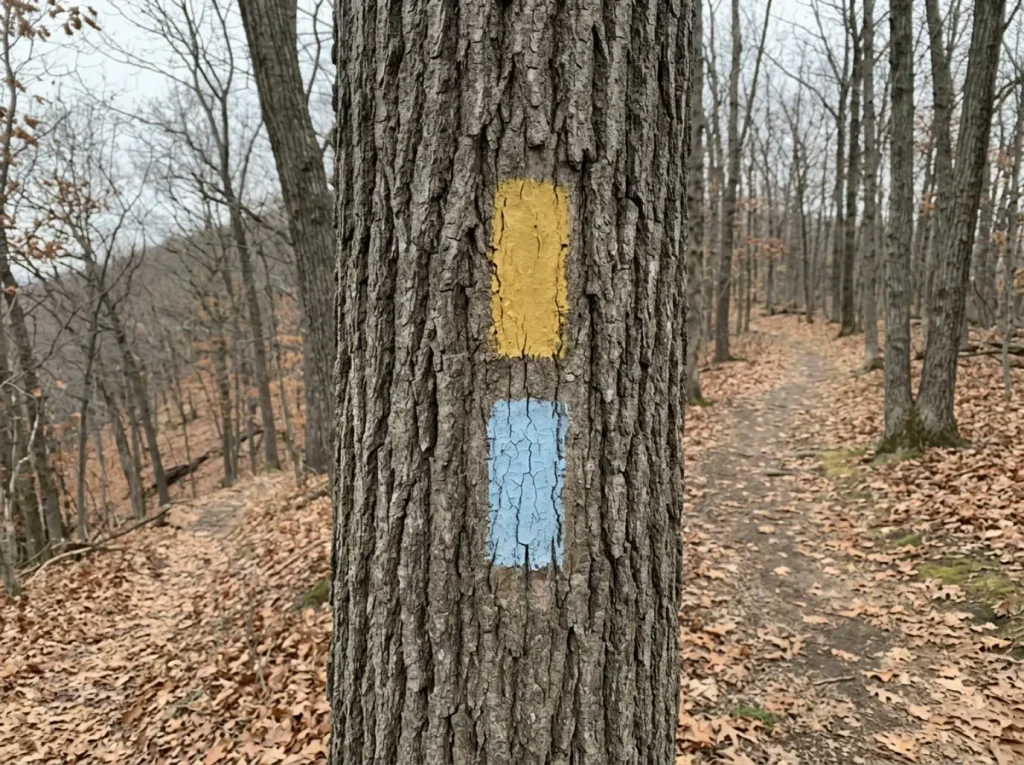
“Turn right, not left” is close to an in-joke in the local hiking community, and it exists for a reason. This is the most-reported navigational error on the mountain, documented across years of comment threads, with guide authors adding progressively louder capital letters and hikers still getting it wrong. It is not a reading-comprehension problem. The junction genuinely reads wrong when you are standing in it.
The Junction Where People Go Wrong
Where the Orange Trail ends and meets the Yellow/Blue-blazed Stillman Trail, you turn right. Left takes you toward Storm King School and off your loop entirely.
The reason it fools people is historical. The Orange Trail shared old yellow-and-blue blazes with the Stillman Trail for years, so the colors there disambiguated nothing. A fresher yellow blaze was added around 2019, and hikers still miss it, because “I see a blaze, this must be the trail” is a reasonable instinct and a bad rule at a co-blazed intersection.
Look for the specific blaze, not just a blaze, and register color and direction together before you commit. Thirty minutes into a climb your brain wants to stop making decisions, which is exactly when the wrong turn gets made. You would not be the first: one comment thread includes a family who ended up helping other hikers turned around at the same split their own guide had warned about.
The Two Junctions Right After It
Two more come up fast, and they are the ones that make second-time visitors second-guess themselves.
- At the Bluebird Trail intersection, where blue and red blazes join from the left, stay right to remain on the Blue/Yellow Stillman Trail.
- About a minute later, when the Howell Trail joins from the right, stay left.
Right, then left, inside roughly sixty seconds. Knowing the sequence is coming is most of the work, because Storm King packs Orange, Yellow, Blue, White, Bluebird, Howell and a bypass into a small area.
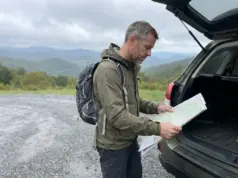
Carry something offline: Avenza Maps with the NYNJTC map loaded, an AllTrails track downloaded before you lose service, or the paper NYNJTC Map #113. It does not need to navigate for you, just to answer “am I still on the loop” in five seconds instead of five minutes of debate.
Why You Hike This Loop Clockwise
Every major guide routes you up the Orange Trail and Butter Hill first, and almost none say why. Here it is: those steep scrambles are easier and safer to go up than to come down.
Ascending, your hands are near the rock, your weight is over your feet, and you see every hold you reach for. Descending, you step down into holds you cannot see, weight behind your heels, gravity doing the deciding. Anyone who has downclimbed a section they walked up without thinking knows the feeling.
That gap widens with a group. With kids, a leashed dog, or anyone tired at the end of a loop, descending Butter Hill becomes a slow everybody-waits operation. Clockwise, you take that terrain fresh and finish on the gentler White Trail.
Winter, Wildlife, and the Rest of the Trail Conditions
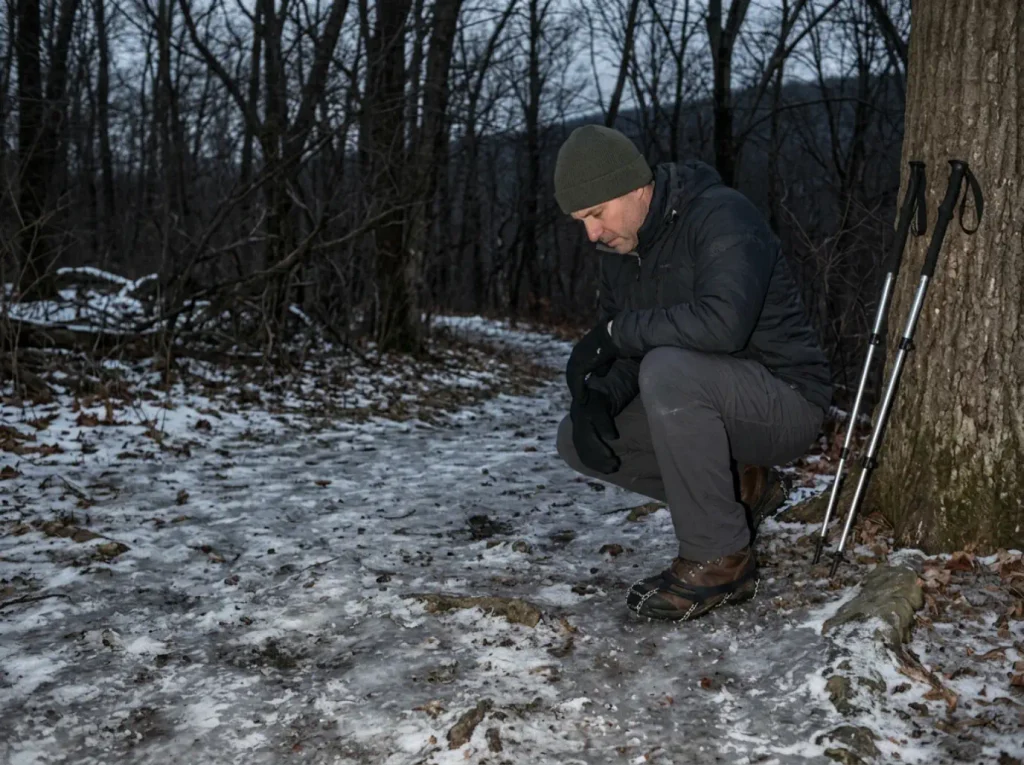
The trail is not the hazardous part of this hike. The calendar is. Rock that is grippy in October is a different surface in February, and it sits right next to drop-offs.
What Winter Changes on Butter Hill
Between roughly December and March, the exposed scrambles run through repeated freeze-thaw cycles. Water seeps, refreezes overnight, and glazes exactly the slabs where you were putting a palm down in October. Winter hiking here changes the kit list: experienced local hikers treat microspikes and trekking poles as required equipment in that window, and at least one winter trip account calls the route not doable without both.
Both, not either. The traction devices handle the glaze, the poles handle balance where the spikes cannot bite. Worth knowing before you buy: not all traction devices hold on real ice, and the gap between coil-style traction and real spikes shows up on precisely this terrain.
Conditions swing fast. A warm afternoon and a cold night reset the ice, so a report from three days ago tells you little. Scrambling sections elsewhere in the region that turn on conditions the same way behave identically: easy dry, a different rating when glazed. Spring brings mud season on the lower Orange Trail, and that window when the ice is gone but the mud is not is the easiest time of year to go down hard on a mild hike.
Bears, Leashes, and Hunting Season
Black bears live in the Hudson Highlands, and one sourced account describes a hiker descending from the summit who came within about twenty feet of a full-grown bear near the summit boulders. Both froze. The bear turned and walked back the way it came. The hiker called it extremely rare, and that framing is right.
Rare is not never, though. Do not run, do not get between a bear and anything it wants, make yourself visible and audible, and back away the way you came. Basic wildlife awareness covers almost every encounter on this mountain. The playbook for a black bear encounter differs from what you would do out west, which is why what to actually do when a black bear is that close is worth reading beforehand.
The regulations that affect your day are short. The leash law allows dogs on a lead no longer than six feet, which matters on scrambles where a long lead pulls someone off balance. No camping, no overnight use. Hunting applies on the west side of 9W during Big Game season, so check the dates in fall and wear something bright.
Leave No Trace carries extra weight in a park with no facilities and no staff. Whatever comes up goes back down in your pack, including the orange peel you assumed would break down. It will not, and it will sit on the money spot in somebody else’s photo.
What You Get at the Top and Why This Mountain Still Exists
This is where the hike stops being logistics.
The Money Spot and What You Can See From It
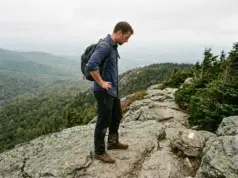
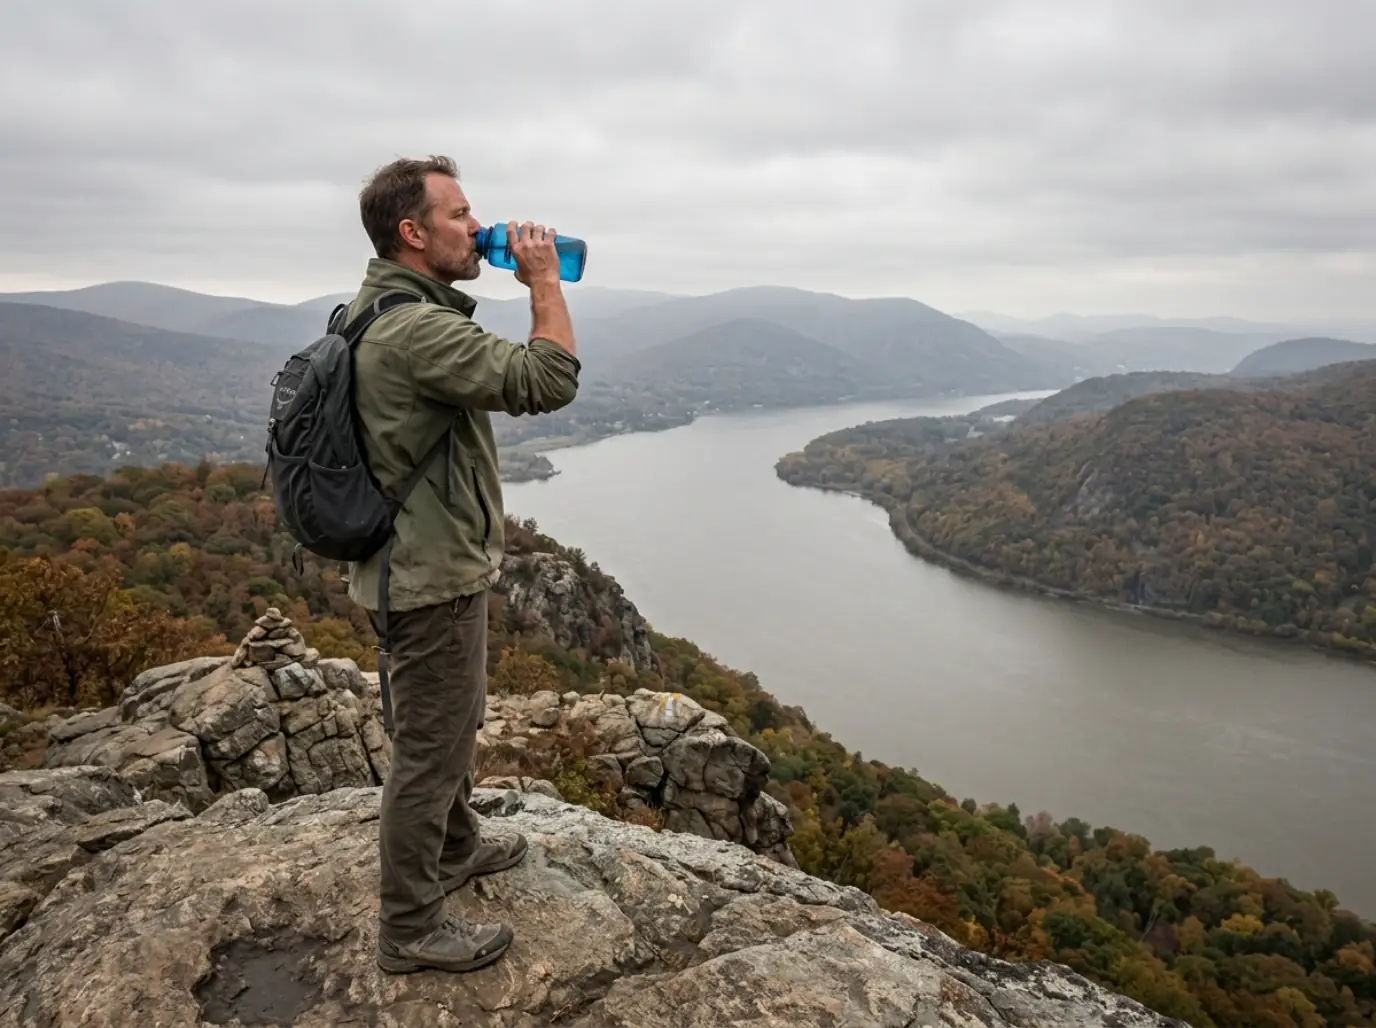
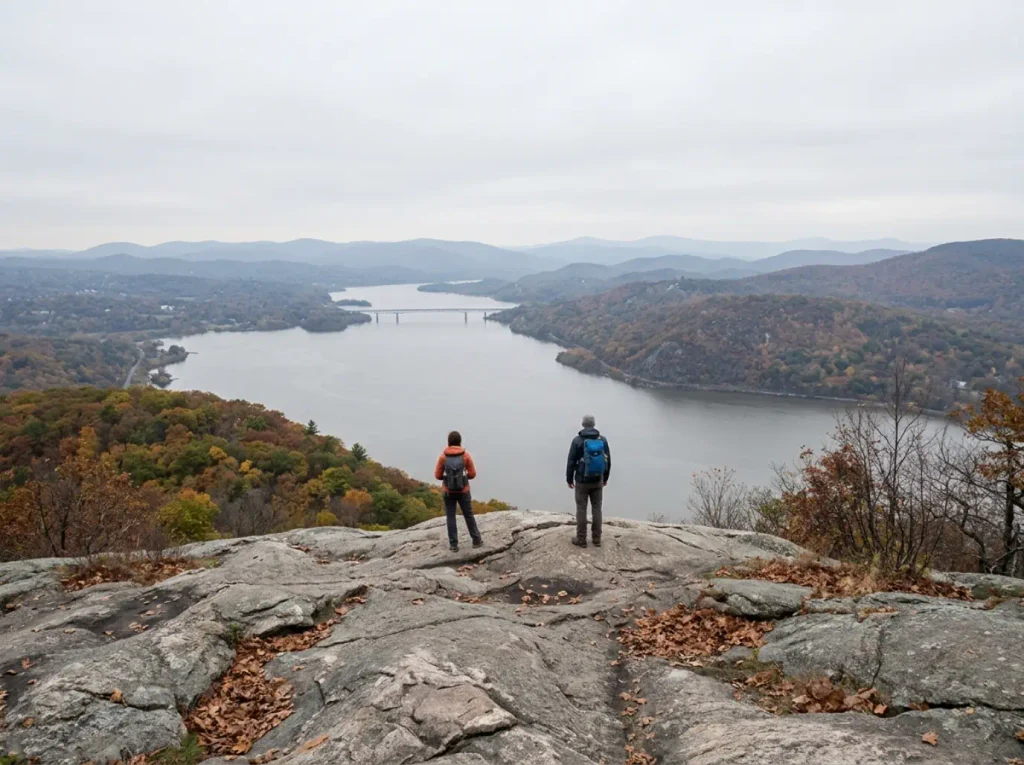
The wide-open viewpoint on the Blue/Yellow Trail is what regulars call “the money spot,” and the name stuck because the view earns it: Newburgh Bay below, Bannerman’s Castle on its island, the Catskills on the horizon.
The summit views run in several directions along the ridge, which is much of why a 2.5-mile hike carries more weight than its numbers suggest. The Hudson River curls below you, West Point sits downstream, the Newburgh-Beacon Bridge north. Across the water, Breakneck Ridge, the jagged line directly across the river sits beside Bull Hill, with Cold Spring on the far bank below them.
The view feels familiar before you have ever stood in it for a reason: the Hudson River School painters worked this stretch of river. The park also borders Black Rock Forest, so you are on the edge of a large protected block rather than an isolated peak, which is why the sightlines run so far.
Do not stop at the first viewpoint that opens up. The ridge keeps delivering for another half mile, and because those overlooks face different directions, morning and late-afternoon light favor different spots. Plenty of people shoot viewpoint one, turn around, and never see the good one.
The Lawsuit That Saved the Mountain
The ridge you are standing on was supposed to be hollowed out. In 1962, Con Edison proposed a 2,000-megawatt pumped-storage plant built into Storm King Mountain, and what followed was the 17-year legal fight that is widely credited as the birth of modern environmental law, ending in 1980 with the project dropped.
The part that reaches past this mountain came early. In 1965, the Second Circuit ruled that a group could have legal standing to challenge the project on aesthetic and recreational interest rather than financial harm. That had never happened in a US court.
It made citizen environmental lawsuits possible, fed directly into NEPA, and is taught in law schools nationwide. As Scenic Hudson itself recounts in its own retrospective, the case reshaped what an ordinary group of people could do about a project in their backyard.
So a 2.5-mile loop with a bad parking lot is also one of the more consequential pieces of ground in American environmental history. Worth a minute at the top, and the wider guide to hiking this corner of New York picks up where this ridge leaves off.
The Bottom Line on Storm King Mountain
The hike is short. The planning is what people get wrong.
Leave early enough for the 9W lot or skip the gamble and drive to Bayview Avenue, remembering that the 9W lot only opens from the southbound side. Carry all your water, because there is none on the mountain and nowhere to bail out to. Go clockwise, and when the Orange Trail ends, turn right.
Pick a weekday morning if you can, take your time on the ridge instead of the climb, and drive out on Route 218, the Old Storm King Highway. It adds ten minutes and it is the best road in the Hudson Highlands.
Frequently Asked Questions
01How long does it take to hike Storm King Mountain?
Most hikers finish the 2.4 to 2.5 mile loop in 2 to 3 hours, including stops at the viewpoints. The extended loop out to North Point is a different commitment entirely: 9.1 miles, 3,106 feet of gain, and roughly 6 to 6.5 hours.
02Where do you park for Storm King Mountain?
The main pulloff on Route 9W holds about 20 cars and fills by 9:00 to 9:30am on weekends. The Esty and Hellie Stowell Trailhead at 42 Bayview Avenue in Cornwall-on-Hudson has a larger free lot on the same trail network.
03Is there water or a restroom at Storm King State Park?
No. There are no restrooms, no water fountains and no visitor facilities anywhere in the 1,972-acre park. Carry everything you need in, and plan on at least a liter per person in summer.
04Is Storm King Mountain the same as Storm King Art Center?
No, they are separate places a few miles apart. The Art Center is an outdoor sculpture park in New Windsor. The mountain is a state park hiking area above Cornwall-on-Hudson, with trailheads on Route 9W and Bayview Avenue.
05Do you need microspikes to hike Storm King in winter?
Between roughly December and March, yes. Treat microspikes and trekking poles as required rather than optional. Freeze-thaw ice forms on the exposed scramble sections near drop-offs, and winter trip reports describe the route as not doable without both.
Risk Disclaimer: Hiking, trekking, backpacking, and all related outdoor activities involve inherent
risks which may result in serious injury, illness, or death. The information provided on The Hiking Tribe is for
educational and informational purposes only. While we strive for accuracy, information on trails, gear, techniques,
and safety is not a substitute for your own best judgment and thorough preparation. Trail conditions, weather, and
other environmental factors change rapidly and may differ from what is described on this site. Always check with
official sources like park services for the most current alerts and conditions. Never undertake a hike beyond your
abilities and always be prepared for the unexpected. By using this website, you agree that you are solely
responsible for your own safety. Any reliance you place on our content is strictly at your own risk, and you assume
all liability for your actions and decisions in the outdoors. The Hiking Tribe and its authors will not be held
liable for any injury, damage, or loss sustained in connection with the use of the information herein.
Affiliate Disclosure: We are a participant in the Amazon Services LLC Associates Program, an
affiliate advertising program designed to provide a means for us to earn advertising fees by advertising and linking
to Amazon.com. As an Amazon Associate, we earn from qualifying purchases. We are also an official affiliate partner
of Black Diamond Equipment via the AvantLink network. If you click on a Black Diamond affiliate link and make a
purchase, we may earn a commission at no additional cost to you. We also participate in other affiliate programs and
may receive a commission on products purchased through our links. Additional terms are found in the terms of
service.