
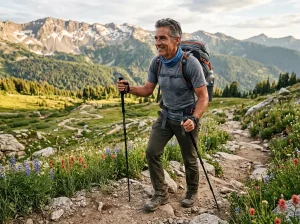
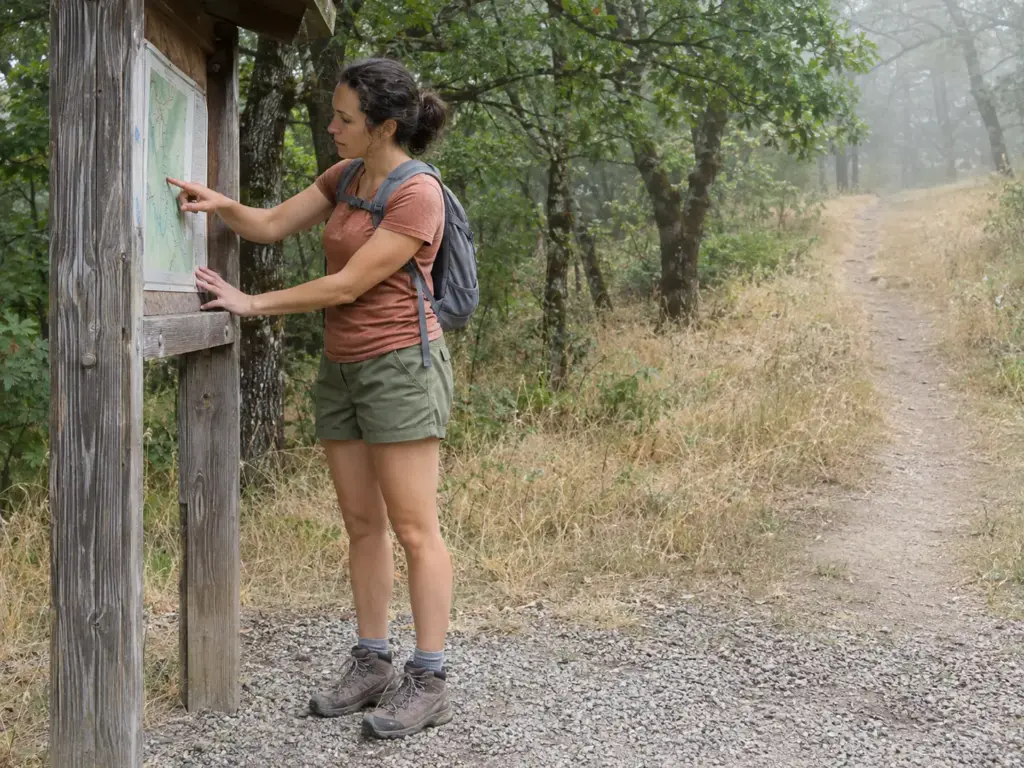
You are a few miles into a warm climb, the pack belt snug on your hips, when the inside of one thigh starts to sting right where wet fabric meets a seam. The shorts looked right in the mirror and the tag said your size. Women’s hiking shorts fail in the middle of the day, in one seam or one waistband, never in the fitting room.
What decides almost every pair is what the fabric does once it is wet against your inner thigh, where the waistband sits when a pack belt lands on it, and how the inseam and rise match your frame. The pair that wins on paper is not always the pair that survives a long, warm day under a pack, so here are the decisions in the order they matter, six pairs sorted by what each one does well, and a close look at why shorts chafe, how to test a waistband with a loaded pack, and a fit check that carries from one brand to the next. Start with the short list.
| Your hike | Shorts to look at | What decides it |
|---|---|---|
| Technical day hikes and trips | Outdoor Research Ferrosi 5 inch | Five-inch inseam in stretch ripstop, with built-in tape at the waist |
| Low-cost pockets for the day | Hugut Lightweight Cargo | Quick-dry fabric and zip pockets |
| Cargo pockets on a tight budget | SANTINY Women’s Hiking Cargo | Lightweight quick-dry cargo cut |
| Stretch and a longer cut | Mountain Hardwear Dynama Bermuda | Technical stretch fabric in a Bermuda cut |
| Liner-free, close-fitting, with pockets | CRZ YOGA Butterluxe Biker 5 inch | High-waist biker cut with side pockets |
| Maximum thigh cover | baleaf High Waist Biker 8 inch | Eight-inch inseam, a gym biker used here as the long-cover reference |
How to Choose Women’s Hiking Shorts for Day Hikes and Backpacking
The same pair of shorts can feel like nothing on a two-hour loop and like a grudge by the third afternoon of a trip. The loop forgives almost anything. The trip forgives nothing, so the kind of hiking you actually do should pick the pair before a brand name or a trend does. The sections after this one take the choices in order: inseam, rise and waistband, liner or no liner, pockets, then fabric.
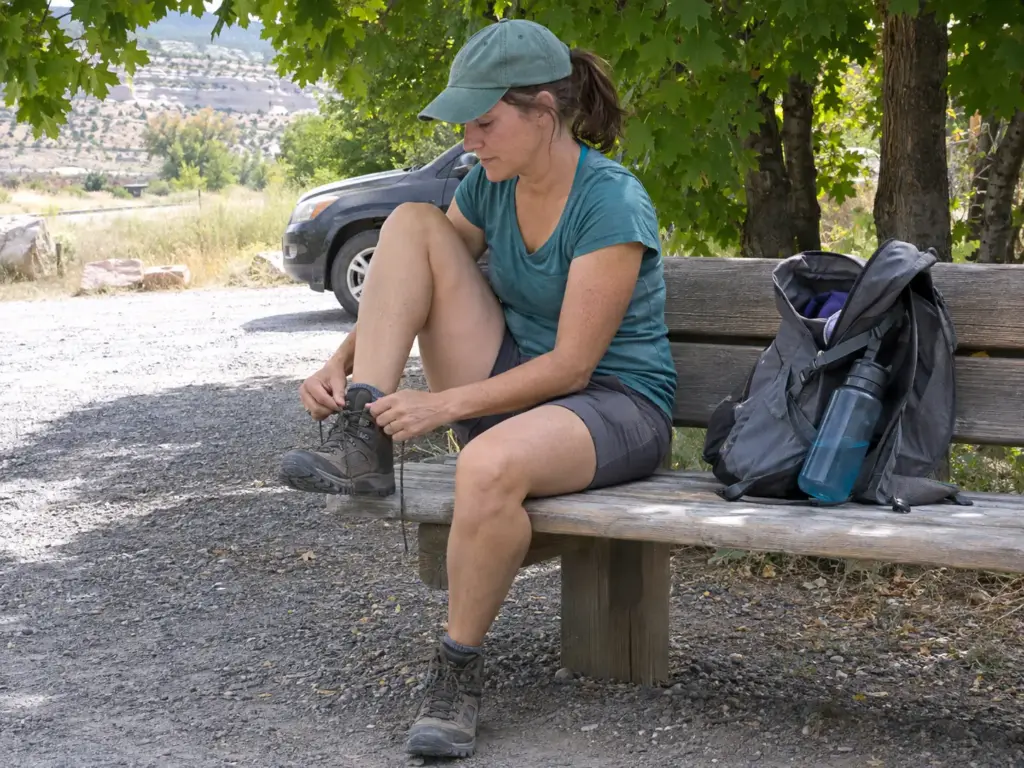
Day Hikes: What You Can Skip and What You Can’t
A day hike asks for two things: somewhere safe for a phone and a key, and a waistband that doesn’t irritate. Almost any pair that clears both gets you back to the car. Fabric matters less over a few hours, because a slightly damp seam doesn’t have time to become a sore spot, and you can skip the technical features that earn their keep on longer trips.
What you can’t skip is the waistband, since a pack with a hip belt changes that question completely, and the waistband section below gives you a test for it. If you want a wider view of leg wear that stays comfortable past the first few hours, women’s bottoms that stay comfortable by hour three covers pants and shorts together.
Backpacking Trips: Why Small Flaws Grow
Overnight and multi-day trips punish small flaws. A seam that is fine for three hours rubs by hour six, and fabric that dries slowly is still damp when you pull it on the next morning. Weight on your hips adds pressure to every inch of waistband, and a pocket that swings a little with a light load swings a lot with a full one. A pair that is borderline on a day hike fails here, so the first decision is the kind of trip, not the pair, and matching your leg wear to the hike you actually do comes before any single model.
Creek Crossings and Swim Stops
Creek crossings and swim stops reward quick-dry synthetics. Swim shorts and other water shorts dry fastest, but they are built for the water, not for a full day of trail. Anything that holds water stays heavy and clings, and it rubs afterwards, whether that is a cotton blend or a built-in liner that soaks through.
A quick dry fabric dries while you walk and lets you forget the crossing happened. A pair that stays wet turns the next three miles into a long argument with your inner thighs. The shorts you stop noticing by the first rest stop are the right ones.
Inseam Length: Short for Airflow or Long for Cover
Inseam is the length of the inner leg seam, measured from the crotch down to the hem, and it decides how much skin the shorts cover, how fast they vent and how they move on the stride.
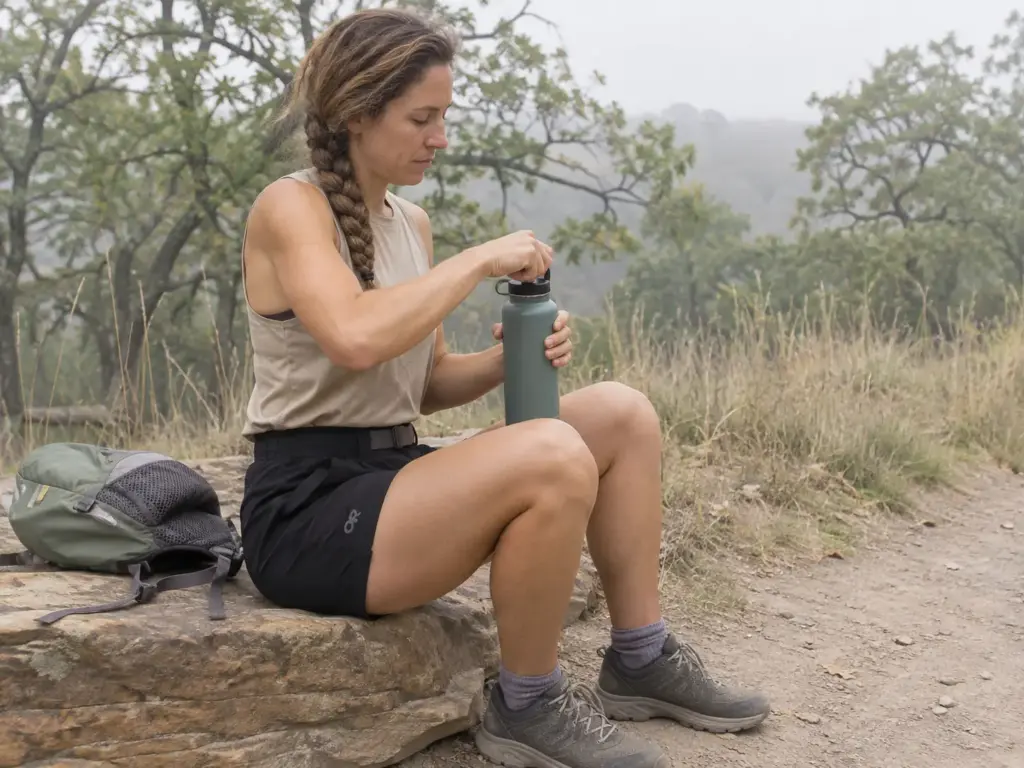
Short, Middle or Long: The Trade-Off in Plain Terms
A short inseam vents best and dries fastest, and it leaves the most skin to the sun, the brush and the other thigh. A long inseam covers more skin against sun and scrub, stays put better on the stride and runs warmer. The middle is the usual compromise, and for most hikers on most trails it is where the decision ends.
These are trade-offs, not measurements: nobody can tell you the right number from a chart, because the right number depends on how much your thighs touch, how hot the trail runs and how much of the route is open to the sun. Open and hot favors shorter. Brushy or exposed favors longer.
When a Short Inseam Backfires
The trouble with a short leg opening is what it does on the stride. It rides up with every high step, and it leaves a patch of inner thigh bare to rub against the other leg, with nothing between skin and skin. The length that feels fine standing in front of the mirror is not always the one that stays put on a long climb.
It gets worse after a swim stop, when a wet hem sticks to the thigh and rolls upward instead of falling back. If you already own a short pair that does this, you don’t need a new size, you need a different length. For the full run of options, from shorts to pants, see a deeper look at matching length to terrain.
The Five-Inch Middle Ground: Outdoor Research Ferrosi
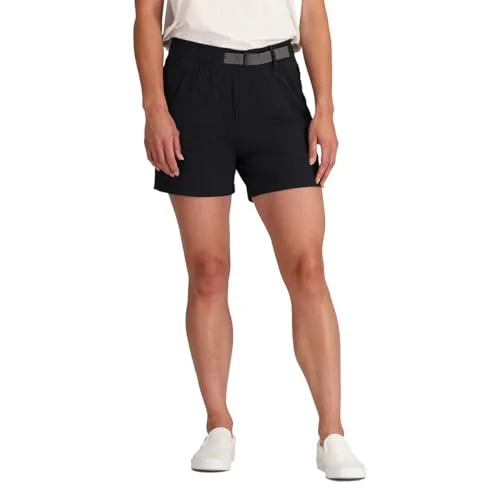
Five inches is a common middle ground for the trail, long enough that the hem stays put on a high step and short enough to vent on a climb. The Outdoor Research Women’s Ferrosi Shorts 5 inch sit right in that range, in a stretch ripstop that moves with the leg. They are a pull-on design with tape built into the waist, a flat pull-on waist with no belt loops to catch on a pack belt. The back and hand pockets cover the basics.
Every length has a cost. A longer cut can bunch at the knee on a high step, and a five-inch leaves more thigh to the sun and to the rubbing. If your thighs touch a lot, the sections ahead deal with that directly.
Do the length test in motion, not in the mirror. Stand, then take a long step up onto a chair and hold it. If the hem climbs past the top of your thigh, the leg opening will keep climbing for the rest of the day.
Rise and Waistband: What Stays Put on a Climb
Every hiker has met the pair that slides down on the first steep section and the pair she forgets she is wearing. The difference is mostly rise and waistband. The waistband is a pressure point, and it is the part of the pair that complains first.
Low, Mid or High Rise: Which Stays Put
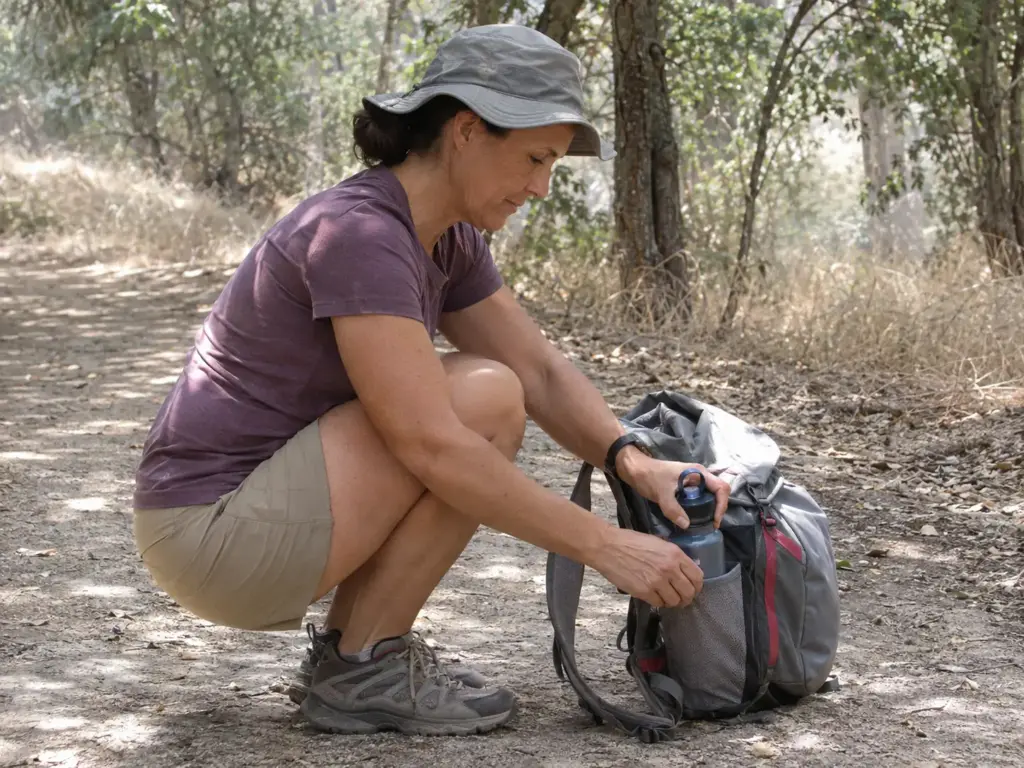
Rise is the distance from the crotch seam up to the top of the waist. A low rise sits on the hips, which is exactly where a pack belt wants to go, so a low-rise pair gets pushed down and rolled under a loaded belt. A mid-rise or high-rise pair stays higher, covers the lower back when you bend over, and tends to stay put through a squat or a big step.
The high waist has one trade-off: it can press on your stomach after a big trailside meal, which is a small price compared with a waistband that keeps sliding south. None of this makes a high rise automatically better. It makes it the one to try first if your shorts keep sliding.
Elastic, Drawcord or Built-In Tape
A flat, narrow waistband spreads pressure across the hip. A thick or stiff one folds when you sit or bend, and the fold is where the sore spot starts. Elastic, drawcord and built-in tape each trade ease of adjustment against bulk.
Elastic is simple and low-profile but offers one fit, a drawcord lets you change the fit through the day at the cost of a knot that can press on your belly, and tape built into the waist gives a flat, pull-on waist. A waist you can change through the day suits a trip where your layers and your pack keep changing. If you are curious how the same logic works when the system is a belt, how a built-in belt compares with belt loops under a pack goes into it.
Liner or No Liner, Classic or Biker
The short-and-brief combination is fine for an hour and rubs by the afternoon. The cut with nothing inside it at all has the opposite problem, because now everything depends on what you wear underneath. This section is about picking which of those problems you would rather manage.
What a Built-In Liner Really Does
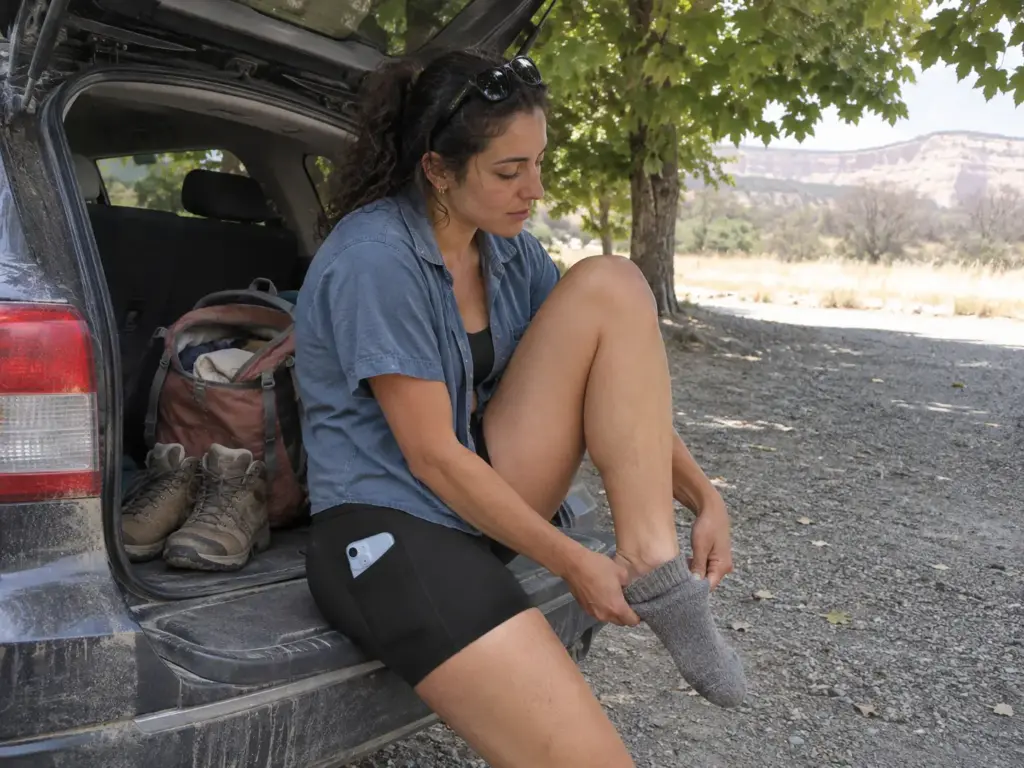
A built-in liner, usually a brief liner sewn inside lined shorts, adds coverage and a seam where the thigh meets the leg opening. In wet or humid conditions, and over a long day with many miles, that seam can turn into the thing that rubs. The usual fix is to cut the liner out and wear your own synthetic underwear, which dries fast and has no seam on the inner thigh.
Unlined shorts shift the job to your underwear. Cotton holds sweat and stays wet; synthetic dries. If you go liner-free in cotton underwear, you have swapped one wet layer for another.
Close-Fitting Biker Cut: When It Works on the Trail
Classic hiking shorts are looser and ventilate better. Biker or legging-style shorts stay against the thigh and remove the loose leg opening from the rubbing equation, at the cost of airflow and, often, a less technical fabric. For many day hikes that trade is fine.
A long-leg biker is also the layer you can pull on under a skirt or a looser short for extra thigh cover. It stops working when the heat climbs, the day gets long or the fabric holds sweat against skin that has nowhere to vent. To see where the cut holds up and where it lets you down, read where leggings fail on the trail and where they hold.
Biker Cut With Pockets: CRZ YOGA Butterluxe 5 inch
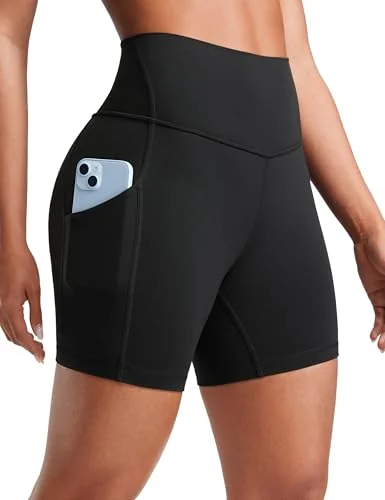
The CRZ YOGA Butterluxe Biker Shorts with pockets, 5 inch are the budget-friendly way into the close-fitting cut. The five-inch inseam keeps the hem close to the thigh, and the side pockets hold a phone and a key without the swing of a loose cargo pocket. Think of them as a day-hike pair for mild weather, or as a layer under a looser short. They are built for the studio, so the fabric is not a trail fabric, and on a very hot or very long day a more breathable technical short is the better call.
The Long-Cover Reference: baleaf High Waist Biker 8 inch
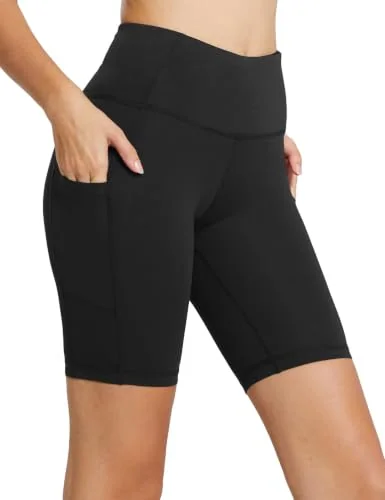
To be plain about it, the baleaf Women’s High Waist Biker Shorts with three pockets, 8 inch are a gym biker, not a hiking short. They are in this guide because eight inches is the long end of the range, and it helps to see what that much cover looks like on a pair of thighs that rub. If you find that you want eight inches under a short or a skirt, this is the cut to price against. If you want the fabric to be built for a trail, look back at the five-inch technical pair and a longer technical option in the fabric section.
Pockets That Work on Trail
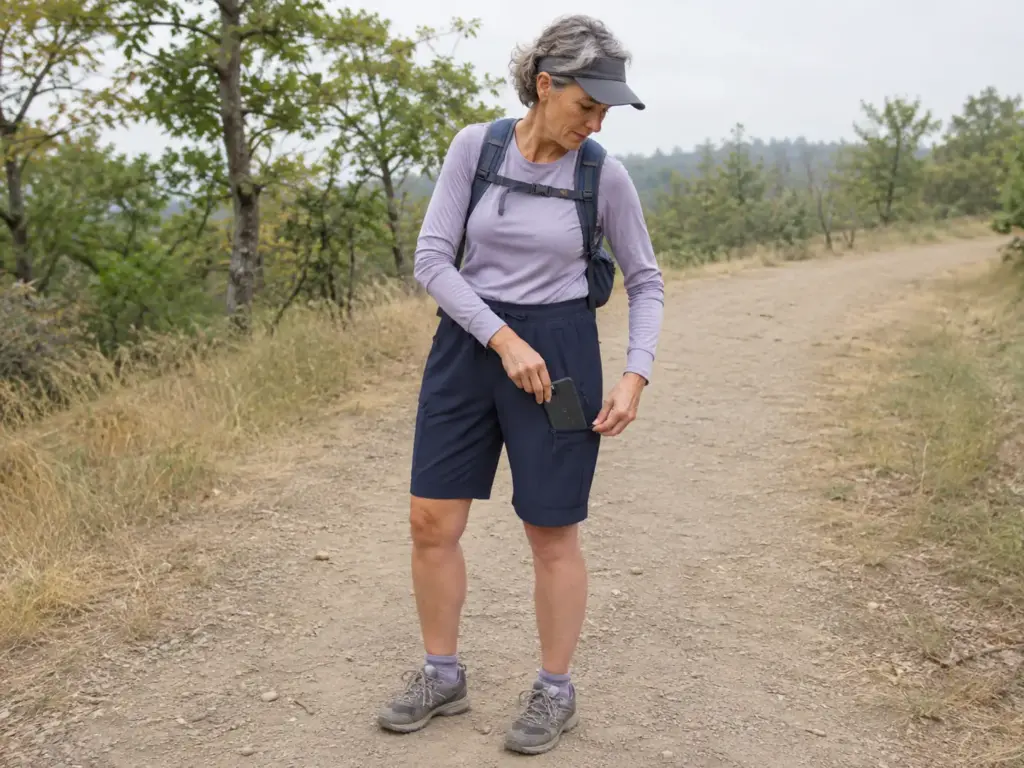
Reaching for your phone while walking with a pack on is a good test of any pocket. If the phone swings against your thigh with every stride, or the pocket opening sits where the hip belt sits, the pocket is decoration. The pocket that works is the one you can reach with a pack on and a hand free.
Zip, Open and Cargo: What Each One Holds
A zip pocket is the safe home for keys, and a dedicated phone pocket on the thigh is the one that earns its keep, since an open pocket loses things on a scramble or a sit. Cargo pockets hold more and also sag and swing when loaded. Hand pockets sit close to the leg but carry less, and a back pocket takes a card, a key or a folded map. Check by putting your actual phone in and walking around the house: a pocket that holds it standing may not hold it through a squat, and you want to learn that in the hallway, not at a creek crossing.
Pockets Under a Hip Belt
A pack’s hip belt can sit right over a pocket opening and make it hard to reach, or press the pocket’s contents into your hip. Side pockets that clear the belt are the ones that get used. A cargo pocket on the outside of the thigh is out of the belt’s way, but a loaded one swings, and a front hand pocket under the belt turns into storage you can only reach when the pack is off.
Plan for one pocket you will actually open with the pack on. Everything else is a bonus. If you want to see how the same question plays out across every kind of hiking bottom, which pocket layouts work on a long trail day lays it out.
Zip-Pocket Cargo on a Budget: Hugut Women’s Lightweight Cargo
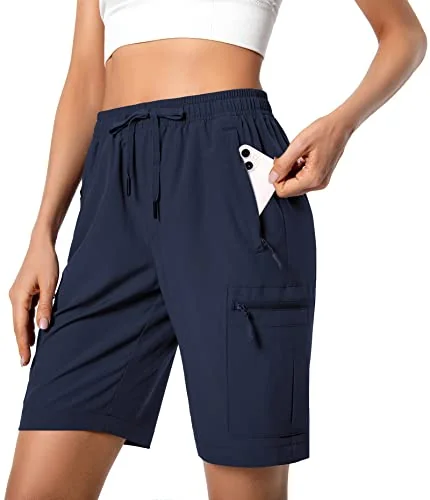
The Hugut Women’s Lightweight Hiking Cargo Shorts answer the pocket question the cheap way: quick-dry fabric and zip pockets in a cargo cut. Zip pockets are the feature that matters, because a phone or a key that stays zipped doesn’t fall out when you sit on a rock. The cargo cut holds more but swings, so keep the loaded pockets light. Look at the inseam shown for your size and color, since it affects everything in the length section above.
Another Lightweight Cargo Option: SANTINY Women’s Hiking Cargo
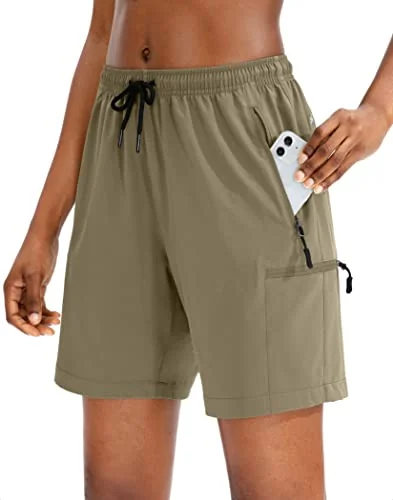
The SANTINY Women’s Hiking Cargo Shorts are the second budget-friendly cargo, in a lightweight fabric that dries quickly. The listing groups several lengths, so look at the inseam shown on the option you pick, and match it to the trail using the length section above. Treat it as an alternative to the Hugut pair when you want a different cut or a different length, not as a step up.
Fabric, Stretch and Sun Protection
At the first rest stop on a humid day, one pair clings to your leg and another has already stopped feeling like fabric. The fabric tells you in the first mile. A fabric that feels clammy at the first rest will rub by the tenth mile.
Why Synthetic Beats Cotton on the Trail
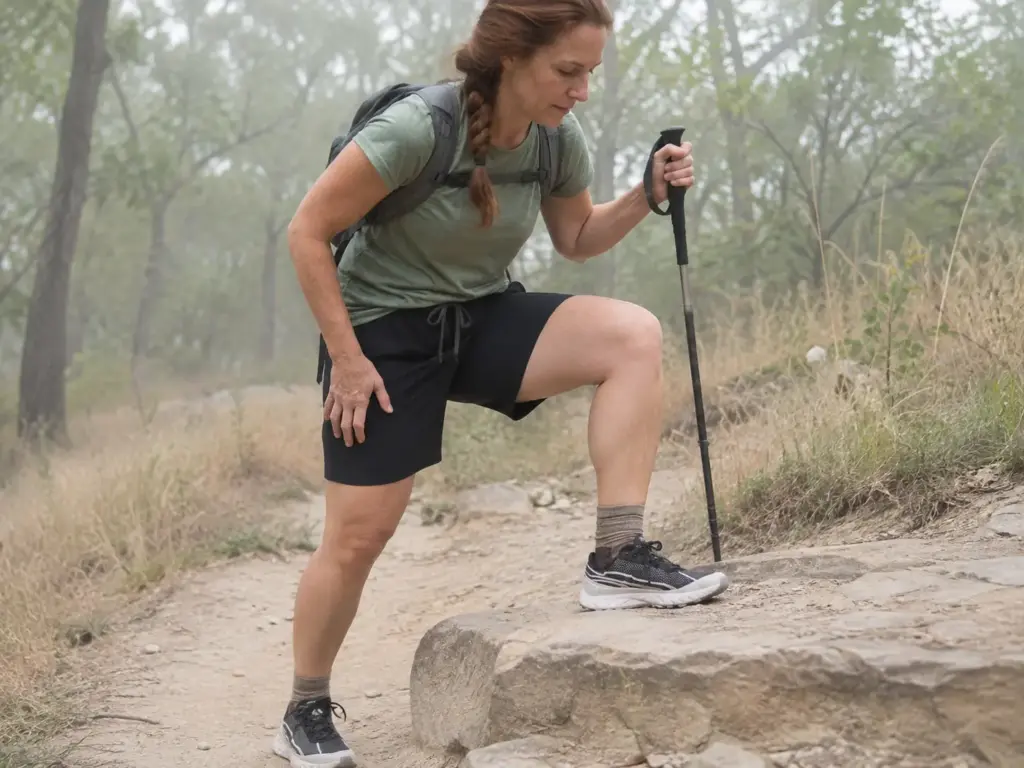
Synthetic fabric, meaning a nylon spandex blend or a polyester blend, is sweat-wicking: it dries fast and doesn’t hold sweat. Cotton absorbs, stays wet and rubs. That alone settles most fabric arguments for shorts that are going to spend hours against sweaty skin.
A cotton pair that gets wet on the thigh stays wet, and a wet seam on an inner thigh is the opening move of the chafe story told later in this guide. If a pair’s tag doesn’t tell you what it is made of, feel it: cotton feels soft and dry in your hand and clammy against damp skin, and synthetic feels slick and dries fast.
Stretch and Sun Protection: What the Tag Should Say
Stretch trades some durability for freedom on high steps. Four-way stretch (often written 4-way stretch on the tag) moves with the leg in both directions, which helps on the stairs and scrambles where a plain woven short pulls at the seat and a stretch woven one gives. A DWR finish, a water-repellent coating, sheds a splash but fades with washing and doesn’t make a short waterproof. For more on the compromise between mobility and wear, see how four-way stretch trades mobility for wear.
Sun protection matters more the more leg you show. According to Cleveland Clinic’s dermatology guidance, a garment rated UPF 50+ lets under 2% of ultraviolet light through, while a cotton shirt rates around UPF 5. A thin or mesh fabric protects less than a dense one, so hold a pair to the light: if you can see the sky through the weave, it isn’t doing much.
The finish also fades with washing, so a pair that gets laundered after every trip loses some of its rating over time. That is why the sun rating on the tag deserves a look next to the inseam. Bare legs and a short cut need more help from the fabric, and a longer cut shifts some of the work to length.
Stretch Fabric in a Longer Cut: Mountain Hardwear Dynama Bermuda
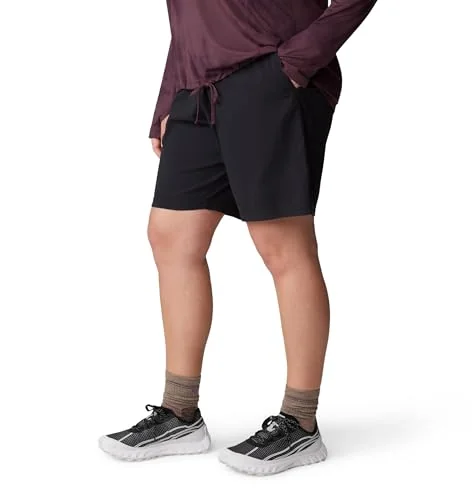
The Mountain Hardwear Women’s Dynama Bermuda is the pair for hikers who want a longer leg without leaving technical fabric behind. A Bermuda cut covers more thigh against sun, brush and each other, and the stretch fabric keeps a longer leg from fighting you on a high step. Longer shorts run warmer than a five-inch, so they suit the open-sun, brushy trail where cover earns its heat. Confirm the inseam listed for your size and color, because the length is the whole reason to pick this cut.
Why Women’s Hiking Shorts Chafe and What Fixes It
The sting that starts around hour three on the inner thigh and doesn’t stop until the shorts come off is rarely a mystery once you know what built it. Chafe is a short chain of three links, and every fix in this section attacks exactly one of them. Change the wrong link and the rub stays.
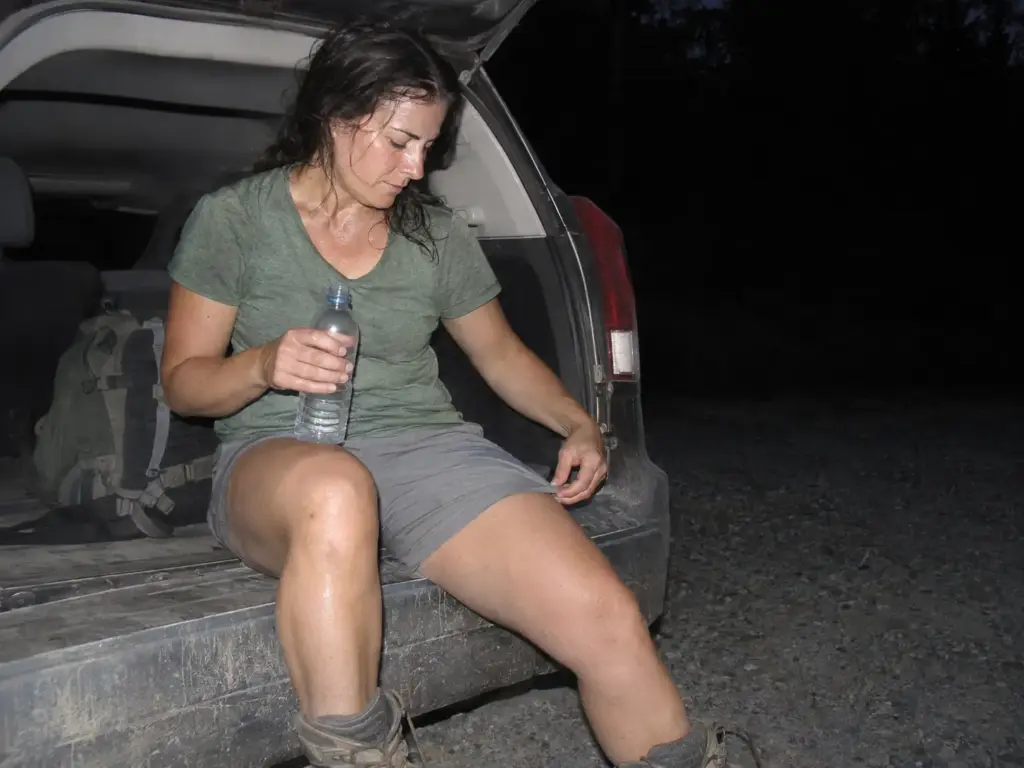
The Three Links: Wet, Seam, Ride-Up
The first link is wet fabric: sweat, a creek crossing, humid air that never lets the shorts dry. Wet fabric stops sliding against skin and starts dragging at it. Cotton holds the wet link in place, and a fast-drying synthetic breaks it. A close-fitting cut can rub too, since tight fabric traps sweat against the skin, so fit is not the same thing as size.
The second link is the seam or liner that lands on the inner thigh. A seam or a liner edge that sits right where the thigh swings is the usual culprit, and it earns that title because it repeats thousands of times in a day: a small hard line, dragged across the same strip of skin with every stride. Flat seams and removing a liner are the fixes here.
The third link is the ride-up. A leg opening that creeps upward with each step leaves skin to rub against skin, with nothing between your thighs but air and sweat. A longer inseam, or a close biker layer under the short, removes that contact.
Break any one link and the chain loosens. Break the wrong one and you will spend the trip changing sizes, which does nothing. A gusseted crotch matters here too, since it adds room at the crotch seam on a high step, and what a gusseted crotch changes on a high step shows the thigh room it adds.
The first warm patch on your thigh is the warning. Stop and fix it then, with dry fabric, a different layer or a pause to adjust, instead of walking on and hoping. A warm patch ignored at mile four is a raw one at mile nine.
Matching the Fix to the Cause
Start with the link that touches your skin. If your shorts are cotton or a cotton blend, swap the fabric for a quick-dry synthetic and the wet link is gone. If the shorts have a liner, and the rub sits right along its edge, cut it out and wear your own synthetic underwear, or choose liner-free shorts. If the seam is the culprit, look for flat seams and a leg opening that doesn’t land on the muscle of the thigh.
Then deal with length. If the rub is skin on skin and the shorts ride up, a longer inseam or a close biker layer under the short takes the contact away. Last, pick up a glide product, and apply it before the hike, not after the first hot spot. A snug, close layer beats a loose, flapping one against rubbing, and why a snug layer beats a loose one against rubbing explains the same idea one layer up.
The order matters because it runs from most to least permanent. Fabric, liner and seam fix the cause for good. Length changes how much skin is exposed. A glide product is the thin end of the list, the fix you reach for only after everything else has been done.
What a Glide Product Can and Can’t Do
A glide product puts a slippery film between skin and fabric, and for a few miles it works. It also wears off, and some of them turn messy in heat. They delay the rub; they don’t replace changing the cause.
The slippery products buy you time, and not much of it, if the fabric underneath is wet and the seam is still sitting on the same patch of skin. Some people switch to a cyclist’s cream when heat turns a stick messy. Use a glide product the way you use sunscreen, before the exposure, not after the damage, and treat it as backup rather than the plan.
The Waistband Test Under a Pack Hip Belt
The waistband that disappears under a hip belt for a mile and then starts pressing on one spot is a familiar failure, and you feel it at the first stair. You can find out before the long day if you test it with the pack on.
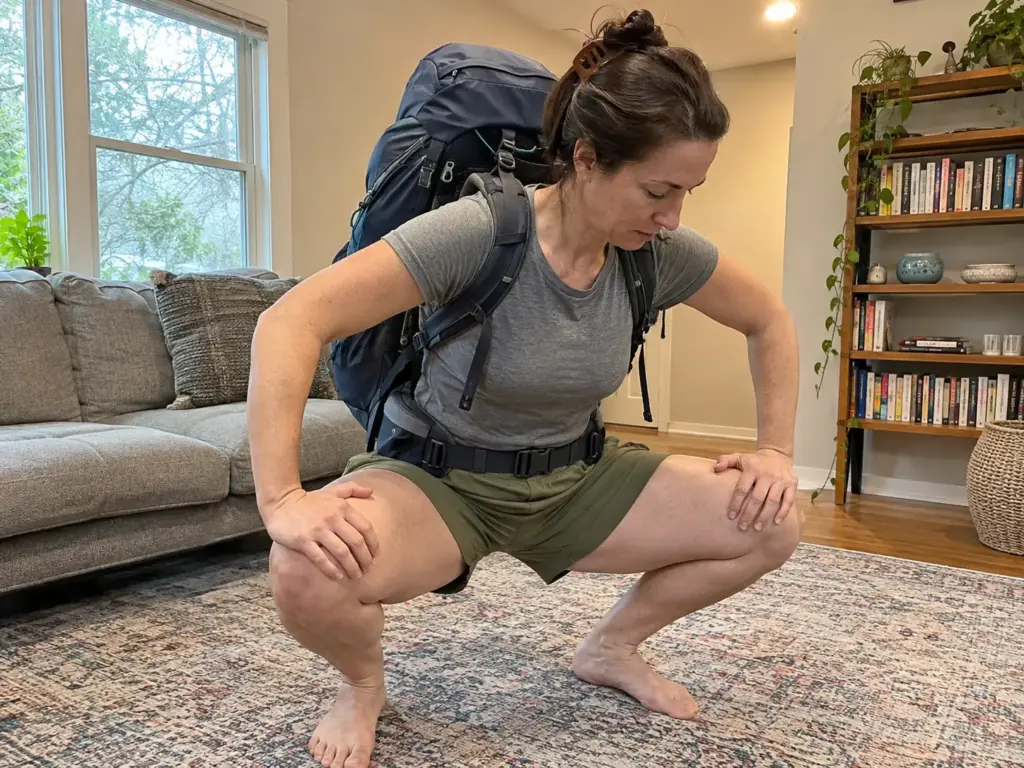
The Pack-On Test: Squat, Step, Sit
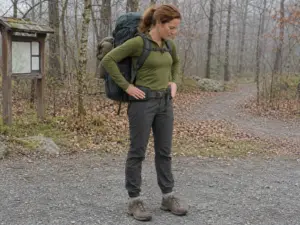
Put the loaded pack on over the shorts and buckle the hip belt where it would sit for a real hike. Then run three moves. Squat all the way down and back up. Step up onto a stair or a sturdy chair, one foot at a time.
Sit down, hold it a moment, and stand up. During each, check for three problems: a fold in the waistband, a pinch where the belt lands, and the belt riding up onto the waistband itself. Walk around the house for ten minutes and see whether a spot starts to press. Load matters: an empty pack tells you almost nothing, so fill it with real weight.
Wear the exact layers you hike in for the pack-on test, including any base layer under the shorts. A waistband that is fine over thin underwear can fold once there is another seam beneath it.
Read the result by where the trouble shows up. A fold at the front means the waistband is too tall or too stiff for how you bend. A pinch at the sides means the belt is landing on a seam or a belt loop.
A dig at the back that appears only when you sit points to a high waist that has nowhere to go. Write down which of the three it was, because the answer tells you what to look for in the next pair instead of sending you back to the same cut in a different color.
Why Tall and Stiff Waistbands Fail
A tall or stiff waistband can fold or pinch under a belt. Belt loops and plastic buckles add a lump right where the belt wants to sit, which is the case against belted shorts under a loaded pack. A drawcord knot can press on the belly, particularly after a meal.
A flat, narrow, low-profile waist sits best, which is why pull-on designs with tape or a flat band do well here and a chunky waistband with a metal button and a thick belt loop does not. A badly adjusted pack also drags the belt out of position, and cranking the straps up top is a quick way to do it, as why over-tightening load lifters makes a pack worse explains.
Check the Belt Before You Blame the Shorts
A belt sitting too low or too high causes the same pressure as a bad waistband. Before you decide the shorts failed, check where the belt sits. It should wrap over the top of the hip bones, not squeeze the soft area below the ribs or slide down onto the thigh. Try the same shorts with the belt moved up or down by a notch and see whether the pinch moves with it.
If it does, the pack was the problem. If the pinch stays in the same spot on the waistband whatever you do with the belt, the shorts failed the test, and a different cut will fix more than a different size. Some packs have a belt you can swap or shape, and when a moldable hip belt helps and when it doesn’t covers when that is worth the trouble.
A Fit Method That Works Across Brands
The same size tag can mean three different things on three different brands, and a few minutes at home will tell you which one you are holding. A method beats a brand-by-brand rule, because the rule goes stale and the method doesn’t. This works on any pair, from any brand, in your hallway.
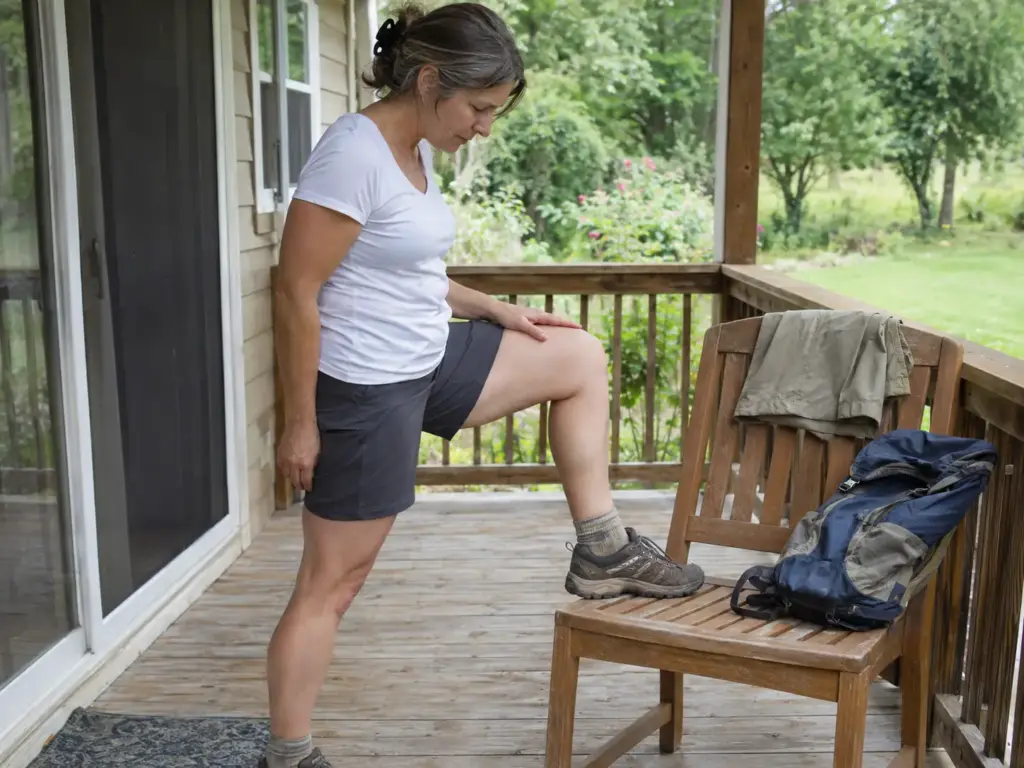
Four Moves to Run at Home
Run four moves in the shorts: a deep squat, a high step onto a chair, a sit with the legs crossed and a long stride across the room. The fabric should move with you without riding up or pulling at the seat. It’s quick, and it covers most of what a hike will ask of a pair. If a pair fails any one of the four, the hike will find the same problem, only with a pack on and no way out.
Do the moves slowly, and do them twice. The first pass shows you the obvious failures, like a hem that climbs or a waist that slides. The second pass, after a few minutes of walking around, shows you what fabric does once it has warmed up and settled against your skin. A pair that feels fine for thirty seconds and starts shifting at the five-minute mark will do the same thing at mile two, only with more sweat in the equation and no mirror to tell you why.
Rise, Seat, Thigh and Waist: What to Check
During the four moves, watch four things. The rise: does it stay put when you bend, or does it slide down and expose your lower back? The seat: does the fabric bunch under you, or pull tight across the back of the leg?
The thigh: is there room to swing the leg, and does a seam sit off the skin? Athletic thighs and a full seat need room across the leg, not just a bigger waist.
And the waist: does it fold, or dig in when you sit? Each answer maps to a decision from earlier in this guide. Sliding rise points to a higher cut, a bunching seat points to a different pattern and a seam on the skin points straight back to the chafe chain. If your legs are on the shorter side, fit fixes for shorter legs deals with inseam and rise together.
Don’t size up or size down until the four moves tell you which problem you have, because a size change only helps when the cut is right. If the pair fails at home, send it back. Don’t wait for the trail to tell you. The pair that passes the squat in the hallway passes the high step on the trail.
Dress the Test the Way You Hike
Test the shorts with what you actually hike in: your underwear, your socks and, if you carry one, the pack. A pair that fits over thin running briefs can behave differently over a seamed cotton pair, and a pair tested without a pack may sit differently once a belt is buckled over it. And if you are comparing a couple of pairs, run the same four moves on each, in the same clothes. For a look at more shorts built around chafe-free miles, see more shorts picks built for chafe-free miles.
Squat, Step and Sit Before the Long Day
Pick the inseam and the rise for the trail you walk and for the frame you have, not for the mirror. Break the chafe chain at its weakest link: swap wet fabric for quick-dry, take the liner or the seam off the inner thigh, and lengthen the leg if skin still meets skin. Let the pack-on test, not the size tag, decide whether a waistband stays on the roster. And trust the four-move fit check over any number printed on a label.
Here is the next practical thing to do. Put your loaded pack on over the shorts you already own, buckle the hip belt, then squat, step and sit. Retire the pair that pinches from your long days, and keep the ones that pass for the trips where it counts.
Frequently Asked Questions
01What are the most comfortable hiking shorts for women?
The most comfortable pair is the one whose waistband, inseam and fabric match your hike. A stretch synthetic short with a five-inch inseam is the usual comfortable middle. Confirm it with the four-move fit check at home, wearing what you hike in.
02What inseam is best for women’s hiking shorts?
Shorter inseams give the most airflow, a middle length is the usual compromise and a longer one gives more cover. Match the length to the trail and to how much your thighs touch. Open, hot trails favor shorter; brushy or exposed ones favor longer.
03Do women’s hiking shorts need a liner?
No, a liner is optional. It adds coverage but can rub in wet or humid conditions and over long days. Liner-free shorts work well with your own synthetic underwear, which dries fast and keeps a seam off the inner thigh.
04How do I stop thigh chafing in hiking shorts?
Change what touches your skin first: swap wet fabric for quick-dry, and remove a liner or seam that sits on the inner thigh. Then add length, and apply a glide product before the hike, not after the first hot spot.
05Can I wear biker shorts for hiking?
Yes, for many day hikes. Biker shorts stay against the thigh and remove the loose leg opening that rides up. The trade is less ventilation and, often, a less technical fabric, so they suit milder weather better than long, hot days.
I've spent more than a decade researching hiking gear and trail technique. I read the specs, the forum threads and the long-term reviews, and every pick here comes with what it gets wrong.
End of the trail
You read every mile of this one. Here's where the trail goes next.