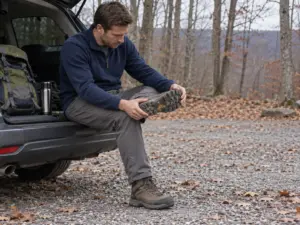
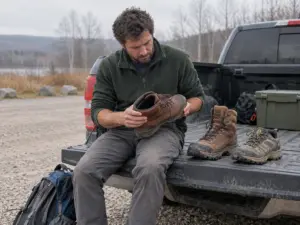
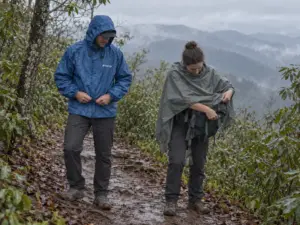
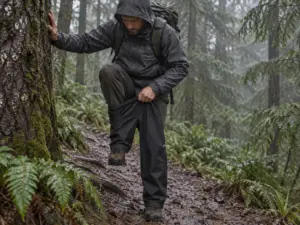
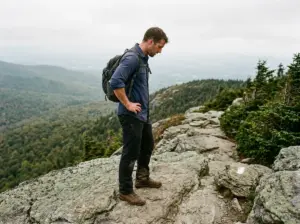
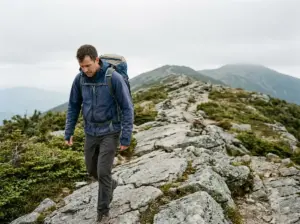


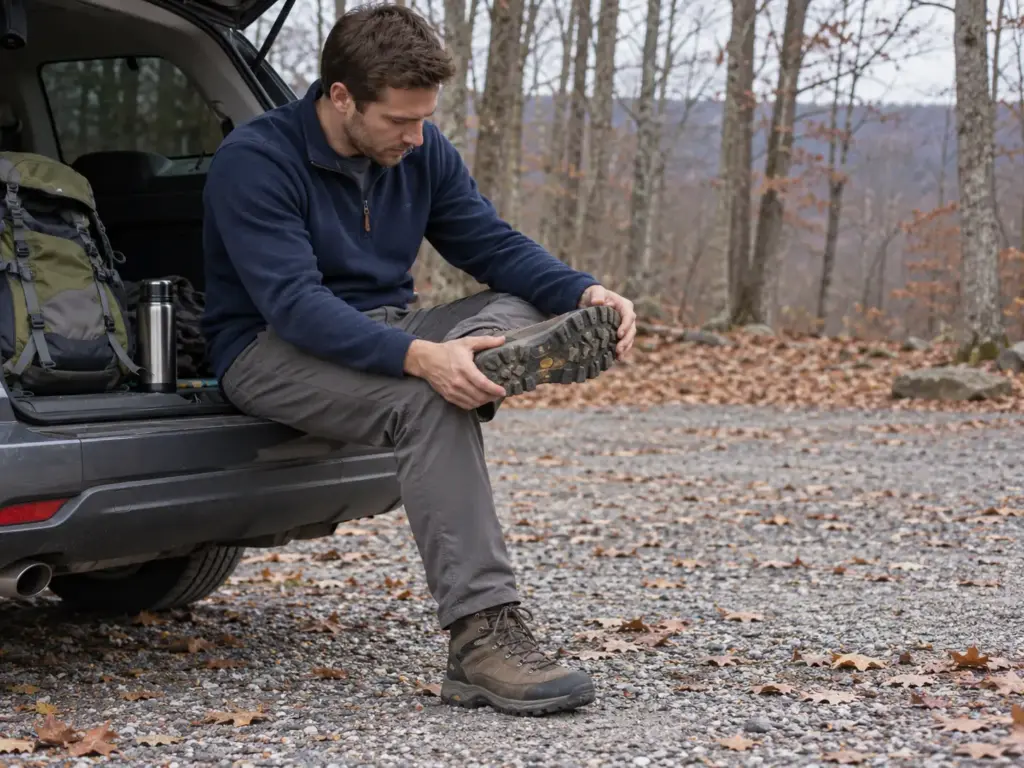
Four miles in, the trail tips downhill and your foot starts sliding forward with every step, until your big toe is braking against the front of the boot. It felt fine in the store, and now it doesn’t. Fit threads on r/CampingandHiking keep landing on the same advice for new hikers: the right boot is the one that fits your foot, and you want to find that out before you leave the house.
This guide to the best hiking boots for beginners gives you five mid-range, mid-cut picks, each there for a different fit reason, plus a way to choose yours and test it before the return window closes. Treat the table as a short list, not a ranking.
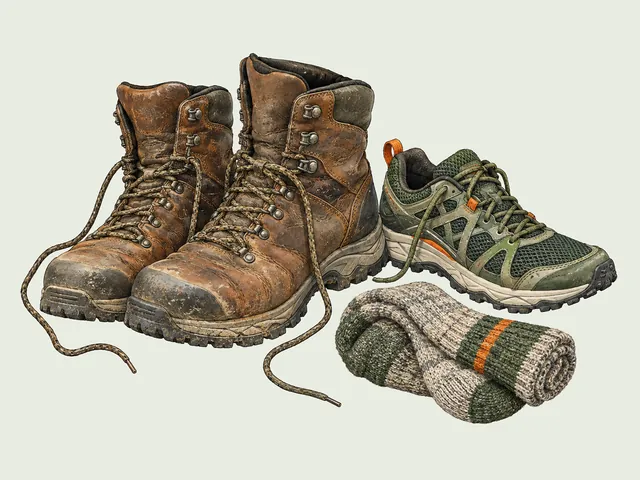
| Boot | Best for | Cut | Waterproofing |
|---|---|---|---|
| Salomon X Ultra 5 Mid GTX | Grippy tread on mixed trails | Mid | Gore-Tex |
| Merrell Moab 3 Mid | Comfortable straight out of the box | Mid | Waterproof (membrane varies by version) |
| KEEN Targhee IV Mid | Wider toe box | Mid | KEEN.DRY |
| Oboz Bridger Mid B-DRY | Leather upper | Mid | B-DRY |
| Salewa Mountain Trainer 2 Mid GTX | Sturdier ankle hold | Mid | Gore-Tex |
What the Best Hiking Boots for Beginners Get Right About Fit
Fit decides everything else. A boot with perfect tread and a membrane for every storm still ruins a day if it pinches your toes or lets your heel ride up. Ask first-time buyers on r/CampingandHiking what to get and the answer that comes back most is close to “whichever fits your feet better.” One commenter put the test even more bluntly: “if they are not immediately comfortable they are not the right boots for you.”
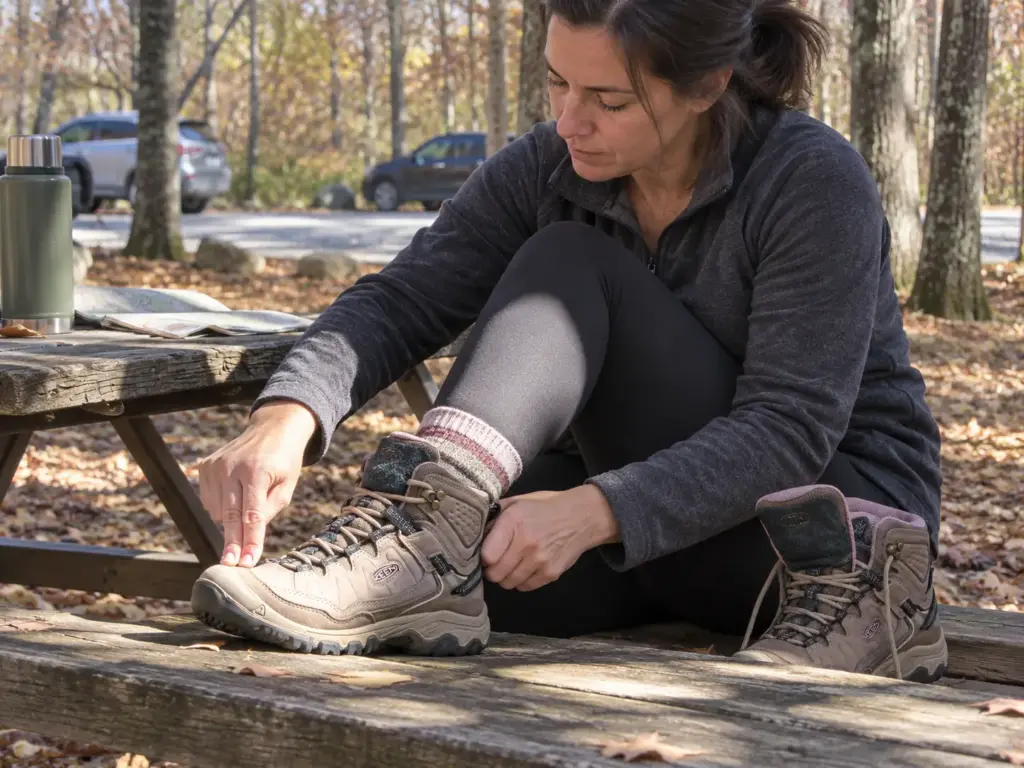
Toe Room and Heel Hold, the Two Halves of Fit
Fit has two halves, and a boot has to pass both. In front, your toe box needs space for the toes to spread and to slide a little without touching the cap. Fit guides tend to agree on about a thumb’s width between your longest toe and the end of the boot while you stand. Many fitters also use a finger test: push your foot forward before lacing and check that one finger slides in behind your heel.
Behind, the heel hold has to keep the heel seated in the cup when you flex and climb, because a heel that moves is a blister that hasn’t happened yet. Arch support matters here too: a boot that doesn’t match your arch lets the foot shift forward no matter how snug the laces are.
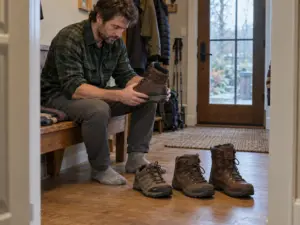
Make it a late afternoon try-on, when your feet are at their biggest, in the socks you’ll actually hike in, with the laces done up the way you’ll tie them on the trail. One commenter suggests going in the evening “when you have been on your feet for a while.” Add a loaded pack if the store lets you, since weight on your back pushes the foot forward the same way a descent does.
None of this comes from a lab. A 2026 scoping review of footwear in trail running and hiking lists blisters, numb or tingling feet and falls among the most-cited problems, rests on only a handful of studies, and doesn’t offer a measured answer on how much toe room a boot needs. That’s guide consensus, not lab data, and it’s still the best map there is. For the full breakdown, read how hiking boots break down by terrain, height and fit.
Sizing Up Without Overdoing It
Feet swell over a long day of walking, and they swell more on a descent. Fit guides put the swelling anywhere from a half size to a full size, depending on the foot and the day, which is why a boot that fits on a cold morning can feel tight at mile eight. One commenter says it plainly: you hike in two pairs of socks, your feet swell, and tight boots halfway through the day are the last thing you want.
Going up a size isn’t free either. Too much room trades toe bruises for heel blisters, and fit guides warn about exactly that when a boot is a full size too big. The rule that holds up: pick the size that leaves toe room and still locks the heel, and treat the chart as a starting point. If you’re stuck between sizes, here’s when it makes sense to size up.
A Wider Toe Box That Beginners Often Need
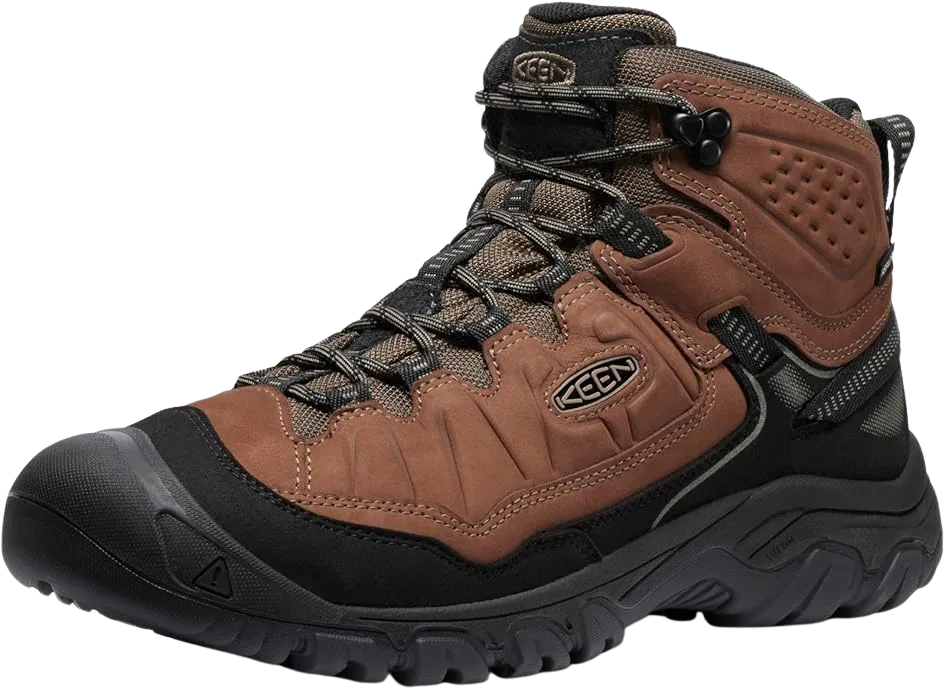
Several commenters in r/CampingandHiking say KEEN runs wide in the toe and lets the toes splay naturally. One commenter with a narrow foot and a high arch found the same boots too roomy and went with another brand, so wide here means wide in the toe box, not a fit for every foot. If you need more, check whether the maker offers a wide fit or other width options for this model.
Owners also argue over how the older Targhee III held up, with some reporting sole separation (delamination) and others reporting years of use. Check the maker’s warranty page for the IV, and the retailer’s return policy, before you buy.
If one particular toe is the problem, start with your hot spot and work out whether you need more width, more length or a lower instep.
Why a Good Store Fit Still Fails on the First Long Descent
A store floor is flat. A trail isn’t, and the two failures that ruin a first pair, bruised toes on the way down and blistered heels on the way up, only show up once the slope tilts. This is the part of fitting almost nobody tells a beginner, and it explains why a boot that felt perfect at the counter can punish you on the first big downhill.
What Your Foot Actually Does on a Descent
Picture the downhill. You keep moving at the speed of the slope, and every step plants a foot that has to stop. If the heel isn’t locked down, the foot slides forward inside the boot and the toes take the whole stop against the toe cap, step after step on a long descent. That’s the black toenail, the sore big toe, the hot spot across the top of the toes by the time you reach the car.
Guides describe the mechanism this way almost without exception, but it’s guide consensus rather than a measured result. Nobody has put sensors in a beginner’s boot and published the numbers, so treat the explanation as a working model that matches what people report. It also explains why fatigue makes it worse: late in the day your stride gets heavier, your heel plants harder, and the stop gets sharper.
Heel Lift on the Way Up (and the Blister It Builds)
On a climb the problem flips. A heel that isn’t held rises with every step and rubs against the back of the boot, and the friction builds a blister at the heel cup. A case-control study of 86 long-distance hikers on the Camino de Santiago found foot blisters in 53 of them, 61.6 percent, and wet socks at the end of a stage were associated with those blisters (p = 0.009). Blisters are the ordinary price of long walking, and that makes the controllable factors worth controlling.
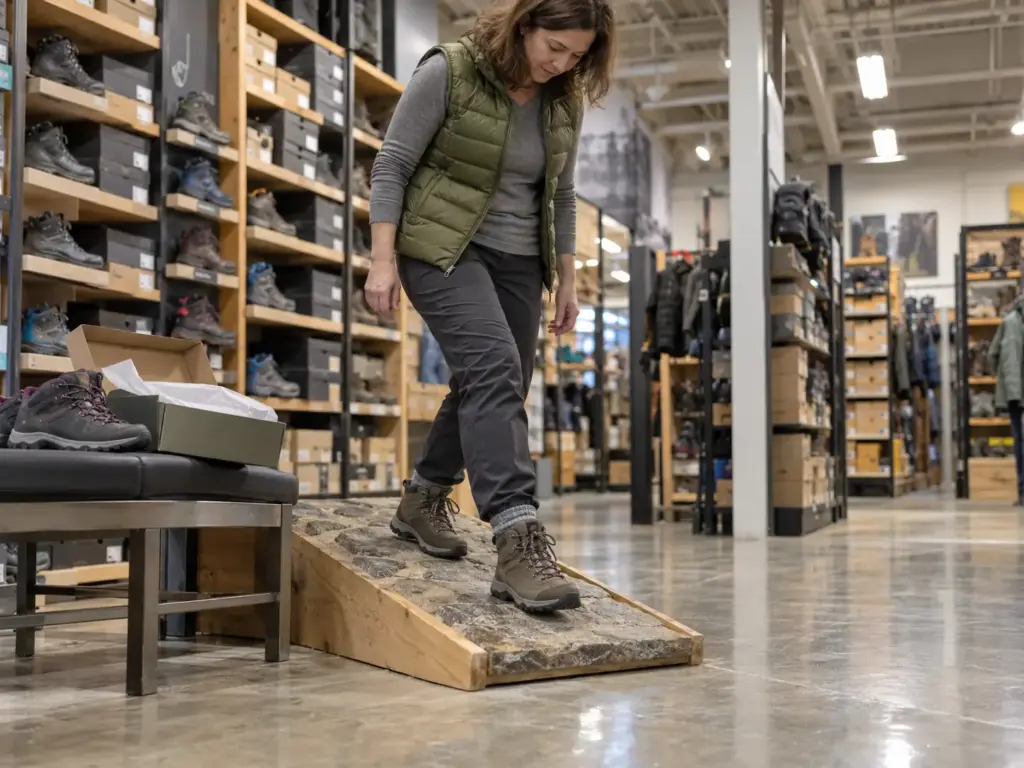
You can check heel hold in the store. Lace up fully, kick your heel back into the cup, then walk up a ramp or a flight of stairs. A heel that rises a sliver in a stiff new sole is normal; a heel that slides up and down with every step is a no. If that’s your problem, the guide to fixing heel slip by heel, midfoot or toe breaks it down by where your foot actually moves.
Two Fixes That Cost Almost Nothing
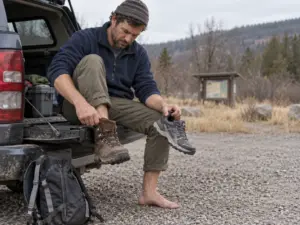
The first fix is a dry sock. In a study of 203 hikers on the Camino de Santiago, 68.5 percent had blisters, walking in wet socks was linked to 1.94 times the risk (95 percent CI 1.04 to 3.61), and the type of sock fiber, synthetic or natural, wasn’t related to blisters. The practical read is that swapping a damp sock for a dry one matters more than which fiber you bought.
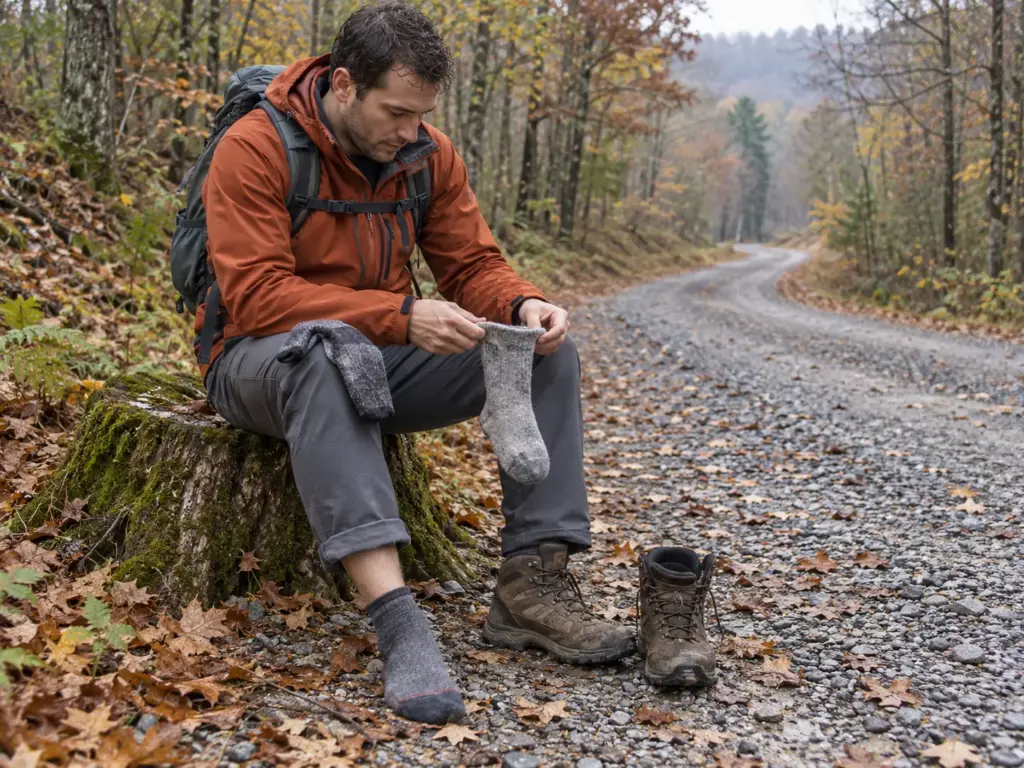
Carry a spare pair, change at the lunch stop, and build a sock rotation that actually keeps feet dry if your days run long. Some commenters also wear thin liner socks under a wool pair to cut down on blisters.
The second fix is lacing. One commenter describes a lacing that works as a heel lock: sit with your heel planted and your toes up, then pull the laces up toward the ankle until the boot grips the heel and ankle firmly. It’s one person’s trick, not a tested protocol, but it costs nothing to try on the next descent. Re-tie for the downhill, and the front of the boot stays off your toes.
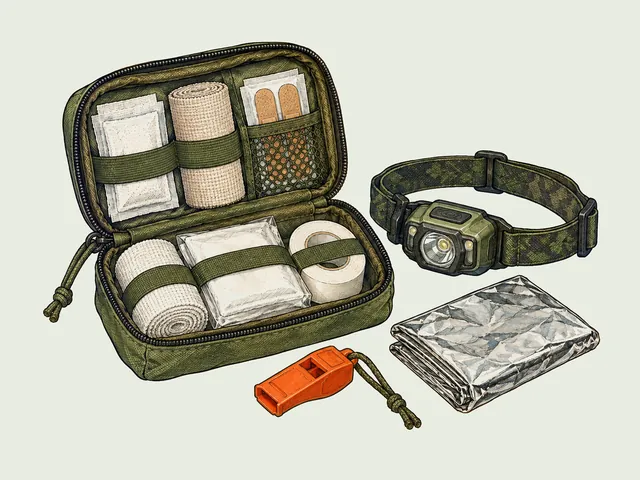
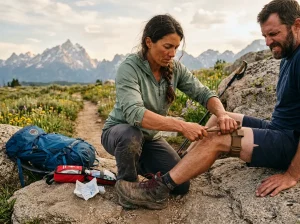
The cheapest blister treatment is the one you do before there is a blister. One commenter in the boot threads recommends carrying leukotape for exactly this: the moment a spot starts to feel warm, stop, dry the skin, and tape it. A hot spot is a blister that hasn’t happened yet, and two minutes at the side of the trail beats the last four miles on a raw heel.
Mid-Cut or Low-Cut: How Much Ankle Support and Weight You Need
Every beginner hits the same fork: boots that rise over the ankle, or low hiking shoes that stop below it. The community argues about this more than almost anything else in footwear, and neither side is wrong, which is the honest starting point.
What a Mid-Cut Actually Gives You
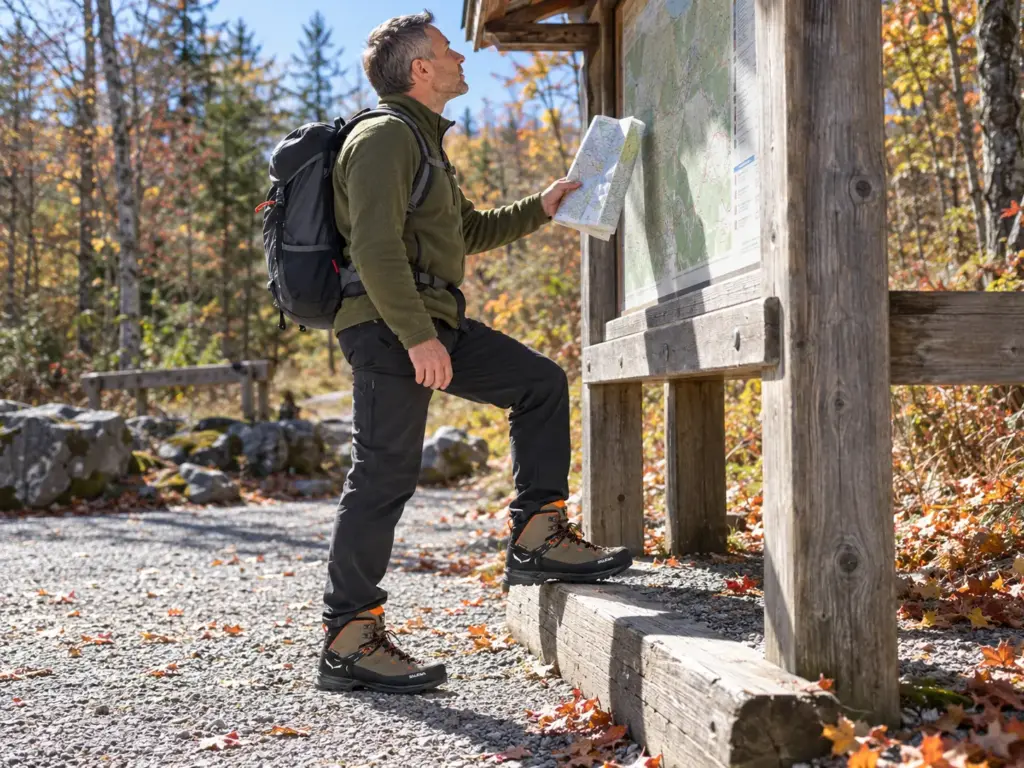
A mid-cut boot wraps up around the ankle bone; a low-cut sits below it. The practical differences are modest: a mid-cut keeps trail grit, pebbles and brush out of the boot, adds some protection against scrapes and knocks, and weighs a bit more. A common cutoff for lightweight boots is a weight per boot of under 2 pounds, a useful number to keep in mind when two options look alike.
Heavier weight isn’t automatically worse. On a long day with a loaded pack, a stiffer, slightly heavier mid-cut can give more ankle stability than a floppy light one, while on an easy loop with a daypack the extra ounces just feel like extra ounces. Match the boot to the load.
The Ankle Support Argument, Fairly Stated
One camp in r/CampingandHiking says ankle support is a myth: a high shaft only cushions a sprain instead of preventing one, and it can make your stride feel unnatural. The other camp, including a hiker who says he has been at it for 45 years, says boots simply work better on long, steep, rocky trails and in snow. Nobody in that conversation wins outright, and the thread never settles it.
A simple rule works for most first-timers shopping for beginner hiking boots. A light pack and an easy trail suit a low or mid-cut; a heavy pack and loose, uneven terrain suit a mid-cut, and past that you’re in backpacking boots territory. For the full argument, see do you need ankle support when hiking.
Trail runners are the third option, and they’re a real one. Some commenters say flatly that trail runners are the way to go and that they cured their blisters; others say boots still win with weight on the back. This guide is about boots, but if your trails are easy and your pack is light, a trail runner is a fair answer.
A Sturdier Mid-Cut Pick for Heavier Packs
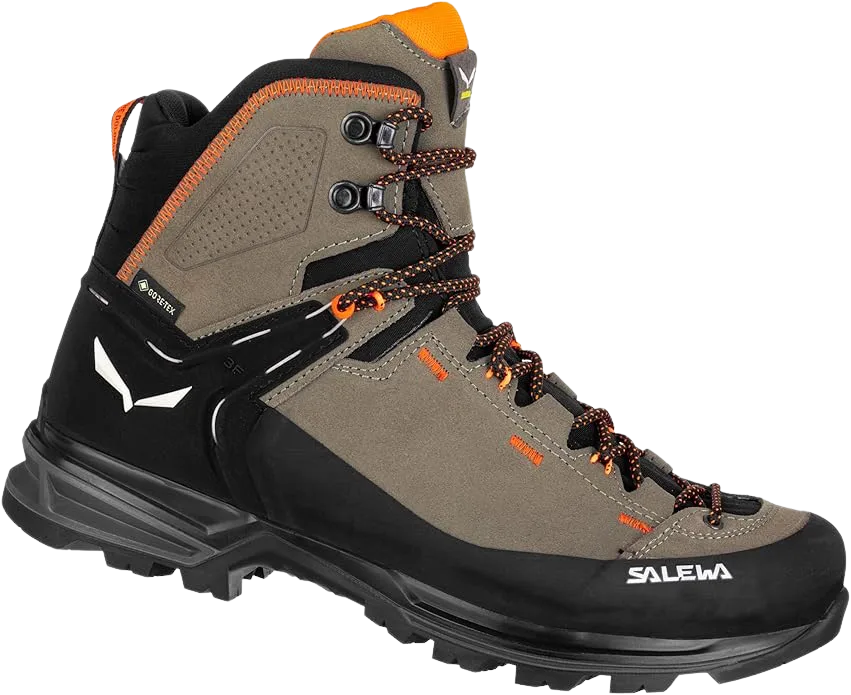
If you already know you’ll carry weight or hike loose terrain, the Salewa Mountain Trainer 2 Mid GTX is a mid-cut with a sturdier ankle hold and a trail-ready profile. It suits a particular job, not everyone. Try it on with a loaded pack, because the extra support only earns its keep when there’s weight to support.
Leather, Synthetic and Membranes: Keeping Feet Dry Without Cooking Them
Dry feet beat everything else in a boot, and the way you get them is a trade, not a feature. The materials decide how fast a boot dries and how well it breathes, and the membrane decides whether water gets in or sweat stays trapped.
Full-Grain Leather vs Synthetic, in Plain Terms
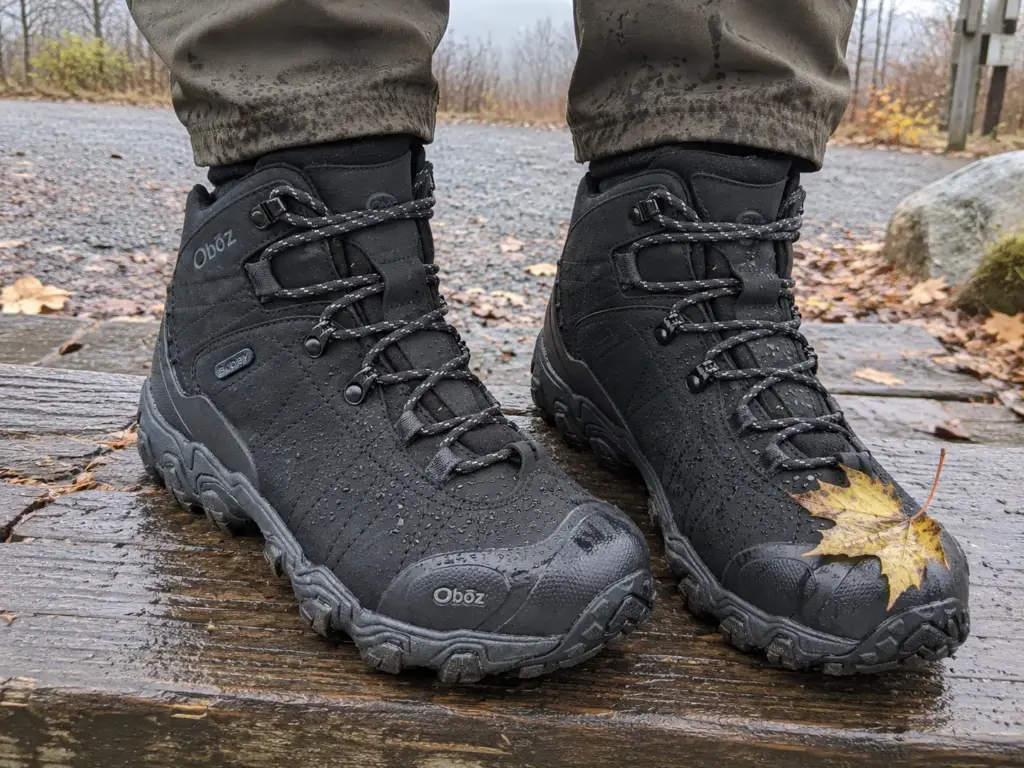
Full-grain leather is tough and ages well, but its drying time is long, its breathability trails mesh and it weighs more. Nubuck and split-grain leather are the other cuts you’ll see on product pages. One commenter’s complaint is the common one: once leather boots are wet, it takes ages for them to dry. A synthetic or mixed upper is lighter and dries sooner, but it can break down sooner than leather. Several commenters prefer a leather-and-synthetic blend over full leather for just that reason.
The right choice depends on where your boots will spend their time. For a clear way to decide, pick by where it gets wet: wet, muddy, cold trails reward leather, and warm, dry ones reward synthetic.
Do You Actually Need a Membrane?
A membrane such as Gore-Tex, KEEN.DRY or B-DRY keeps rain and puddles out, and it also holds sweat in. One commenter summed it up: “Waterproof works both ways so when your feet sweat they hold onto moisture.” A waterproof boot makes sense for wet trails, tall wet grass and mud. In dry, hot conditions, with so little ventilation, it’s often a sauna; a commenter in Southern California says they no longer buy waterproof boots for that reason.
Remember that wet socks are the blister risk, and a boot can leave your socks wet from the inside as easily as from the outside. Makers also name membranes differently, and the same boot can be listed under different names by version. The Merrell Moab 3 Mid, for one, appears as waterproof in one men’s listing and as GTX in the women’s, so read the product page, not just the model name.
A Leather Option With a Membrane Built In
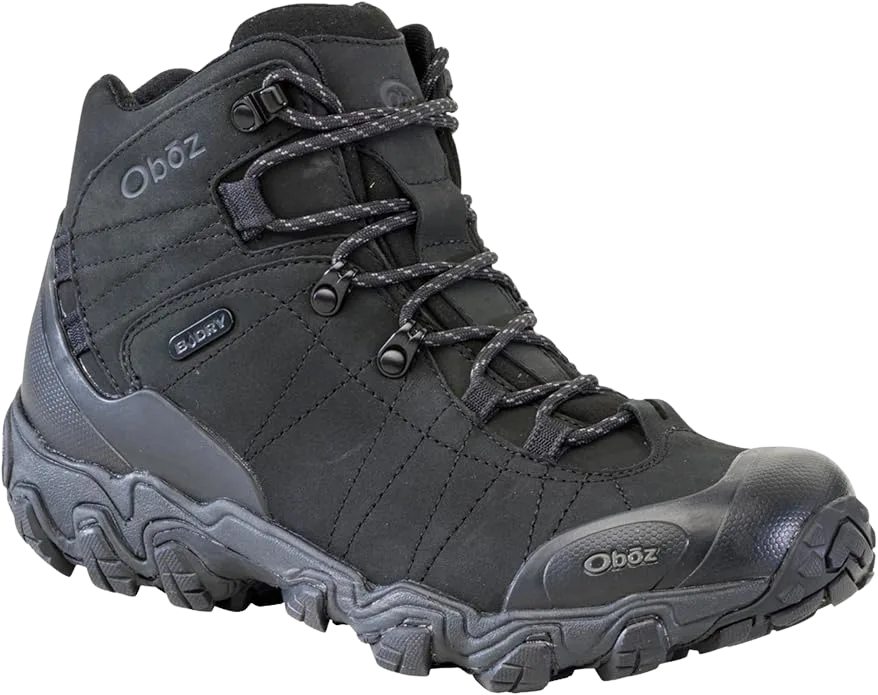
If you’d rather have leather than a synthetic upper, the Oboz Bridger Mid B-DRY puts a built-in waterproof membrane inside a leather boot. Leather care is a chore synthetic skips, and it’s slower to dry, so it suits wet, cooler trails better than hot summer days.
Outsole Grip and Midsole Feel Beginners Can Judge in the Store
You can read a lot from the sole without being an expert. Look for deep, well-spaced lugs, the raised blocks on the outsole, that give traction on mud and loose gravel instead of clogging with it. Check the heel for an angled heel brake, the stepped lug at the back that slows a slide on descents.
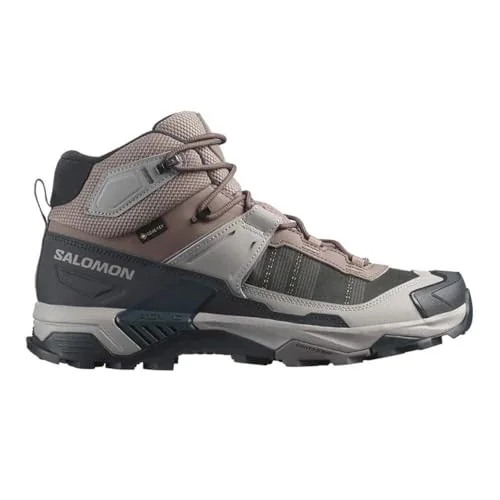
The Salomon X Ultra 5 Mid GTX is the grip pick here, with deep lugs and Gore-Tex, and it’s a frequent first pick for newer hikers. That’s a reason to try it, not proof it fits you.
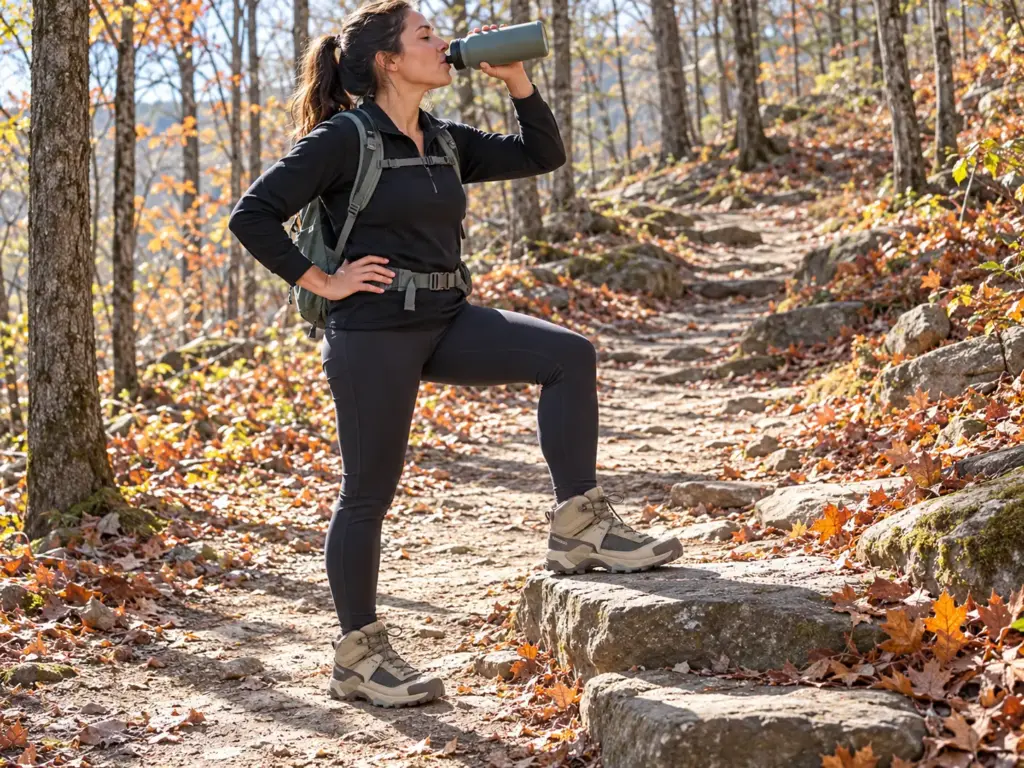
Do the flex test on any boot: grip the heel in one hand and the toe in the other and bend it. A boot that is too flexible, folding in the middle like a sandal, won’t support a heavy pack on rocky ground; a boot that won’t bend at all will feel like a plank. Here’s how stiffness changes with terrain and pack load.
The midsole is the foam between your foot and the outsole. An EVA midsole is the lighter, softer foam; a polyurethane midsole is denser and firmer. A firm midsole tends to rest the foot better on long descents but can take longer to feel natural.
Some boots add a rock plate, a thin stiff layer under the foot that spreads the sting of sharp rock, which you’ll notice on rocky trails and not at all on smooth ones. Look for toe protection too, a rubber rand wrapped around the front of the boot, if you tend to kick roots and rocks. Rubber brands such as Vibram and Contagrip turn up on many boots, and the rubber compound matters more than the badge: a name on the sole is no promise of better grip on every surface.
Many outdoor stores have a test ramp, and a few minutes on it will teach you more than any spec sheet. A sole can’t fix a bad fit, though. If the boot hurts at the counter, the best tread in the world won’t help.
Test the grip before you hike on it. In a store, walk the ramp and push off with your toes as if you were climbing; at home, hold the rail and stand on the bottom stair with the ball of your foot, then roll forward. The sole should feel planted, and the heel should stay put. If it twists under you before you’ve gone anywhere, it’ll do worse on wet rock.
Break-In: What “Comfortable Out of the Box” Really Means
Ask a room of hikers whether boots need breaking in and you’ll get two answers. A top comment in one beginner thread is blunt: “you should never have to break in footwear.” Another thread says the opposite: “Break them in plenty before your hike.”
The disagreement is partly about words. Nobody argues for boots that hurt on the first walk. A boot with real out of the box comfort is one that feels right in the first hour, with no hot spot, no heel slip and no toe touching the cap. Some of those boots still have a short break-in period, a few outings for the sole to soften and the upper to settle.
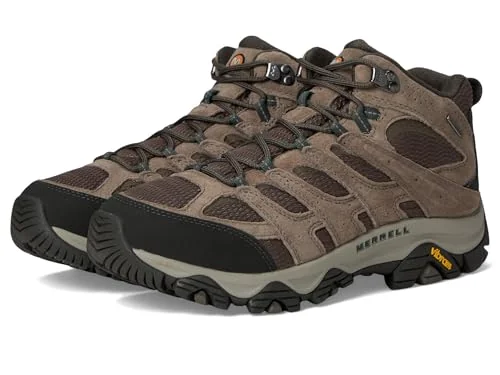
The Merrell Moab 3 Mid is the comfort reference on this list, and one commenter prefers it to the KEEN.
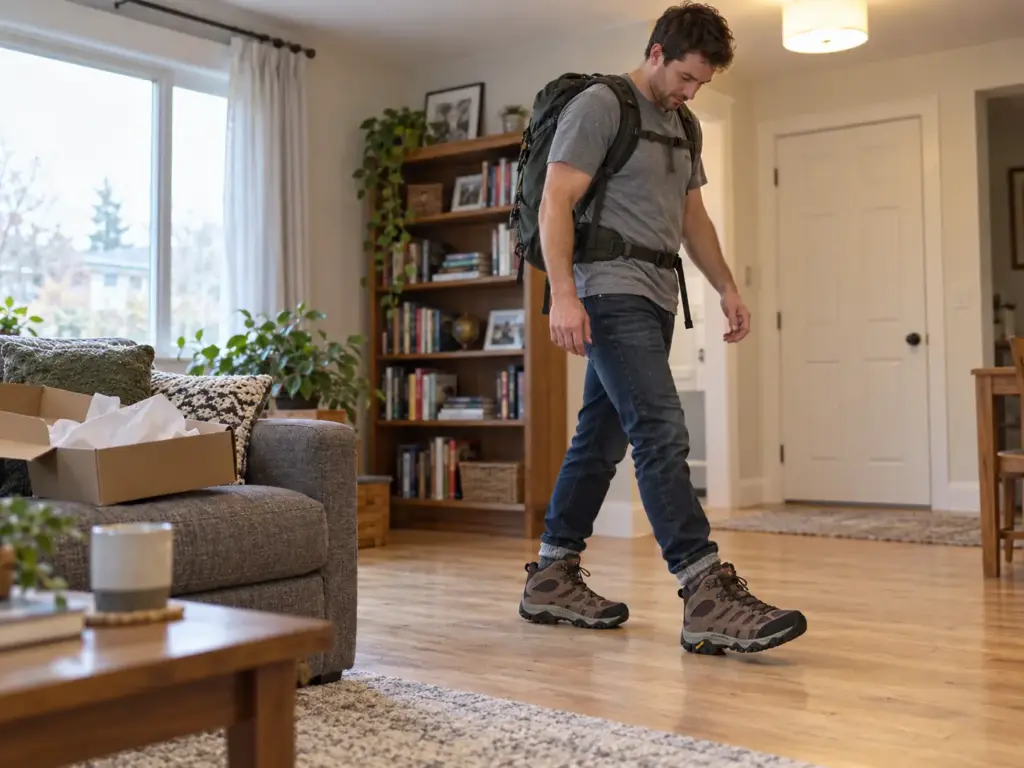
The practical rule that most commenters agree on: use the boots several times before a long hike. Walk the house in them with your hiking socks and a loaded pack, but do it indoors so you don’t get them dirty, in case they need to go back. If a hot spot or a rubbing toe keeps showing up, that boot isn’t for you, and the sooner you return it the easier the return gets.
Comfort out of the box isn’t a substitute for a slope test. A boot can feel perfect on a carpet and still fail on a descent, which is why the test in the last section of this guide matters.
What an Honest Budget Gets You, and What It Skips
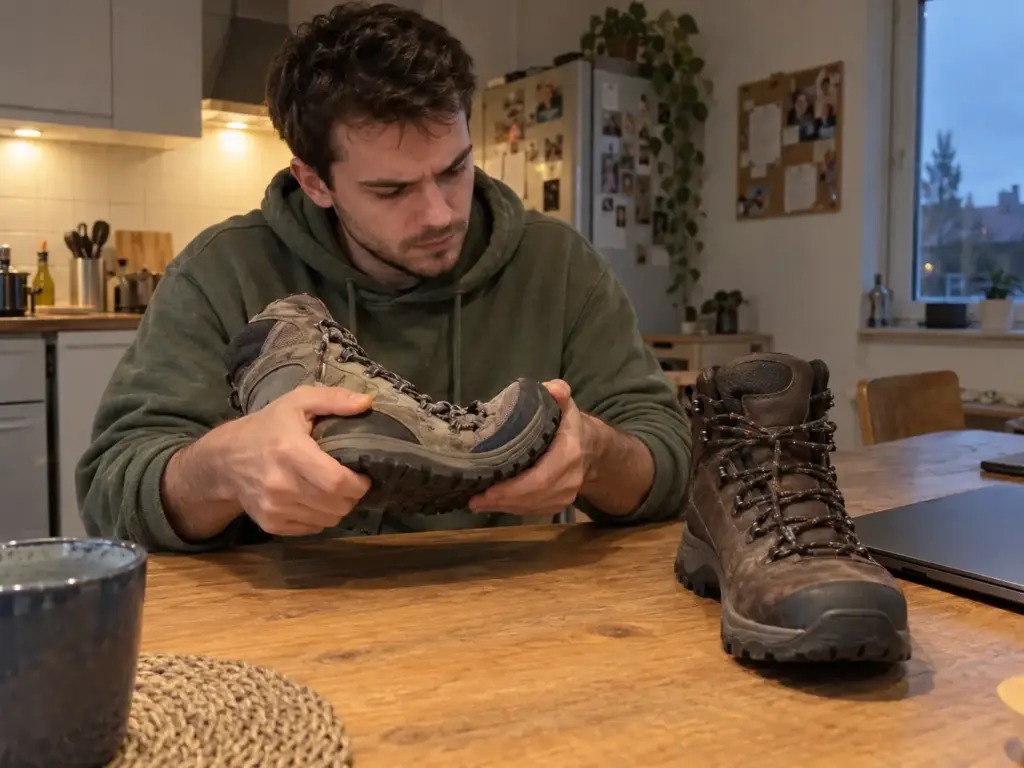
The price on the tag isn’t the price of the boot. A pair that dies early costs you again, and a pair that blisters costs you the hike. There’s no budget pick on this list, on purpose: a recommendation needs a pair you can buy today and point to without caveats, and the cheapest boots in the beginner conversation didn’t clear that bar.
Where Cheaper Boots Usually Cut Corners
Across price tiers, lower-priced boots tend to cut in the same places: thinner midsole foam that packs out sooner, softer outsole rubber that wears faster, linings that rub through at the heel, and membranes that stop keeping water out earlier. That’s a tendency, not a law, and it depends on how hard you use them. A pair worn on weekend loops will last far longer than the same pair carrying a heavy pack through rock fields.
The community can’t agree either. In one thread, a first-time owner holding two pairs at very different prices asked which to keep. Commenters split on whether the cheaper pair would last, and owners reported wildly different lifespans in both directions: one reported about two years of occasional use, another seven years or more, and several said theirs fell apart early. One commenter put it this way: a boot at one price will perform like a boot at that price.
When a Mid-Priced Pair Is Plenty for a First Year
If your day hiking is a few outings a month with a daypack on well-kept trails, a mid-range boot is plenty for a first year, and you don’t need premium boots to prove you’re serious. Spend more if you hike a lot, carry weight or head onto rough ground, because that’s where a better sole, a better lining and a longer-lived membrane earn their cost.
Choose by fit first and price second, always, because the best value is the pair you’ll actually wear. A cheaper boot that fits beats an expensive one that doesn’t, and if you ever have to pick between a better-fitting pair and a better-spec pair, take the one that fits. For the wider picture of what a first kit really needs, here’s a skill-building guide to budget hiking gear.
Test Your First Pair Before the Return Window Closes
Buying the boot is the first half. The second half is testing it while you can still send it back. The protocol below comes from what first-time owners on r/CampingandHiking tell each other, and it’s built to find a bad fit in a living room instead of a ridge.
The Store and Living-Room Checks
Start in the store, in the late afternoon, wearing the socks you’ll hike in. Walk the test ramp and watch the toes on the way down; if the front of the boot touches them, that pair isn’t for you. A commenter calls out the same test: any hot spots or places where your toes rub mean the boots aren’t for you.
At home, do what first-timers recommend, indoors. Walk the house, climb the stairs, hop a little, shift your feet side to side, load a pack and try another lacing. If you have two pairs, alternate them and keep the one that fits better and makes you want to put it on. For the return side of this, here’s how to break in boots and know when to return them.
The Two-Mile Test Hike
Once the boots pass at home, take them on a short hike of two to three miles, on the kind of ground you plan to walk. Pack the weight you’ll really carry, bring the tape, and watch for four things in order: the toes on the first descent, the heel on the first climb, a hot spot anywhere, and how your socks feel when you stop.
- Re-tie the laces tighter at the top of the first descent and see if your toes stop touching the cap.
- Stop at the first warm spot, not the first blister, and tape it.
- Change to a dry sock at the turnaround.
- Check your feet at the car: red marks, rubbed skin or a bruised toenail tell you which half of the fit is off.
Go on a trail that has a real hill. A flat loop proves nothing, because both of the failures this guide describes need a slope to show up. If the nearest trail is flat, a parking-garage ramp or a long staircase with a loaded pack gets you most of the way there.
Return Policy: Read It Before You Wear Them Outside
Check the retailer’s return policy before you wear them outside. Retailers differ on what counts as returnable and on how long you have, and the conditions are easy to miss while you’re excited about a new pair. Keep the box and the tags until the boots have passed the two-mile test, and write down the date the window closes.
If a boot fails the test, send it back without guilt. A pair that rubs on a short walk will not improve on a long one, and the cost of returning it is smaller than the cost of a bad weekend.
Take One Pair on a Two-Mile Walk This Weekend
Three things to take away:
- Choose by fit, not by list: toe room in front, a heel that stays put behind.
- Look after the foot, not just the boot: a dry sock, a heel-lock lacing, and tape on the first warm spot.
- Test and return in time: ramp, living room, a short hike, and a return policy you’ve actually read.
Take one of the boots in the table on a two-mile walk this weekend and note exactly where it rubs. Then pick your first real trail with the First Hike Framework for new hikers, and carry the tape.
Frequently Asked Questions
01What are the best hiking boots for beginners?
The best hiking boots for beginners are the ones that fit your foot, and a mid-range, mid-cut waterproof pair is a sensible place to start. Look for toe room and a heel that stays put. The table near the top gives five to try on.
02Is there a difference between hiking shoes and hiking boots?
Yes: hiking boots cover the ankle and are usually stiffer and heavier, while hiking shoes sit low and flex more easily. Hikers disagree on which is better, so choose by pack weight, terrain and how your ankles feel.
03Do hiking boots need to be broken in?
It depends, and hikers disagree: some say boots should feel right from the first minute, others say to wear them in before a big hike. Either way, wear them on several short outings before a long one.
04How much room should hiking boots have in the toe?
Aim for about a thumb’s width in front of your longest toe while standing, with a heel that stays put uphill. Try boots on late in the day, in your hiking socks. That is guide consensus, not lab data.
05Are trail runners a good alternative to hiking boots for beginners?
Trail runners can work well on easy trails with a light pack, while boots give more support and protection with heavy loads or loose, rocky ground. Hikers split on this, and both sides have a point.

I've spent more than a decade researching hiking gear and trail technique. I read the specs, the forum threads and the long-term reviews, and every pick here comes with what it gets wrong.
End of the trail
You read every mile of this one. Here's where the trail goes next.