In this article
You’re standing at the trailhead with a car-camping tent that weighs close to 10 pounds, an 80-liter pack, and one question: where is this thing supposed to go? It turns up on beginner gear forums every season, and the honest answer has less to do with the tent brand than with the weight each person carries, where the tent rides in the pack, and the ten seconds you spend looking up before you pitch it. Here’s how backpacking with a tent works in practice, from how heavy is too heavy to carrying it, packing it wet, pitching it, and what a first tent should cost.
Backpacking with a Tent — Do You Actually Need One?
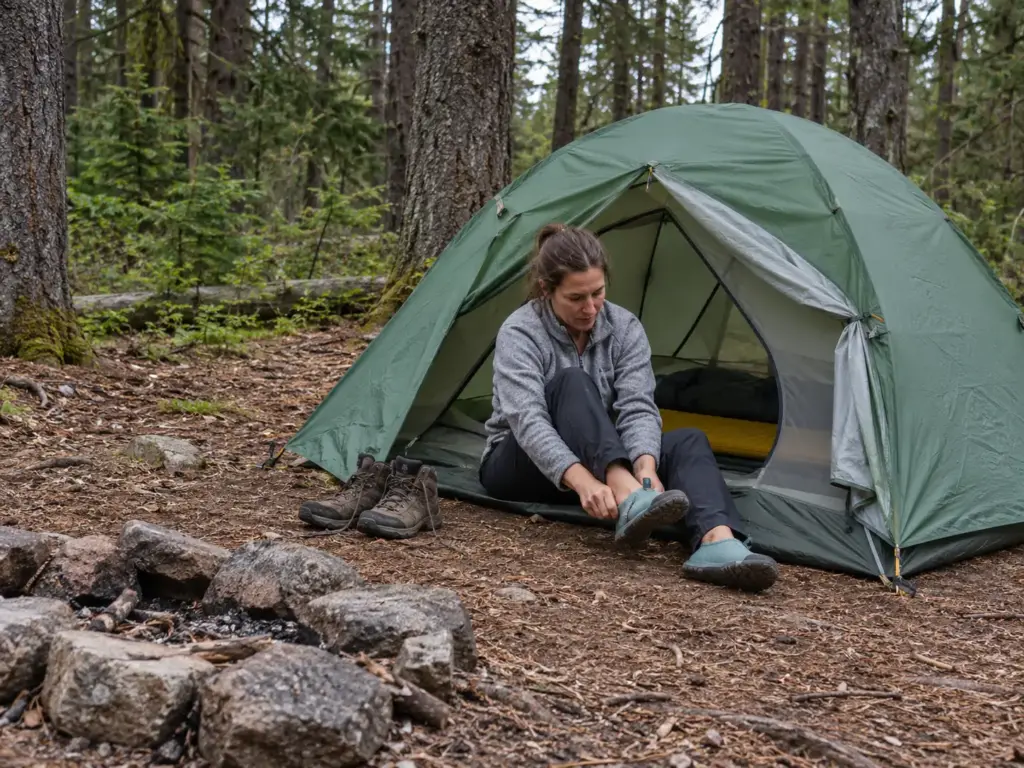
The tarp-and-bivy crowd can make a tent sound like training wheels. For a first trip it isn’t. A backpacking tent gives you a floor, bug mesh, a roof that sheds rain, and a place to change out of wet clothes, and it forgives more mistakes than any other shelter.
When a Tent Beats a Tarp, Bivy or Hammock
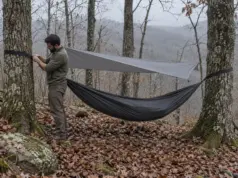
A tarp or bivy sack saves weight but asks for skill you build over time: the pitch angle that sheds sideways rain, a site that drains, a plan for dusk mosquitoes. A hammock needs two healthy trees the right distance apart, which the high country doesn’t always offer. Cowboy camping is lovely on a dry, bug-free night and a lousy plan for anything else.
Gear forums land in the same place almost every time: the ultralight setups thru-hikers carry come later, once a handful of nights has shown you what you actually use. You won’t know whether you need a zippered door between you and the dark until you’ve slept without one.
How Many People the Tent Should Sleep
Capacity labels are optimistic. A 2-person tent means two people shoulder to shoulder with a little gear at your feet, and plenty of couples size up for elbow room. If you’re sharing, picking a two-person backpacking tent you can share comes down to floor width, door layout, and how neatly the weight splits between two packs.
Anything labeled four-person or bigger is a car-camping tent, which is where that 10-pound monster at the trailhead comes from. Pack volume follows the tent too: Exploring Wild’s rule of thumb is that a 1-person tent fits a 50-plus-liter pack, while a 2P or 3P can push you to 60 liters or more.
How Heavy Is Too Heavy? A Simple Tent Weight Rule
Nobody can call a tent too heavy without knowing what else is on your back. The tent is one line in a pack budget, and whether it’s shared changes the math more than any spec sheet.
Start With the Whole Pack, Not the Tent
Backpacker magazine’s guideline for beginners is a loaded pack of no more than about 20 percent of what you weigh: under 30 lb for a 150-lb hiker, under 40 lb for a 200-lb hiker. SectionHiker lands in the same place, calling about 30 lb total a fine target and an ultralight base weight “certainly not a necessity.”
The heavy variable isn’t the tent. It’s food and water. A liter of water weighs about 2.2 lb, so two liters for a dry stretch outweigh plenty of two-person tents before you’ve packed a single meal.
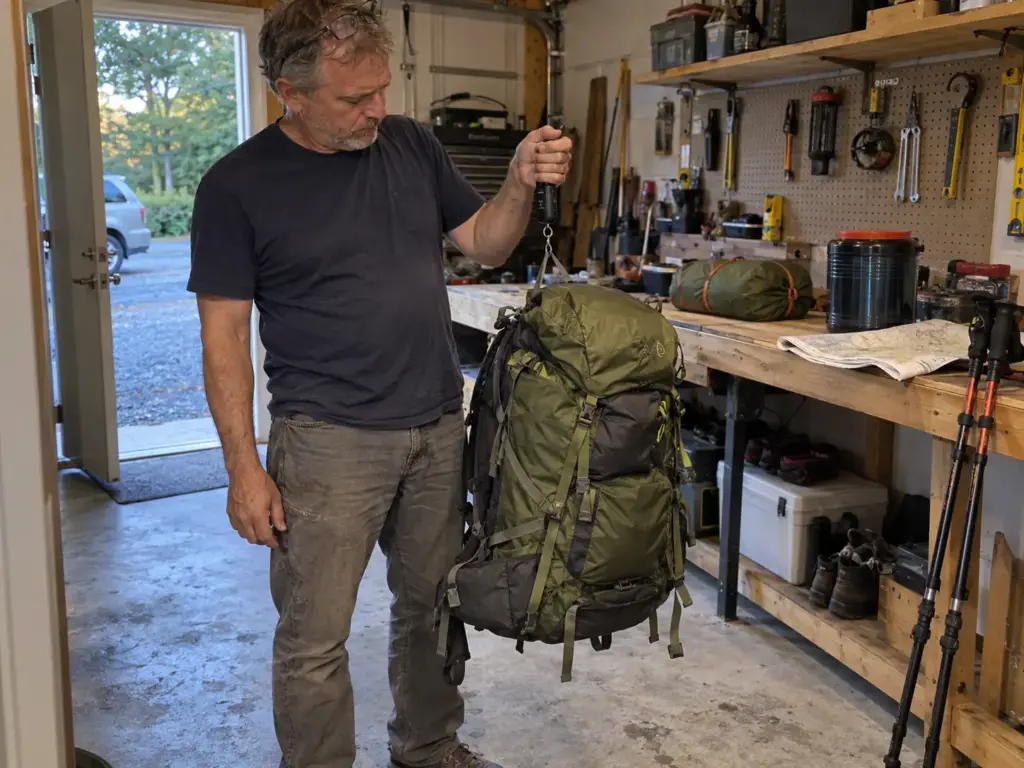
Hang the fully loaded pack from a luggage scale the night before, bottles filled. The number ends the guessing. If you’re over your 20 percent line, pull things out on the living room floor instead of at mile six.
Is a 5 lb Tent Too Heavy? Split It and Do the Math
For two people, no. A 5 lb tent split down the middle is 2.5 lb each, roughly 8 to 9 percent of a 30-lb pack, or about one extra liter of water.
The North Face Stormbreak 2 is the honest example. It’s a freestanding two-person tent with a trail weight a little over 5 lb, and it doesn’t pretend to be ultralight. It pitches fast and forgives a sloppy first setup, and split between two packs it adds a bit over 2.5 lb each.
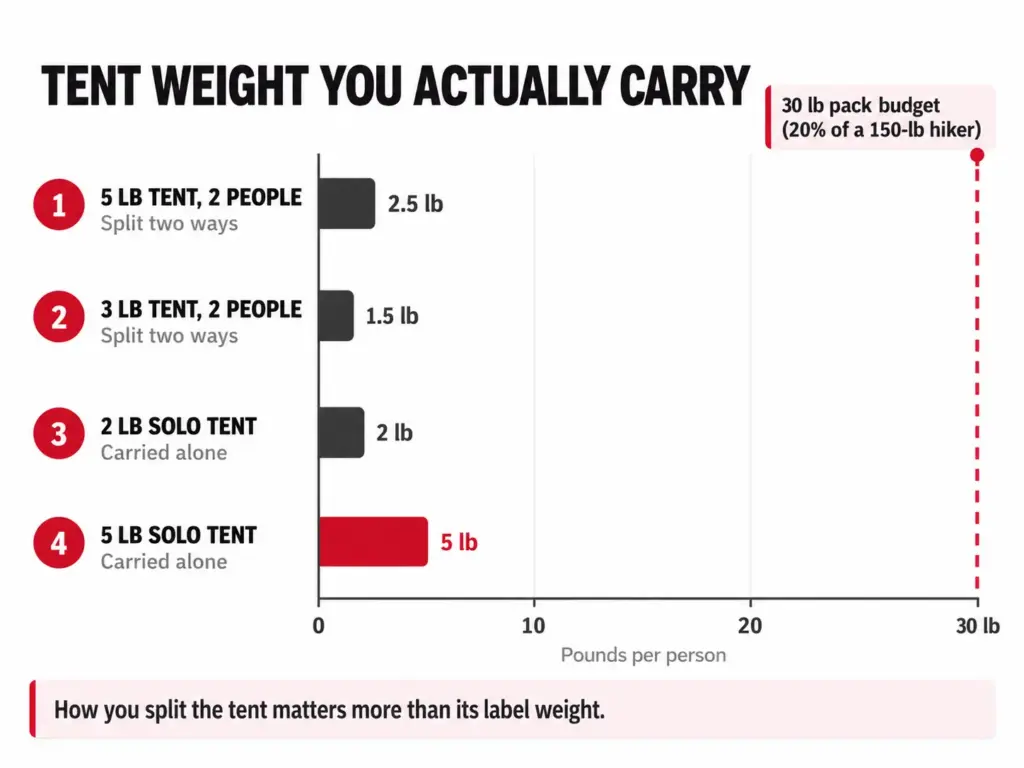
Carry that same tent solo and the story flips: five pounds is a sixth of a 30-lb budget before food, water, or a stove. Exploring Wild puts reasonably priced solo tents in the 1.5 to 2.5 lb range and notes that getting under a pound “costs some serious bucks.”
Here’s the rule I’d hand a friend. For a shared tent, look at the per-person number and stop worrying once it’s under about 3 lb each. For a solo tent, anything much past 3 lb is fine for a first season and worth replacing once you know you’re hooked.
Is a 3-Person Tent Too Big for Two?
For two people it can be worth it. The extra floor area holds packs, soaked rain gear, or a dog, and it costs roughly a pound plus some pack volume, which is easy to swallow split two ways. For one person, no: you haul all that fabric alone, and a roomy 2P with a decent vestibule does the same job lighter.
One trap when comparing: trail weight and packaged weight are different numbers. Packaged weight counts stuff sacks, spare stakes, and the repair kit; trail weight is tent, fly, and poles. Compare trail weight to trail weight, and learn what tent weight specs actually leave out before a label talks you into anything.
Freestanding or Trekking-Pole Tent? Structure in Plain Terms
A tent’s structure decides how picky you have to be about the ground and how wet the inside gets on a still, humid night.
Freestanding and Semi-Freestanding Tents
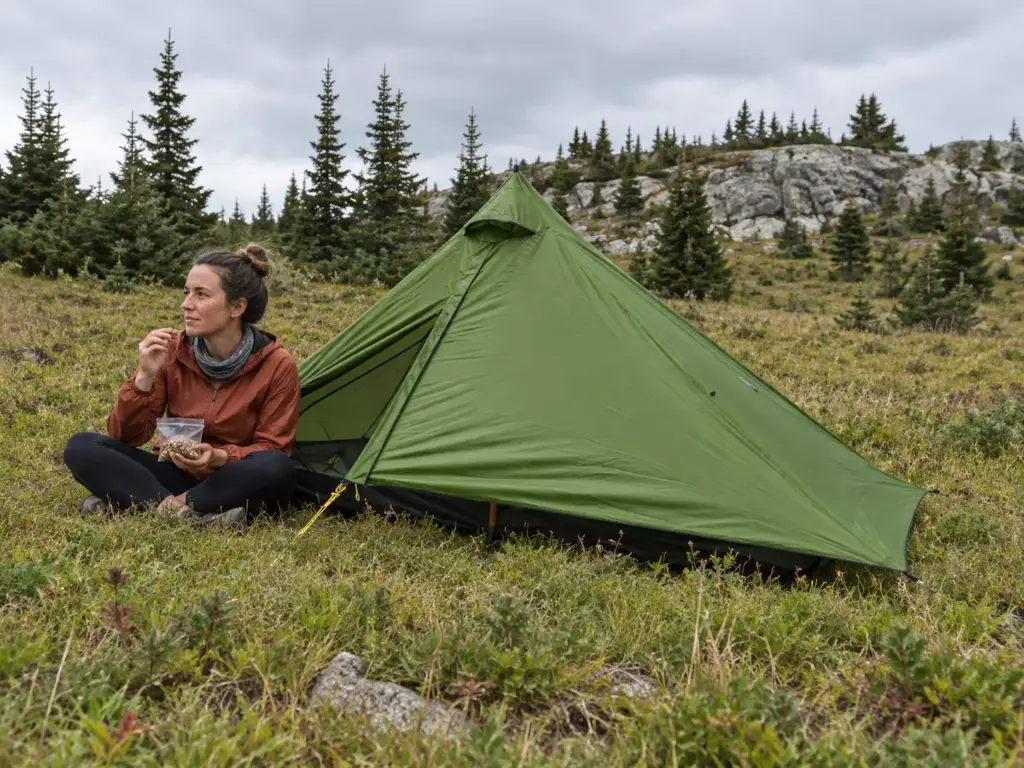
A freestanding tent holds its shape with its own poles, so you can pitch it on a granite slab or a wooden platform and shuffle it off a hidden root before staking. It still wants stakes: wind moves it, and the fly needs tension to stand off the inner. A semi-freestanding tent uses fewer poles and needs a couple of stakes, usually at the foot, to stand fully.
Either one is the beginner-friendly default. If your trips mix rock slabs and sandy washes, this look at freestanding vs non-freestanding tents by terrain goes deeper into which suits your ground.
Trekking-Pole and Single-Wall Tents
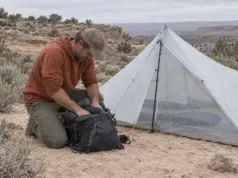
A trekking pole tent uses your hiking poles as the frame. It’s lighter but asks for solid stakes, ground that holds them, and a few practice pitches. The Six Moon Designs Lunar Solo is a good named example: a one-person single-wall shelter at roughly a pound and a half.
A double-wall tent has an inner plus a separate fly, so condensation collects on the fly and stays off you. A single wall is one layer, and on a still, humid night the inside of it gets wet; brush it with your shoulder at 5 a.m. and it rains on your sleeping bag. That’s why I’d call the Lunar Solo a great second tent rather than a first.
How to Carry a Tent in or on Your Backpack
The tent is one of the heaviest single items you carry, so where you pack a tent changes how the whole load feels on a climb. Get it right and the pack settles onto your hips. Get it wrong and your shoulders pay every uphill mile.
Inside the Pack, Low and Against Your Back
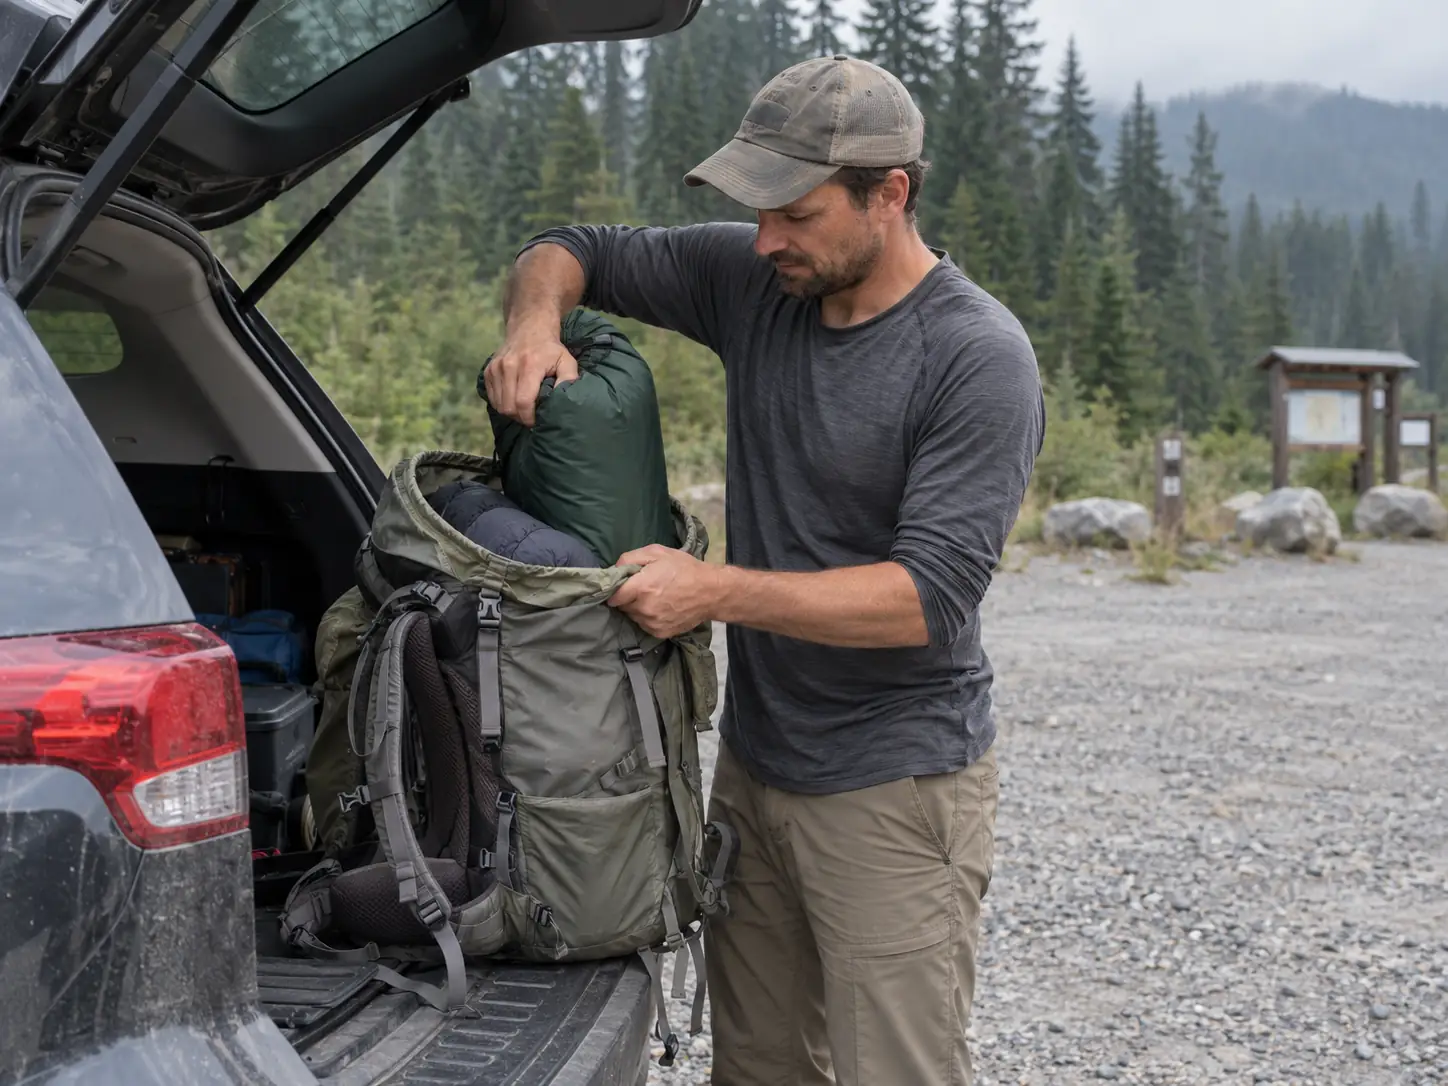
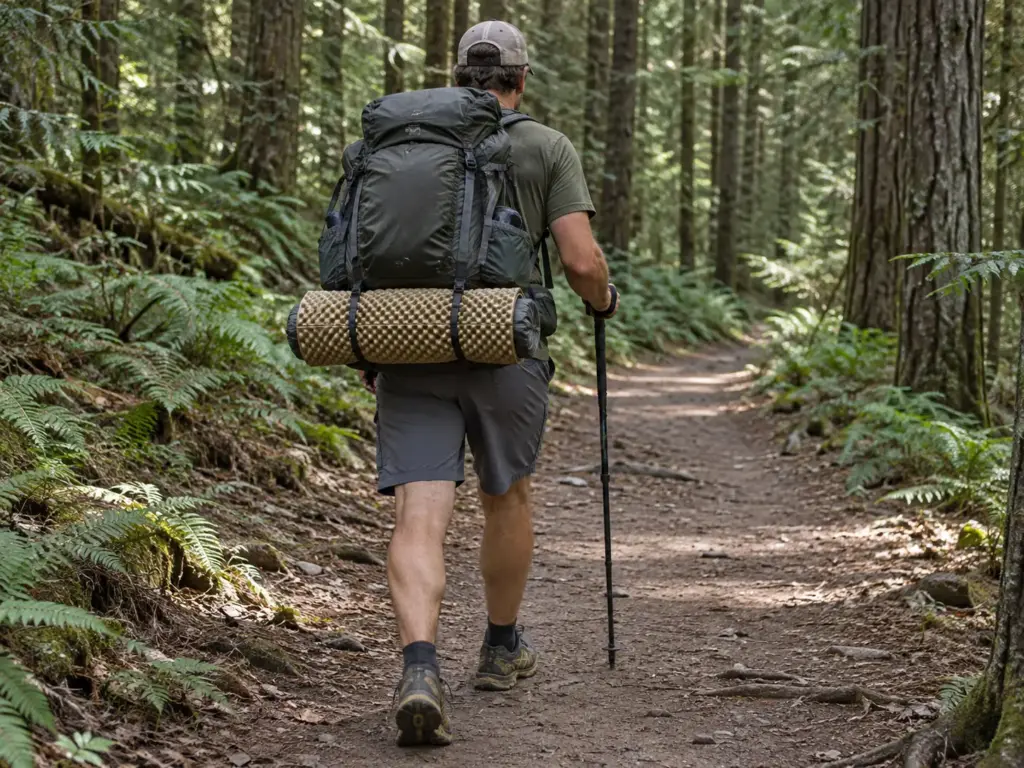
The best spot for a tent in a backpack is inside, standing vertical against the back panel, low to center. Exploring Wild explains the leverage: weight close to your spine moves with you, while a tent on the far back of the pack acts like a lever and pulls you backward on every step. You lean forward to compensate, and that hunch shows up as sore shoulders by afternoon, which is the same principle behind keeping heavy gear near your center of gravity.
Then fill the dead space. A tent in its stuff sack is a hard cylinder, and cylinders leave gaps. Take the sleeping bag and spare clothes out of their sacks so they pack around the tent, and slide the tent poles vertically along the back panel or into a side pocket.
Strapping It Outside Without Losing It
When it won’t fit inside, strap the tent to the backpack in one of two places: under the pack on the bottom compression straps, or under the lid if it’s light. High and far back is the worst of both worlds.
The classic failure is losing it without noticing. One backpacker on the Backpacking Light forum lost a pole bag pushing through brush, and others in the thread tie the stuff-sack drawstring to a pack strap “so I would know if it comes off.” If the tent slips, it swings from the cord instead of vanishing on the trail behind you.
The second failure comes at day’s end. As one answer on a Codidact outdoors thread put it, a tired hiker’s pack “seems to hit the ground harder,” and an outside tent takes that hit on the rocks. A cheap fix from an Exploring Wild reader: wrap the rolled tent once in a cut section of closed-cell foam pad, the same foam plenty of hikers already carry as a sleeping pad. A few panels of a Therm-a-Rest Z Lite Original is plenty to save a pole in a fall, and at camp the same foam becomes a dry seat.
Before you hoist the pack, grab the outside tent and give it a hard twist. If it rotates in the straps, it will work loose by lunch. Cinch until it moves with the pack, not against it.
Roll It, Stuff It, or Split the Pieces
Stuffing works best inside, because loose fabric fills corners a neat roll never will. When you roll a tent for an outside carry, backpackers on Backpacking Light add two refinements: roll the poles and stakes inside the fabric so it pads them, and start the roll at the door end. The third option is stuff and separate: fly and poles outside or in a side pocket, dry inner tent inside.
Splitting a Tent Between Two Hikers
Sharing is the single biggest weight saving a couple can make, and it’s why the split math above matters. To split the tent, Backpacker and Exploring Wild both suggest one person carries the tent body and fly while the other takes the poles and stakes. Settle it before you leave the car; the oldest shared-tent failure is both people assuming the other packed the poles.
Packing Up a Wet Tent Without Soaking Your Sleeping Bag
Rain at 4 a.m. is when the tent becomes a problem. The fly is soaked, the inner is damp, and somewhere in your pack is a down sleeping bag that loses most of its warmth once it gets wet. The whole job of a wet morning is keeping those two apart.
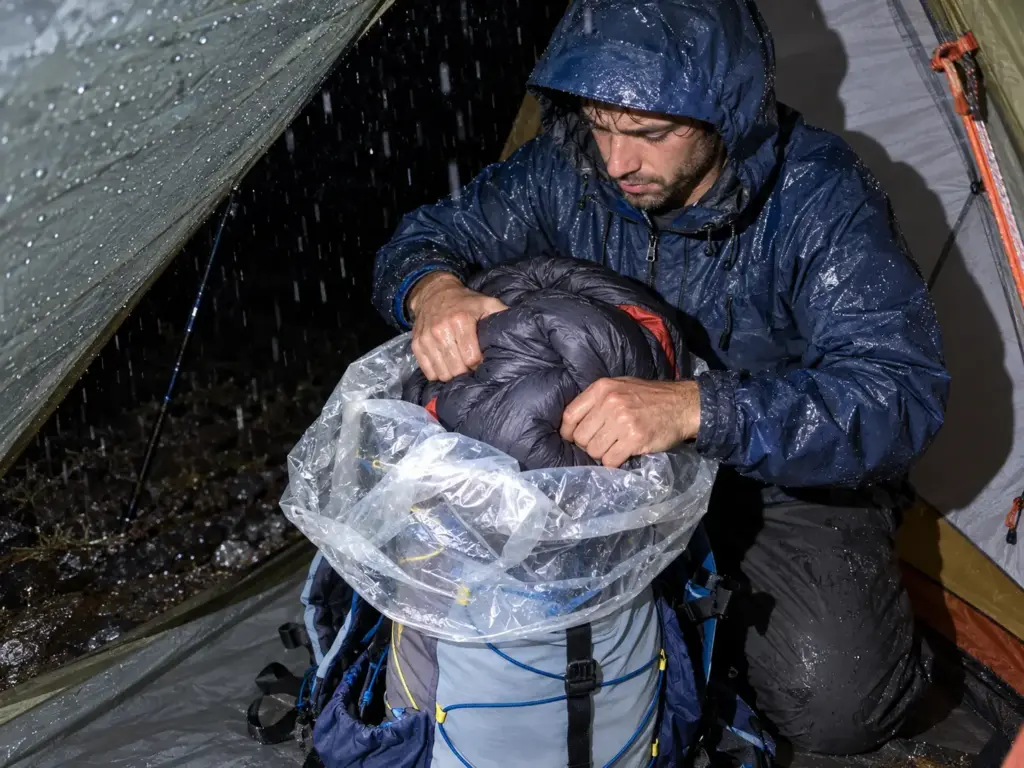
The Bad-Weather Teardown Order
Backpackers on Backpacking Light describe the same routine: pack everything while you’re still inside the tent, put your rain jacket on, climb out, and take the tent down last. The flip side is that the tent is first out at camp and last in the morning, so it rides on top. In a group, it often ends with one person hiking out with the dripping fly strapped on top like a flag while everyone else’s gear stays dry.
Keep the Wet Fly Outside the Pack Liner
The expensive mistake is stuffing a soaked tent in next to the sleeping bag. One backpacker on the Backpacking Light forum, caught in a 24-hour Maine rainstorm with a single-wall tent, ended up with the tent soaked in its sack and hiked out four miles early.
The fix is a pack liner. Sleeping bag and clothes go into the liner, you twist it shut, and the wet tent sits on top of it or outside the pack entirely. Nylofume Pack Liner Bags are cheap and light, though a trash-compactor bag does the same job, and either one keeps gear drier than a pack cover alone.
Dry It at the First Sun Break
At the first sun, dry the tent: drape it over a warm rock at lunch, shake it out, and turn it inside out so both sides dry. At home, dry it fully before storage, because a tent stored wet grows mildew.
Also know that condensation isn’t a leak. Your breath and a damp site put water on the inside of the fly, and ventilation plus a better site are the fix, which is what cutting condensation inside the tent comes down to.
On a dewy morning with sun coming, pack everything else first and leave the tent standing. Give the fly the first half hour of sun while you eat breakfast, then shake it and pack it last.
Pitching Your Tent at Camp — Site First, Stakes Second
Most bad nights come from the spot, not the tent. A perfect tent still leaves you in a puddle, sliding downhill, or listening to a dead limb creak overhead if the site is wrong.
Pick the Spot — 200 Feet, Durable Ground, Look Up
Campsite selection starts with distance and surface. Leave No Trace’s guidance on selecting a campsite is to camp 200 feet from water and trails, about 70 to 80 adult steps, on a durable surface like rock, sand, dry grass, or compacted dirt. Count the steps the first few times; almost everyone underestimates it.
Whether you’re at a designated site or dispersed camping, the bare, obviously used flat spot is usually the right one. Leave No Trace notes that a site takes most of its damage in its first couple of weeks of use and then plateaus, so camping where others already have spares the meadow next to it and heads off campsite creep.
Then look up. The National Park Service is blunt: if you see dead branches overhead, don’t camp under them. Backpackers call them widowmakers, and they come down in wind without warning.
Last, read the ground for water and weather. Skip low spots and ravines that can flood, and exposed ledges where wind and lightning hit hardest. In bear country, the NPS says to keep cooking and food storage, including the bear canister, at least 200 feet from where you sleep.
Before the pack comes off, do a two-look check: up for dead limbs, then down to see where rain would run if it poured at midnight. If the answer is under your tent, keep walking.
Set the Floor Right — Head Uphill, Footprint Tucked Under
Pick level ground that isn’t a low spot, and sweep away sticks, rocks, and pinecones; a pinecone under the floor feels like a fist in your ribs at 2 a.m. On any slope, sleep with your head uphill.
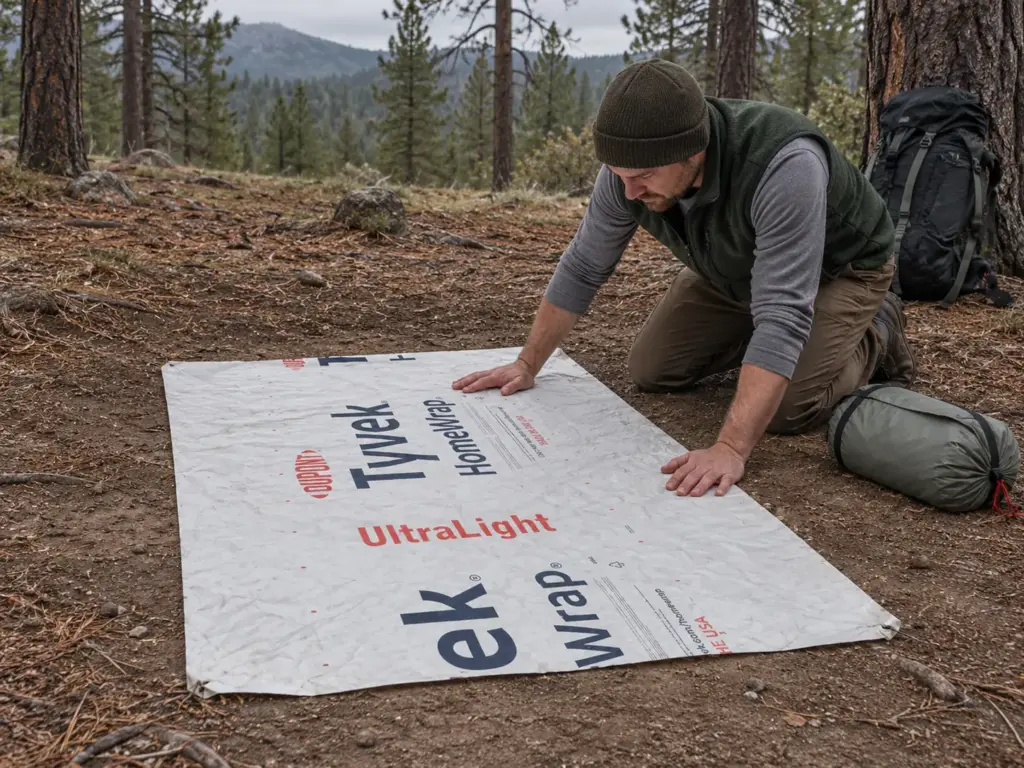
If you use a ground cloth, the National Park Service’s tips for setting up a tent say to fold any excess under so it doesn’t collect water. A groundsheet bigger than the floor catches rain and funnels it under you.
A Tyvek Ground Sheet & Tent Footprint is the cheap answer: cut it a little smaller than the floor on every side. Plenty of hikers skip a footprint on soft forest duff, so read up on whether you need a tent footprint at all before adding the weight.
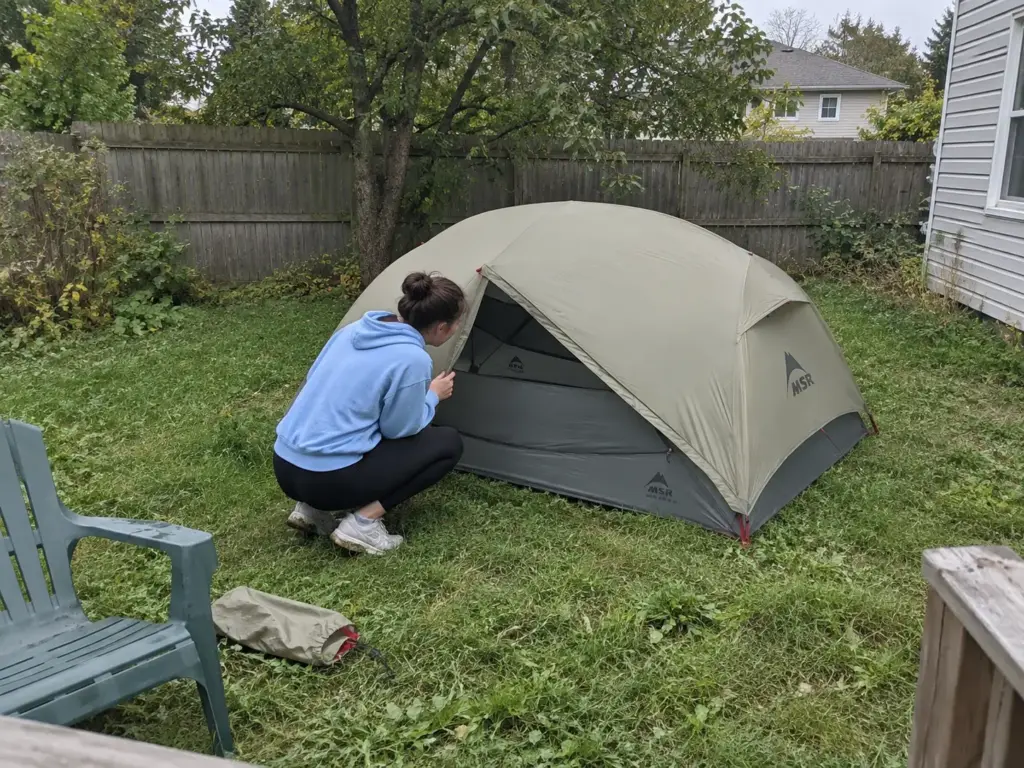
And practice: pitch at home first. The NPS recommends it, and the backyard is a far better classroom than a trailhead at dusk with rain on the way.
Stake and Guy It Out, Even If It Stands on Its Own
A freestanding tent still needs tent stakes. An empty tent catches wind like a kite and can roll across camp while you’re filtering water. Staking the corners also pulls the fly taut so it stands off the inner, and that gap keeps condensation on the fly from soaking through to you.
Guylines are the stability layer: stake them out when the wind picks up and tension the fly until nothing touches the inner. Your manual covers the specifics. You’ll know you got it right when the midnight wind makes the tent hum instead of slap.
Wind, Wet Snow and Weather a Tent Can’t Handle
Three-season is a promise about rain and a light dusting of snow, not a shoulder-season dump. Exposed ground can turn a good tent into a sail.
What Three-Season Actually Means
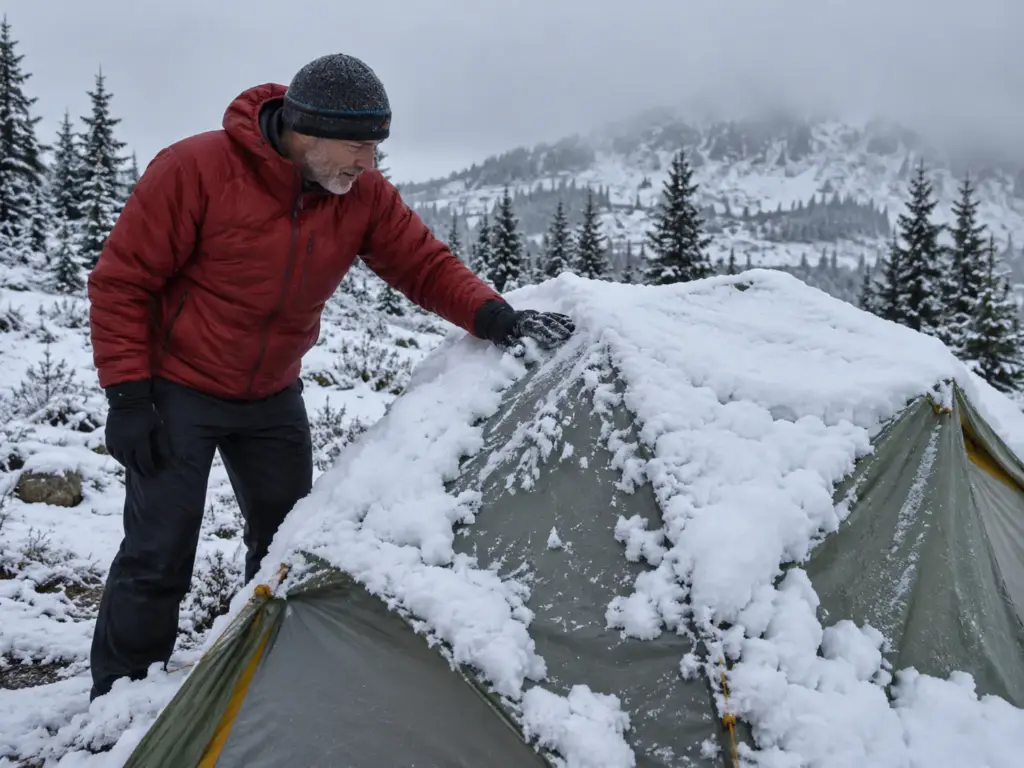
A three-season tent has big mesh panels, lighter poles, and no real snow load rating. A four-season tent or mountaineering tent is heavier and stronger, with less mesh and a frame meant to shed snow. SectionHiker’s conservative ceiling for a three-season tent is about 3 inches of overnight snow, and less if it’s wet.
A Rokslide thread puts it plainly: “more than a couple inches of wet snow will probably collapse the tent.” The same thread tells of a Scout trip that woke to slush on their sleeping bags after driving snow blew through the mesh.
Poles matter in the cold too: fiberglass can shatter when it’s freezing, while aluminum and carbon hold up. If a trip might see snow, check how a three-season tent differs from a four-season one before you go.
Wind, Ridges and Dry Washes
Exposed ridges catch the most wind and lightning, and dry washes and ravines can flood fast after a storm upstream. The NPS flags both, and both look like perfect flat campsites at 5 p.m.
In wind, pitch the narrow, low end of the tent into it and use a boulder or a rise in the ground as a windbreak. If the forecast is bad, drop to a sheltered spot lower down. The ridge view isn’t worth a night of flapping fabric.
Your First Backpacking Tent Without Wasting Money
Here’s the anti-sell. Most people buy their forever tent before they know how they camp, and plenty of those tents are for sale a year later. The cheapest path to the right first tent runs through a couple of trips in one you didn’t pay full price for.
Borrow, Rent or Use What You Own First
For the first weekend backpacking trip, use what you have or borrow a tent, the same advice Exploring Wild gives beginners. Many gear shops and outfitters will rent a tent by the weekend, which is also a cheap way to try a model you’re eyeing. The same thinking applies to building a hiking kit on a budget across the rest of your gear.
A first trip shows you what you actually care about: weight, sit-up height, or how fast the thing goes up in the rain. The tent you want before a trip and the one you want after three nights out are rarely the same tent.
What Spending More Actually Buys
Paying more mostly buys lighter weight and a smaller packed size. It doesn’t buy more weather protection; a well-made budget tent keeps rain out just as well on a normal three-season night.
The MSR Hubba Hubba LT2 shows what the money looks like. It’s still freestanding, and it comes in at about 3 lb, roughly two pounds under a budget tent like the Stormbreak 2, or about 1.5 lb each when shared. The honest trade is that lighter fabrics need more care, so pick your site well and treat the floor gently.
For a solo shelter, Exploring Wild’s take is that lightweight solo tents in the $200 to $300 range are solid long-term buys. Whatever you spend, don’t cheap out on the floor fabric and seam-taped construction, the parts that decide whether you wake up dry.
Take a Shakedown Trip Before the Real Trip
SectionHiker recommends low-mileage shakedown trips before anything ambitious, then buying lighter later once you know what you need. One night close to the car tests everything in this article: weigh the pack, carry it with the tent inside, pitch on a real site, pack it wet if the dew cooperates, and walk out. If something goes wrong, you’re a short walk from the trunk.
Pitch It in the Yard, Then Take It One Night Out
Judge a tent by what each person carries, not the number on the label. A 5 lb tent split between two is lighter per person than a 3 lb tent carried solo.
Carry it inside, low and tight against your back. If it rides outside, tether the stuff sack to a strap, and never let a wet fly touch the sleeping bag.
At camp, the spot comes before the stakes: 200 feet from water, durable ground, a look up for dead branches, then stake and guy it out even if it stands on its own.
This week, pitch the tent in the yard and take it down again. Then load the pack, weigh it, and spend one night somewhere close to the car before the big trip.
Frequently Asked Questions
01Do you bring a tent when backpacking?
Most backpackers bring a tent, especially on a first trip, because it gives you a floor, bug mesh and rain protection with the least skill required. Tarps, bivy sacks and hammocks save weight but ask more of you in site choice and pitching.
02Should you pack your tent inside or outside your backpack?
Inside is best: stand the tent vertically, low and against the back panel, so the weight stays close to your spine. If it rides outside, strap it under the pack and tie the stuff-sack cord to a strap so it can’t fall off unnoticed.
03Can you put a wet tent in your backpack?
Yes, you can pack a wet tent as long as it stays outside your pack liner and away from the sleeping bag. Carry it on top, dry it at the first sun break, and dry it fully at home before storage.
04How much should a backpacking tent weigh?
Affordable solo tents weigh about 1.5 to 2.5 lb, and many two-person tents land between about 3 and 5 lb. Judge it per person: split between two hikers, even a 5 lb tent is only 2.5 lb each.
05Is 40 too old to go backpacking?
No, 40 is not too old to go backpacking, and plenty of beginner backpackers take their first overnight trip in their 40s or later. Pacing and a sensible pack weight matter more than age, so start with a short, low-mileage trip and a lighter load.
Risk Disclaimer: Hiking, trekking, backpacking, and all related outdoor activities involve inherent
risks which may result in serious injury, illness, or death. The information provided on The Hiking Tribe is for
educational and informational purposes only. While we strive for accuracy, information on trails, gear, techniques,
and safety is not a substitute for your own best judgment and thorough preparation. Trail conditions, weather, and
other environmental factors change rapidly and may differ from what is described on this site. Always check with
official sources like park services for the most current alerts and conditions. Never undertake a hike beyond your
abilities and always be prepared for the unexpected. By using this website, you agree that you are solely
responsible for your own safety. Any reliance you place on our content is strictly at your own risk, and you assume
all liability for your actions and decisions in the outdoors. The Hiking Tribe and its authors will not be held
liable for any injury, damage, or loss sustained in connection with the use of the information herein.
Affiliate Disclosure: We are a participant in the Amazon Services LLC Associates Program, an
affiliate advertising program designed to provide a means for us to earn advertising fees by advertising and linking
to Amazon.com. As an Amazon Associate, we earn from qualifying purchases. We are also an official affiliate partner
of Black Diamond Equipment via the AvantLink network. If you click on a Black Diamond affiliate link and make a
purchase, we may earn a commission at no additional cost to you. We also participate in other affiliate programs and
may receive a commission on products purchased through our links. Additional terms are found in the terms of
service.