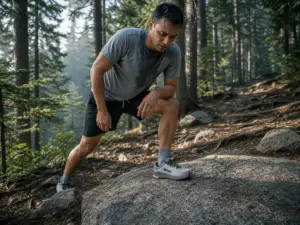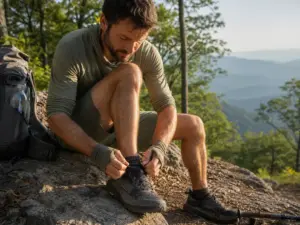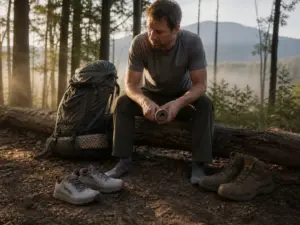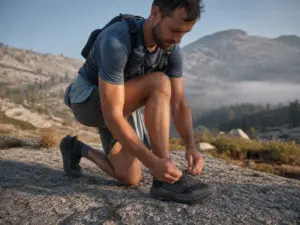

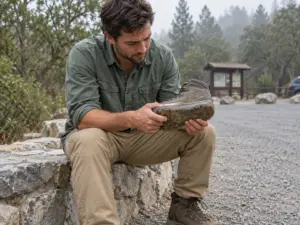
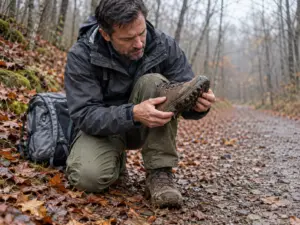
















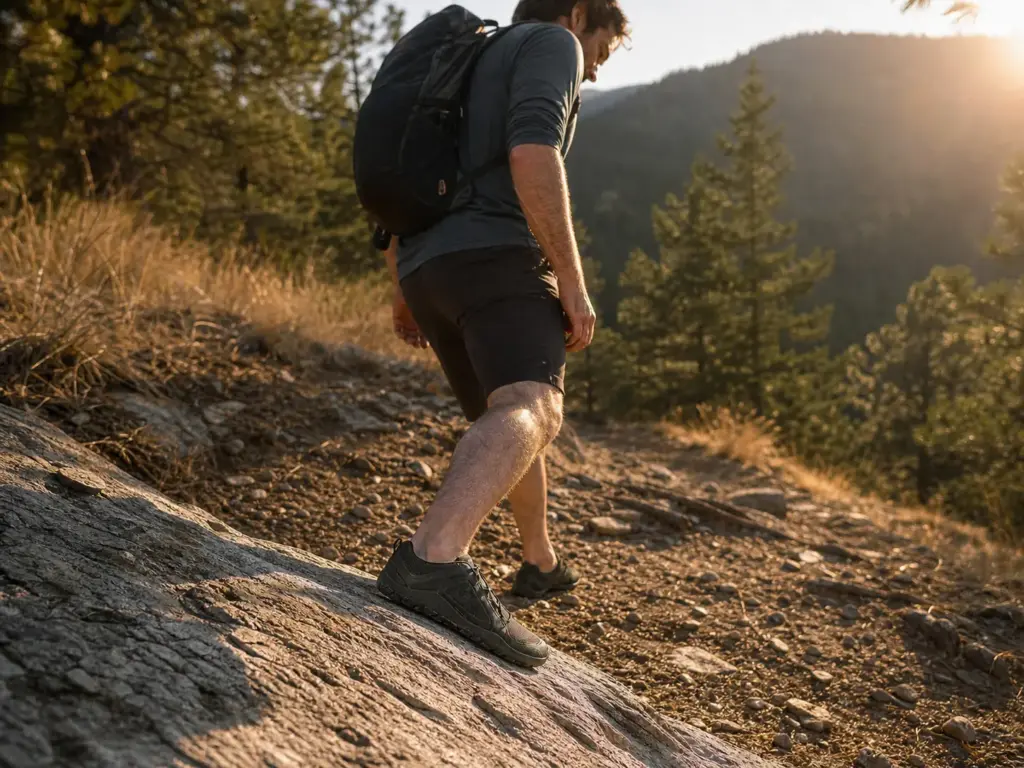
You bought the shoes to fix something. Maybe it was foot pain that never went away, maybe it was the feeling that your boots were doing your feet’s job for them. You walked the neighborhood loop and it felt like your feet had finally been let out of a cast, so you took them somewhere with actual elevation, and by mile three on the way down your calves had turned to concrete. Ask anyone in a barefoot hiking thread how their first real descent went and you will hear a version of that same story, because the gap between the sidewalk test and the first steep mile is the thing almost every roundup skips. This guide covers what zero drop actually changes in your legs, how to match a sole to the ground you hike, the transition timeline that keeps your metatarsals intact, and which barefoot hiking shoes are worth the money once you know all that.
What Makes a Hiking Shoe “Barefoot” (and What Doesn’t)
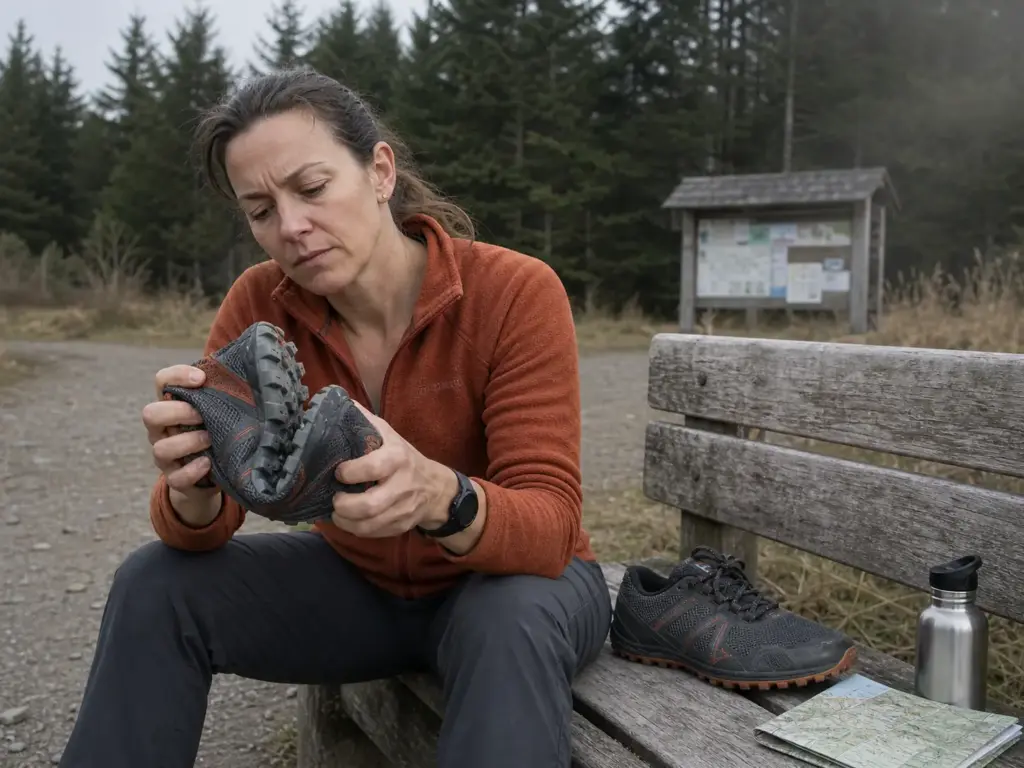
Half the shoes sold under the barefoot label are low-drop trail runners with a slightly roomier toe. That is not a scam so much as a vocabulary problem, and it costs people money because the shoe they bought never gave them the thing they were shopping for. Three specs settle the question, and you can check two of them with your hands before you pay.
Zero Drop, Stack Height, and Toe Box — The Three Specs That Matter
Zero drop means there is no height difference between the heel and the forefoot. Your heel and the ball of your foot sit at the same distance from the ground, which is how your foot sits when you stand barefoot on a floor, and it is the geometry the whole category builds its case for natural movement on. Traditional hiking boots run 8 to 12mm of heel-to-toe drop, so the difference is not subtle even though you cannot see it from the outside.
Stack height is the total thickness of material between your foot and the dirt, measured in millimeters. This is the spec that governs both protection and feel, and stack height is the number that decides how much trail you actually feel more than any marketing phrase on the box. Under about 6mm you are buying ground sensitivity at the cost of real rock protection, which is fine on dirt and a long day on sharp stone. Somewhere around 8 or 9mm with a debris guard is the realistic floor for anything past a groomed path.
The wide toe box is the third piece, and it is the one people underestimate. A narrow toe box squeezes your toes into a wedge; an anatomical last lets them spread, which is also why hikers with wide feet often find their way into this category for reasons that have nothing to do with barefoot philosophy. Ohio State’s health researchers note that a wide toe box improves natural toe splay, and toe splay is not a cosmetic detail on trail. Spread toes give you a physically wider base of support, which is exactly what you want when the surface under you is tilted, loose, or both.
The Flex Test You Can Run in the Store
Pick the shoe up and fold it heel to toe. Sole flexibility is the one spec no product page can fake: a genuine barefoot shoe folds nearly in half and can usually be twisted along its length like a dishcloth. A shoe with a shank, a rock plate, or a stiff molded midsole will resist you, and you will feel exactly where the stiffness lives.
This is the informal standard gear reviewers use because it takes four seconds and no spec sheet can fudge it. Run it on any shoe you are considering, including ones you already own. Some people are surprised to find their supposedly minimalist trail runner has more structure in it than they thought.
Where “Minimalist” and “Barefoot” Stop Meaning the Same Thing
Minimalist is a spectrum; barefoot is the end of it. Plenty of minimalist hiking shoes sit comfortably in the middle: a 4mm drop with a 15mm stack is legitimately minimal compared to a mountaineering boot, and it may be the right shoe for you, but it is not going to deliver the sensory experience the barefoot category is chased for.
Knowing which one you are buying matters because the transition demands are completely different. A moderate minimalist shoe asks your calves for a modest adjustment. A true zero-drop, 6mm-stack shoe asks for a change in how your whole lower leg handles load, which is the subject of the next section.
Pull the stock insole out. Most barefoot shoes ship with a thin removable liner, and taking it out gets you closer to true ground contact while buying back a few millimeters of interior volume. That extra volume is the fix for the brand that runs generously in the toe box but pinches through the midfoot, which is a common complaint and an easy thing to solve before you send a pair back.
Why Zero Drop Wrecks Your Calves on the Way Down
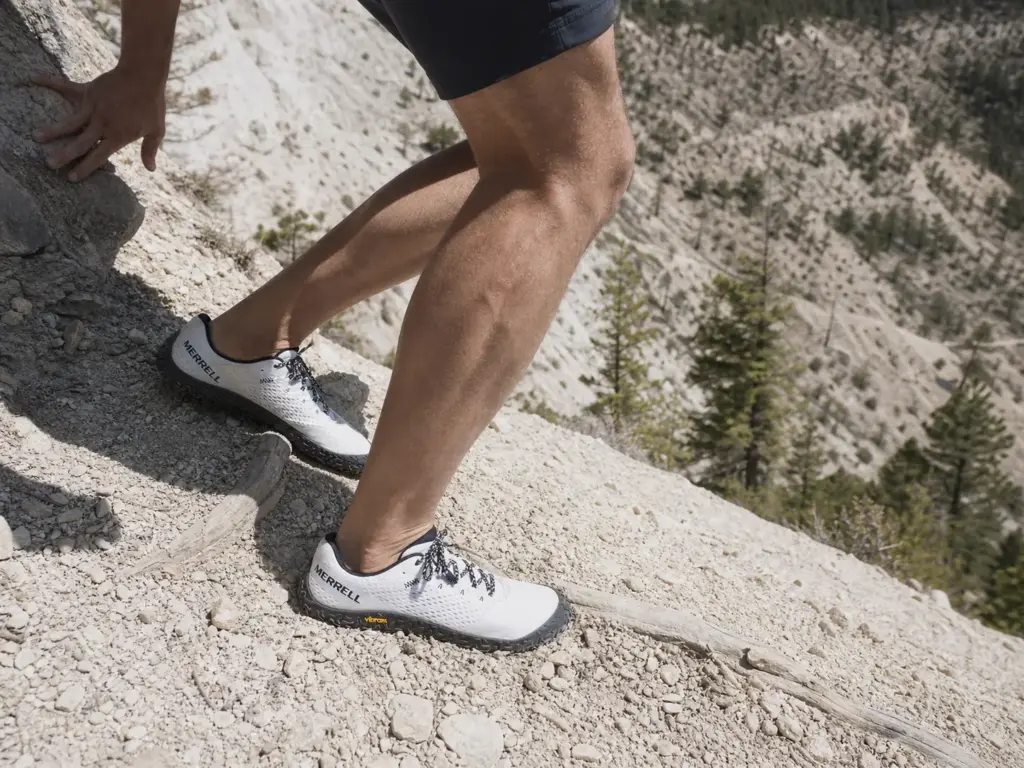
Every article about this category says to ease into it. Almost none of them say why, which is why the problem ambushes people who thought they were being careful. The reason has nothing to do with your feet being weak and everything to do with a range of motion your legs have not been asked for in years.
The Heel Lift Your Calves Have Been Leaning On
Standard hiking boots put 10 to 15mm of material under your heel. That lift shortens the working range your calf and Achilles have to move through with every step, and if you have worn boots for a decade, your legs have quietly adapted to that shortened range. It is not damage. It is just what tissue does when you stop asking it for the full arc.
Drop to 0mm and the geometry changes on step one. Your ankle now has to reach full dorsiflexion, the position where the toes come up toward the shin, and as podiatrists who specialize in gait mechanics explain, the Achilles has to relearn a range of motion it hasn’t used in years. Nothing about the shoe is wrong. Your legs are simply being asked for something on day one that normally takes months to build back.
Why the Descent Is Where It Hits
Here is the part that gets left out. Going uphill and walking on the flat load the calf concentrically, meaning the muscle shortens as it does its work. Going downhill loads it eccentrically: the muscle lengthens under tension while it brakes your weight against gravity, step after step after step.
Eccentric loading is dramatically more demanding, and it is exactly what a descent does for an hour straight. Add a pack and it climbs again. In a cushioned boot with heel lift, some of that braking energy is absorbed by foam and the shortened range keeps the calf in comfortable territory. In a zero-drop shoe with a 6mm sole, the muscle and tendon do the whole job through a range they are not conditioned for, on legs that are already tired because descents come at the end of hikes.
This is also why descents are where footwear problems surface first in general, and why testing a new pair on a flat sidewalk teaches you almost nothing. Flat ground never loads the pattern that hurts you. It is the single most common mistake in the category: a great feeling neighborhood walk, a confident decision, and then calves that lock up on the first real downhill three miles from the car.
Sore vs. Warning — Telling Adaptation From an Early Stress Reaction
Some soreness is the point. Calf strain and general foot fatigue for a day or two after a short outing is what adaptation feels like, and it should fade and then stop happening as the weeks pass.
What is not normal is a specific, localized ache on the top of your foot, usually over one of the long bones behind the toes. That is the classic early signal of a metatarsal stress reaction, and the reason it gets missed is that people file it under “my feet are just adjusting.” The distinguishing features are that it stays in one spot, it gets worse with each outing rather than better, and it shows up during activity rather than the next morning. Achilles strain that sharpens instead of easing belongs in the same category. Both mean you back off now, not next month.
The Transition Timeline Nobody Wants to Hear
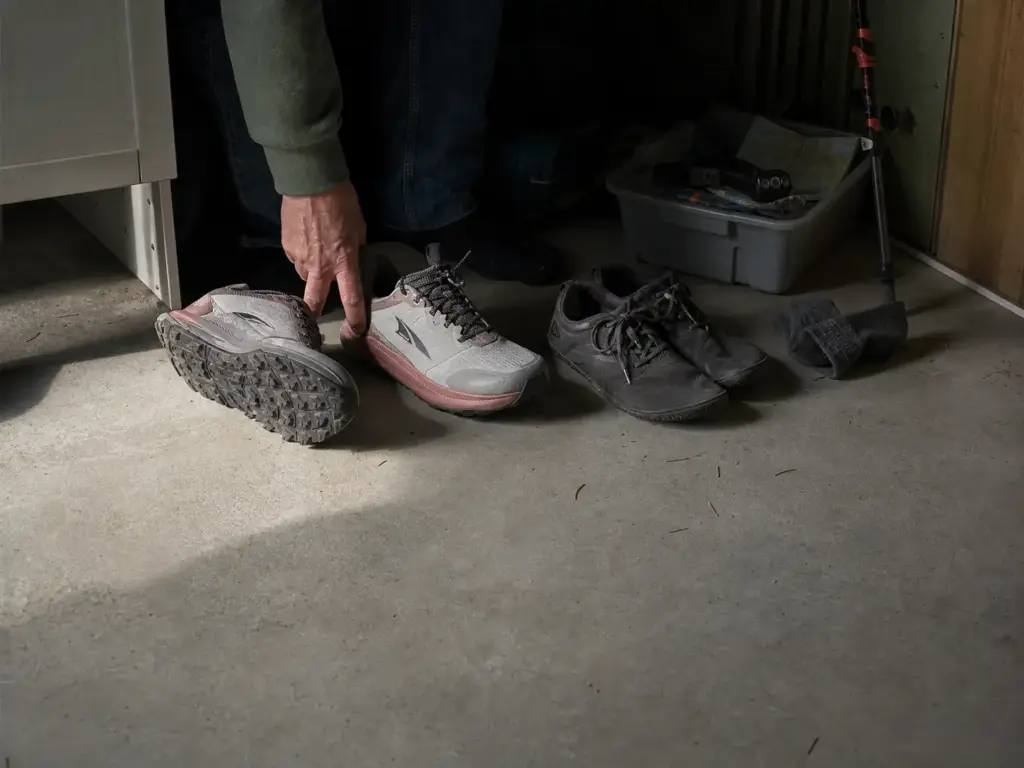
This is the section people scroll past, and it is the one that decides whether the shoes work out. The honest answer is measured in months. Say it out loud, because the alternative is a stress fracture that costs you an entire hiking season and a pair of shoes you will resent forever.
What 2mm Every Four Weeks Actually Looks Like on a Calendar
A conservative, research-informed protocol drops roughly 2mm of heel-to-toe difference every four to six weeks, letting the tissue adapt at each step before you take the next one. Start from a standard 10mm hiking boot and the arithmetic is unforgiving: five drops of 2mm, four to six weeks each, which is 20 to 30 weeks total. Five to seven months, not a two-week break-in period.
That is the conservative version, and plenty of people move faster without incident. The point is not that everyone needs 30 weeks. The point is that the honest range starts at months, and any plan you have that ends in a few weeks was built on hope.
Skipping the calendar is what produces the most common minimalist-transition injury by a wide margin: a metatarsal stress fracture, sometimes more than one at once. The mechanism is straightforward. Foam in a cushioned shoe absorbs load that your bones otherwise absorb, so when you remove the foam and keep the mileage, the bones take the difference. They can adapt to it. They just cannot adapt to it in three weeks.
Why Your Old Boots Stay in the Rotation
Here is a finding that should reframe how you think about this. In a systematic review of minimalist footwear transition protocols, the safest published programs reached an average of only about 60 percent minimalist exposure by the end of the study period, with a range from 30 to 100 percent. Even in controlled research designed to transition people successfully, most participants never went all the way over.
The practical translation is that “fully transitioned” is a marketing idea, not a physiological requirement. Keeping a cushioned shoe in rotation is not failure or backsliding. It is what the safest protocols in the literature actually did.
Run a permanent two-shoe rotation instead of a switchover. Put the barefoot pair on for your shorter, less technical outings and keep the cushioned shoe for long days and heavy loads, then shift the ratio as your legs earn it. Hikers who do this almost never get hurt; the ones who put the old boots in a closet on day one are the ones who end up back in them anyway, six weeks later, limping.
Building Load in the Right Order — Walk, Flat, Climb, Load
Add one variable at a time, in this order, and give each stage a few weeks before the next.
- Walk in them daily around the house, to the shop, on errands. This builds tolerance with almost no risk.
- Flat trail, short. Two or three miles of dirt with no meaningful elevation. You are testing surface, not load.
- Trail with elevation. Now you introduce the descent problem from the previous section deliberately, on a short route, close to the car.
- Trail with elevation and a pack. The last variable, and the biggest one, which gets its own section further down.
Notice that flat mileage sits second, not last. It feels like the safe way to build up, but it never trains the eccentric pattern that actually breaks people. A hilly two-miler tells you more about your readiness than a flat eight.
If you want the week-by-week version with specific mileage targets, a full transition plan that goes week by week covers the scheduling detail this section only sketches.
What Podiatrists Actually Say (Not the Version You’ve Heard)
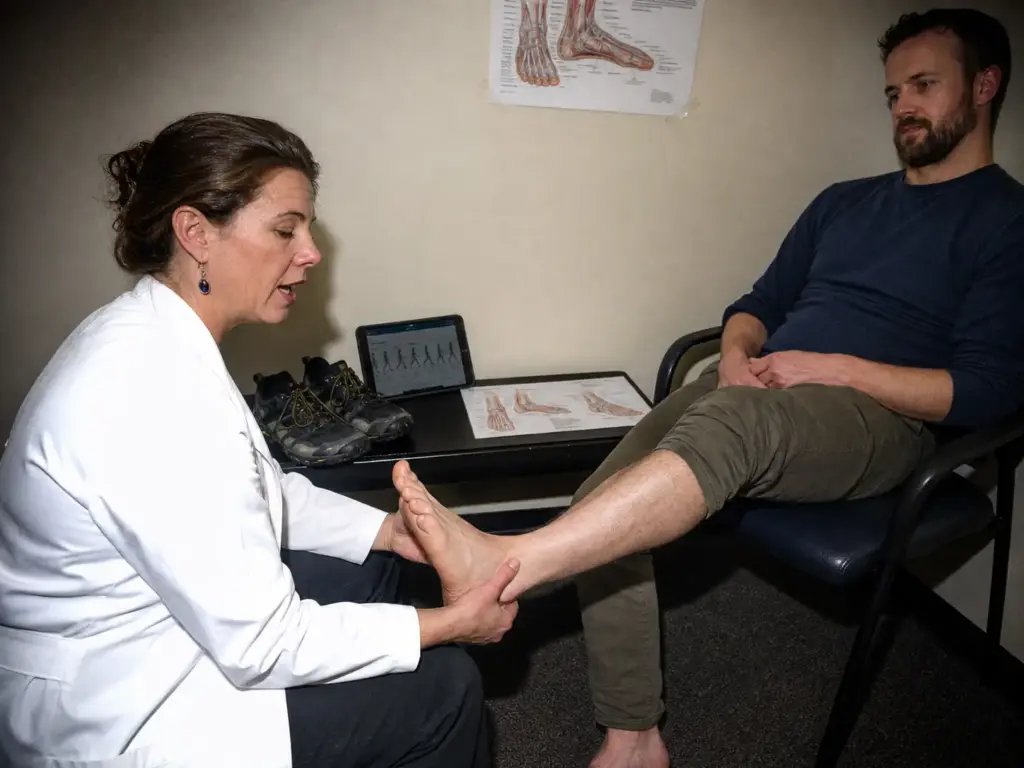
Search this topic and you will hit the claim that podiatrists are against barefoot shoes. It is one of the top questions Google surfaces, and the version circulating online is a flattened cartoon of what clinicians actually tell patients. The real position is narrower, more specific, and considerably more useful to you.
The Three Conditions That Mean “Wait, Then Ask a Doctor”
The caution is about timing and existing pathology, not about the category. Podiatrists writing for their own patients frame the caution narrowly, and it lands on three situations.
- An active plantar fasciitis flare. The tissue is already inflamed and a sudden change in arch loading is the last thing it needs right now.
- Current Achilles tendinopathy. You are being asked to do more work with the exact structure that is already irritated.
- Recent stress fracture history. Bone that has just remodeled does not get a sudden increase in load.
None of these say never. They say not while this is going on. If you are in an active flare right now, a supportive boot is the safer move this season and the barefoot experiment waits until the tissue is calm and a professional signs off on it.
Where the Skeptics Are Right
The strongest version of the clinical objection is not about zero drop at all. It is that untrained feet plus an abrupt switch equals injury, reliably, and that the marketing around this category encourages exactly that. Ads sell the sensation of freedom. Nobody sells the 20-week calendar.
There is a second fair point. Some people have structural issues, including certain rigid foot types and specific neurological conditions, where reduced support genuinely is not appropriate. A clinician who examines your feet knows which category you fall into. A shoe review does not.
Where the Skeptics Undersell It
The flip side gets flattened too. The toe splay advantage is not a wellness slogan. Toes that can spread create a physically wider base of support, and on a tilted slab or a root-covered trail, that width is stability you can feel. It is a mechanical argument that stands on its own, entirely separate from the zero-drop debate.
The same goes for foot function more generally. Letting the small muscles of the foot work through a natural gait rather than sitting passively inside a structured shell is the mechanism behind most of the claimed benefits, and it is the part clinicians and barefoot advocates broadly agree on even when they disagree about who should do it and how fast.
Then there is the pattern that shows up constantly in foot-pain discussions: someone finally admits the expensive cushioned boots never fixed the problem they bought them for. Years of increasingly supportive footwear and the pain kept coming back. What changed for them was a shoe that looks like it offers less, because it let the small muscles in the foot do stabilizing work they had outsourced for a decade. That story is not universal and it is not a prescription, but there are far too many versions of it to wave off as placebo.
Sole Thickness vs. Real Trail — Matching the Shoe to the Ground
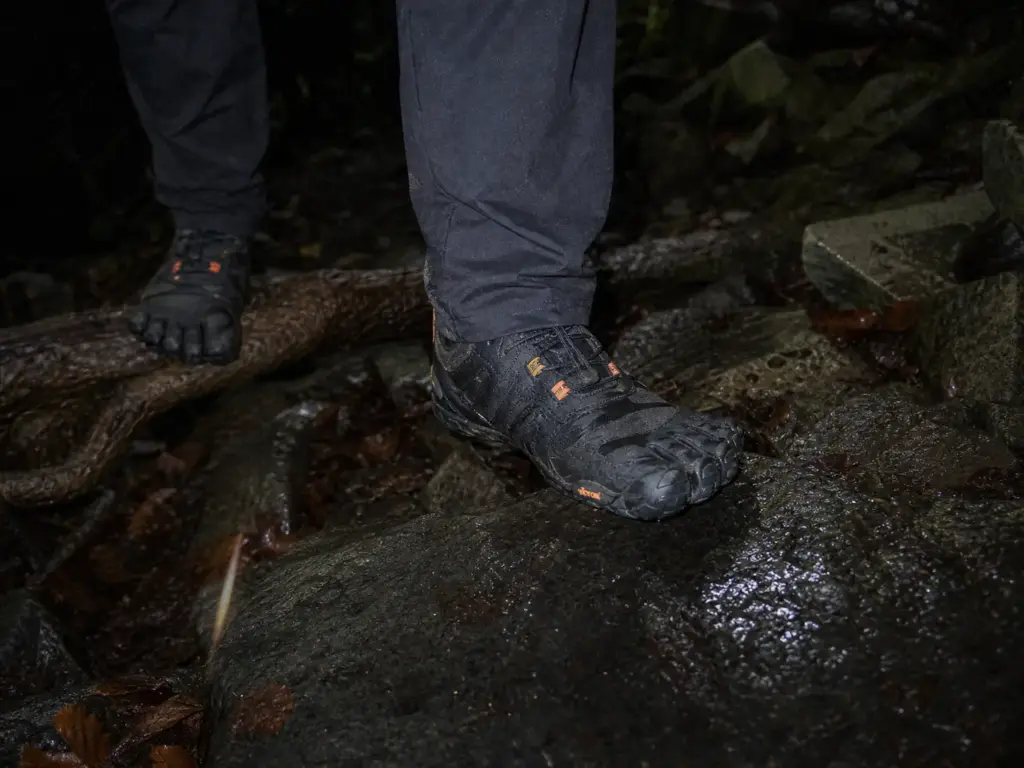
“Great ground feedback” means one thing on a groomed rail-trail and something else entirely in a root tangle after rain or a talus field above treeline. The rock is indifferent to how sensitive your sole is. This is where most roundups fall down, because they evaluate these shoes on surfaces that never punish a thin sole.
Under 6mm, 6–9mm, and When Each Belongs on the Trail
The numbers give you a usable framework. Merrell’s Vapor Glove line sits in the 6 to 8mm range depending on generation, which is about as thin as a trail-capable shoe gets. Xero’s TerraFlex-family soles run roughly 5.5 to 9.5mm of total stack with 3.5 to 4mm lugs. Vibram’s V-Trail 2.0 wraps a Megagrip compound around individual toe pockets, trading conventional protection for grip and articulation.
Under 6mm, you have maximum feedback and minimal defense. Every pebble registers, which is the appeal, and a sharp piece of quartz under your heel at mile nine is a genuinely unpleasant surprise. This range belongs on dirt, duff, packed singletrack, and grass.
Between 6 and 9mm, you keep most of the ground feel and buy back enough material to survive rougher surfaces. This is the working range for people who hike real trails rather than paths, and it is where most of the shoes below land. Above that you are into cushioned zero-drop territory, which is a legitimate choice with different trade-offs. If you are weighing how minimal to go, the wider zero-drop field, including the more cushioned end of it is worth understanding before you commit to the thin end.
Lug Depth and Rubber Compound — Two Different Problems
These get discussed as one thing and they solve completely different problems. Lug depth is about soft ground: mud, loose dirt, wet leaves, snow. Lugs bite into a surface that yields. The working range for trail use is 3 to 4mm with a multi-directional tread pattern, some lugs angled to grip on climbs and some on descents. Smooth textured rubber with shallow dimples is a gravel-path outsole regardless of what the product page calls it.
Rubber compound is about hard ground: wet rock, polished granite, slabs, root surfaces worn slick by traffic. Lugs do nothing there because there is nothing to bite into, and grip comes entirely from friction between the compound and the stone. This is why a shoe with aggressive lugs can still slide alarmingly on a wet slab, and why compounds like Megagrip exist and cost more.
Match the spec to your actual terrain. Pacific Northwest roots and rain is a compound problem. Spring mud in the Northeast is a lug problem. High desert talus is both, plus a stack height question.
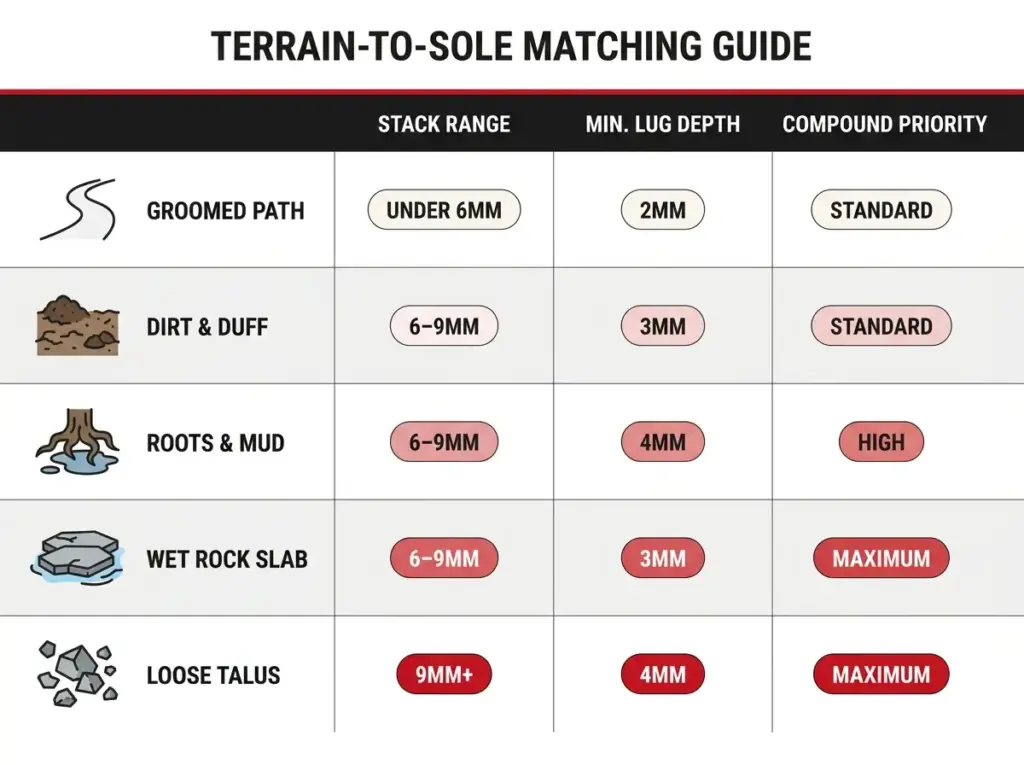
One firm line before you go shopping: your first outings in barefoot shoes do not belong on loose rock or talus. Unstable surfaces demand ankle control and foot strength that you are still in the process of building, and a rolled ankle in a shoe with no collar happens fast. Save the technical ground until your feet have the miles behind them.
Water-Resistant Is Not Waterproof
Most shoes in this category are water-resistant, and the distinction is not marketing weaseling. A true waterproof membrane is a layer of material, and layers cost breathability and ground feel, which are the two things the entire category exists to deliver. Manufacturers are making a defensible choice.
Plan accordingly. Assume wet feet at crossings, prioritize a mesh upper that drains and dries fast, and pair it with wool socks that stay tolerable when damp. A handful of models do include a membrane and one of them is below, but understand what you are buying: warmer feet, slower drying, and water that stays in once it comes over the collar. The same water-resistant versus waterproof gap shows up across your kit, which is why waterproofing your pack works on the same logic of accepting some water and protecting what genuinely cannot get wet.
The Barefoot Hiking Shoes Worth Buying
Four shoes, four different jobs. None of them is the best barefoot hiking shoe in the abstract, because the ground you walk decides that. The differences between these are large enough to matter by mile eight, so read the trade-off lines rather than the badges.
Best Overall — Vivobarefoot Primus Trail II FG
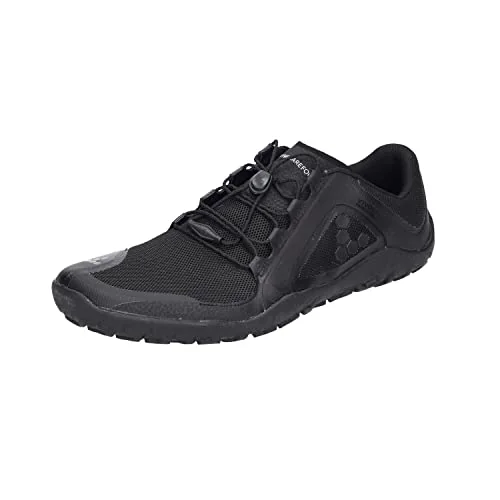
Vivobarefoot is the brand every competing roundup cites, and the Primus Trail FG is the reason. The firm-ground outsole gives you lug geometry built for dirt and rock rather than the shallow pattern on their street models, and the upper takes abrasion from scree and brush without shredding.
The honest trade-off is feel. If you are coming to this category chasing the maximum sensory experience, this is not the thinnest shoe here and you will notice. What you get instead is a shoe you can wear on a full day out without thinking about where your feet are landing, which for most people is the better deal. Sizing runs generous through the toe and a little narrow through the midfoot; the removable insole is your adjustment lever.
Durability over big mileage is a separate conversation, and how these hold up over thru-hike mileage is a different question again if you are planning something long.
Best for Wet and Technical Ground — Xero Shoes Mesa Trail Waterproof
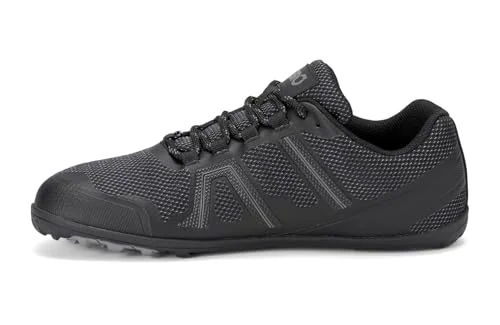
This exists because the category default is wet feet and some people hike in the Cascades. The membrane keeps out drizzle, dew-soaked brush, and shallow puddles, and the 3.5mm lug depth on the FeelTrue sole is genuinely capable in mud where thinner-soled shoes just plane across the surface.
Know what a membrane costs you. Breathability drops, so your feet run warmer on a hot climb, and once water comes in over the collar at a stream crossing it stays in and takes far longer to dry than mesh would. That makes this a shoe for cool, wet, drizzly conditions rather than for creek-heavy routes in summer. Weight stays reasonable at well under 8oz per shoe, and the 5,000-mile sole warranty is the most concrete durability claim anyone in this category makes.
Best Ground Feel — Merrell Vapor Glove 6
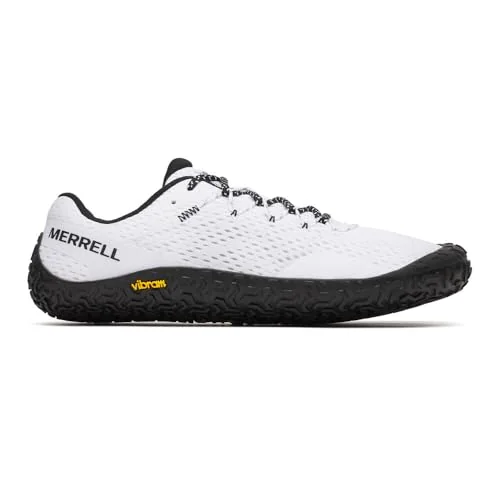
At around 6mm of stack, this is the most sensitive shoe here by a clear margin, and the Vibram EcoStep outsole delivers that feel without the sole disintegrating on gravel. If ground feedback is the reason you are reading this article at all, this is the shoe that gives you the most of it.
Be honest with yourself about readiness. This is the shoe that punishes an impatient transition hardest, because there is essentially nothing between your metatarsals and whatever you step on. It also has no business on sharp talus, where a rock edge finds your heel through 6mm of rubber and you feel every bit of it. Treat it as a reward for having done the calendar work, on terrain that suits it.
Best for Talus and Roots — Vibram FiveFingers V-Trail 2.0
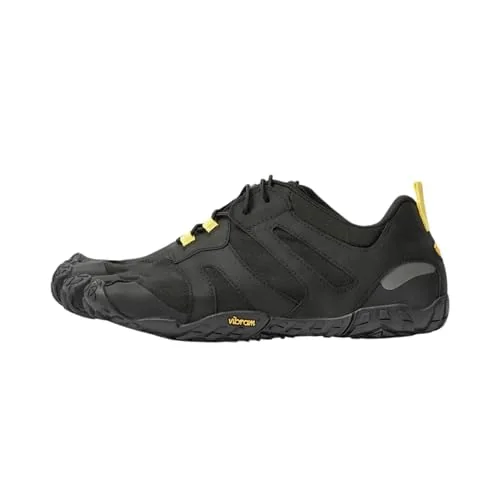
This is the answer to the terrain gap in the previous section. On roots, talus, and wet slabs, independent toe articulation lets your foot wrap and conform to shapes that a conventional sole can only sit on top of, and the Megagrip compound holds on wet stone where budget rubber gives up.
Two caveats, both real. The break-in is longer than any other shoe here, because getting your toes into separate pockets and then asking them to work independently is a genuinely new motor pattern. And you will be looked at. That is a small thing on a quiet trail and a slightly larger thing in a busy parking lot, and it stops mattering roughly five minutes into a rocky descent where you have more grip than everyone around you.
Barefoot Shoes With a Loaded Pack — The Honest Answer
Every roundup in this category evaluates these shoes as though you are carrying nothing. Add 25 pounds and the arithmetic changes in ways that deserve their own section, because the loaded-pack question is the one place where the honest recommendation might be a shoe that is not strictly barefoot at all.
What 25 Pounds Does to Everything in Section Two
Go back to the eccentric loading problem on descents. Every pound on your back is a pound your calf and Achilles brake on every downhill step, so a load that feels manageable on the flat becomes a meaningfully different demand on a long descent at the end of day two.
Foot fatigue arrives sooner too. Your arches and the small stabilizing muscles in the foot are supporting more mass over more hours, on the same thin sole, on ground that does not get any smoother. This is why the transition sequence puts pack weight last: it is not one more variable, it is a multiplier on the ones you already added.
The pattern shows up constantly in the community. Someone with foot pain finds relief in barefoot shoes on local walks, feels great, then takes them on a loaded overnight and by day two the Achilles is talking. Nothing went wrong with the shoes. Load simply exposed a stage of the transition that had not been built yet.
Ankle Height vs. Ground Feel Under Load
There is a real answer here, and it is unpopular with purists. Ankle-high minimalist and barefoot boots add ankle support in the form of torsional and lateral stability, meaning they resist the twisting and side-to-side motion that backpacking weight amplifies on uneven ground. You give up some sensitivity around the ankle in exchange, and under a heavy pack that is a trade worth making for most people.
For a loaded multi-day trip, pick the ankle-height barefoot boot over the low-top barefoot trail runner, even if the low-top is your favorite shoe on day hikes. Torsional stability matters more than ground feel once real weight sits on your back and the trail turns rocky at hour seven with a tired ankle. You can go back to the low-top the week after, on the same trail, with a daypack.
The other legitimate answer is a cushioned zero-drop shoe. You keep the zero drop and the wide toe box, which are the two features doing most of the work for foot health, and you add back the stack that carrying weight genuinely asks for. That is a compromise and it should be named as one: you are not getting barefoot ground feel out of it. What you are getting is the anatomical geometry with enough material underneath to survive a multi-day trip.
The Loaded-Pack Pick — Altra Lone Peak 9
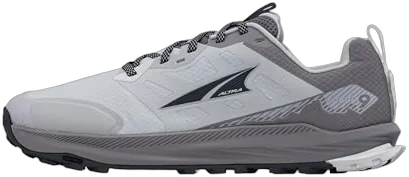
Including a cushioned shoe in a barefoot guide is deliberate, because pretending a 6mm sole is the right answer under 30 pounds for five days would be dishonest. The Lone Peak keeps the two features that matter most for foot health, zero drop and real toe splay room, and puts enough foam underneath to get you through consecutive high-mileage days.
The women’s version here is the waterproof low, which adds a membrane and the trade-offs that come with it. If you want the same shoe without the membrane, the non-waterproof women’s model exists under the same Lone Peak 9 name. For a fuller look at the field, the wider set of backpacking-capable trail runners covers the options beyond zero drop.
For a light daypack on a day hike, ignore all of this and take the thin shoe. That is where low-top barefoot models genuinely shine, and the load conversation only starts when the pack does.
What You Actually Give Up at Fifty Dollars
Every roundup names a budget pick and moves on. The useful version names the specific thing that is worse about it, and in this category the answer is narrower than the price gap makes you expect.
Best Budget — WHITIN Minimalist Barefoot Trail Runner
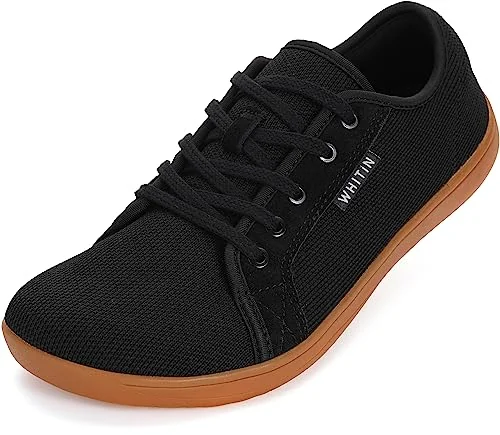
Expect to spend roughly $40 to $50 for budget barefoot shoes against $130 to $180 for the premium barefoot shoes above. That is a serious gap, and the useful question is what it buys.
Not the mechanics, as it turns out. Zero drop, wide toe box, and a flexible sole are all present here, and the fundamental geometry that makes a barefoot shoe do what it does is legitimately similar across price tiers. Anyone claiming the cheap shoe does not deliver real barefoot mechanics has not put one on.
Where the Cheap Rubber Gives Out
The gap lives in two places: outsole compound and upper durability. Budget rubber wears faster and, more importantly, gives up grip on wet rock sooner than a premium compound does. That is a terrain problem, not a mechanics problem, and whether it matters depends entirely on where you walk.
The upper is the second one. Cheaper mesh and cheaper stitching hold up fine for a season of moderate use and start to fray at the flex points sooner under heavy mileage or abrasive scree. Again, this is a usage question, not a quality-of-concept question.
So the verdict splits cleanly. For dry trails, moderate mileage, and someone finding out whether their feet like this at all, the budget pair is genuinely the right call. For wet rock, talus, or serious annual mileage, the compound difference is exactly what your money is buying and it is worth paying for.
That leads to the most useful advice in this whole section. If you are not sure barefoot shoes will work for your feet, spending premium money to find out is the wrong order of operations. Buy the cheap pair, walk in them for six weeks, follow the transition sequence, and then buy the good pair once your feet have voted. Hikers with untrained feet also have a wider set of options worth weighing first before committing to this category at all.
The Second Budget Option and Its Ceiling
For a second option in the same tier, the SAGUARO Barefoot Shoes (check price on Amazon) run as a unisex model with the same zero-drop, wide-toe formula and a slightly different fit profile, which is useful if the WHITIN last does not suit your foot.
State the ceiling plainly, though. SAGUARO’s own materials describe the shoe for light, uneven terrain, and that is an accurate description rather than an undersell. It is a walking, travel, and easy-trail shoe that happens to be built on barefoot principles. Take it on packed dirt and gentle singletrack and it does the job; take it up a talus slope and you will wish you had spent the extra money on compound and protection.
The Bottom Line on Barefoot Hiking Shoes
Zero drop is not the risk. The calendar is. Give the transition months rather than weeks, and build load in the order that actually matters: walk, then flat trail, then elevation, then a pack.
Pick the sole for the ground you actually hike, not for the trail in the product photo. Under 6mm is a dirt-and-duff spec, and talus and wet rock want compound and lug depth that a thin sole cannot fake.
Test the category cheaply before you buy the expensive pair. Your feet get a vote, they take a few weeks to cast it, and they do not care what you spent.
Before your next trip, take whatever barefoot shoes you own on a short hike with real elevation loss and pay attention on the way down. Notice when your calves start talking and how far into the descent it happens. That single data point tells you more about where you are in the transition than any number of flat miles ever will.
Frequently Asked Questions
01Are barefoot shoes okay for hiking?
Yes, for most healthy hikers on suitable terrain and after a genuine transition period. The two real limits are terrain, since a thin sole and sharp talus are a poor match, and timeline, because going straight from cushioned boots to zero drop is where injuries happen.
02Why are podiatrists against barefoot shoes?
Most are not, and the real caution is narrower than the internet version. Clinicians tell people to wait if they have an active plantar fasciitis flare, current Achilles tendinopathy, or a recent stress fracture, because a sudden switch loads the tissue that is already irritated.
03Are barefoot hiking shoes worth it?
They are worth it if you want toe splay and ground feel, or if cushioned boots never solved a foot problem, and if you will actually do the transition. They are not worth it as a one-trip experiment right before a backpacking trip, which is when most people try them.
04How long does it take to transition to barefoot hiking shoes?
Roughly five to seven months on a conservative protocol, dropping about 2mm of heel-to-toe difference every four to six weeks from a standard 10mm boot. Most successful transitions also keep a cushioned shoe in rotation the whole way rather than switching over completely.
I've spent more than a decade researching hiking gear and trail technique. I read the specs, the forum threads and the long-term reviews, and every pick here comes with what it gets wrong.
End of the trail
You read every mile of this one. Here's where the trail goes next.