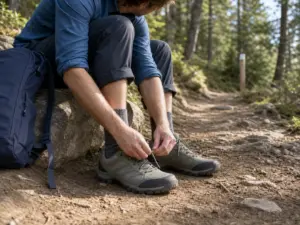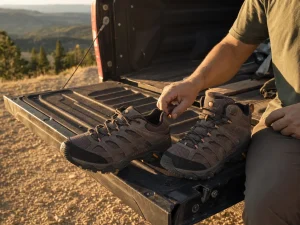



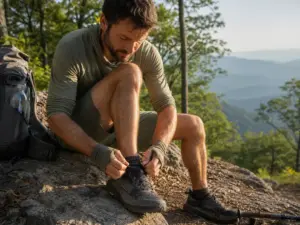

















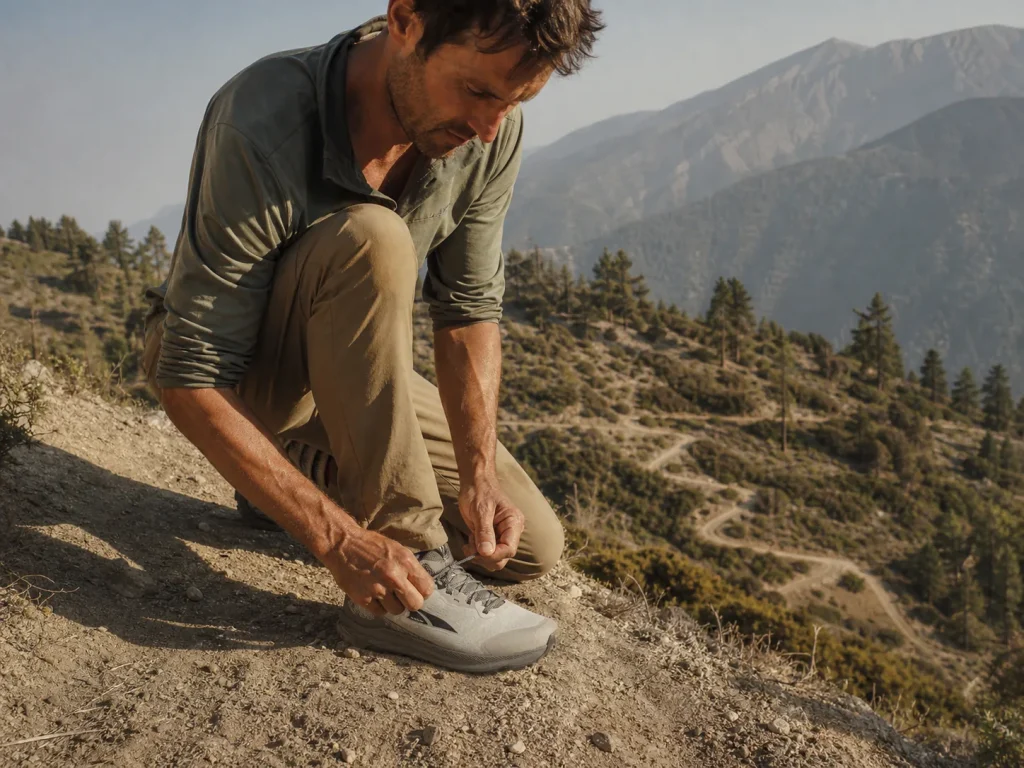
You peel off a sock at camp and the nail has gone from pink to purple-black, and you can’t name the moment it happened. There wasn’t one. The reinforced strip you’re now searching for, the toe bumper, is the exact wall your nail met on every one of the last three downhill miles, which is why hiking shoe toe bumper protection almost never means what shoppers think it means. Clinics that treat this injury report seeing it almost exclusively in people wearing their everyday casual size in a hiking shoe, and that tells you where the real fix lives. Here’s what a toe bumper actually is, how to check one with your thumbnail in about ten seconds, and what keeps your nail off it.
What Your Hiking Shoe’s Toe Bumper Does to Your Toenail
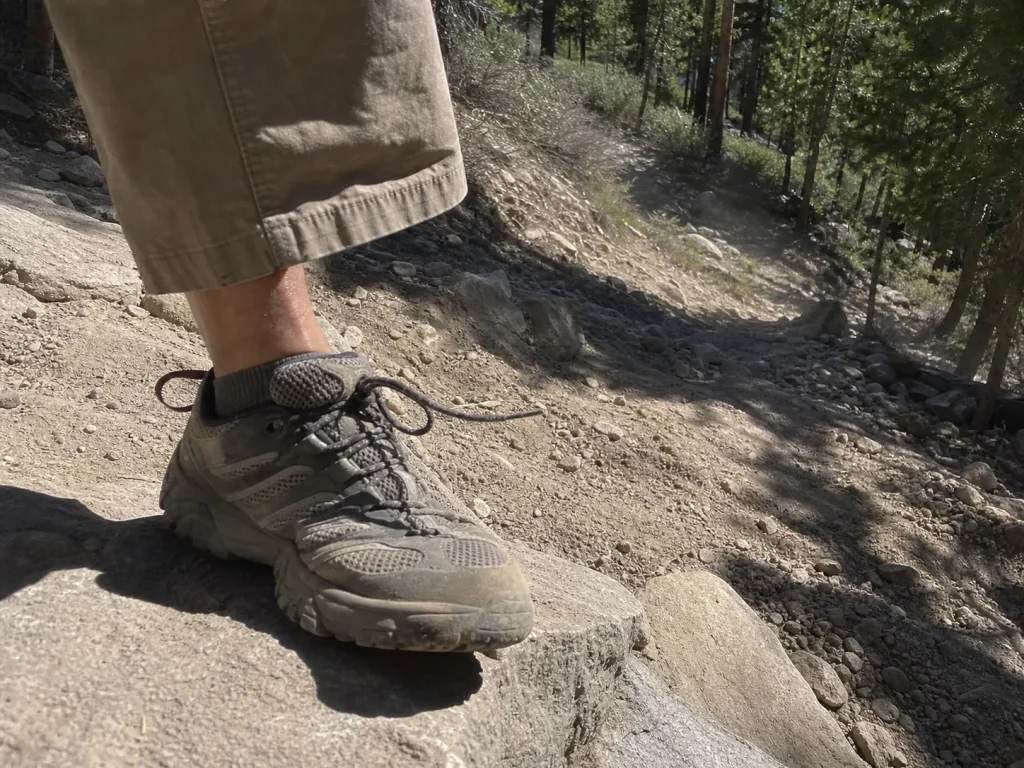
Nobody remembers the hit that did it, because there wasn’t a hit. A subungual hematoma is bruising trapped under the nail after the small vessels in the nail bed rupture, and on a descent that rupture happens by accumulation. Your foot slides forward, the nail meets the front of the shoe, and you repeat that a few thousand times before the parking lot.
What it meets is the toe bumper: a hard strip of rubber or TPU wrapped around the front perimeter of the shoe. The bumper is doing its job. It’s built to take rock strikes so your toes and the shoe’s upper don’t, and it succeeds at that. It was simply never designed to protect the nail on the inside from arriving at it, step after step, all afternoon.
Here’s the part that reframes the whole problem. A clinical case review published through the National Institutes of Health’s PMC archive describes clinics seeing this almost exclusively in patients wearing their everyday casual size in an athletic shoe. If your hiking shoe size matches your sneaker size, that’s your root cause. Not the trail. Not the descent. The size on the box.
Hikers call it hiker’s toe; the mechanical cause gets called toe bang. Both names describe the same event, and it surfaces constantly wherever people compare fit notes, which is why black toe keeps coming up in women’s hiking shoe fit threads right alongside the usual toe box complaints. You almost never feel it happen. You feel a vague ache somewhere in the last mile, decide it’s nothing, and then find your answer at camp with a sock in your hand.
Toe Bumper vs Rand vs Rock Plate and What to Feel For
Three terms get used interchangeably in marketing copy, and they name three different parts sitting in three different places on the shoe. Only one of them is the wall your nail hits. You can’t read the difference off a spec sheet, but you can check it in about ten seconds standing in the store.
The three parts people confuse
A toe bumper is the reinforced rubber or TPU strip wrapped around the shoe’s front perimeter, right over the toes. That’s the wall.
A rand is the same idea with more ambition: a wraparound band that extends further up and back around the shoe. Approach shoes built for real rock contact tend to carry proper ones, which is why the term leaks into hiking shoe copy where it usually doesn’t belong.
A rock plate isn’t on the outside at all. It’s an internal layer, roughly 1.5 to 2.5mm of TPU sitting between midsole and outsole, adding about 20 to 40 grams per shoe. It stops stone bruises on the bottom of your foot and has nothing whatsoever to do with your toenail. A rock plate is a different part solving a different problem, and plenty of shoppers land here having searched for the wrong one entirely.
The honest takeaway: a shoe can advertise a protective toe cap and mean any of the three.
The thumbnail test
Press with your thumbnail right where your big toe sits when your foot is fully extended. A real bumper is a hard reinforced ridge that doesn’t give under the pressure. A cosmetic one is a glued-on overlay that flexes and dimples under your nail. That’s the entire test, and it takes longer to read about than to perform.
Where the bumper ends matters more than whether it exists. Run your thumb along it and find the point where the reinforcement stops. On a lot of shoes it stops short of the longest toe, which for many people is the second toe rather than the big one. A bumper that ends before the toe that’s actually hitting is decoration.
A TPU toe cap holds its shape and stays hard. Softer rubber toe cap compounds absorb more but deform under repeated contact. Neither one saves a nail if the foot is sliding. The material changes what your nail hits, not whether it hits.
What a well-built one looks like
Before you shop for a bumper, settle the bigger question of which low-cut hiking shoe belongs on your feet in the first place. The bumper is one spec inside that decision, not the decision itself.
What good looks like: a reinforced ridge that runs past the longest toe, bonded into the upper rather than glued on top of it, paired with a toe box wide enough that your toes aren’t already touching it while you stand still.
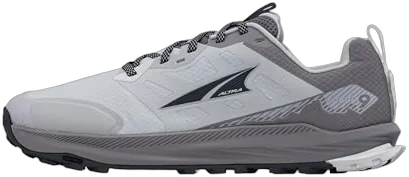
Run the thumbnail test on the Altra Lone Peak 9 and you feel the ridge hold. Run it on a shoe with a printed-on toe overlay and you feel your nail push a dent into the upper. That’s the difference the marketing copy flattens into the same three words, and once you’ve felt both you can’t unfeel it.
None of which makes the bumper the deciding spec. It’s a tiebreaker between two shoes that already fit. A shoe with a beautifully built toe cap and the wrong fit will still cost you the nail, and it will do it faster, because a hard bumper is a harder wall to hit than a soft one. That’s the trade nobody puts on the box.
Toe Box Fit and Why the Store Fit Lies to You
The real measurement
Hiking shoes typically run a half to a full size larger than your everyday shoes, and that holds whether you hike in low-cut hiking shoes, trail runners, or hiking boots. What you’re buying with that size is roughly a thumb’s width, about half an inch, or one to two finger widths of space beyond your longest toe. That slightly roomy feeling at the register is the correct fit. The snug one that feels dialed is the one that jams your toe on the first real descent.
Measure to the longest toe, not the big toe. For a lot of people those are different toes, and the second toe is the one that goes black.
Feet swell, and the shoe doesn’t
Hours upright, heat, and elevation produce real swelling over a long day. The shoe that fit while you tied it in the parking lot can be genuinely too tight by mile ten. That’s physiology catching up with you, not a bad purchase, and it’s why sizing up properly for foot swelling is a separate decision from picking your normal size.
Practical version: fit shoes late in the day, in the socks you actually hike in.
Volume is the other half of fit
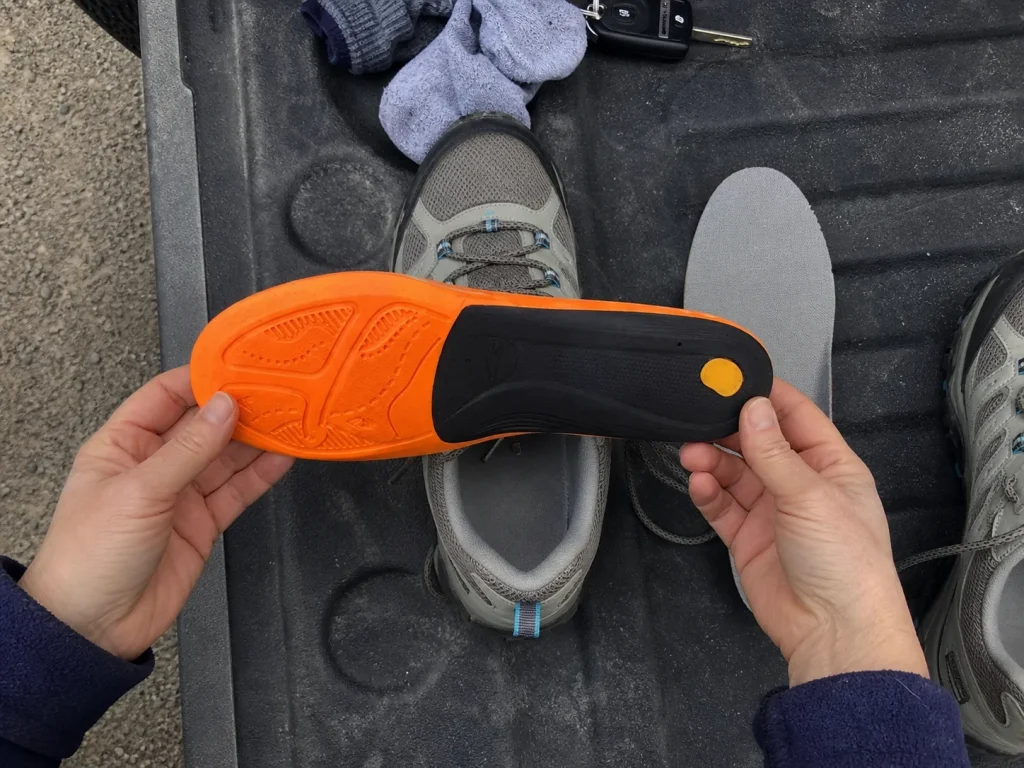
Length gets all the attention. Volume is what fills the toe box, and a thick sock, a bulky stock insole, and a swollen foot all stack into the same space. Swapping a fat stock insole for something thinner hands the toe box back some of that room, which is the honest case for the Superfeet Hike Support Insoles: a carbon fiber stabilizer and high arch support in a lower-volume shape than most of what comes in the box. An aftermarket insole or custom orthotics can do the same job. It’s a volume and support fix, though. It isn’t toe protection, and nobody should buy it expecting to be.
If your toes touch the bumper while you’re standing still in the store, no insole and no lacing will save you. You need a toe box that’s wide enough before you add anything to it.
If toe caps and lacing both fail you, look at where the shoe creases over your nail. A crease that lands on top of the toenail instead of at the natural flex point means the shoe’s vamp is the real problem. No knot and no cap fixes a shoe that’s folding in the wrong place, and you’ll chase that one for a whole season before you see it.
Why Sizing Up Alone Trades One Injury for Another
Everybody’s cousin says buy a half size up. Nobody says what happens next.
Two ways to bruise the same nail
Failure mode one is the obvious one. The shoe is too short, your toe already rests against the bumper before you take a step, and every descent step drives it in harder.
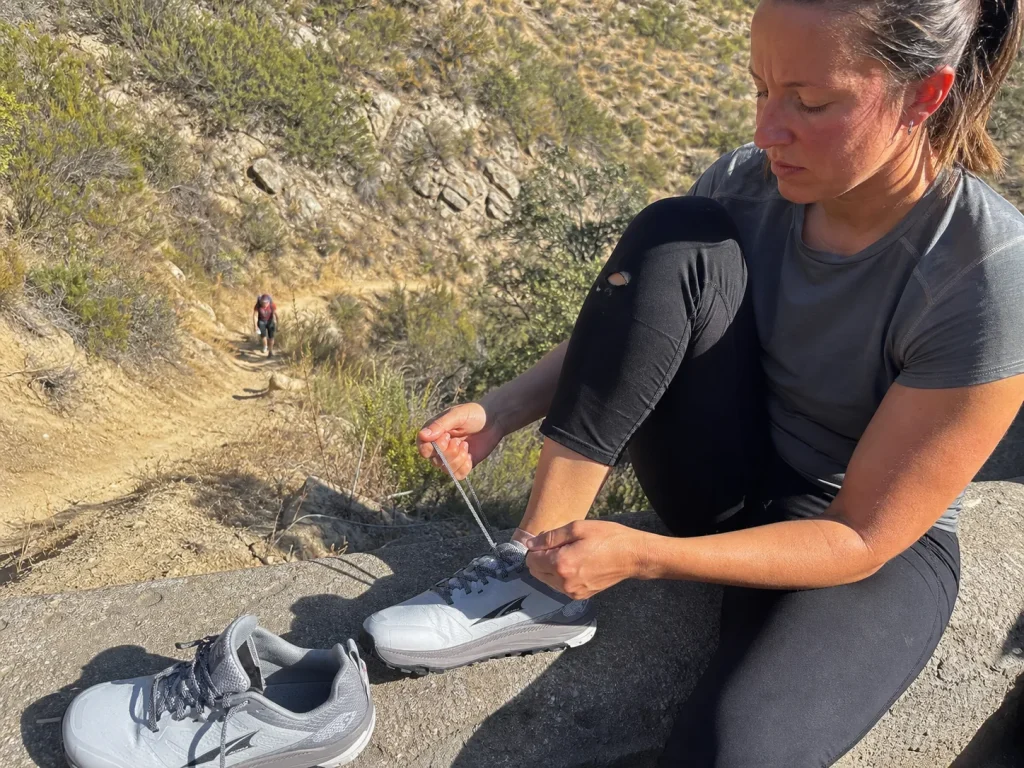
Failure mode two catches the people who followed the advice. The shoe is sized up, the heel is unlocked, and the whole foot slides forward through all that new room until the nail arrives at the bumper anyway. Same bruise. Different cause. You bought space and then handed it to your foot to travel through.
Which puts the advice in one line: sizing up is a prerequisite, not a fix. It buys room. Lacing decides who gets to use it.
Heel lock solves a different problem than you think
Heel lock lacing is built to stop the heel lifting. That’s a blister problem, and it’s a real one worth solving. But hikers who’ve chased this down in the field are blunt about the limit: on its own, it does not stop forward slide. Lifting and sliding are two different motions, and the heel lock only addresses one of them.
Cranking it tighter to compensate for a sloppy oversized fit is where it turns on you. Excessive pressure across the top of the foot risks extensor tendonitis, which means you’d be trading a bruised toenail for an injured tendon. Nobody should take that trade, and plenty of people take it without knowing they have.
What holds the foot back is the whole system working together: midfoot tension plus a locked heel. Not one knot pulled harder than the others.
So how much do you size up
Enough to clear your longest toe by a thumb’s width at full swell, and no more than your laces can take up. Room you can’t control is room your foot slides through.
The common workaround makes it worse. People fill an oversized shoe with thicker socks for cushioning, and that volume goes straight into the toe box, pushing the nail down into the bumper from above while the foot still slides forward from below. Now it’s getting hit from two directions and the sock is what you added to help.
Lacing That Actually Locks Your Heel Down
Most hikers know there’s a lacing trick. Almost nobody knows there are four of them, that they solve different problems, and that the one everyone names is aimed at a problem they might not have.
The surgeon’s knot and the heel lock
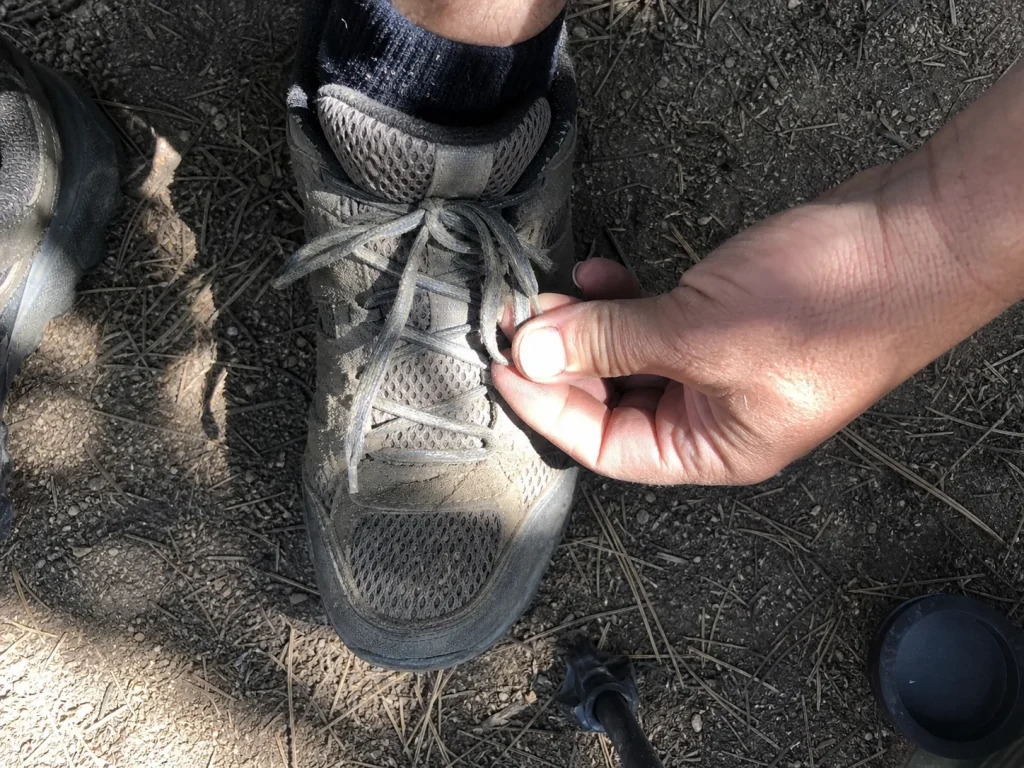
The surgeon’s knot is the one that matters for your toes. An extra wrap at the flex point holds midfoot tension in place so it can’t migrate forward as you walk, and that retained tension is what resists forward slide.
The heel lock, also called a lace lock, runner’s loop, or ankle lock lacing, uses the top eyelets to pin the heel down. Necessary, aimed elsewhere. Snug, not cranked. You know it’s right when you stop noticing your laces on the way down, not when your foot goes numb. If you want the step-by-step on locking a heel for downhill, that sequence deserves its own room and it has it.
Toe-relief and window lacing
Toe-relief lacing skips the lowest crossover to take pressure off the forefoot. It’s the one people reach for once the early black-toenail signs show up, and it is not the same knot as a heel lock, no matter how often the two get mentioned in the same breath.
Window lacing opens a gap over one specific hot spot on the instep without loosening the rest of the shoe. Useful when a single exact point hurts and everything else about the fit is right. An overhand lacing technique at the top does the opposite job, pulling the foot back toward the heel so it slides forward less on the way down.
Laces loosen over a long descent and quietly undo your heel lock at the exact moment you need it most. Double-tie or lock the final knot, then re-tension at the top of any real descent before you start down. Two minutes at the top of the hill beats six months of nail regrowth.
Socks, Volume, and the Nail Trim Nobody Bothers With
Two of the cheapest fixes on this list, and both get done wrong in the same direction. People add material and length where they should be subtracting.
Thicker is not safer
Padding up for cushioning increases foot volume inside a toe box that hasn’t grown, and that pushes the nail into the bumper from above. Cushioning belongs under the foot, not wrapped around the toes.
Moisture matters here too, and not only for comfort. A wet sock and a swollen foot in the same toe box is the worst version of this problem, because friction climbs at the same time the space disappears.
The two-layer system
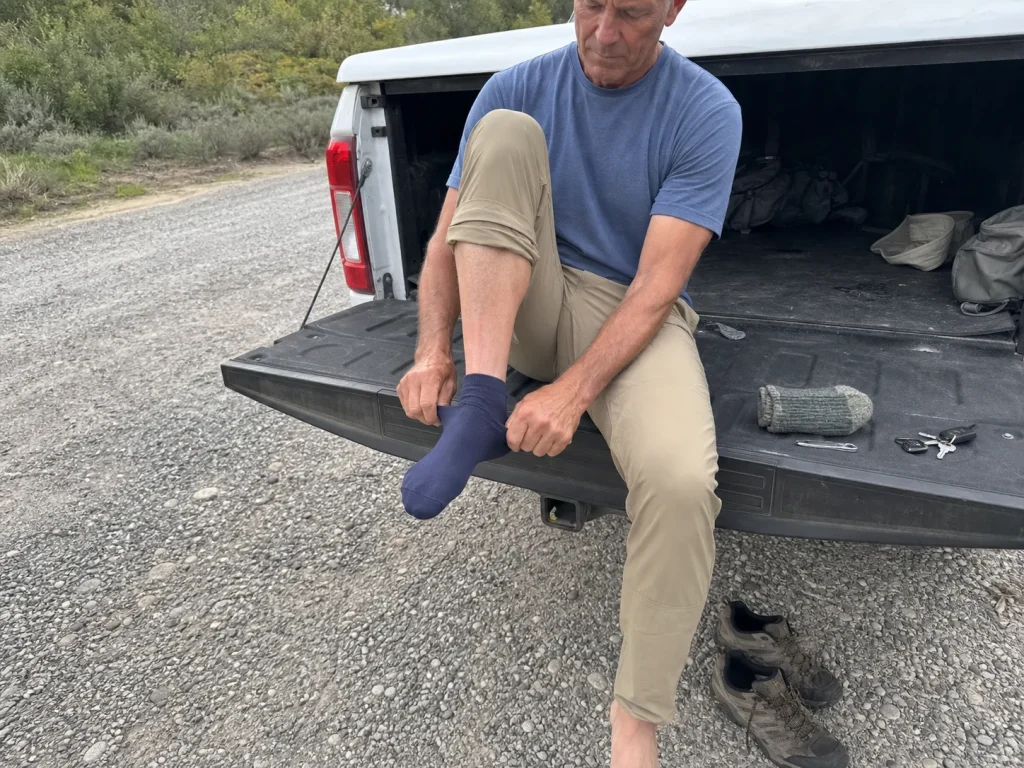
A thin liner sock under your hiking sock lets the two layers shear against each other instead of against your skin. Less friction, and less of the volume swing you get when one thick sock soaks through and stays that way. That’s the mechanic behind how the two-layer sock system handles shear, and it applies to nails as much as it does to heels.
The Fox River Wick Dry Alturas Ultra-Lightweight Liner Crew Socks are the liner half of that setup: moisture-wicking, thin enough to disappear under a hiking sock, and built to be worn under a second layer rather than on their own. Honest framing, though. Liners fix friction and volume. They don’t fix fit.
Trim straight across, and short
Straight across, not curved. A curved trim leaves an edge that digs in when the nail gets driven backward, which is precisely what a descent does to it.
Short before a big descent day. A nail length that’s fine on flat ground jams on every single step once gravity is doing the pushing.
Trim the night before a big descent, not in the parking lot. A fresh cut leaves the edge slightly sharp, and a few hours costs you nothing. Pair that with the socks you’ll actually wear rather than the ones in the drawer, and you’ve handled two of the five failure points before you’ve left the house.
Downhill Technique That Keeps Toes Off the Bumper
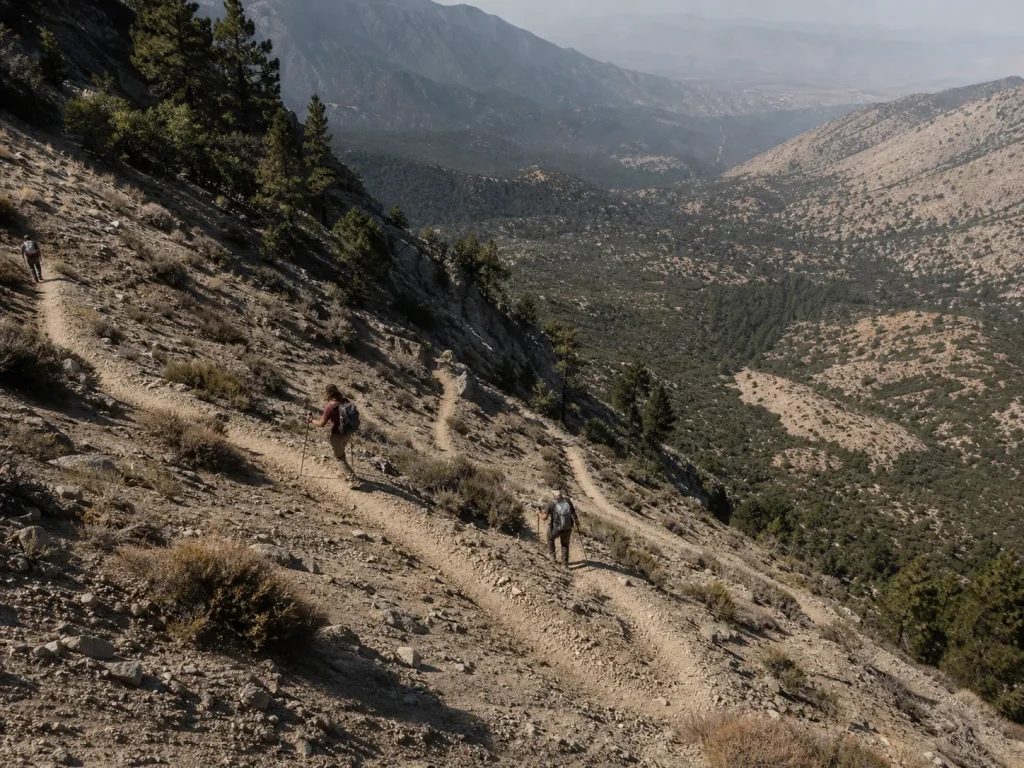
The cheapest toe protection in this article is a path choice.
The fall line is the problem
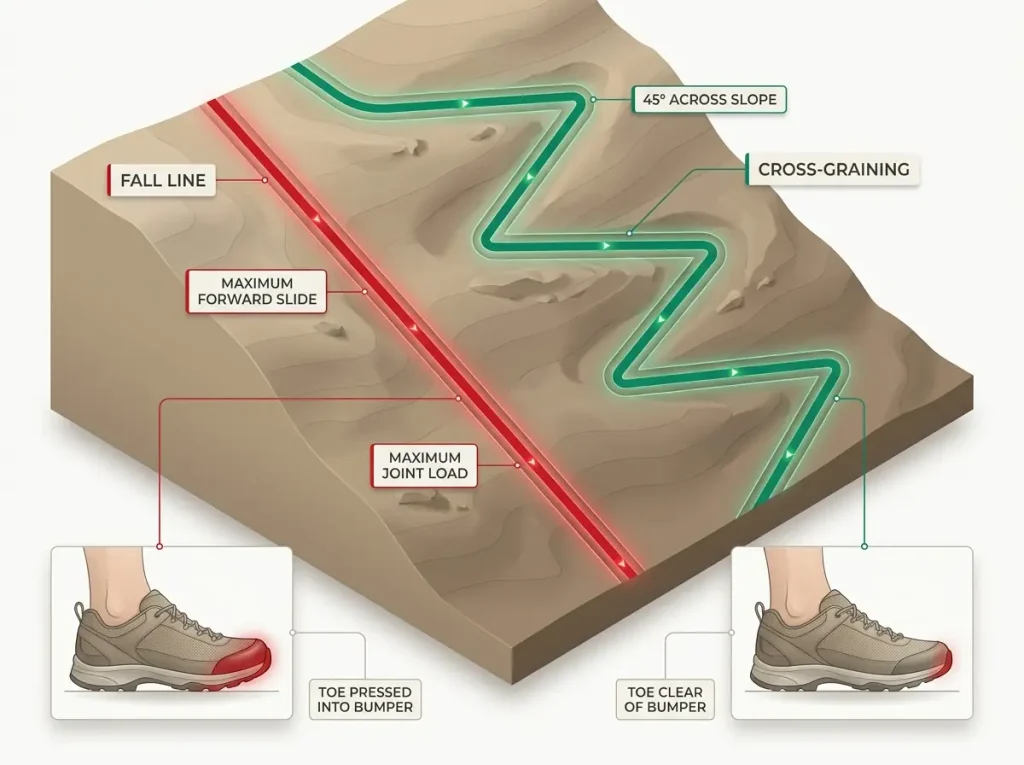
Walking straight down the fall line spikes joint load and produces exactly the forward slide that drives your toes into the bumper. Cross-graining, angling forty-five degrees or more across the slope, cuts both. So does honoring the switchbacks somebody already built for you.
Which makes the most common mistake on this list a self-inflicted one. Cutting a switchback to save thirty seconds is the exact move that produces a black toenail three miles later. It also drags the trail downhill behind you, which is reason enough on its own.
Terrain changes the math
Steep, technical, loose ground multiplies the impacts a graded trail spreads out. Scree, rooty step-downs and bedrock stairs deliver the same total descent in far fewer, far harder landings. Same shoe, same fit, very different nail outcome, and it’s the variable nobody in the search results connects to toe protection at all.
Pack weight rides on top of every one of those landings. A loaded descent is not the same descent, and a shoe that skids makes it worse still, which is why lug depth and the heel-brake on loaded descents belongs in the same conversation as your toe box.
Small mechanics that add up
Shorter steps. Softer knees. Land more underneath yourself than out in front of yourself. You can hear when you’re getting it wrong: heavy heel-slaps mean you’re braking with your feet instead of your legs, and your toes are paying that bill.
Trekking poles take a real share of the braking load off the front of your foot. On a long loaded descent they’re worth more to your toenails than anything you’ll read about below.
Toe Caps, Gel Wraps, and Tape Compared
This is the part the search results promise and never deliver. Here’s the honest version, including the fact that the category’s most famous brand is one you currently can’t buy.
Silicone toe caps
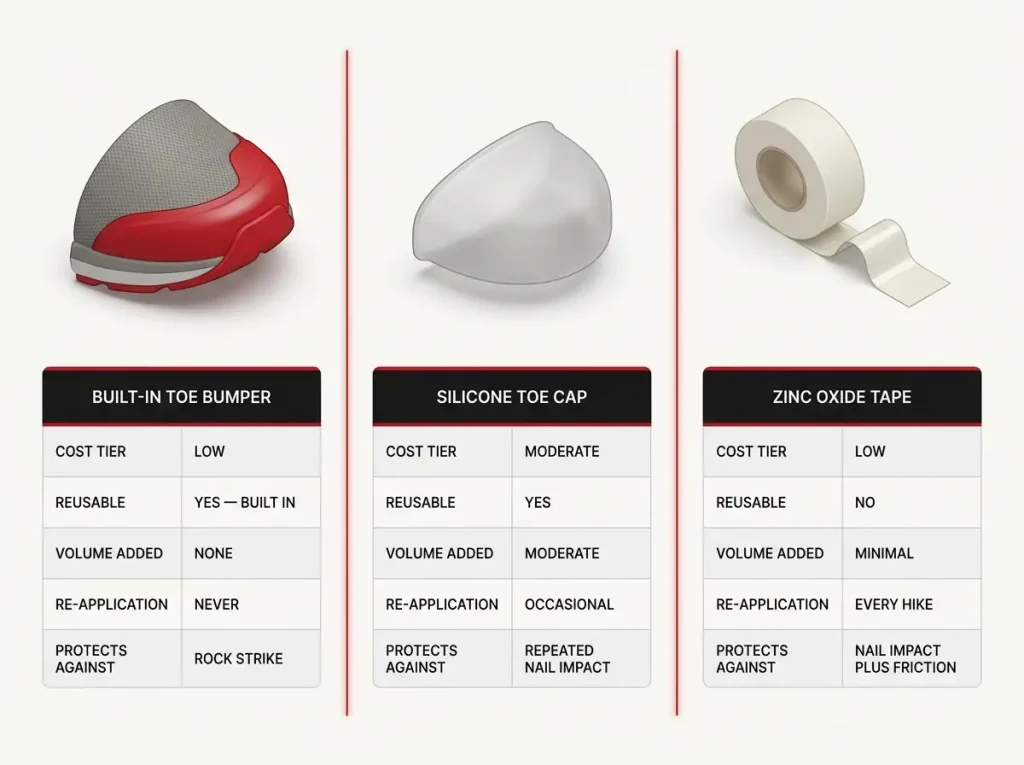
A silicone toe protector is reusable, trims to fit, and gets worn every day of a trip. The use case is straightforward: it puts a compressible layer between the nail and the bumper, which is exactly the impact a descent keeps delivering.
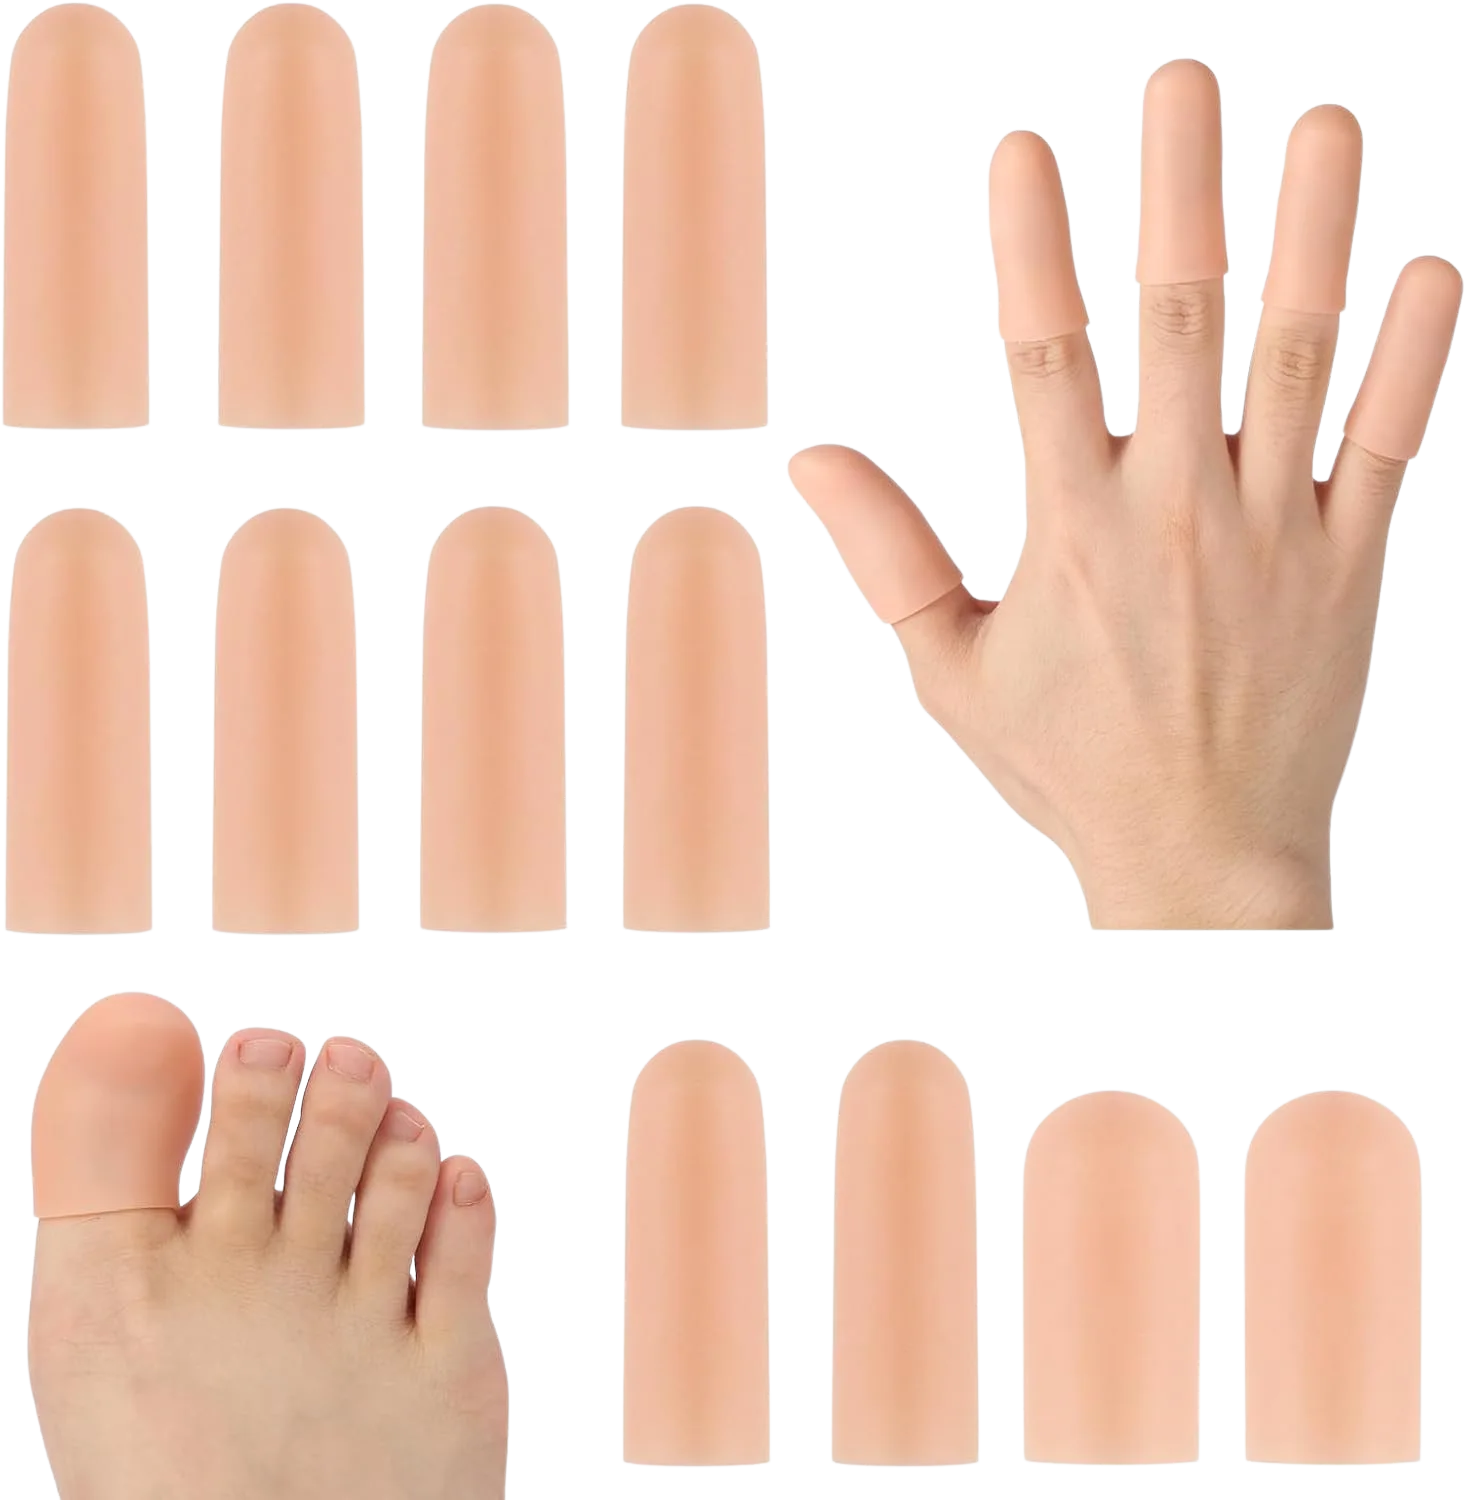
The honest cost is volume. A silicone toe cap takes up room in the toe box, and in a shoe that’s already tight it makes the problem worse rather than better. That’s the whole reason this section sits near the end of the article instead of near the front. Fix the space first, then fill some of it back in on purpose.
Where they earn their keep is the repeat offender: a hiker with room to spare, a fit that’s already right, and a route with real descent in it. One hiker’s own review describes running gel toe caps through most of a 200-mile ultra with the big toe intact the entire way. That’s a community report rather than our own testing, but it’s the right shape of use case.
One more thing the search results won’t tell you. Sidas, the French brand that popularized the reusable gel toe cap, currently has no live listing for either its Gel Toe Cap or its Gel Toe Wrap on Amazon US. The company that built the category is the hardest one to actually buy from right now, which is worth knowing before you spend an hour hunting a specific name you read somewhere.
Zinc oxide tape, the DIY tier
Zinc oxide sports tape costs a few dollars a roll and does a surprising amount of the same work. One layer around each toe before the socks go on and you’ve built yourself a wearable, disposable toe cap. It’s aggressively adhesive, it’s budget toe protection in the truest sense, and it’s thin enough that it costs almost nothing in toe box volume.
The trade-off is labor. It’s a per-hike job, and it comes off and goes back on every day of a trip.
Do not reach for the duct tape already in your pack. The American Hiking Society flags the adhesive residue as an infection risk, because it traps bacteria against what is functionally an open wound. The roll that fixes your tent pole is the wrong roll for your feet. And if you’re already carrying zinc oxide for taping a hot spot before it turns into a blister, you’re carrying your toe protection too.
Try the tape before you buy the caps, even if you’re fairly sure you want the caps. A roll costs almost nothing and it tells you in one hike whether a compressible layer is actually your answer, or whether you’ve got a fit problem wearing a protection problem’s clothes.
Which layer for which problem
Tight toe box, occasional bruising: tape. It adds essentially nothing to the volume you don’t have to spare.
Roomy toe box, repeat offender, big descents: the silicone cap, the closest thing to premium toe protection in this trio.
Nail already black: neither one. Skip to the next section.
And the line that sits under all of it. If the fit and the lacing are wrong, none of this is protection. It’s padding on a mechanical problem, and the mechanics don’t care how nice the padding is.
When a Black Toenail Needs a Podiatrist
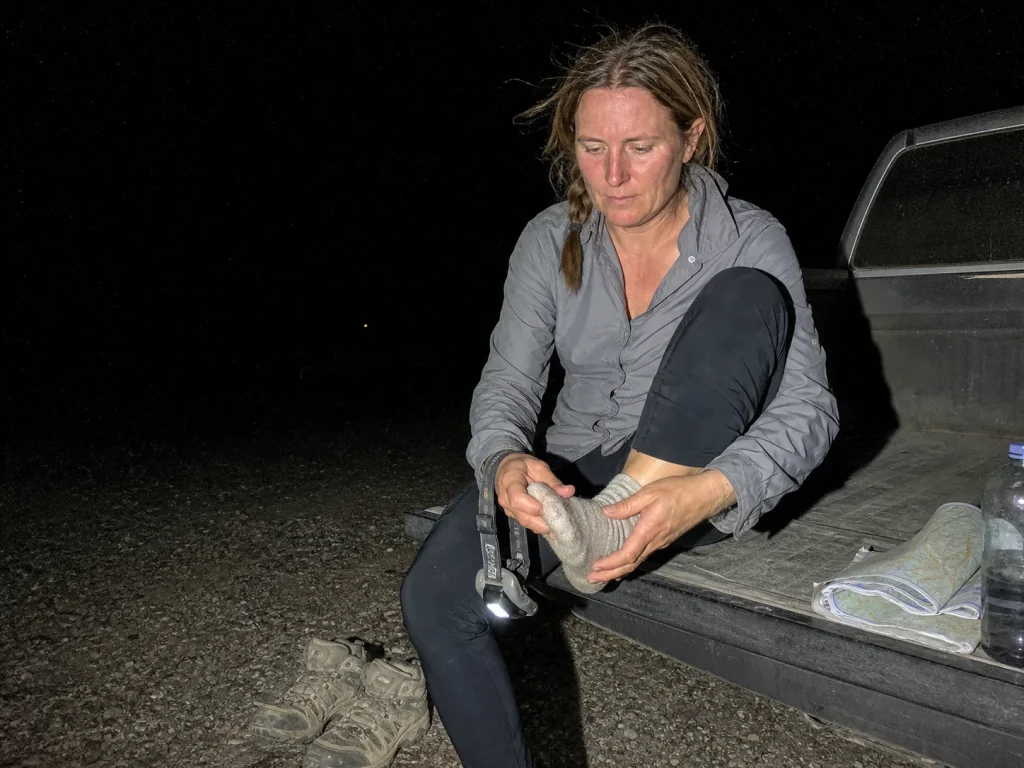
It already happened. Here’s what’s fine to ignore, what needs a doctor, and what you should not do in a tent.
The size rule
A subungual hematoma covering roughly a quarter to half the nail benefits from professional drainage. Above half the nail, there’s about a fifty percent chance of losing it even with treatment, which is worth knowing before you decide to wait it out and hope.
Small dark spot, no real pain: watch it. Half the nail or more: podiatrist.
Don’t drain it yourself
A clean, sealed hematoma carries low infection risk on its own. The risk climbs sharply with non-sterile home drainage, and climbs further with diabetes or already-broken skin. Kaiser Permanente’s own care instructions for subungual hematoma land in the same place: watch it, don’t improvise on it.
Said flat: the black nail isn’t the problem. The hot needle in a tent with dirty hands is, and DIY nail draining is exactly the move that invites an infection. Forum threads are full of hikers who pierced their own nail mid-trip for the pressure relief and then spent the rest of the thread arguing about whether they got away with it. Some of them did. That isn’t the same as it being a good idea.
The timeline nobody tells you
Discoloration migrates out over four to six months on the smaller toenails, six to nine months on the big toe. If the nail comes off entirely, full regrowth runs six to nine months as well.
Don’t panic at week three. That’s normal. Expect a season, not a week, and expect the dark patch to travel toward the tip as the new nail grows in underneath it.
Conclusion
Three things worth carrying out of this.
The toe bumper is what your nail is hitting, not what’s protecting it. Thumbnail-check it, make sure the reinforcement runs past your longest toe, and then stop thinking about it. It’s a tiebreaker spec, not the fix.
Room and lacing are one system. Sizing up without locking the midfoot doesn’t remove the failure, it relocates it, and cranking a heel lock to compensate buys you a tendon problem on top of the nail you were trying to save.
Caps and tape are the last layer, not the first. Fit, laces, socks, and how you walk downhill are all free. Spend those before you spend money.
Before your next descent, run the two-minute version. Thumbnail-check the bumper on the shoes already in your closet, trim straight across, and re-tension at the top of the hill. Then see whether you still need anything from this article at all.
Frequently Asked Questions
01What is a toe bumper?
A toe bumper is the reinforced strip of rubber or TPU wrapped around the front perimeter of a shoe, right over the toes. It protects the shoe and your toes from rock strikes, not your toenail, which sits on the inside hitting it on every descent.
02Do toe protectors actually work?
Silicone toe caps and zinc oxide tape both put a compressible layer between the nail and the toe bumper, and for repeat sufferers they help. They fail when the shoe is already too tight, because the cap itself eats toe box room. Fix the fit first.
03Do you need to size up hiking shoes to prevent black toenails?
Usually yes. Most hikers need a half to full size more than their everyday shoes, leaving a thumb’s width past the longest toe. But sizing up alone doesn’t fix it: without a locked heel and real midfoot tension, the foot slides through the extra room and the nail still hits.
04Should you drain a black toenail yourself?
No. A sealed hematoma carries low infection risk on its own, and non-sterile home drainage is what turns a cosmetic problem into an infected one, especially with diabetes or broken skin. If it covers a quarter of the nail or more, see a podiatrist instead.
05How long does a black toenail take to grow out?
Expect four to six months for a smaller toenail and six to nine months for the big toe, and about the same if the nail comes off and regrows. It’s a season, not a week. The discoloration moving outward is the nail growing normally.

I've spent more than a decade researching hiking gear and trail technique. I read the specs, the forum threads and the long-term reviews, and every pick here comes with what it gets wrong.
End of the trail
You read every mile of this one. Here's where the trail goes next.