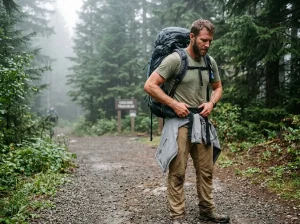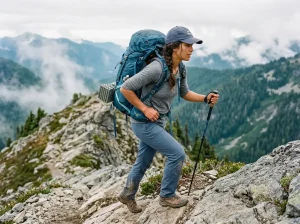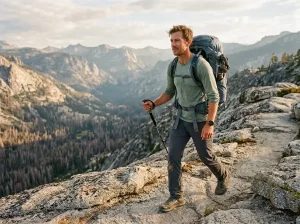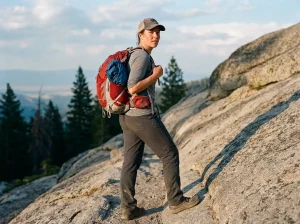

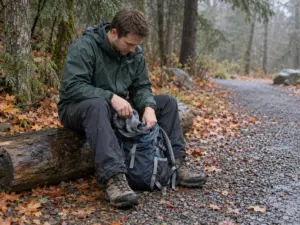
















Your shoulders are aching by lunch and you’ve still got six miles to go. The pack felt fine in the store, so what happened? Almost every time the answer is the same one veteran hikers repeat in trail threads: the weight is sitting on your shoulders instead of your hips, and the fix is the hip belt, not the straps you keep yanking tighter. Getting your backpack fit right comes down to measuring your torso, picking the right size, and dialing the straps in the correct order, all with the pack you already own.
How a Backpack Should Actually Fit (the 80/20 Rule)

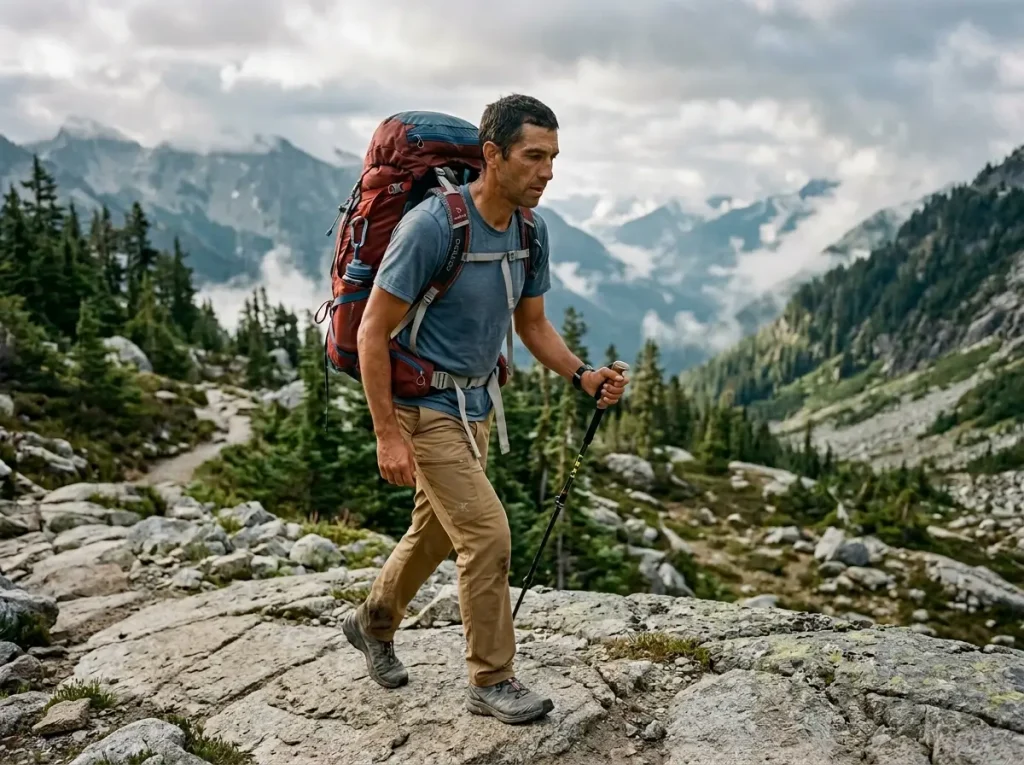
Most people think a backpack rides on the shoulders. It doesn’t, not when it’s set up right. A loaded pack should sit on your hips, with your shoulders doing little more than keeping it from tipping backward. Get that picture straight before you touch a single strap, because every adjustment that follows serves this one idea.
The 80/20 Rule
Good weight distribution starts with one number, 80/20. Your hips should carry roughly 80 percent of the load, your shoulders about 20 percent, and the tops of your shoulders close to zero. When your shoulders are sore by midday, that ratio has flipped and the weight is riding high instead of settling on your hip bones. Most fitting guides land on the same split, and it holds up over a long day on the trail.
Why Your Hips, Not Your Shoulders
Your hips are built to carry weight. The iliac crest, the bony shelf you can feel at the top of your pelvis, is one of the strongest load-bearing structures in your skeleton, and your legs sit right under it to do the work. Your shoulders are a bundle of muscle and nerves that fatigue fast under a steady load. That’s why the pack’s frame is what carries the weight down to your hips: a good internal frame channels the load from the pack body into the hip belt, while a frameless pack stuffed heavy just hangs off your shoulders.
What a Good Fit Actually Feels Like
You’ll know the fit is right when you stop noticing the pack is there. The load sits low and close to your back, keeping your center of gravity over your hips, and you can shrug without the whole thing swaying. That last one is the real tell, and it’s the basis of the quickest fit check you can run.
Walking with the pack on, hook both thumbs under the shoulder straps and lift them an inch off your shoulders. If the load barely moves, your hips are carrying it. If the pack sags the instant you lift, the weight was on your shoulders the whole time, and your hip belt needs another look.

Measure Your Torso Length (Not Your Height)

Here’s where most sizing goes wrong before the pack is ever loaded. People buy by height, and height has almost nothing to do with it. What picks your pack size is your torso length, and a 5-foot-6 hiker can easily have a longer torso than someone who stands 6-foot-1.
Torso Length vs Height
Torso length is measured from the C7 vertebra, the bony bump at the base of your neck when you tip your head forward, straight down the curve of your spine to the level of your iliac crest. Put your hands on the top of your hip bones with your thumbs pointing back toward your spine; the spot where your thumbs meet is the bottom of the measurement. That distance, not your inseam and not how tall you are, is the number that matches you to a pack.
How to Measure It
Use a soft tailor’s measuring tape that follows the curve of your back. A stiff carpenter’s tape bridges the small of your back and reads long, which can bump you a full size. A cheap cloth tape like the GDMINLO 60-inch soft tape does the job for a few dollars, and if you don’t own one, a length of string laid down your spine and then measured flat against any ruler works just as well.
Doing It Solo, No Friend Required
Every guide tells you to have a friend measure your torso, which is useless when you’re standing alone in your living room. The workaround is the wall: stand with your back flat against it, reach back and mark the height of your C7 bump and the iliac-crest line with a sticky note or a book held level, then measure between the two marks. This kills the spine-twisting error you get when you try to hold a tape behind your own back, and it gets you within a quarter inch. The Osprey demo below shows the same measurement done on a real back, which is easier to copy than any diagram.
Reading the Size Chart
Once you have a number, the bands are roughly the same across brands: Short runs about 15 to 18 inches, Medium or Regular about 18 to 21 inches, and Long about 21 to 24 inches. If your tape reads 19, you’re a Medium almost everywhere. If you land right on a border like 18 or 21, don’t guess; load both sizes and walk around the shop, because the one that puts the weight on your hips without a gap behind the shoulder straps is your size. For the full method with every edge case, here’s a complete walkthrough of measuring your torso length.

Measure Your Hips and Pick the Right Size

The hip belt is doing 80 percent of the work, so its fit matters as much as the torso number. And this is the section where you find out whether your pack is even capable of fitting you, because sometimes it isn’t.
Measuring Your Hips
Wrap the soft tape around the top of your hips, right over the iliac crest where the belt will actually ride. This is not your pant-waist size, and that trips a lot of people up; pants sit lower and softer than the bony shelf the hip belt grabs. When the belt is cinched, you want the padded wings wrapping the bone with roughly a 4 to 8 inch gap between them in front and the buckle centered near your belly button. Wings that touch in front or leave a wide gap mean the belt is the wrong size, not that you cinched it wrong.
Picking the Size When You’re Between Sizes
Borderline torso or hip numbers are a “try both” situation, not a coin flip. Load each size with real weight and walk, and watch two things: does the hip belt sit on the bone, and is there a gap behind the shoulder straps? The size that seats the belt and closes that gap wins. If you’re choosing a pack from scratch rather than fitting one you own, it’s worth slowing down over how to choose a hiking backpack that actually fits you before you spend the money.
When the Pack Is Just Wrong for Your Body
Here’s the honest part most guides skip. If you’ve cinched the padded hip belt all the way and it still slides below the bone, or there’s a gap behind the shoulder straps that no torso setting closes, the pack is wrong for you and no amount of fiddling will fix it. Forum veterans say the same thing: a belt you can’t tighten past the crest needs a smaller belt or a different pack.
This is where the suspension design matters, because the difference between an adjustable and a fixed suspension system decides whether you can re-fit the pack at all. An adjustable-torso pack like the Osprey Atmos and Aura AG 65 (men’s · women’s), built on Osprey’s Anti-Gravity suspension, lets you slide the harness to your measured length, while a cheaper fixed-torso pack at the wrong size can’t move. Gregory’s Zulu and Jade run adjustable too if you want a more budget-friendly route.
And remember that fit can’t rescue an overloaded pack: university health guidance caps a loaded pack at a fraction of your body weight, usually under a third, past which no strap setup carries comfortably.
Load It, Then Dial In the Straps (Bottom to Top)

This is the part everyone gets backward. Most people grab the shoulder straps first and crank down, then wonder why the pack still hangs off them. Lock the load onto your hips first, then fine-tune everything above it. Do it top-down and you fight gravity the whole way, and the belt never seats.
Load It First and Loosen Everything
You cannot fit an empty pack, because an empty pack has no shape and won’t sit where a real load will. Put 15 to 20 pounds inside first, then loosen every strap until the pack hangs slack on your back. Now you’re ready to tighten in order.
Fit your pack with the weight you’ll actually carry, not an empty shell. A jug of water or a couple of dumbbells stuffed in a stuff sack gets you to 15 or 20 pounds in seconds, and the fit you set will still be there once you pack for real.
Hip Belt First
Stand up straight, hike the pack so the hip belt sits on top of your iliac crest, and cinch it snug so the load locks onto the bone. The buckle should land near your belly button with the padding hugging the hip. This single step is where 80 percent of your weight gets where it belongs, so don’t rush it.
Shoulder Straps, Then Load Lifters
Now snug the shoulder straps until they hug your shoulders with no gap behind them, but don’t crank, because they’re only stabilizing. Then reach up and pull the load lifters, the short straps running from the top of the shoulder strap to the pack body, until they sit at about a 45-degree angle and draw the top of the pack toward your back. Cranked flat toward horizontal, they just lift weight back onto your shoulders, so if you’re not sure where they should sit, here’s how to set your load lifters to the right angle.
Sternum Strap Last
The sternum strap, sometimes called the chest strap, sits about an inch below your collarbone, and its only job is to keep the shoulder straps from sliding off, not to crush your chest. Snug it just enough that the straps stay put while you can still take a full, deep breath. Set it too high or too tight and it chokes you and yanks the straps into your armpits, which is the most common over-tightening mistake; a little patience here pays off, and you can fine-tune the sternum strap height until it disappears. The REI demo walks the whole sequence on a real hiker, which makes the strap angles click faster than reading them.

Why Your Pack Hurts and How to Fix Each Symptom

Your pack is telling you exactly what’s wrong; you just have to read it. This is the part competitors skip, because listing the steps is easy and troubleshooting takes real trail miles. Match your symptom to its cause below and fix it on the spot.
Sore, Aching Shoulders by Midday
Aching shoulders almost always mean the weight isn’t transferring to your hips. The usual cause is a hip belt that’s too loose, sitting too low below the crest, or a torso setting so long the belt can’t reach the bone. The fix is to re-seat the belt up onto the iliac crest, cinch it firmly, then re-snug the shoulder straps so they hug without carrying the load. Nine times out of ten the shoulders stop screaming the moment the hips take over.
Bruised Hips or a Burning, Numb Patch on Your Thigh
A bruised or pinching hip or, stranger still, a burning or numb patch on the outer front of your thigh is not normal soreness. It’s a pinched nerve. The hip belt riding too low or cinched too hard compresses a nerve known as meralgia paresthetica, which load-carriage research ties directly to rucksack hip belts.
The fix is counterintuitive, and it’s the one most people get wrong: medical guidance is to loosen, not tighten, a belt that’s compressing the nerve. Reposition the belt onto the bony crest, back it off, and lighten the load if you can. If the padding itself is digging into hot spots or pressure points, you can also mold the hip belt to take the pressure off.
That dead, tingly patch on the front of your thigh after a long day fools a lot of hikers into thinking they just sat wrong. It’s the belt pressing a nerve. Loosen the belt and move it up onto the bone before you reach for painkillers, and it usually clears within a day.
The Pack Tips or Pulls You Backward
When the pack feels like it’s tugging you over backward, your load lifters are slack or your torso is set too long. Pull the lifters until they sit near 45 degrees and draw the top of the pack in toward your shoulder blades. If they’re already cranked and the pack still pulls away, the torso length is wrong, and you’re back to the sizing question rather than a strap fix.
The Sternum Strap Chokes You
If the sternum strap is pinching your breathing or pulling the shoulder straps inward toward your armpits, it’s set too high or too tight. Drop it to about an inch below the collarbone and loosen it until you can pull a deep breath without resistance. A shoulder gap behind the straps points the other direction: the torso is set too long, while the anchor points of the straps riding low on your back mean it’s too short. And if everything is dialed and it still hurts, you may simply be carrying too much, because fit can’t fix an overloaded pack.

Re-Tweak the Fit on the Trail (As the Load and Your Body Change)

A perfect fit at the trailhead is a starting point, not a setting you lock once and forget. This is the reality nobody warns you about: by day three of a thru-hike or any long trip, the pack that felt flawless on the first morning starts bruising your hips, because your hips have fatigued and the food bag has emptied. Experienced hikers treat fit as a dial they turn all day.
Fit Changes as You Walk
Over a single day your hips tire, the food bag lightens, and you peel off or pull on layers, and every one of those shifts the fit you set this morning. A bulky midlayer you add at a windy pass changes how the hip belt sits, which is why the base layer under your hip belt changes the fit more than people expect. The move is simple: when something starts to rub or ache, stop and re-seat the belt rather than gritting through it.
Climbs, Descents, and Park and Ride
Terrain changes what you want from the fit. On a steep climb, loosen the hip belt a notch so you can bend at the waist and breathe; on a long descent, snug the load lifters so the pack doesn’t lurch forward over your head on every step down. On flat, mellow road-walks, try what long-distance hikers call park and ride: un-cinch the hip belt a touch and let your shoulders share the load for a while, giving your hip bones a rest.
Stop fighting the urge to leave the straps alone. The hikers whose backs feel fine at the end of a long day are the ones constantly loosening on the ups, snugging on the downs, and parking and riding on the flats. After enough miles it becomes automatic, and you stop even thinking about it.
Rigging a Heavy Load
The fit you set at 18 pounds on day one feels like a different pack at 35 pounds with a full food bag and four days of water. Re-rig the load lifters and re-seat the hip belt when the pack is at its heaviest, then back off the tension as the load lightens through the trip. A pack carries best when you adjust it to the weight it’s holding right now, not the weight it held this morning.
Fit Notes for Women, Kids, and Different Body Shapes

The size chart assumes an average frame, and plenty of hikers don’t match it. A women’s-specific pack isn’t a marketing color swap; the harness geometry is genuinely built for a different shape, and that same logic helps anyone whose body falls outside the standard chart.
Women’s-Specific Fit
Women’s packs generally run shorter in the torso range, use contoured S-curve shoulder straps that clear the chest instead of digging into it, and add a contoured hip belt shaped for a higher, more angled iliac crest. If a standard harness leaves a gap at the chest or the hip belt feels like it’s fighting your hips, a women’s-cut suspension often solves it in one shot, regardless of what the rest of your gear closet looks like.
Fitting Kids and Youth
Kids do best in adjustable-torso youth packs that grow with them across a couple of seasons rather than a single trip. Keep their load light, set the hip belt on the hips the same way you would your own, and check the torso each season as they shoot up. The rules don’t change for a smaller frame; they just scale down.
Body-Shape Adjustments
Broad or narrow shoulders, fuller or slimmer hips, and unusually long or short torsos all push you off the standard chart, and the answer is always the same: measure first, then ignore the label. If a women’s or youth harness fits your measured torso better than the men’s version, that’s your pack, and the reverse holds just as true. Shorter-torso hikers in particular often find a women’s or youth suspension fits them best no matter which aisle it hangs in.
Conclusion
Three things will fix almost every sore-shoulder hike. First, chase the hip belt, not the shoulder straps, because the weight is supposed to ride your hips, not hang off the top. Second, size by your torso length, not your height, and a soft tape against a wall gets you there alone. Third, treat fit as a dial you turn all day rather than a setting you lock at the trailhead.
Tonight, drop 15 to 20 pounds into your pack, stand in front of a mirror, and run the bottom-to-top sequence once. Five minutes in your living room is the difference between pain-free hiking on a properly fitted pack and a march that wrecks your shoulders by the next climb.
Frequently Asked Questions
01How should a backpack fit on your shoulders and hips?
About 80 percent of the weight should sit on your hips through the hip belt, with the shoulder straps carrying roughly 20 percent and only stabilizing the load. If your shoulders are doing the work, the hip belt is too loose or sitting too low.
02Should a backpack hip belt sit on your hips or your waist?
On your hips, right on the iliac crest, the bony shelf at the top of your hip bones, with the buckle centered near your belly button. Worn up on the soft waist like pants, the belt cannot transfer the load and tends to bruise.
03How do you measure your torso for a backpack without a friend?
Stand against a wall and mark the height of your C7 vertebra, the bump at the base of your neck, and your iliac-crest line, then measure between the two marks. A length of string run down your spine and measured flat works just as well.
04How tight should a backpack hip belt be?
Snug enough that the load locks onto your hips, but never so tight it digs in or numbs the front of your thigh. Burning or tingling on the outer thigh means the belt is compressing a nerve, so loosen it and reposition it onto the bone.
05Why does my new backpack still hurt after I adjust it?
Usually one of three things: the pack is the wrong torso size for you, you are carrying too much weight for any fit to handle, or the hip belt is sitting below the crest. Recheck the torso fit first, then your base weight.
I've spent more than a decade researching hiking gear and trail technique. I read the specs, the forum threads and the long-term reviews, and every pick here comes with what it gets wrong.
End of the trail
You read every mile of this one. Here's where the trail goes next.