

In this article
You watch it happen in real time. The rain stops beading, the shell across your shoulders goes dark and heavy where the pack straps ride, and within twenty minutes you feel clammy enough to swear the jacket is leaking.
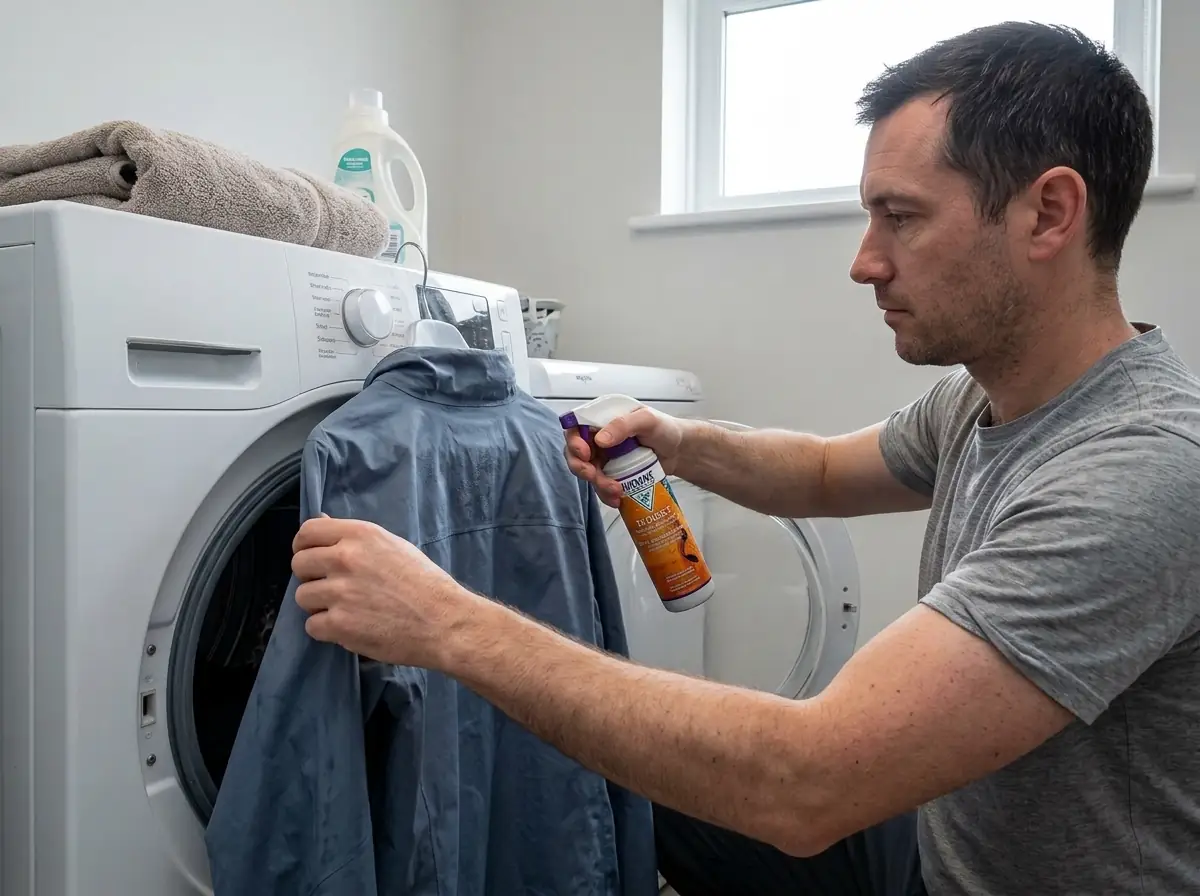
It almost certainly isn’t. What died is the durable water repellent coating on the outside of your hardshell jacket, a completely separate system from the waterproof membrane underneath, and the fix to restore DWR starts with something you already own instead of something you buy. Test it, wash it right, heat it, and only then reach for a bottle. Most jackets never make it to step four.
What DWR Actually Is (And Why Your Jacket Isn’t Leaking)
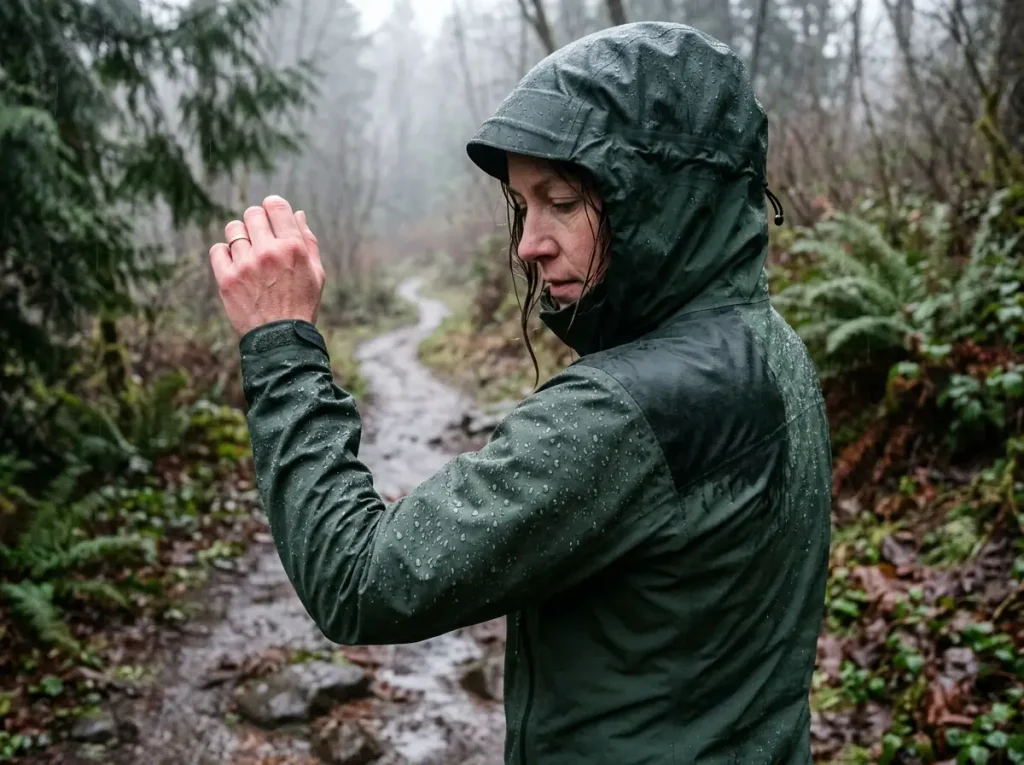
Your jacket is fine. The coating on the outside quit, and those are two different problems with only one of them sitting in front of you today.
DWR is not a skin stretched over the fabric. It’s a treatment bonded to individual fibers, and it works by raising the contact angle of water so a droplet domes up into a bead instead of flattening out across the weave. When it wears off, water spreads flat and the outer fabric goes saturated, which is the part everybody misreads.
The waterproof breathable membrane sitting underneath is a separate system entirely, and it doesn’t care what the outside of your jacket looks like. A shell with completely dead DWR is exactly as waterproof as it was on the shop floor, and as Gore-Tex explains, restoring DWR never changes your jacket’s actual waterproof rating. If you want the vocabulary behind that number, here’s what a waterproof rating actually measures in plain terms.
How Water Beading Actually Works
Water beading is a surface tension argument, and DWR wins it by making the fiber surface hostile enough that a droplet would rather hold itself together than spread out. Beads roll off. Flat water sits.
That also makes DWR the sacrificial layer by design. It takes every pack strap rub, every brush against wet scrub, every wash cycle, and it is built to fail first so the membrane behind it doesn’t have to. Every jacket you will ever own loses its DWR before anything else goes wrong.
Wetting Out vs. Leaking — Telling Them Apart
Wetting out is the word REI, Gore-Tex and forum posters all use for the same thing: the face fabric saturating and turning dark and heavy. It is not leaking. Learn the word now, because the rest of this article leans on it.
Here’s what wetting out actually costs you, and it isn’t dryness. A saturated face fabric blocks water vapor from escaping, so the sweat you’re producing under the shell has nowhere to go. You get damp from the inside, feel cold, and reach the trailhead convinced the jacket failed. The clammy feeling is a breathability problem wearing a waterproofing problem’s costume.
If you genuinely can’t tell whether you’re wet from rain or from yourself, check your sleeves at the wrist against your chest. Rain that beat the membrane comes in at seams, zips and cuffs first. Sweat that couldn’t escape shows up evenly across your torso, warmest where your pack sat.
The 60-Second Test That Tells You What You’re Fixing
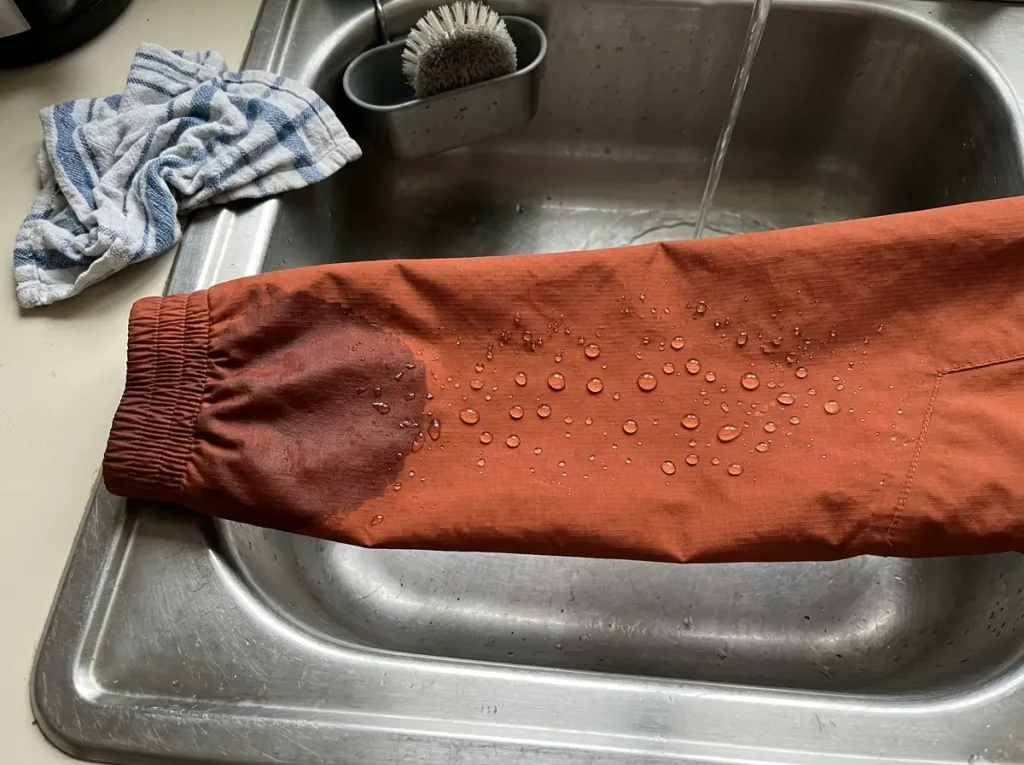
Everyone skips straight to buying spray. Do the test first, because it takes a minute at the kitchen sink and it tells you whether you need a wash, a dryer cycle, a bottle, or a new jacket. That’s four very different Saturdays.
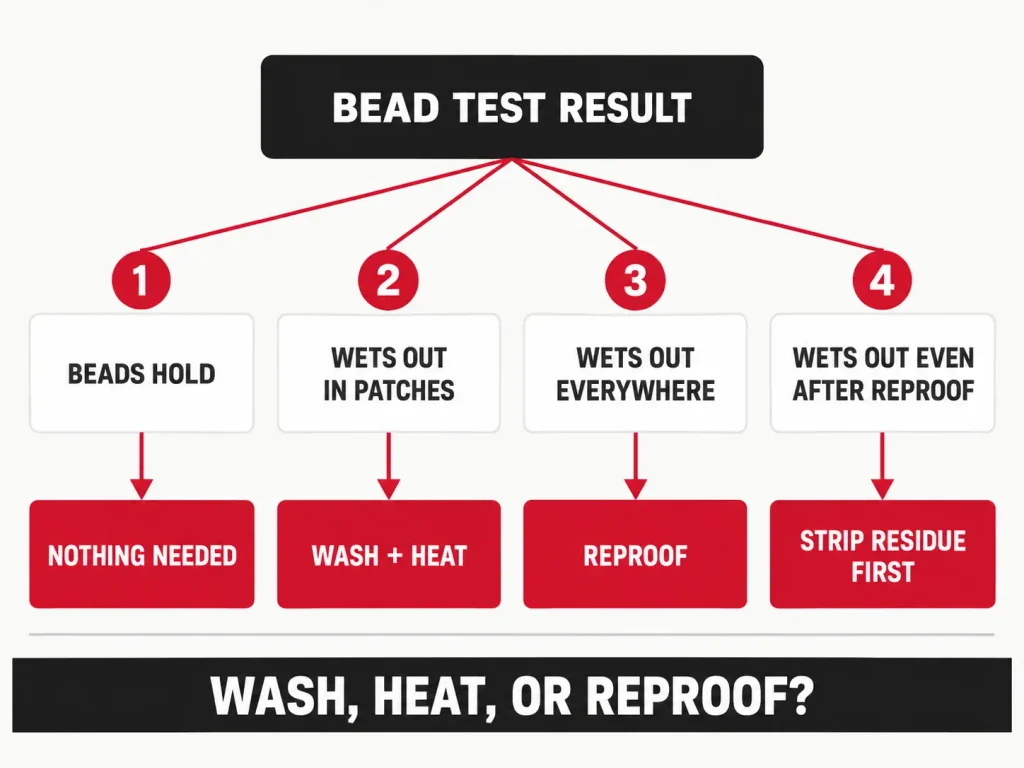
This water resistance test needs nothing you don’t already have. Lay the shell flat and sprinkle water across it, not a soaking, just a handful flicked on. Beads that hold their shape mean the DWR is alive and your problem is somewhere else. Beads that flatten, spread and darken the fabric mean you’re watching it wet out in front of you.
A spray bottle test works just as well if you’d rather not carry a dripping jacket to the sink. Same reading either way: you’re watching what the water does in the first thirty seconds.
Running the Bead Test
Do it by zone, not all at once. Shoulders under the pack straps, then the cuffs, then the collar, then a clean panel across the back. Sprinkle each one separately and give each thirty seconds before you move on.
You’re not checking a pass or a fail. You’re mapping where the coating is gone, and a jacket almost never loses it evenly.
Reading Where It Failed — Cuffs vs. Everywhere
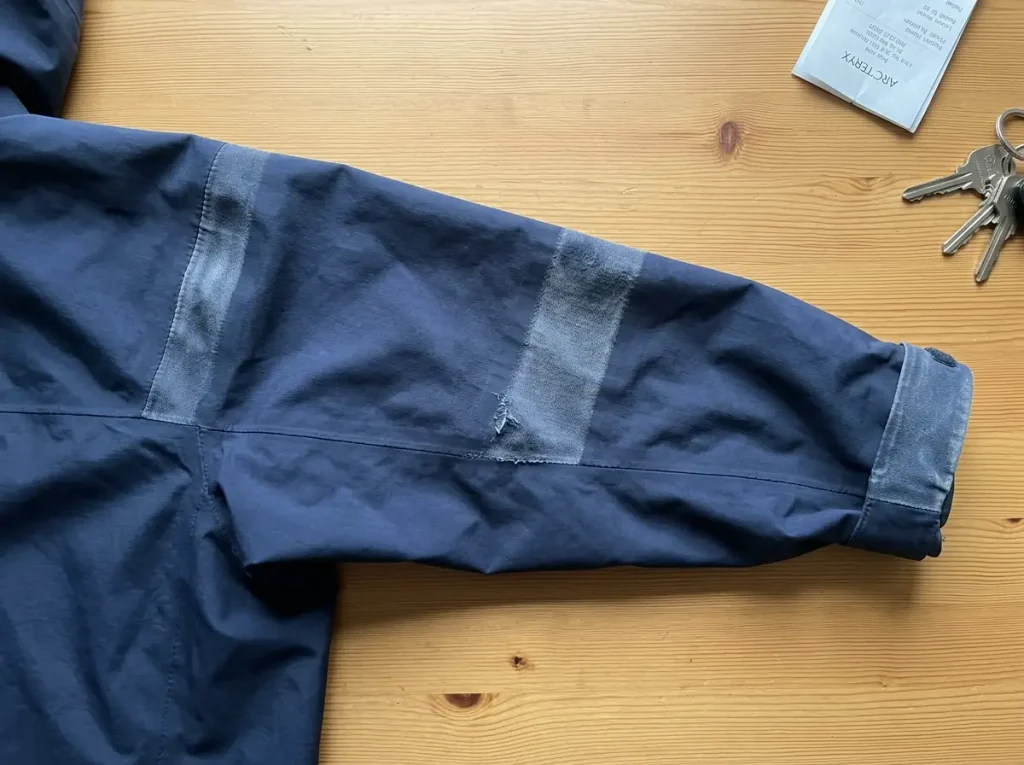
This is where most guides stop, and it’s the part that saves you money. A jacket that beads fine across the back but wets out at the cuffs and collar first is telling you an abrasion story. Those are the high-wear areas where pack straps grind, your hands push through brush and your chin rubs the collar all day. REI calls the worn-off patches bald spots, which is still the clearest word anybody has for it.
A jacket that wets out everywhere at once, especially right after a wash, is telling you a completely different story: residue. Something coated the fabric uniformly, and no amount of spray fixes that until the film is gone.
Those two failures need two different responses. Abrasion means the coating is physically worn away and a targeted reapplication on the bald spots handles it. Uniform failure means you wash first and probably need nothing else.
Test by zone and you stop yourself from reproofing a jacket that just needed cleaning. If you fail every zone even after a full correct wash, heat cycle and reproof, you’re into different territory, and these three tests that tell you whether a shell is actually finished are the honest next read.
Why Your Detergent Quietly Ruined the Coating
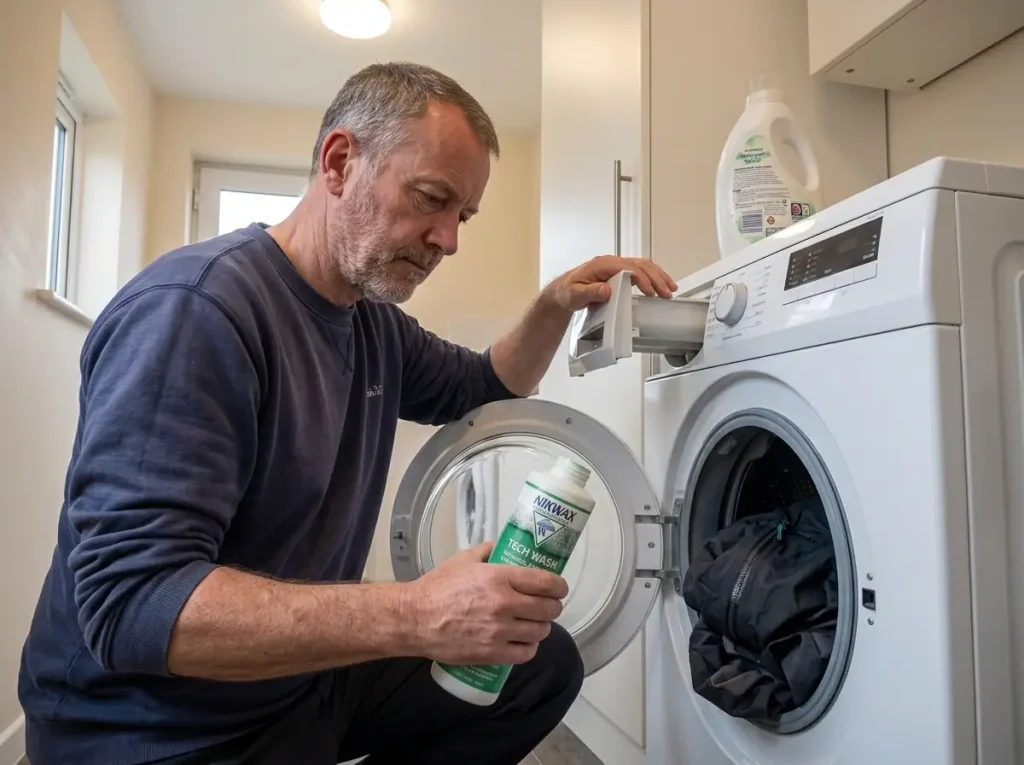
Your $300 shell isn’t broken. It did a load of laundry with your regular clothes, and that is the single most common reason a correctly applied DWR treatment does absolutely nothing.
The mechanism is almost comically direct once you see it. DWR works by raising surface tension at the fiber so water can’t spread. Most household detergents do the opposite on purpose, because lowering surface tension is how a detergent gets water into fabric to lift dirt out. Fabric softener goes further and deposits a thin lubricating film across every fiber, which is exactly the effect you paid for in your towels and exactly the effect that ruins a technical shell.
That film does two separate pieces of damage, and people usually only notice the first. It cancels the beading directly, because now the fiber surface is friendly to water again. But it also physically occupies the bonding sites the new DWR needs.
Reproof over residue and the treatment has nowhere to attach. It rinses off, dries out, and leaves you with a bottle you’re convinced was defective.
That’s the forum pattern that comes up over and over: someone buys the spray, reads the instructions properly, applies it exactly as written, gets zero beading, and concludes the product was junk. The product was fine. The jacket was still wearing last month’s softener. And REI’s own DWR care guide confirms the wash-then-heat sequence is the first fix, not a new spray, which is the whole reason additive-free technical washes exist as a product category at all.
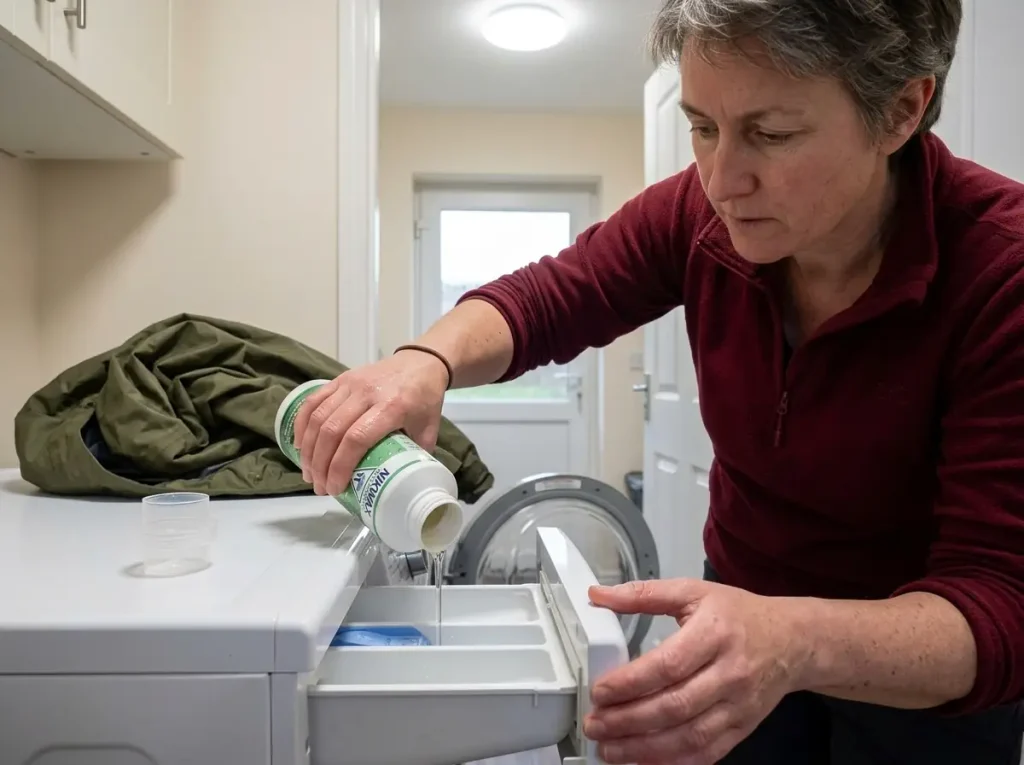
Practitioners treat a tech wash additive-free formula as the mandatory first purchase of any DWR project, not an upsell tacked onto the spray. The Nikwax Tech Wash is doing exactly one job: cleaning the garment without leaving anything behind that a new coating would have to bond through. It’s budget-friendly, and skipping it is how people waste the cost of the treatment three times over.
One more thing nobody warns you about: fabric softener residue hides inside detergents. Anything sold on scent, anything with softener built into the formula, anything labeled as a two-in-one, is the same problem in a different bottle. You may have never poured softener on that jacket and still have softener all over it.
Some hikers run an empty hot cycle with white vinegar before washing a shell, on the theory that it strips softener out of the drum. It’s an anecdotal trick rather than a manufacturer-backed step, but a plain empty rinse cycle costs you nothing and does the same basic job: it gets the residue out of the machine instead of onto your jacket.
Wash It Right — The Step That Fixes Most Jackets
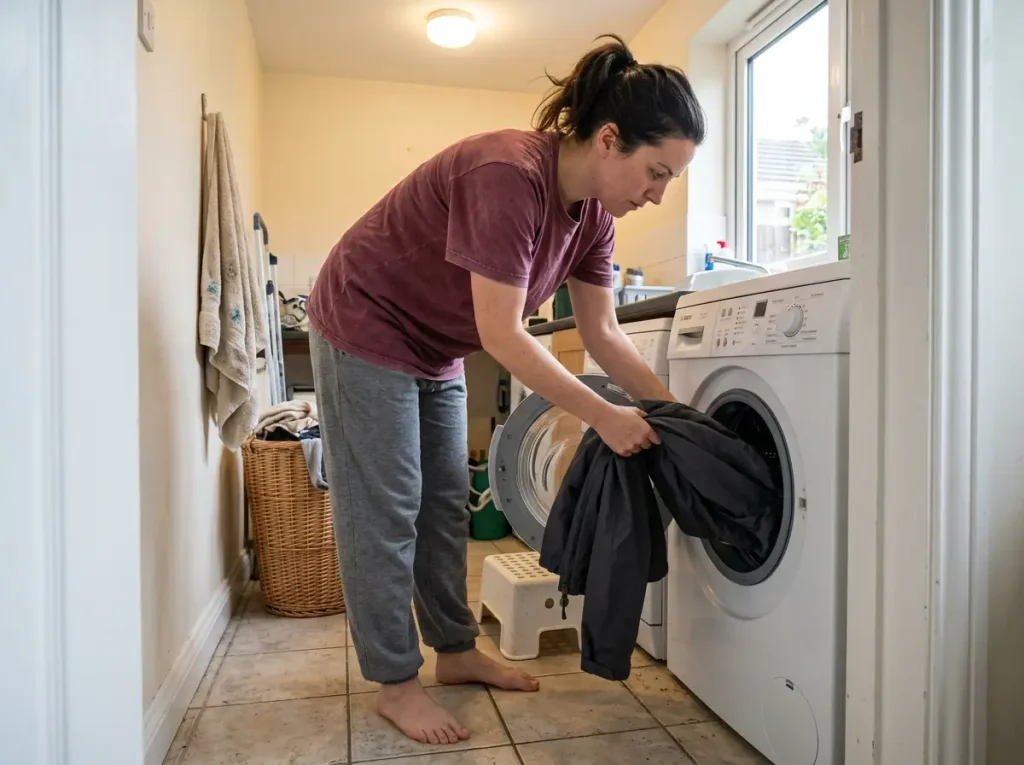
Most people fall into one of two camps, and both are wrong in the same direction. Half never wash the shell at all, because washing supposedly ruins technical fabric. The other half wash it like a t-shirt. The jacket that never gets washed is the one that fails soonest.
Dirt, sweat and skin oils are themselves a wetting agent. They hold water against the fabric and defeat the beading even when the coating underneath is perfectly intact. A shell that wets out very often just needs cleaning, which is the reason the wash step outranks the spray step.
Start with the machine, not the jacket. If that drum has ever seen fabric softener, run an empty cycle first, because detergent residue lives in the machine and transfers straight onto whatever goes in next. Then zip the jacket fully, close the storm flaps, loosen the cuff tabs so water moves freely, and wash it alone with an additive-free technical cleaner. No bleach, no softener, no exceptions.
Machine type matters more than people expect. A top-loading washer with a center agitator drags garments against a hard plastic post for the whole cycle, and taped seams suffer first. Agitator damage on a shell shows up as lifted seam tape long before the fabric itself gives out.
A front-loading washer tumbles instead of grinding, and a careful hand wash is gentler still. If you want it broken down in full, the full wash routine for a Gore-Tex shell covers the temperature and cycle settings.
One account from the Backpacking Light forums is worth sitting with: a hiker reported softshell pants losing their repellency after roughly three washes and ten wears, having hand washed and line dried them the whole time. Doing the careful thing is not the same as doing the complete thing. Every one of those washes happened without heat afterward, which brings us to the step that actually finishes the job.
Heat Is the Step Everyone Skips
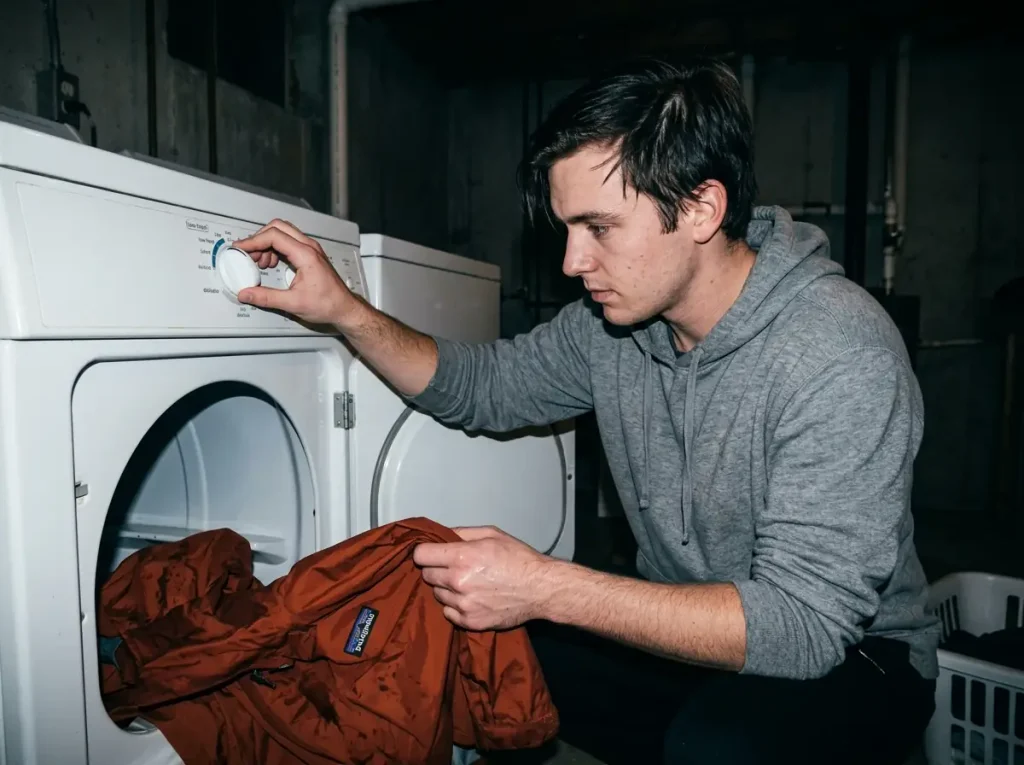
This is the one that feels wrong. You just hand-washed a technical jacket you paid real money for, and the next instruction is to put it in a clothes dryer. Every instinct says that’s how you wreck it. Twenty minutes on low is exactly what the manufacturer wants, and it fixes more jackets than every bottle on the shelf combined.
Understand what heat is doing and the fear goes away. Factory DWR stands the fibers up, and wear, pressure and washing lay them flat. Flattened fibers don’t bead water.
Heat reactivation stands them back up. Nothing is being added and nothing is being consumed. The original coating is still there, and you are resetting it.
The Twenty-Minute Dryer Cycle
Twenty minutes, low to medium heat, jacket alone in the drum. Beading usually returns while the jacket is still warm, and if it doesn’t come back at all, that’s a real diagnostic result telling you the coating has worn off rather than flattened.
Do this after every wash, not only after a failure. Tumble dry low heat as a standing habit is what keeps most shells from ever reaching the stage where you’re reading an article like this one.
No Dryer? Use a Warm Iron Instead
No dryer is not a dead end, and it isn’t a compromise either. Both REI and Gore-Tex give the warm iron method verbatim as an equivalent path. Set the iron to warm, turn the steam off completely, lay a thin towel or a cotton cloth between the iron and the face fabric, and work across the garment in slow passes.
The cloth barrier is not optional, and it’s the part people skip. Direct iron on a face fabric or a laminate is how you get a shiny melted patch that no treatment will ever fix. With the barrier in place you get the same reactivation as the dryer, on the same timeline.
That matters more than it sounds. A thru-hiker doing laundry in a trail town, anyone using a laundromat with broken dryers, or an owner whose care label says line dry only all have a real option here instead of a shrug.
When Heat Is the Wrong Move
Read the jacket care instructions before any heat, every time. Two categories come up constantly as the check-first cases: down-insulated garments, where a liner or baffle construction changes the rules entirely, and pieces with taped trim or bonded detailing that can loosen under heat. If the tag says no tumble dry, believe it and go to the iron with the barrier.
Also be honest about what heat can and can’t do. One forum poster assumed the dryer alone would bring life back to the coating every single time, indefinitely. It won’t.
Heat resets a coating that is still on the fabric. It cannot restore one that has physically worn away, and that distinction is the fork in the road for everything below.
Toss a couple of clean dry towels in with the shell for the dryer cycle. They keep the jacket moving instead of balling up against the drum wall, which means the heat actually reaches the whole garment rather than just the outside of a wet knot.
When You Actually Need to Reproof (And What to Use)
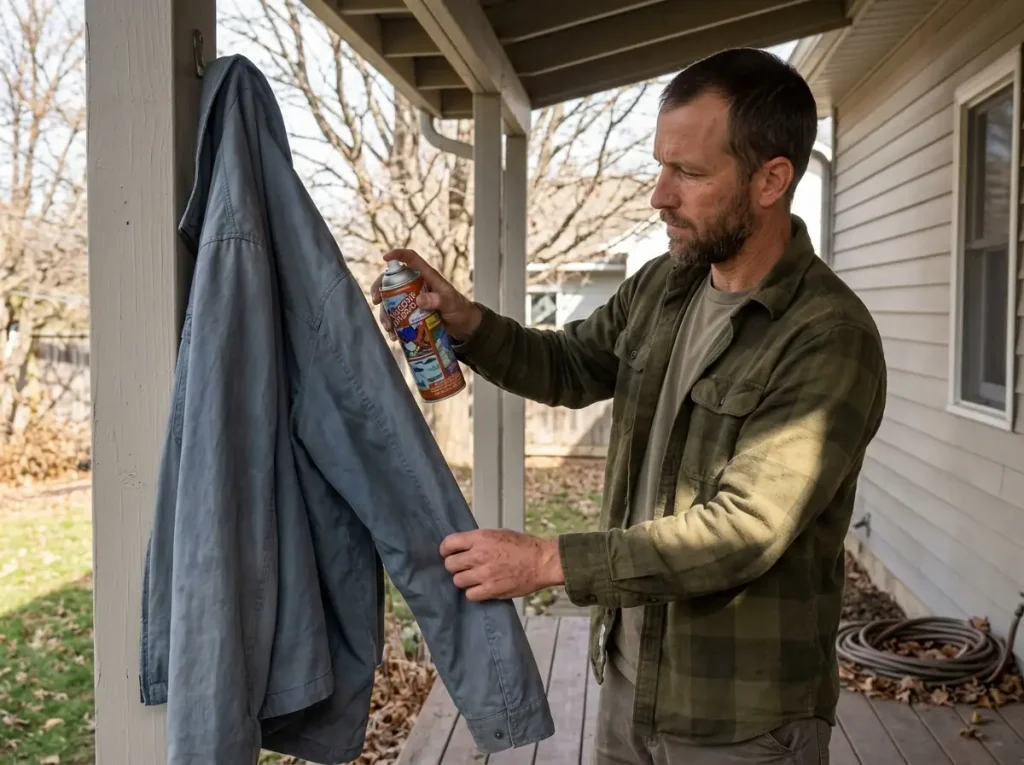
Reproofing is where the entire internet starts, and it should be the last thing you do. But when the coating is genuinely gone, bald spots at the cuffs with nothing left to reactivate, a bottle is the only honest answer.
The tell is clean: you washed correctly with a technical cleaner, you applied heat, and the fabric still soaks in. That sequence rules out residue and rules out flattening, which leaves worn-away coating as the remaining explanation. Before you spend, it’s worth a minute on how the pieces of a rain system fit together, because whether this shell is worth maintaining depends on what job it does in your kit.
Wash-In or Spray-On — Which One You Need
The real trade-off is thoroughness against breathability. Wash-in DWR goes through the machine with the garment and coats everything: outer face, awkward seams, the spots your hand would never reach with a spray. It also treats the interior fabric, which slightly affects how the inside wicks moisture off your baselayer.
Spray-on DWR touches only the exterior, leaving interior wicking untouched. That’s why it’s the manufacturer-preferred method for most technical shells, and Gore-Tex’s own guidance on wash-in versus spray-on treatments spells out the same trade-off.
Practical read: wash-in for a first full reproofing or a jacket with complicated seam geometry, spray-on for a high-output shell or a targeted patch on the bald spots. The Nikwax TX.Direct Wash-In is the standard PFAS-free wash-in pick at 300ml, and community consensus treats it as the better value per treatment because it lasts longer between reapplications. The Nikwax TX.Direct Spray-On is the same chemistry in the exterior-only format.
What’s Actually in the Bottle
Any waterproofing spray you pick up belongs to one of three chemistry families, and they are not interchangeable. Fluorocarbon DWR resists oil and dirt best, which matters because skin oils are a wetting agent. Silicone-based formulas lean harder on pure water repellency and give up some oil resistance, and hydrocarbon-based sits in between.
Brands have been quietly reformulating toward PFC-free DWR, so the bottle you bought two years ago may not be the same product under the same label. Check the spec, don’t assume continuity.
For a second brand when Nikwax isn’t on the shelf, the GEAR AID Revivex DWR Spray + Wash-In covers both application methods in one 10 oz bottle. Users repeatedly name Grangers and Revivex as real Nikwax competitors rather than knockoffs, with Grangers reported stronger on synthetic blends specifically. The Grangers Performance Repel Plus refill pouch is the budget-friendly way into that, since the pouch costs less per ounce than a new trigger bottle.
For gear beyond rain shells, boots and packs where breathability isn’t the point, the silicone family is worth knowing. Atsko has sold this chemistry under the Permanent Water-Guard name for decades, and the current Atsko Silicone Water-Guard two-pack is the budget option in it. The aerosol handles textured surfaces like nubuck better than a pump spray does.
Whichever you pick, apply it to a clean, damp garment and then heat-set it. Reproofing without the heat step is half a job.
How Many Times Can You Actually Restore DWR
Brand pages imply this goes on forever. It doesn’t, and you deserve the real answer before you buy a third bottle for a jacket that’s already finished.
There is no fixed number of reproofings, and anyone who hands you one is making it up. The ceiling isn’t a count, it’s the condition of the fabric underneath. Reapplication stops producing results when one of three things happens: the face fabric is abraded through so there’s no intact surface to bond to, the laminate starts separating from the face fabric, or the fibers are so loaded with years of oils and residue that washing genuinely can’t strip them anymore.
Delamination is the one that ends the conversation. A regular-use shell is commonly cited around a four-year functional lifespan before that becomes the story, and at that point your problem isn’t the DWR at all. No treatment touches a membrane that’s peeling. If you’re wondering which construction gives up first, which shells give up first and why gets into the ultralight-versus-durable trade directly.
The ceiling can also arrive far earlier than four years, and that’s the part the marketing never mentions. That Backpacking Light account of softshell pants losing their repellency after roughly three washes and ten wears is a real data point against the idea that this is infinitely repeatable. Lower-grade fabric with a lower-grade factory coating simply has less to work with, and once the fiber surface itself is compromised, you’re adding treatment to something that can’t hold it.
There’s also a diminishing-returns curve nobody puts a number on, because nobody can. Each cycle of wash, heat and reproof tends to hold for a shorter stretch than the one before it, since the abrasion that wore the first coating off keeps working on the fabric underneath. The interval shrinking is the signal, not the failure itself. When a reproof that used to last a season starts fading in six weeks, you have your answer without needing to count anything.
Here’s the part worth saying plainly: reproofed DWR never quite matches the factory-fresh water repellency the jacket had in the shop. It works. It beads. It buys you real seasons of use.
It just doesn’t behave the way it did new, and expecting that is how people end up disappointed with a product that performed exactly as intended. At some point the calculus flips and you’re maintaining a jacket instead of using one. Recognizing that moment honestly is worth more than another bottle.
Keeping DWR Alive Longer Than Your Last Jacket
Everything above is repair. This is the part that means you don’t do it again in three months. And there’s one piece here that genuinely surprises people: if your shell is new, it needs looking after more often than the old one did, not less.
Why Your Newer Jacket Needs More Care
PFAS-free DWR is less durable than the fluorocarbon chemistry it replaced. Brands say so openly, because the whole point of the switch was chemical footprint rather than performance, and the EPA’s own work on PFAS use in textile manufacturing is the regulatory pressure behind it. The old C6 and C8 formulas were exceptional at shedding oil and dirt, and that oil resistance is precisely what the newer formulas trade away first.
The practical consequence runs against everything intuition suggests. Your 2024-or-newer shell is higher-maintenance than the jacket it replaced. Most owners assume newer means better performing and treat the new one more casually, which is exactly backward and a good part of why “my brand new jacket already wets out” is such a common complaint.
None of this makes the newer chemistry bad gear. It means the care schedule you got away with on your old shell will underserve this one.
A Maintenance Cadence That Actually Holds
Numbers help more than instinct here. Manufacturers generally point at every 3 to 6 months of regular use, and real-world intervals land closer to 6 to 12 months depending on how hard you use the thing. For PFAS-free coatings, recent testing points at reapplying every 15 to 20 washes, which is a much tighter interval than most people run.
Wash more often than feels right. That’s the whole cadence in one line. Dirt and skin oils are the primary cause of wetting out, so the jacket that never gets cleaned is the one that fails fastest, and the wash-plus-heat cycle costs you an hour and no product beyond the tech wash. If you want it structured, a full care schedule built around PFAS-free shells turns this into an actual calendar.
Target the abrasion zones between full treatments. Shoulders under the pack straps, cuffs, collar. A spray-on touch-up on the bald spots takes ten minutes and delays a full reproofing by months.
And store the shell clean and hung, not stuffed in the bottom of a pack all winter, where compressed folds flatten the coating and trapped grime works into the fiber. The same thinking carries across the same care logic across the rest of your hiking layers, because a fleece or a pair of softshell pants fails for identical reasons.
Tie the wash to a trigger instead of a calendar. Every shoulder season changeover, or every time you pull the shell out of storage, run the wash and the twenty-minute dryer cycle whether or not it looks like it needs it. Nobody remembers a date on a spreadsheet. Everybody remembers digging the rain jacket out in October.
The Short Version
Test before you buy anything. The bead test costs one minute at the sink and it tells you whether you’re facing a wash, a dryer cycle, a bottle, or a replacement.
Wash and heat fix most jackets, and reproofing is the fourth step rather than the first. Skip the technical cleaner and the treatment fails outright over residue, no matter which brand you bought.
Newer PFAS-free shells need more maintenance than the jacket they replaced, not less. Build the cadence in now, while the coating is still healthy, instead of rebuilding it after the next failure.
Next time the rain stops beading on the trail, run the test before you assume anything about the jacket. Most shells that look finished are three steps away from working again.
Frequently Asked Questions
01Can you restore DWR without buying any special products?
Often, yes. If the factory coating is still on the fabric and just flattened, a wash with an additive-free cleaner followed by 20 minutes of low heat reactivates it with no new product. You only need a treatment once the coating has physically worn off.
02Why doesn’t my new DWR spray work?
Almost always detergent or fabric-softener residue on the fabric. That film blocks the new coating from bonding to the fiber, so the treatment never takes. Wash with a technical cleaner first, then reapply and heat-set it.
03How often should you reapply DWR treatment?
Manufacturers generally say every 3 to 6 months of regular use, and real-world intervals run closer to 6 to 12 months. PFAS-free coatings need it sooner, with some testing pointing to every 15 to 20 washes.
04Is wash-in or spray-on DWR better?
Wash-in coats the entire garment evenly, including seams, which makes it the safer choice for a full reproofing. Spray-on treats only the outside and preserves interior breathability, which is why most technical shells are best served by it.
05Can you restore DWR on a jacket that is completely worn out?
Not if the face fabric is abraded through or the laminate is separating. At that point the problem is not the DWR. A shell past roughly four years of regular use that fails after a correct wash, heat and reproof is telling you it is finished.
Risk Disclaimer: Hiking, trekking, backpacking, and all related outdoor activities involve inherent
risks which may result in serious injury, illness, or death. The information provided on The Hiking Tribe is for
educational and informational purposes only. While we strive for accuracy, information on trails, gear, techniques,
and safety is not a substitute for your own best judgment and thorough preparation. Trail conditions, weather, and
other environmental factors change rapidly and may differ from what is described on this site. Always check with
official sources like park services for the most current alerts and conditions. Never undertake a hike beyond your
abilities and always be prepared for the unexpected. By using this website, you agree that you are solely
responsible for your own safety. Any reliance you place on our content is strictly at your own risk, and you assume
all liability for your actions and decisions in the outdoors. The Hiking Tribe and its authors will not be held
liable for any injury, damage, or loss sustained in connection with the use of the information herein.
Affiliate Disclosure: We are a participant in the Amazon Services LLC Associates Program, an
affiliate advertising program designed to provide a means for us to earn advertising fees by advertising and linking
to Amazon.com. As an Amazon Associate, we earn from qualifying purchases. We are also an official affiliate partner
of Black Diamond Equipment via the AvantLink network. If you click on a Black Diamond affiliate link and make a
purchase, we may earn a commission at no additional cost to you. We also participate in other affiliate programs and
may receive a commission on products purchased through our links. Additional terms are found in the terms of
service.









Greetings! Best instructions I have seen in restoring DWR. I would like to suggest one more detail from years of caring for way too many WBP garments – Before you washing the WPB garment, clean your washing machine! Use your technical cleaner with nothing in the washer. As you explained, technical cleaners remove oily residue from the garment, and are excellent in removing residue/ softener out of the washer, that can contaminate your DWR garment.
Early on, I had terrible success in cleaning my DWR garments because I never thought about how much fabric softener my wife would use in regular laundry. Cleaning the washer first solved the problem. In an empty washer, I run a heavy dose of technical wash, HOT water on a heavy cleaning cycle. Warm rinse. Then I run another rinse cycle to make sure the washer is truly clean. Then I add the garments and wash them according to the tech wash instructions.
Overkill? Maybe. but it solved a problem for me years ago and I haven’t looked back.