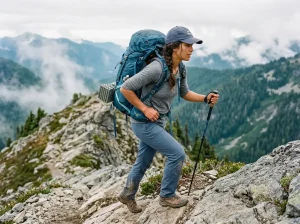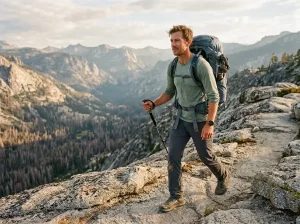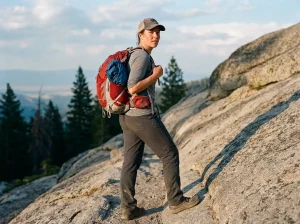



















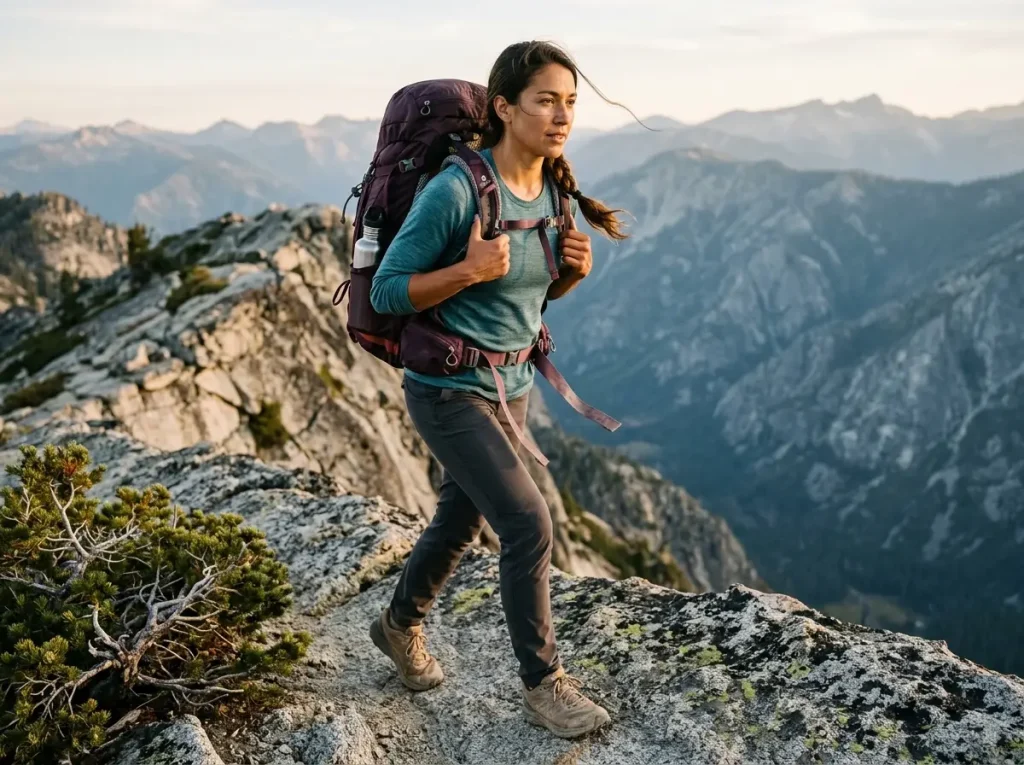
You tried the pack on in the store, walked a lap around the gear floor, and it felt fine. Two miles into the real trail it is knifing into your shoulders and the hipbelt has crept up onto your stomach. Ask anyone who has worked a gear return counter and the pattern is always the same: the pack did not fail, it was never loaded and walked before someone bought it. The fix starts with sizing a women’s hiking backpack to your actual torso and your actual trips, not to the gender on the tag, and if you want the broad version first, our complete guide to choosing a hiking backpack without wasting money covers the all-around basics before you narrow it down here. Here is the short version, sorted by the trip you are packing for.
| Pack | Best For | Capacity | Fit |
|---|---|---|---|
| Osprey Tempest 20 | Day hikes | 20 L | Women’s S-curve |
| Deuter Trail 28 SL | Big days & light overnights | 28 L | Women’s SL (slim) |
| Gregory Maven 55 | Lightweight overnights | 55 L | Adjustable women’s torso |
| Osprey Aura AG 65 | Multi-day trips | 65 L | Women’s Anti-Gravity |
| Granite Gear Crown3 60 | Ultralight value | 60 L | Unisex, long-torso friendly |
| ZOMAKE 25L | Budget day hikes | 25 L | Unisex packable |
Why a Women’s Hiking Backpack Actually Fits Better (and When It Doesn’t)
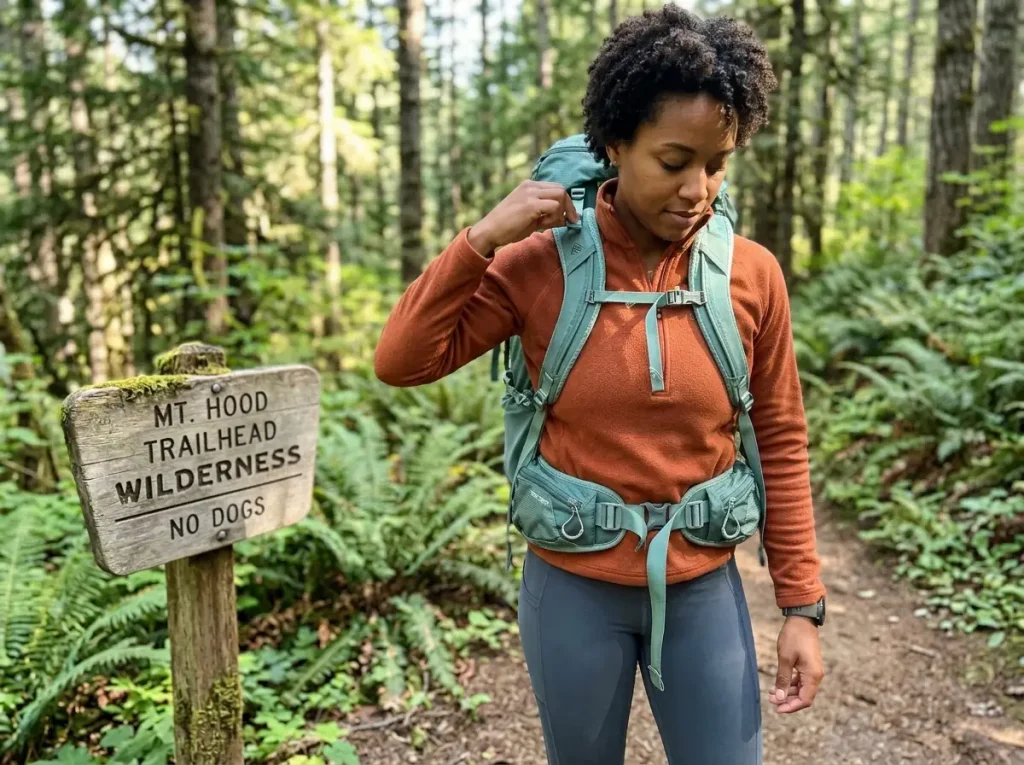
Catalog copy makes “women’s” sound like a marketing sticker slapped on a smaller pack in a different color. It is not. A true women’s-specific pack changes three things about the harness, and once you feel the difference on a loaded climb, you stop wondering whether it was a gimmick.
What “women’s” actually changes
The headline change is the S-curved shoulder straps. A straight unisex or men’s strap runs in a J shape that, as fit guides at Outside Online put it, often lands in the middle of the breast and squashes it. The S-curve routes the strap around the breast instead of across it. The second change is the hipbelt: women’s belts flare upward and sit at an angle to match wider hips, and they tend to run wider and more padded so the load stays put. The third is the back panel itself, built for a shorter, narrower torso length range. None of that is cosmetic. It is the difference between a pack that disappears on your back and one you fight all day.
The honest part: it’s your frame, not your gender
Here is the line most roundups skip. Women’s-specific is a preference, not a mandate. The real variable is your torso length and your hip shape, not the gender printed on the label. A tall woman with a long torso often fits a unisex pack better than a short women’s frame, and a narrow-shouldered man sometimes fits a women’s model. Gear testers at OutdoorGearLab say the same thing outright: some women simply carry a unisex pack better, and the tag is not the deciding factor. If you remember one thing from this whole guide, make it that. You are fitting a frame to a body, not shopping by category.
Who should skip a women’s-specific pack
If your measured torso lands at the long end, past about 19 inches, you may find women’s frames top out before they fit you, and a unisex pack with a taller frame will carry better. Same story if your hips are narrow and a flared women’s belt gaps at the bottom. The reverse trap is just as common. Plenty of hikers assume “women’s” means “smaller” and size down, then a long torso leaves the hipbelt floating above the hip bones where it carries nothing. The same rule runs in both directions, whether you are petite with a short torso or shopping plus size for a belt that wraps wider hips: fit the measurement, not the label. Measure first, then decide, and if you want the deeper skill background, the skills that go into choosing a backpacking pack walks through the rest.
How to Find Your Size — Torso Length and the Loaded Fit Test
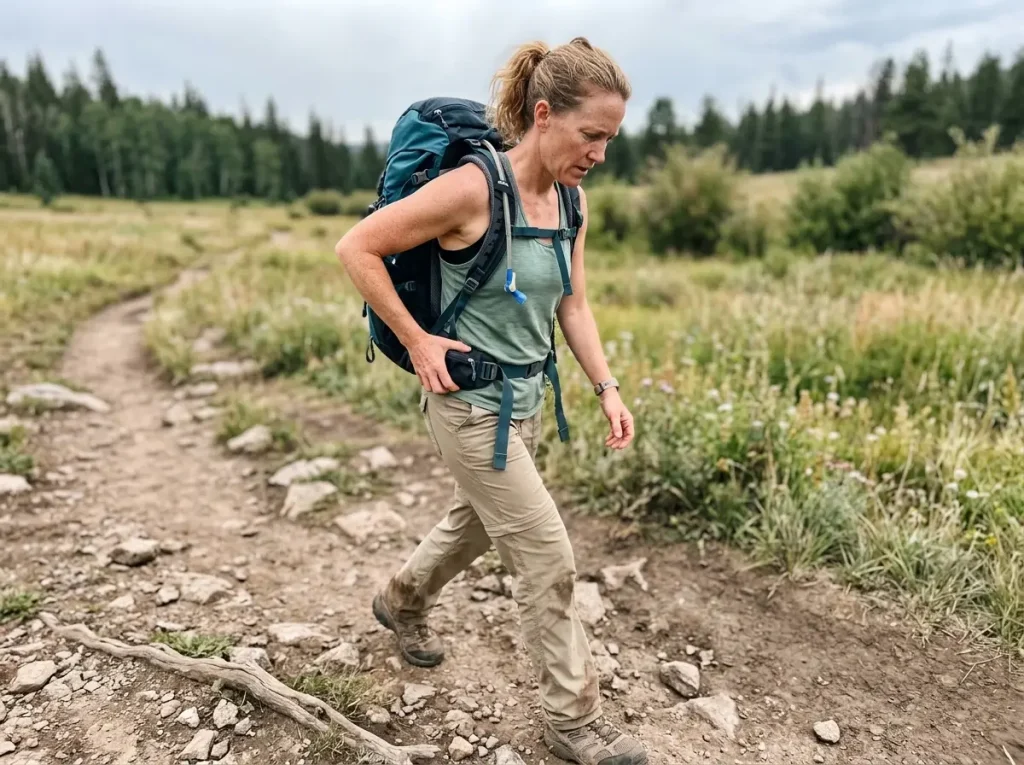
Two hikers who are both five foot four can need different pack sizes. Height lies. The tape measure between two bony landmarks tells the truth, and the walk around the block tells the rest.
Measure your torso, not your height
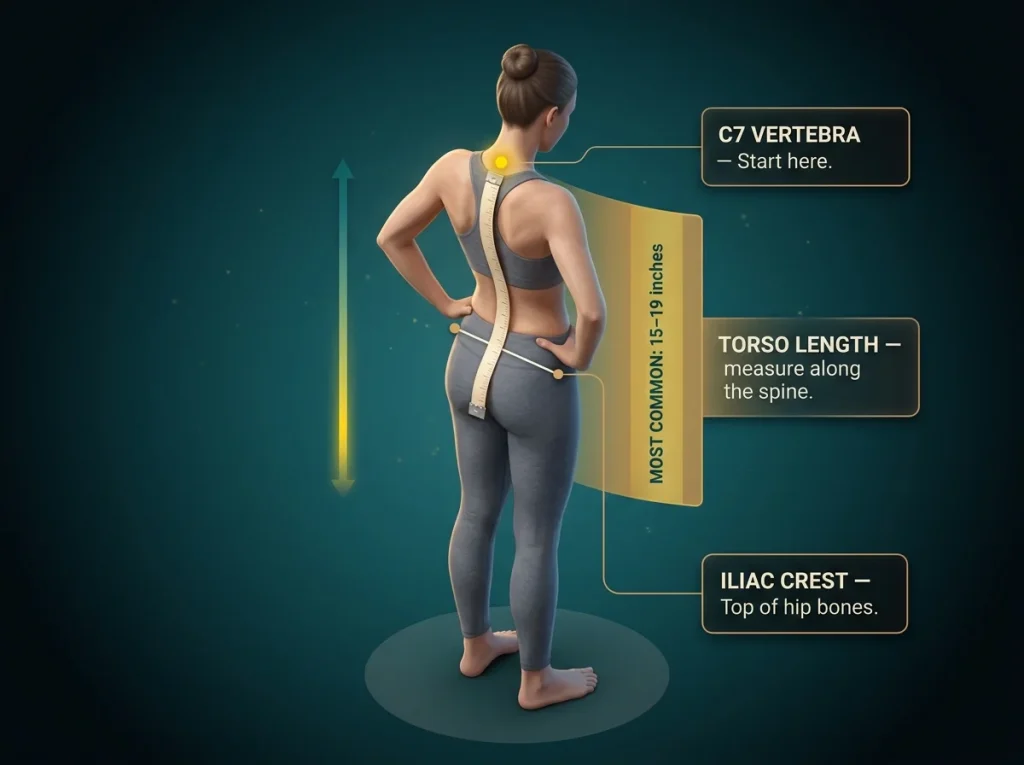
Find your C7 vertebra first. Tilt your head forward and feel for the bony bump where the slope of your shoulders meets your neck. That is the top. The bottom is the imaginary line between your thumbs when you press them into your iliac crest, the top of your hip bones, with your hands on your hips. Measure the distance along the curve of your spine between those two points and you have your torso length. Most people land between 15 and 19 inches, with the full range running roughly 14 to 21. If you measure at the edges of that band, that is exactly when a women’s-specific or an adjustable-torso pack earns its money. For a step-by-step version you can do alone with a mirror, here is a full walk-through of measuring your torso length solo.
The loaded fit test: why an empty pack lies
Measuring gets you to the right size range. It does not tell you the pack actually carries for you. An empty pack lies. It feels great on the showroom rack and reveals nothing, because the fit problems only show up under real weight. Load the pack to 15 or 20 pounds, cinch it down properly, and walk for a solid ten minutes before you trust it. That is when the strap dig shows up, when a hotspot starts burning on your shoulder blade, when the belt slowly creeps off your hips and starts riding on your stomach. Most stores have sandbags for exactly this. Use them. After the test, if the load still is not sitting right, dial in the full fit so the pack stops hurting before you blame the pack itself.
When you load a pack for the test, put the weight low and against your back, not floating up high. A pack that fits beautifully with a sleeping bag jammed at the bottom and nothing up top will feel like a totally different animal once you pack it the way you actually pack it. Test it loaded the way you hike.
Where the hipbelt should actually sit
The single most common fit error is a belt in the wrong place. The hipbelt has to wrap the iliac crest, the bony shelf of your hips, not your soft waist above it and not your stomach below it. It needs to bite the bone to carry weight. If it sits too low, you get that “riding on your stomach” feeling and the load drags on your shoulders instead. To raise the belt, tighten your shoulder straps and it lifts; to lower it, loosen them. Get the belt on the bone first, then fine-tune everything else around it.
What Capacity You Actually Need by Trip Type
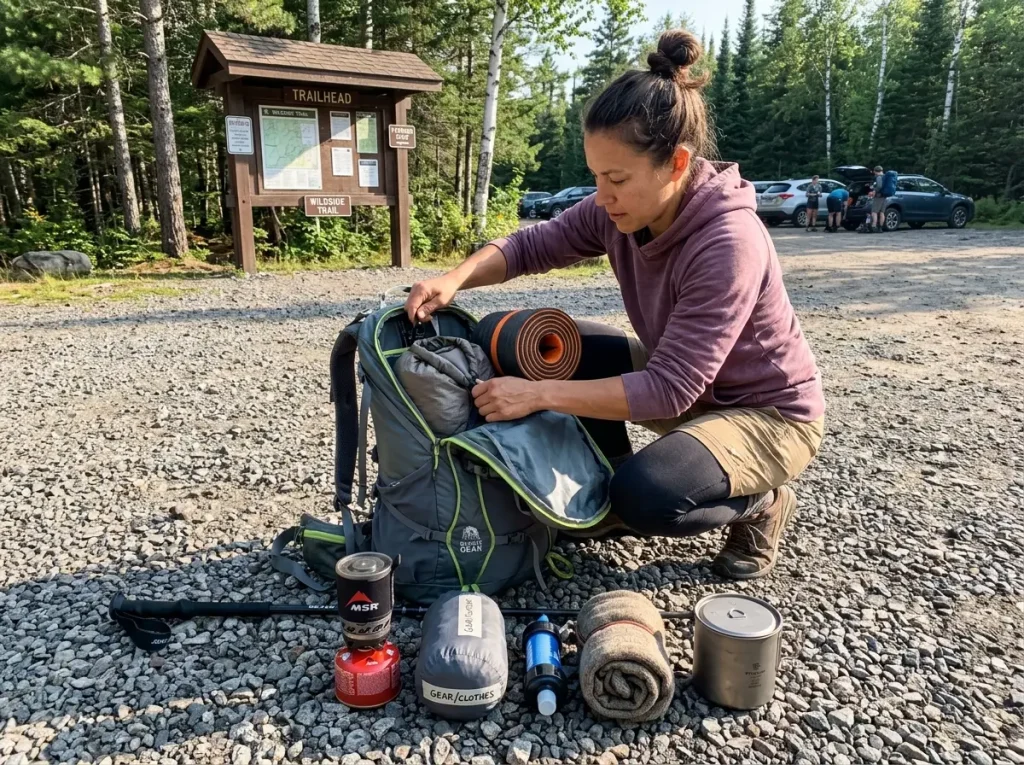
Buy for the trip you take most weekends, not the thru-hike you might do once. An oversized pack is not free insurance. It invites overpacking, and every extra liter ends up filled with stuff you do not need and dead weight you carry anyway.
Day hikes: 15 to 25 liters
For a normal day on the trail you need 15 to 25 liters. That holds water, layers, lunch, a first-aid kit, and the ten essentials with room to spare. A 20-liter pack like the Osprey Tempest is the sweet spot for most day hikers, and for a short summer stroll you can drop even lower. If you mostly do quick local trails, do not let anyone talk you into a 40-liter pack you will never fill.
Overnight and weekends: 35 to 50 liters
One or two nights out lands you in the 35 to 50 liter range, and a dialed ultralight kit can sneak into 30 to 35. This is where capacity starts following your gear instead of the other way around. The smaller and lighter your sleep system and shelter, the smaller the pack you need to carry them. For the full breakdown of how pack volume really maps to overnight versus weekend trips, the numbers get more specific by trip length.
Multi-day and thru-hikes: 50 to 70 liters
Three or more days, winter loads, or carrying a bear canister push you to 50 to 70 liters. That is real backpacking-pack territory, with the frame and hipbelt to match. If you are not sure whether your trips have outgrown a daypack yet, the line between a daypack and a true backpacking pack is worth a read before you size up. The house rule is simple: buy your pack last, after your sleep, shelter, and kit are set, and size it to what you actually carry.
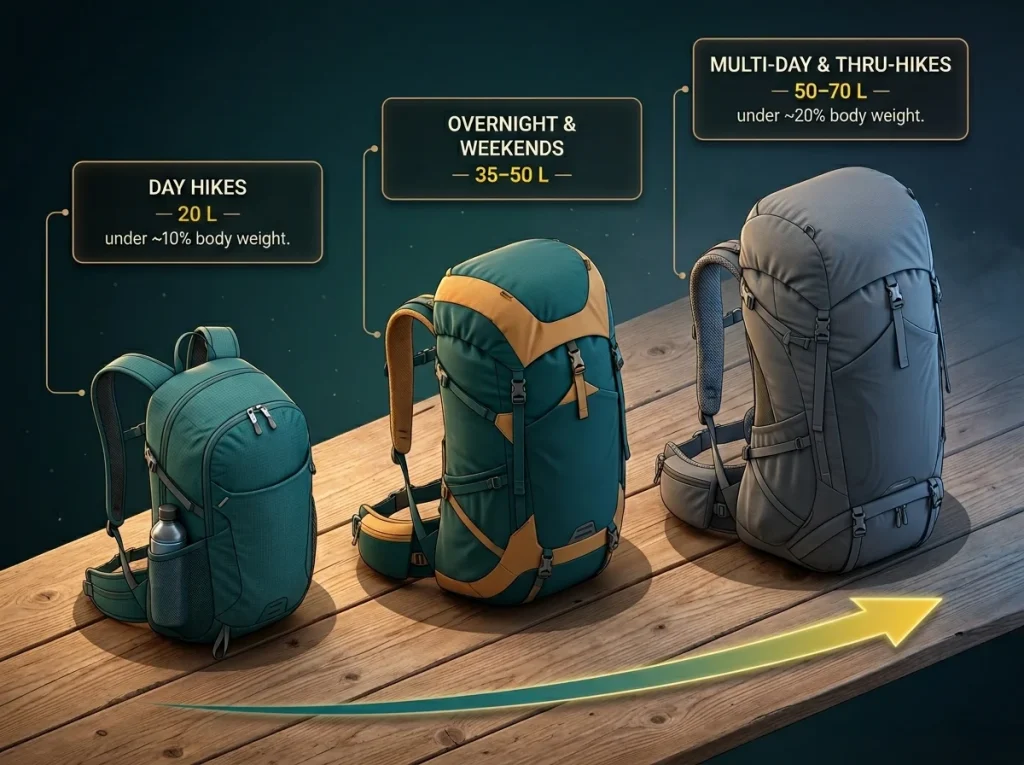
There is a ceiling on weight too, and it is worth knowing. A loaded day pack should stay under about 10 percent of your body weight, and a loaded backpacking pack under about 20 percent. For a 150-pound hiker that is roughly a 15-pound day ceiling and a 30-pound overnight ceiling. Treat those as starting numbers, not gospel. They ignore your fitness, your experience, and the terrain, and some hikers carry more without trouble while others get sore well under the line.
Our Top Women’s Hiking Backpack Picks
You can size yourself now, so here are the packs worth your money, sorted by the trip they are built for. Two of these picks are unisex on purpose, because the honest answer is that you do not always need the women’s label. Every pick is tied to a body type or a trip type, not a star rating.
Best for day hikes (15 to 25 liters)
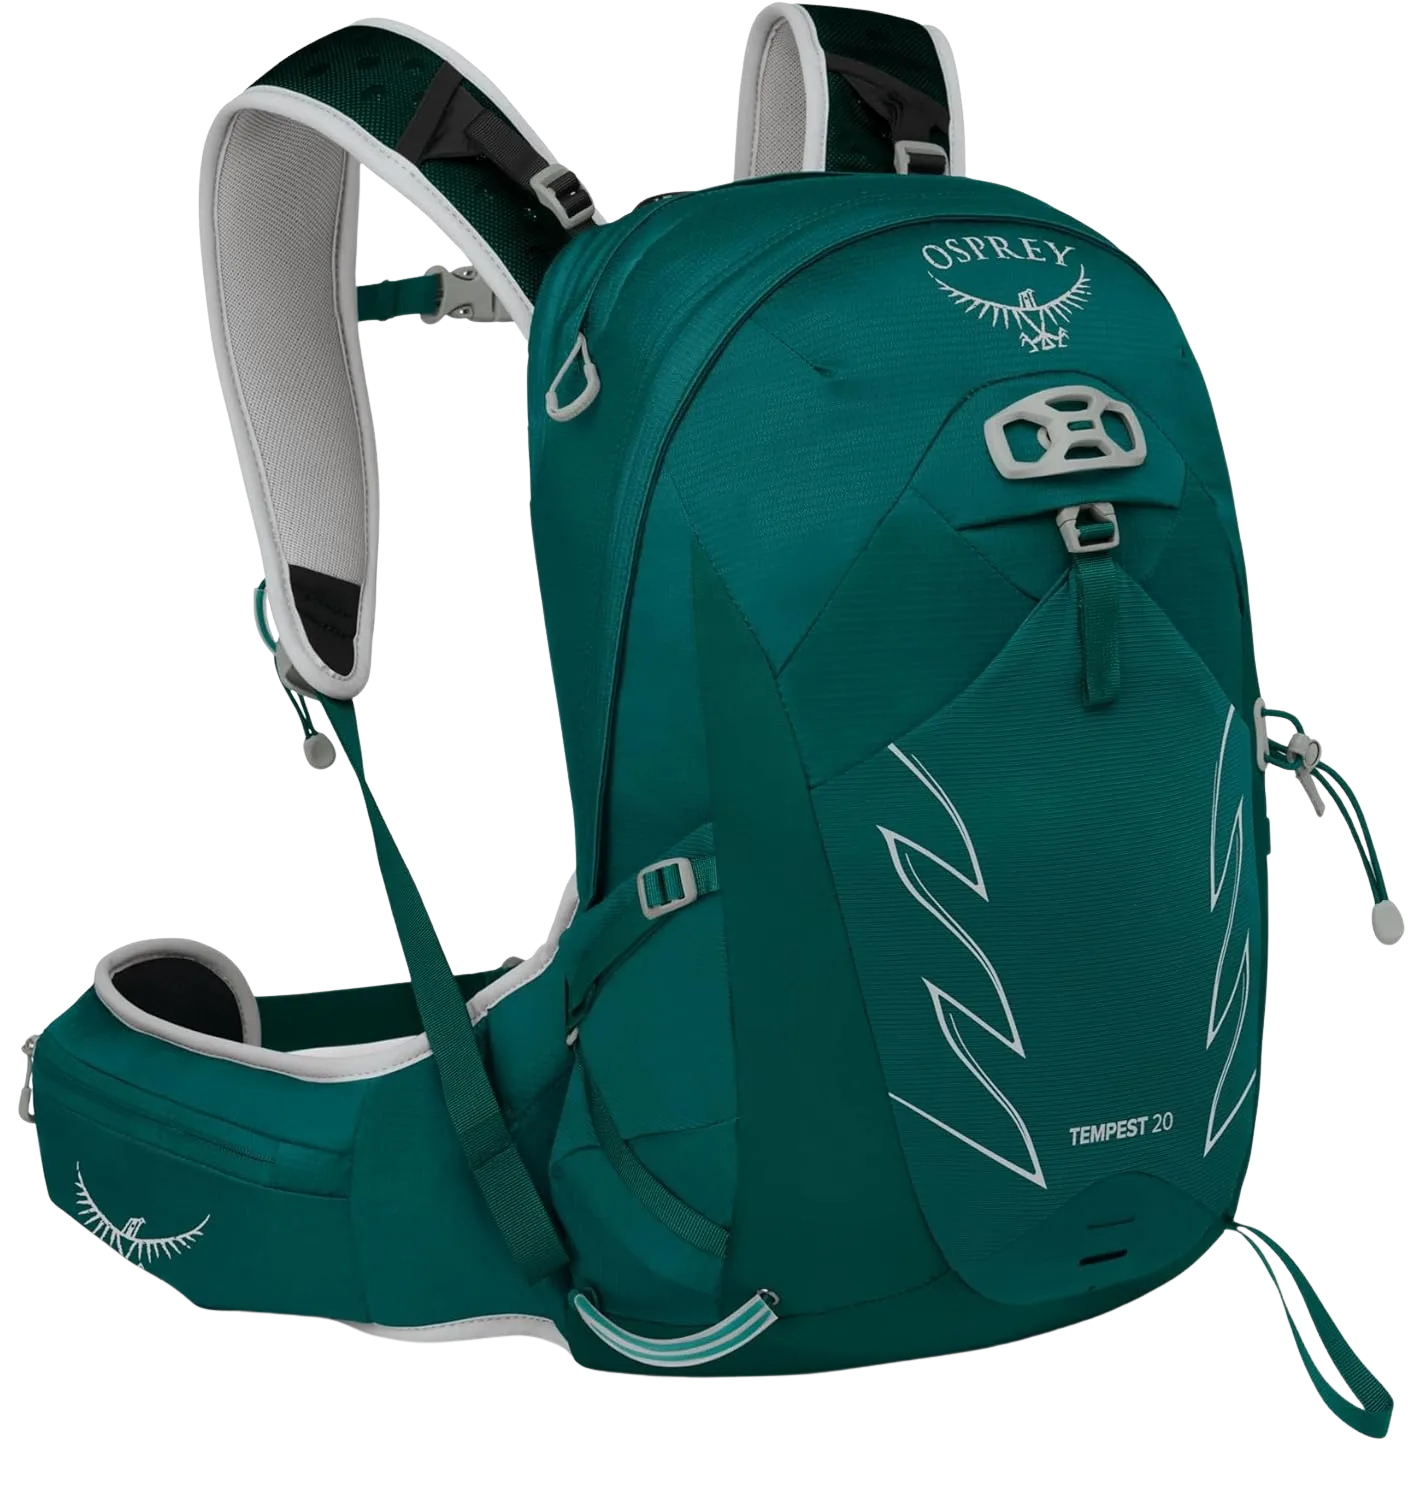
The Tempest is the pack I point most day hikers toward first, because it does the boring things well. The hipbelt pockets actually hold a phone, the side pockets take a bottle you can reach while walking, and the women’s harness keeps the straps off your chest on a long climb. If you run warm, look at the ventilated Sirrus below instead. If your back fits Gregory better than Osprey, the Juno is right there.
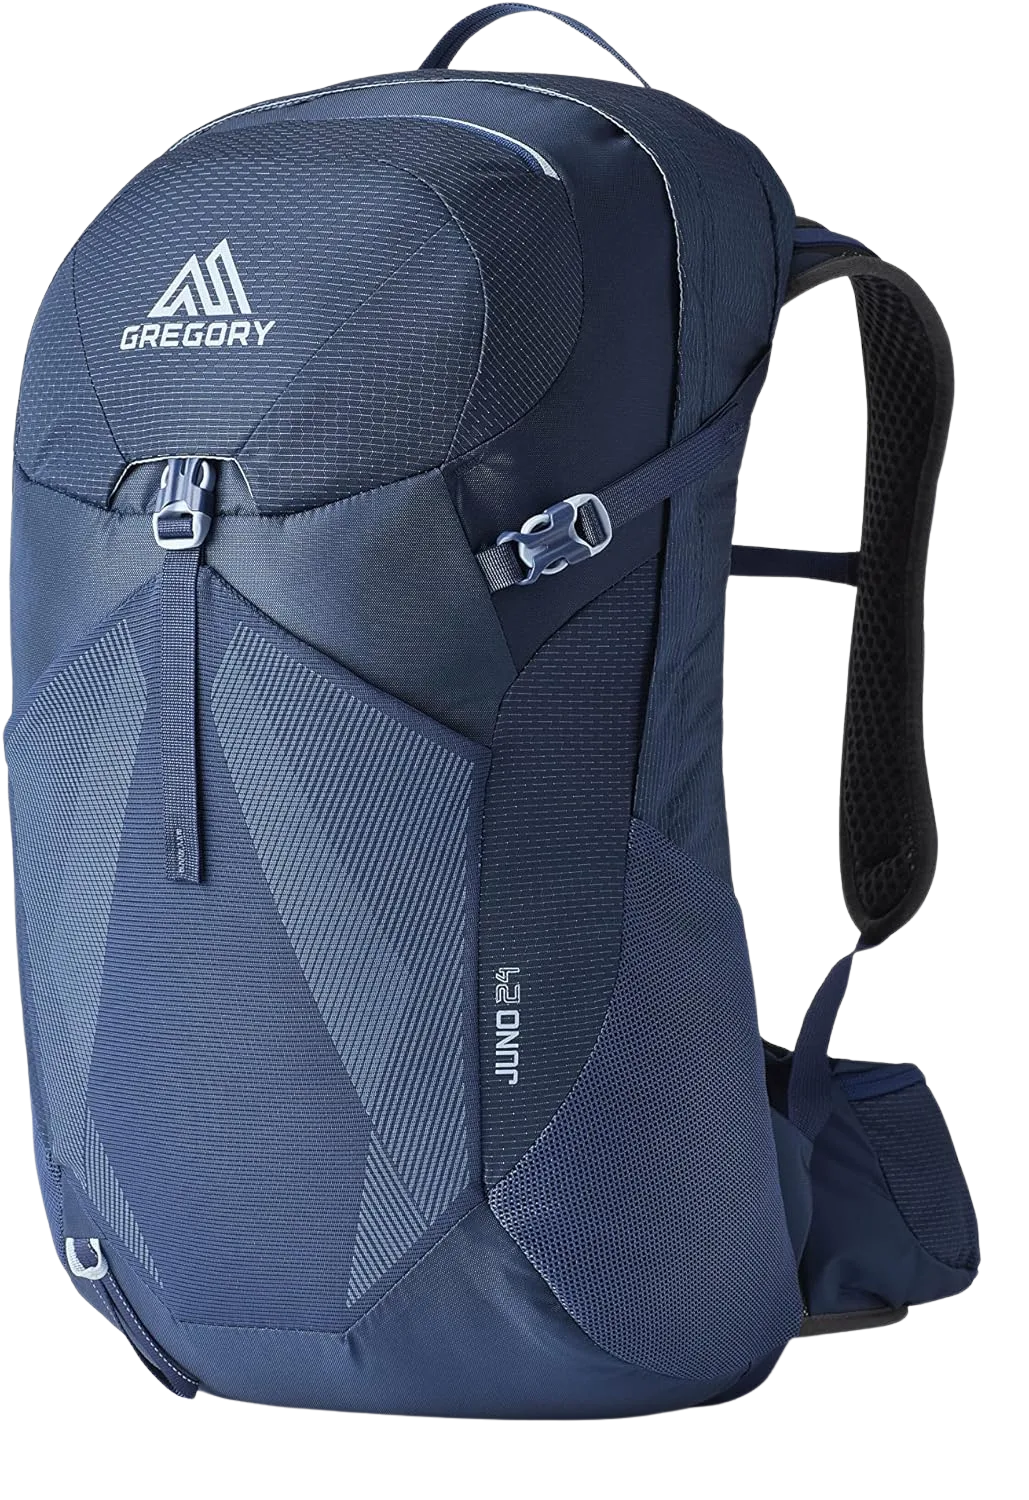
Brands fit different bodies, and that is the whole reason to keep two day-pack options on the table. The Juno’s BioSync hipbelt flexes with your stride, which some hikers love and others find busier than the simpler Osprey belt. It also takes a hydration reservoir, which makes it an easy grab for hot afternoons when you drink more than you planned. Try both if you can, and let your hips cast the deciding vote.
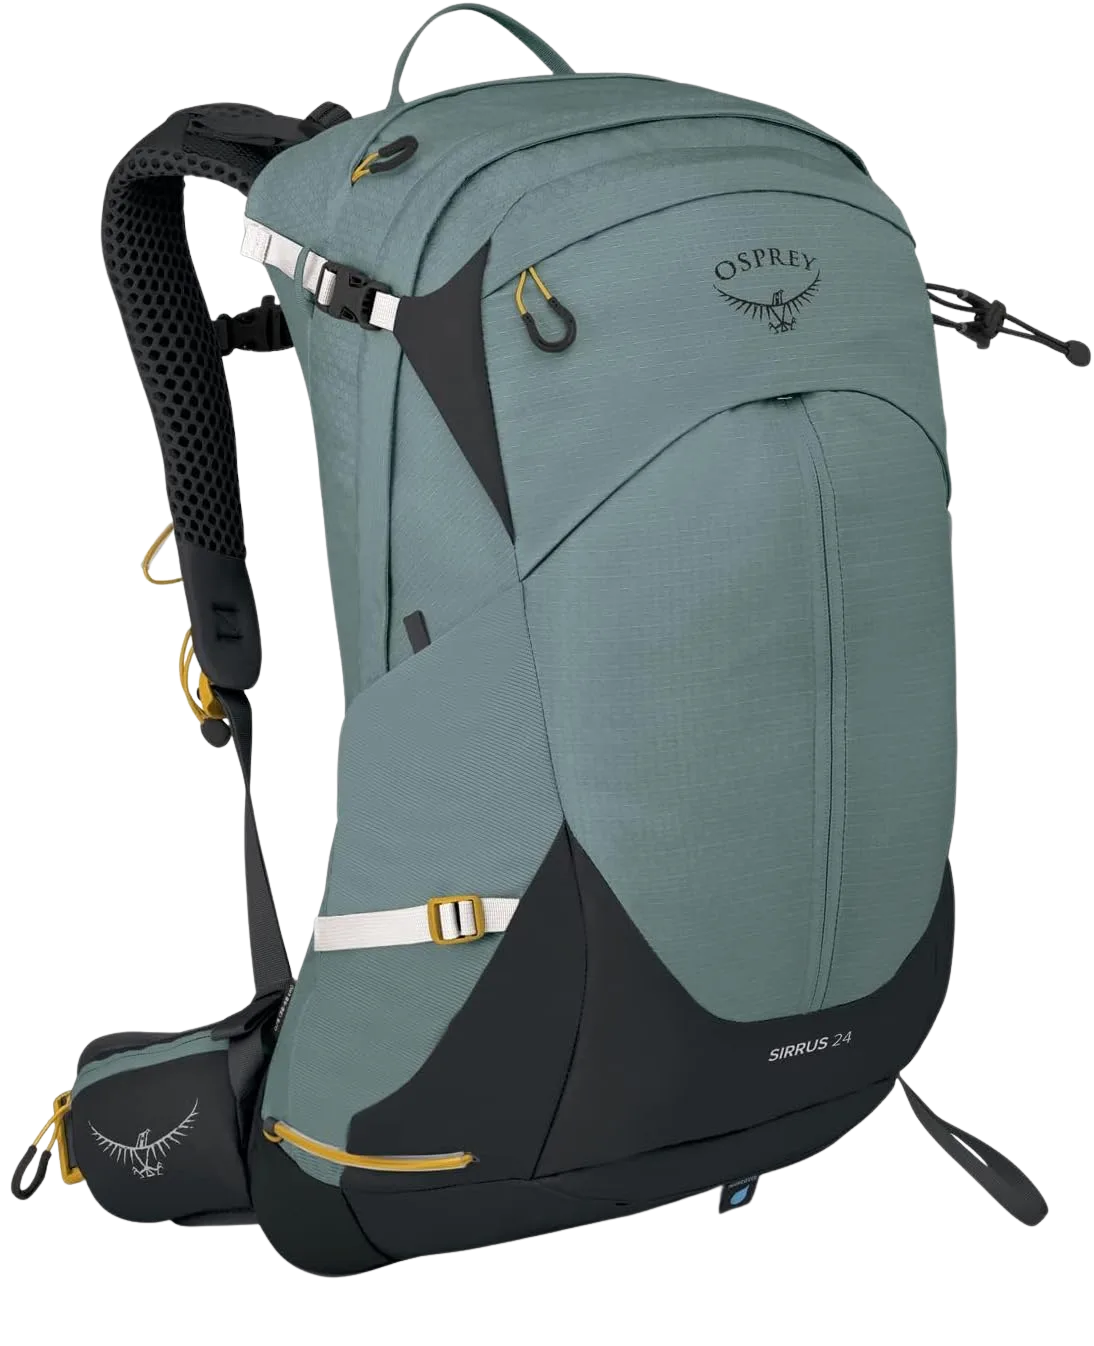
If your back is soaked an hour into every hike, the Sirrus is the fix. That suspended mesh panel is the same idea as the Anti-Gravity system on the bigger Aura, scaled down to daypack size. The tradeoff is that a trampoline panel pushes the load slightly away from your back, so it can feel a touch less stable on rough scrambling than a pack that hugs your spine. For most warm-weather trail miles, the airflow wins.
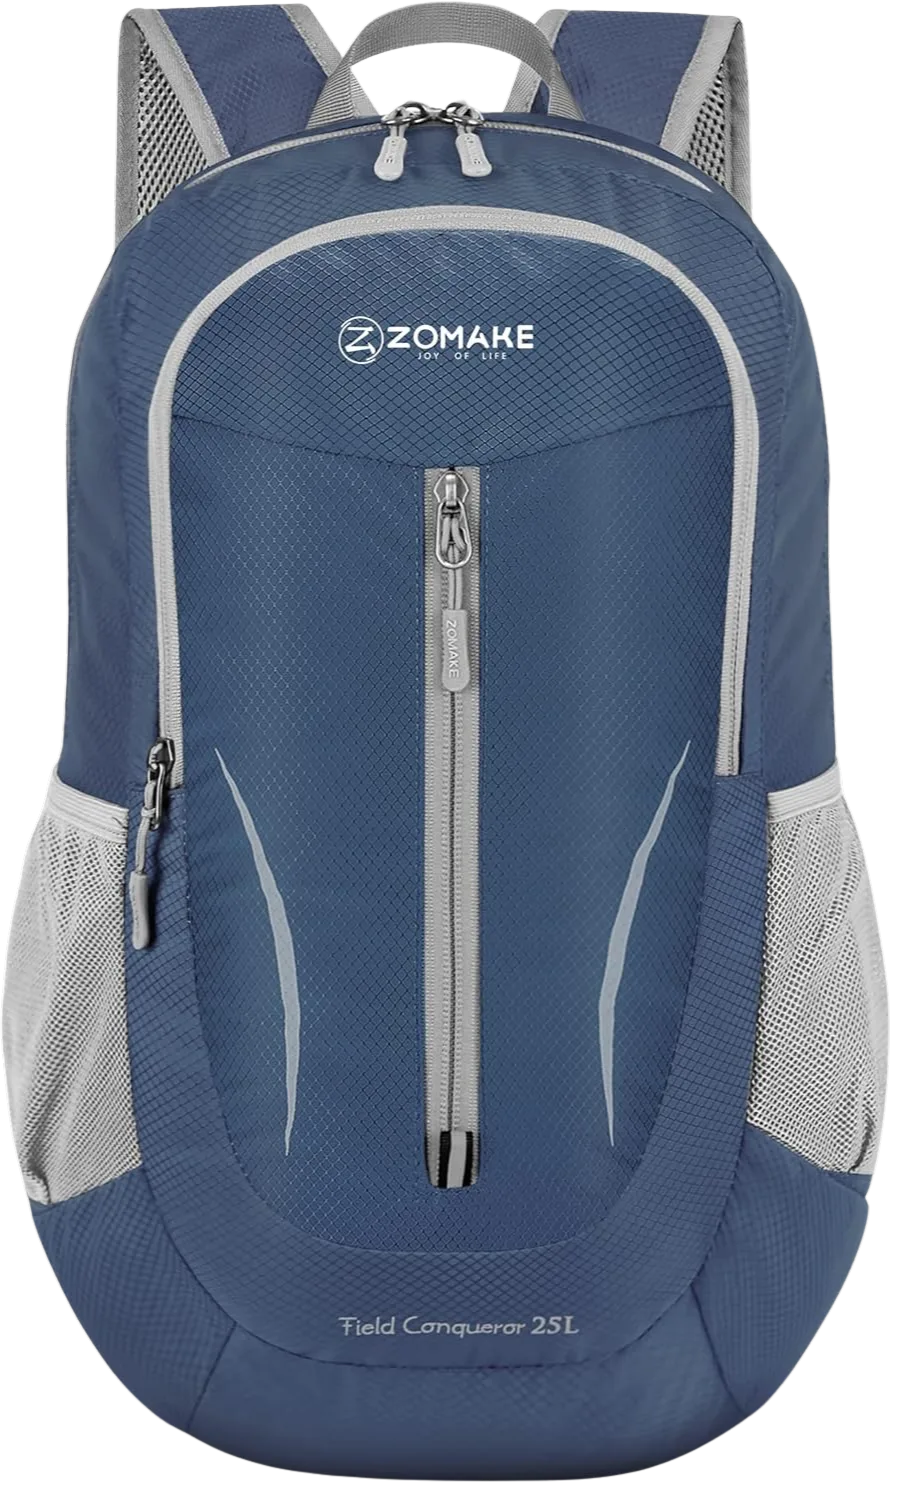
No frame, no padded hipbelt, no women’s harness. For a 10-pound load on a flat summer trail, none of that matters, and the ZOMAKE will do the job for the price of a couple of trail lunches. Push past 12 or 15 pounds, or onto steep ground, and you will want a real frame and belt. Know the ceiling and this is a smart buy, not a compromise.
Best for big days and light overnights (28 to 35 liters)
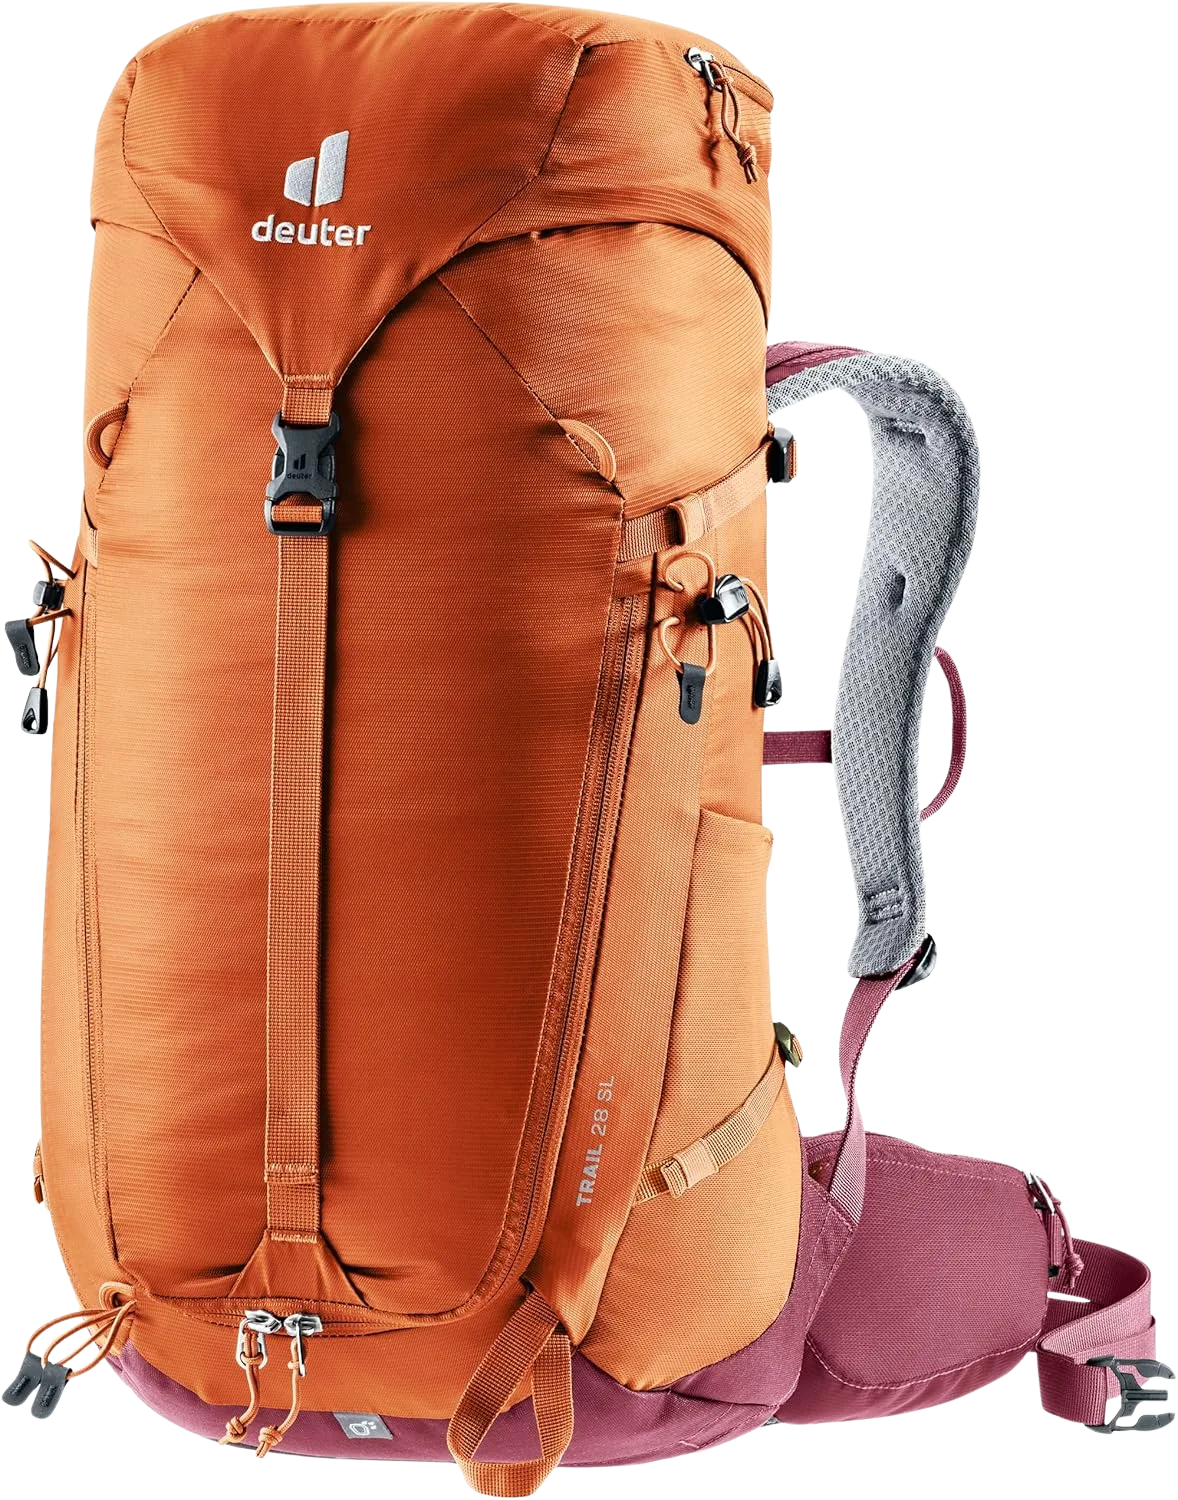
If your day hikes have grown into all-day epics, or you are dabbling in fast-and-light overnights, the Trail 28 SL is the in-between size nobody else nails as cleanly. The U-frame gives it real load support that a frameless daypack lacks, so it carries 20-plus pounds without collapsing onto your shoulders. The SL fit is the part to pay attention to: it is genuinely shaped for a smaller frame, not just a smaller volume.
Best for overnight and weekends (50 to 55 liters)
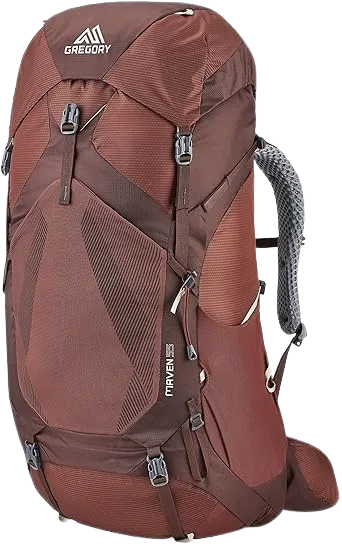
The Maven is the pack I recommend most often for someone moving from day hikes into real backpacking. The adjustable torso means you do not have to nail your size on the first try, which is forgiving while you are still learning your fit. At 55 liters it handles a three-season weekend with room for a few extras, and the low weight means you are not paying a comfort tax just to carry your gear.
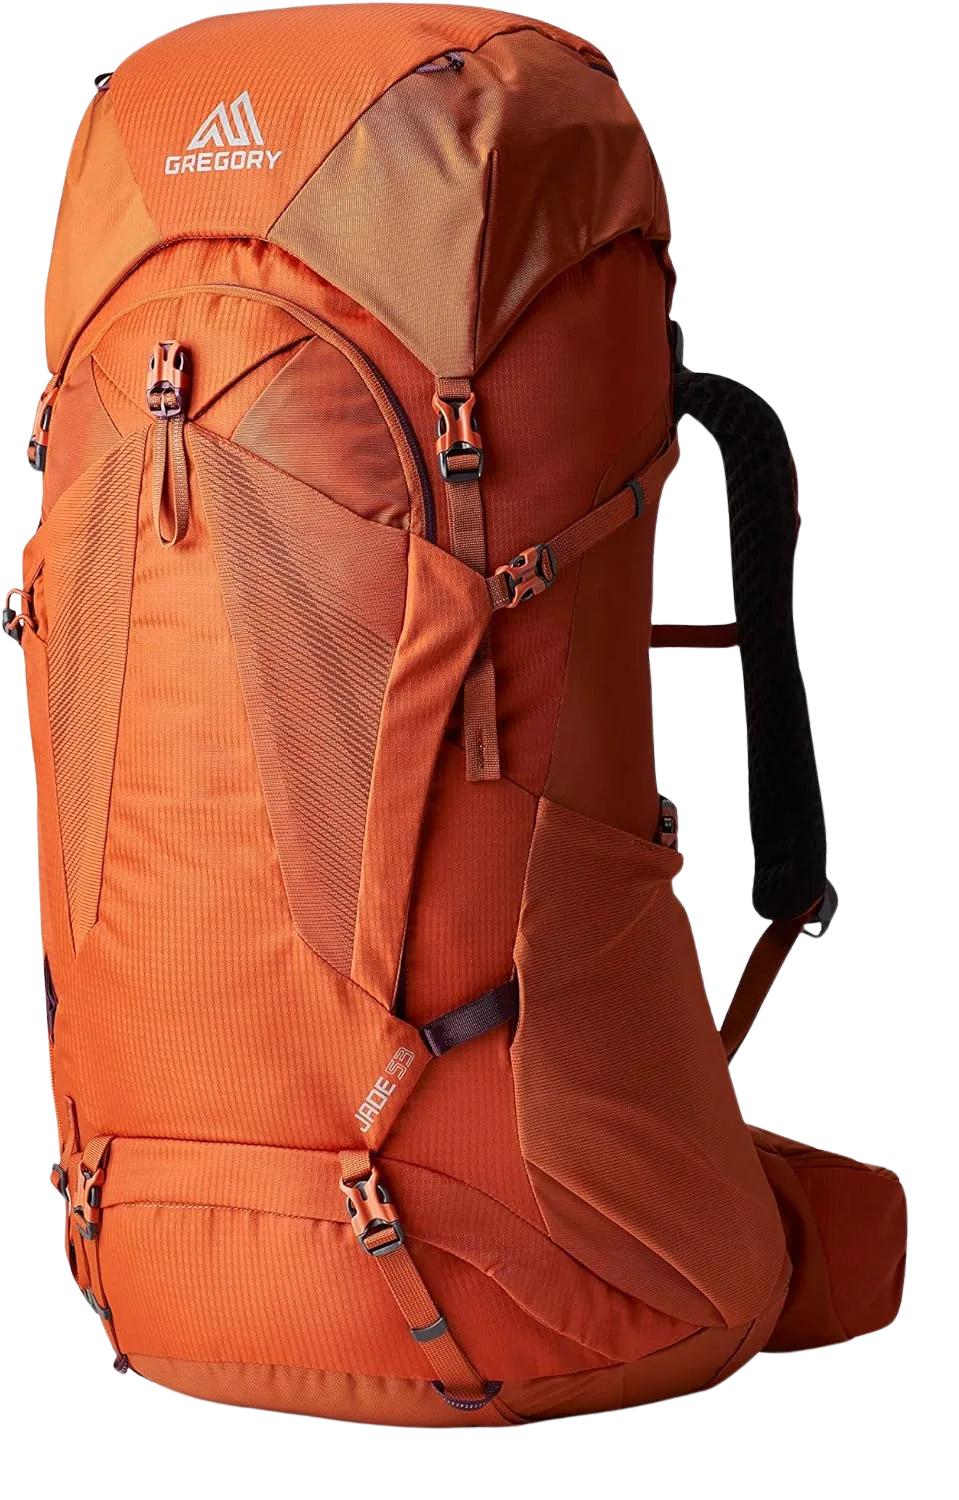
Pick the Jade over the Maven when airflow matters more to you than shaving every ounce. The ventilated back is the same logic as the Sirrus daypack, sized up for overnight loads. It is a small comfort difference on a cool day and a big one on a muggy August climb when a flat foam back would have your shirt soaked through.
Best for multi-day and heavy loads (60 to 70 liters)
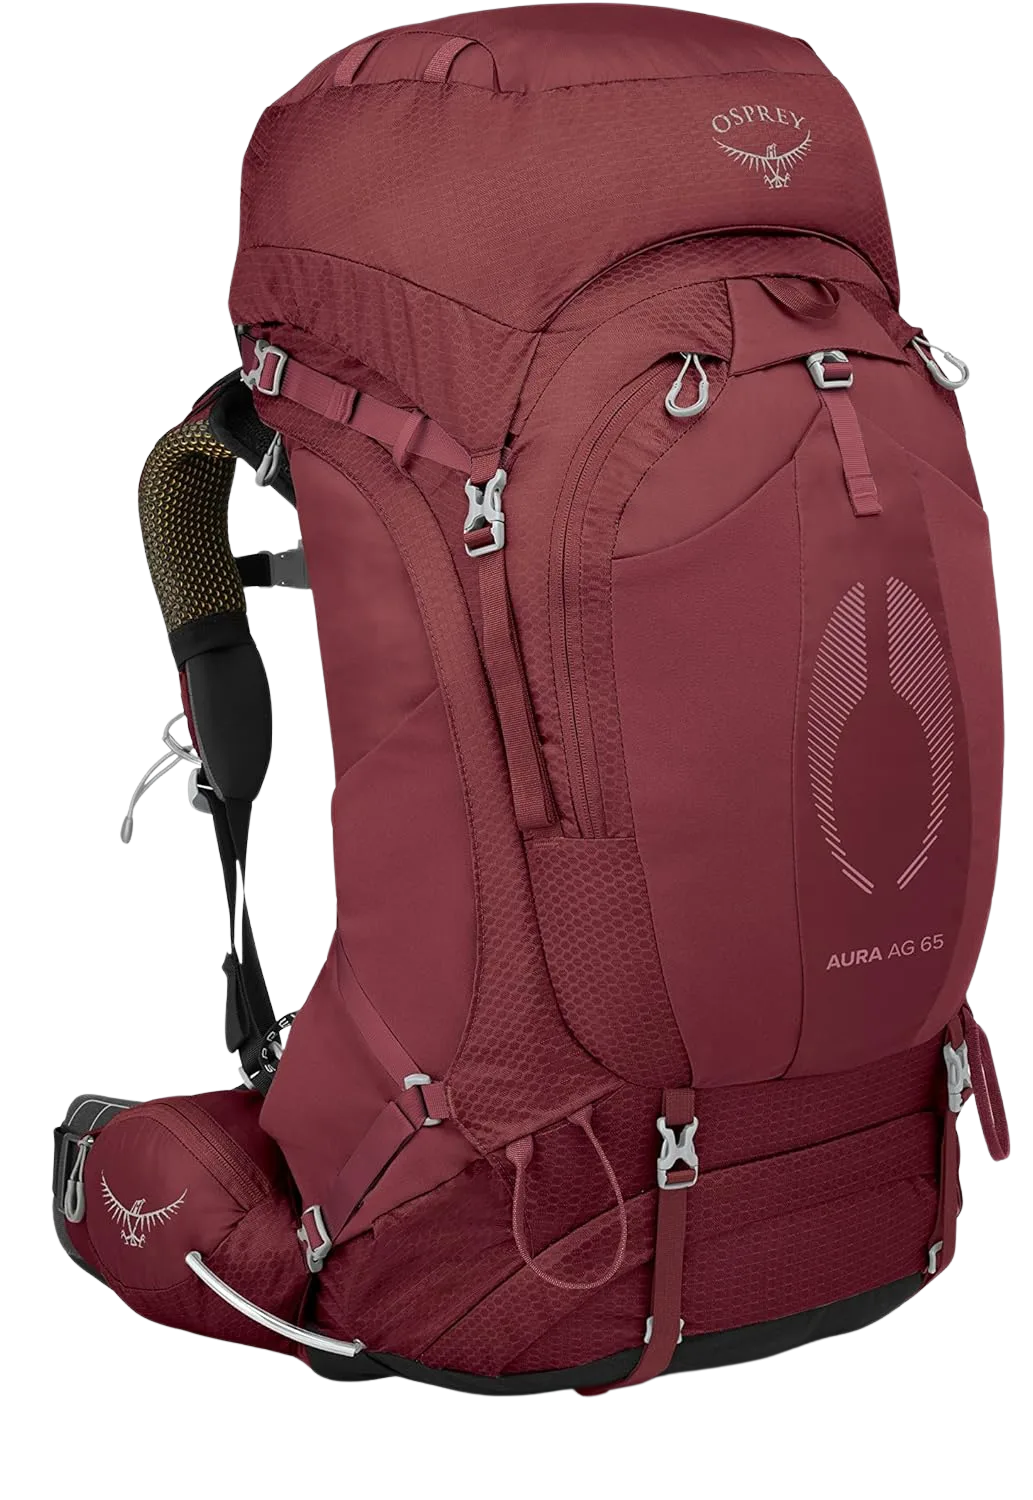
The Aura AG is the premium pick, and the Anti-Gravity suspension is the reason. That tensioned mesh runs from the top of the back panel through the hipbelt, spreading the load so evenly that a fully packed 65 feels lighter than its weight on the scale. It is the most-recommended women’s multi-day pack in the gear world for a reason. If you do longer trips and your budget stretches, this is where the upcharge actually buys you comfort.
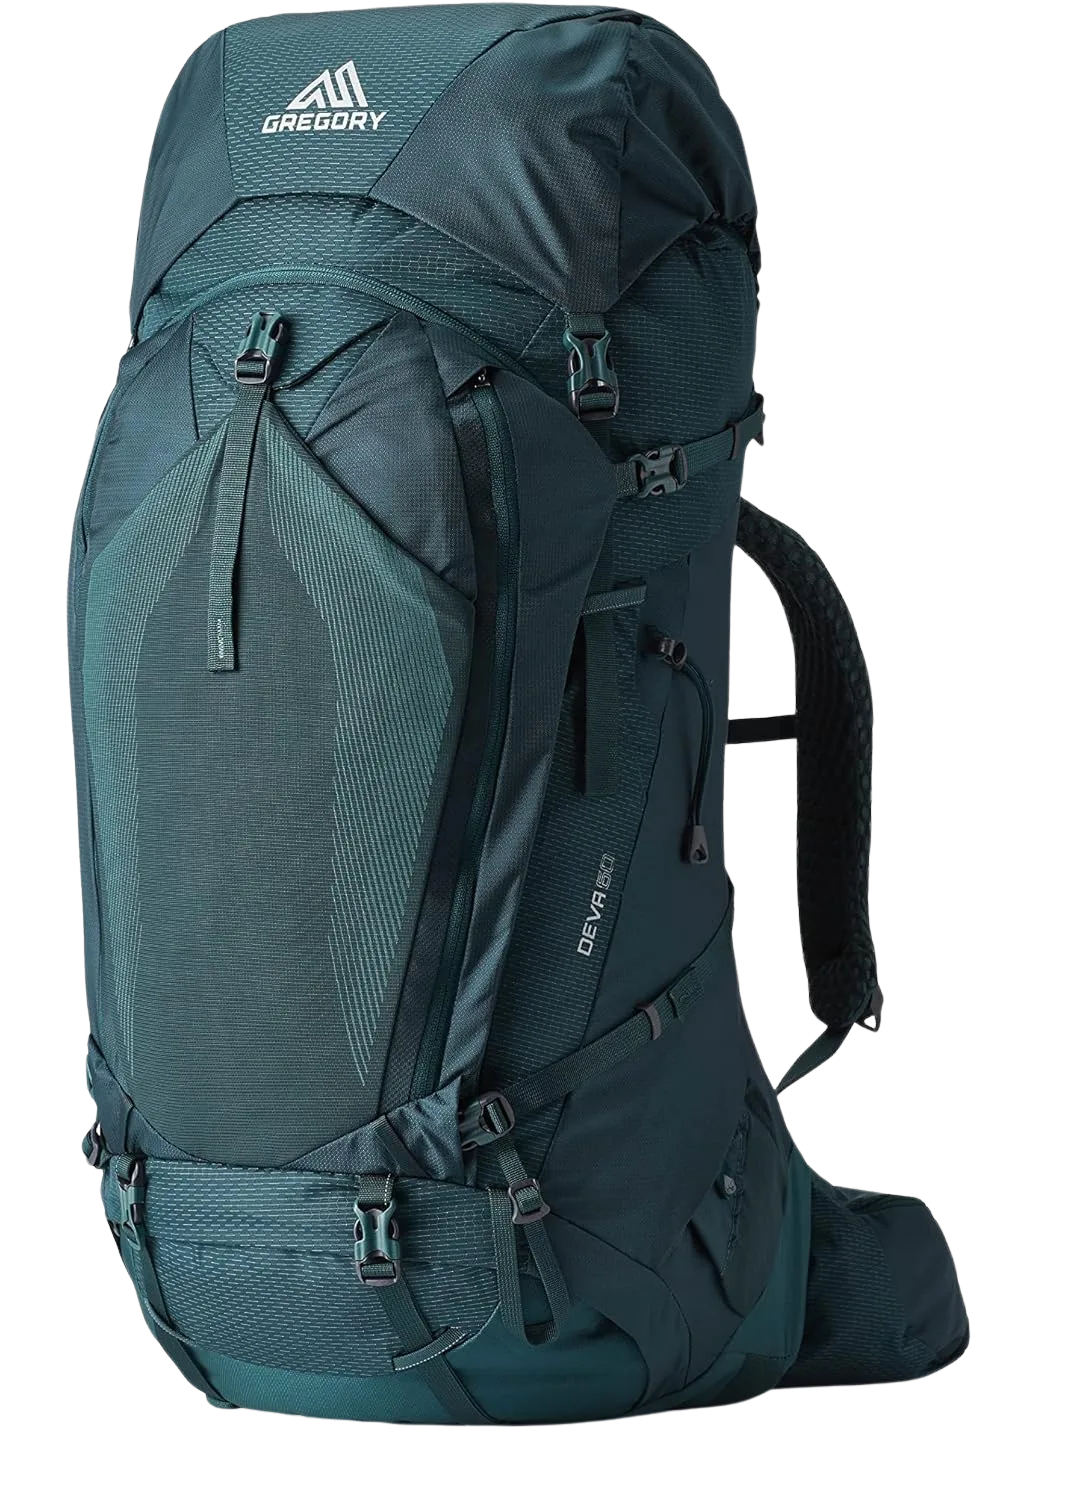
The Deva is more pack than most weekend hikers need, and that is the point of including it. If you carry bulky winter gear, haul group kit, or do genuine expedition-length trips, the burlier Response A3 suspension and full 70 liters handle weight that would overwhelm the lighter Maven. For a beginner doing summer overnights, it is overkill, and you would just fill the extra space with things you do not need.
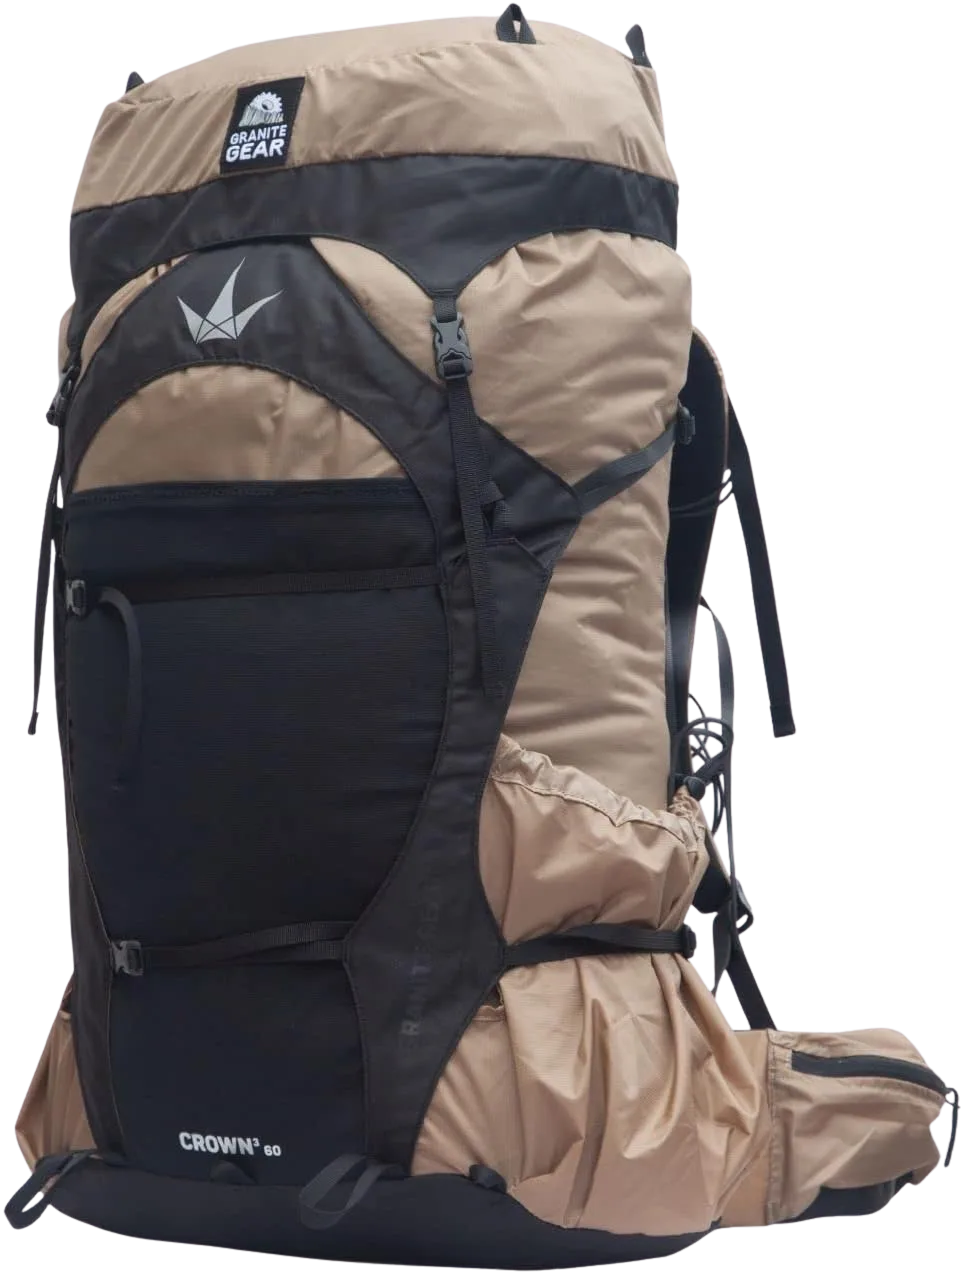
The Crown3 is the unisex pick that proves the point of this whole guide. If you have a longer torso, narrower hips, or you are chasing a light base weight, a well-fitting unisex pack at around 2 pounds will out-carry a heavier women’s pack that does not fit you. It is also a strong value, and it sits right alongside our picks for ultralight packs under two pounds if shaving weight is your priority. Fit first, label second.
Suspension, Ventilation, and Hipbelt — What Makes a Pack Carry Well
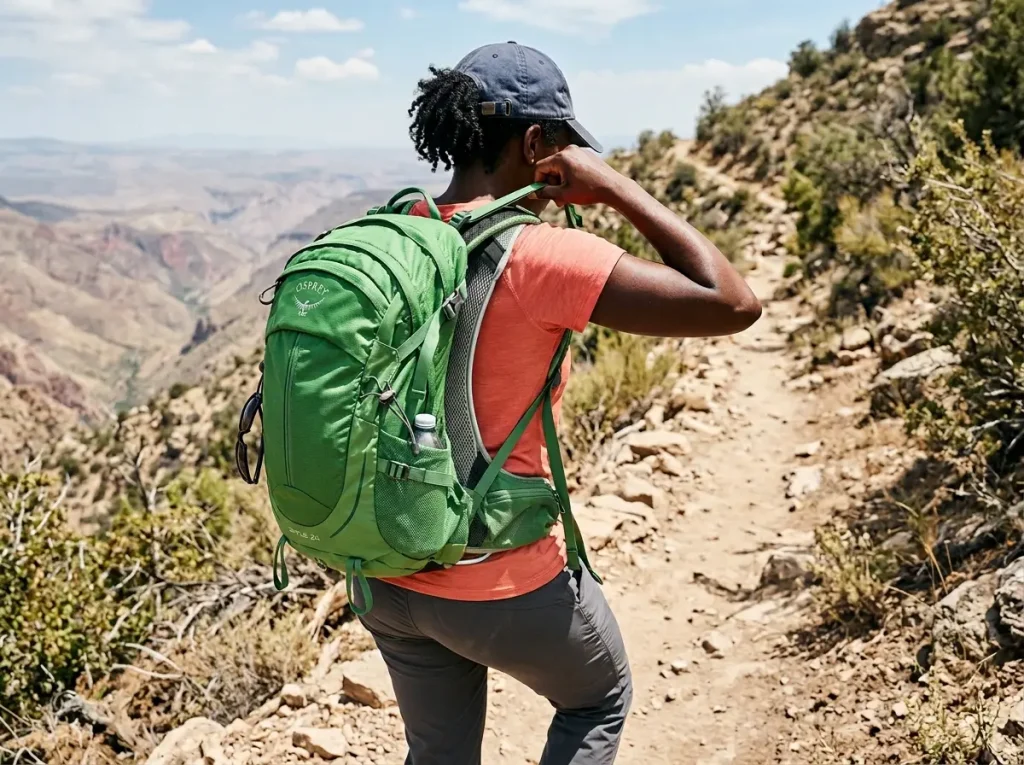
Two packs with the same liters can feel completely different on your back. One floats and one sags. The difference is hardware: the frame, the back panel, and the hipbelt, working together to move weight off your shoulders and onto your hips.
Frames and suspension: how weight reaches your hips
The frame is what transfers load from your shoulders down to your hips. A framed pack has an internal frame sheet or aluminum stays that give the pack rigidity, so the weight has a path to travel down to the hipbelt. Most packs also carry exterior compression straps that cinch a partial load tight so it does not shift on the move. A frameless pack saves weight but only carries well when it is packed carefully and kept light. For most hikers carrying overnight loads, a frame is not optional. If you want the full rundown of how the different suspension systems actually work, the frame type drives almost everything about how a pack rides.
Ventilation: trampoline versus ventilated back panels
Back panels come in two broad styles. A trampoline panel, like Osprey’s Anti-Gravity or the Sirrus mesh, suspends a tensioned mesh sheet between you and the pack so air flows through the gap. A ventilated foam panel uses channels and breathable padding but keeps the load closer to your back. Trampoline panels breathe better and feel cooler, at the cost of pushing the load slightly away from your spine. Foam panels hug the load tighter for stability on rough ground. Neither is better in the abstract. It depends on whether you run hot or hike technical terrain.
The hipbelt and the 80/20 load-transfer rule
Here is the number that matters most for weight distribution: roughly 80 percent of your pack weight should ride on your hips, and about 20 percent on your shoulders. You set that balance with your load-lifter straps, the short straps that run from the top of the shoulder straps to the pack body at a 30 to 45 degree angle. When the load is transferring right, your shoulders are guiding the pack, not carrying it. If your shoulders ache after an hour, the weight is not getting to your hips, and the fix is almost never to loosen the shoulder straps. For the exact technique to set your load-lifter straps to the right angle, small changes make a surprising difference.
Sore shoulders almost always mean the hipbelt has slipped, not that the straps are too loose. The move is to stop, re-seat the belt up on your iliac crest, snug it down, and only then re-tension the shoulder straps. Loosening the shoulders to chase comfort just drops more weight onto them and makes it worse.
A quick word on materials, since durability gets asked about a lot. Most packs here use ripstop nylon or recycled nylon in a mid-range denier with a water-resistant coating, often a PFAS-free DWR finish on newer models. That handles trail grime and light rain fine, but no pack body is fully waterproof at the seams and zippers, which is why a raincover or a pack liner still earns its place in real weather.
Budget vs Premium — What You Give Up to Save
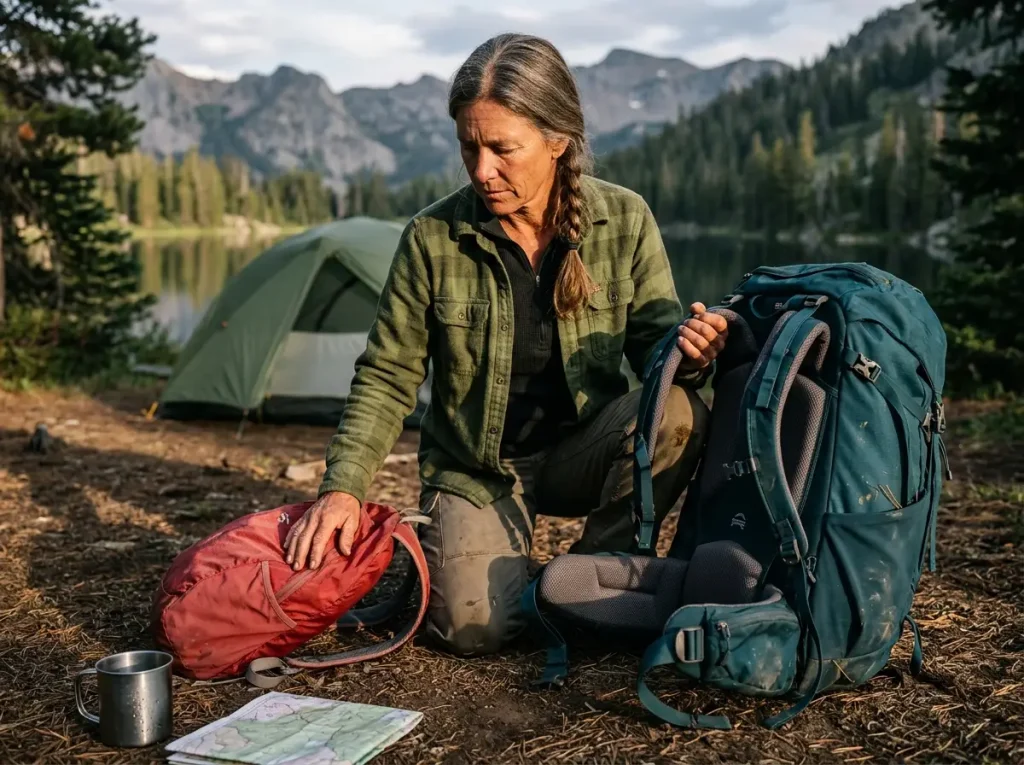
Every roundup names a best-value pick and stops there. The part they skip is the honest one: what exactly are you giving up at the cheap end, and is it worth it for the trips you actually do? Here is the trade laid out plainly.
What the cheap end actually costs you
A budget pack saves you money in specific, predictable places, and they all show up under load. The hipbelt padding is usually thinner, so it bottoms out and starts to ache once you push past about 25 pounds. The fabric is often heavier to keep costs down. And the torso is frequently fixed rather than adjustable, so if your measurement lands between sizes, you are stuck. None of that matters on a light load. All of it matters on a heavy one. A budget pack like the REI Co-op Trailmade 60 carries a weekend fine and starts complaining on a five-day haul.
When paying for premium is worth it
Premium money buys you two things that count when loads get heavy: a genuinely adjustable, plush suspension and a hipbelt that keeps transferring weight comfortably past 30 pounds. That is the Osprey Aura AG and Gregory Deva territory. If your trips are short and light, you will barely notice the difference and the upcharge is hard to justify. If you do multi-day trips or carry winter kit, the premium suspension is the difference between arriving tired and arriving wrecked. Match the spend to the load, not to the marketing.
The ultralight middle path
There is a third option that does not fit the budget-versus-premium line cleanly. An ultralight pack like the Granite Gear Crown3, at around 2 pounds, trades the plush suspension for very low weight. It is not a budget pack and not a heavy-duty premium one. It is the right call when your base weight is already dialed and you want the lightest pack that still carries your load. Go this route only after your sleep system and shelter are light, because an ultralight pack stuffed with heavy gear carries worse than a burlier pack built for the weight.
Dialing In the Fit — Straps, Chest Compression, and Seasonal Layers
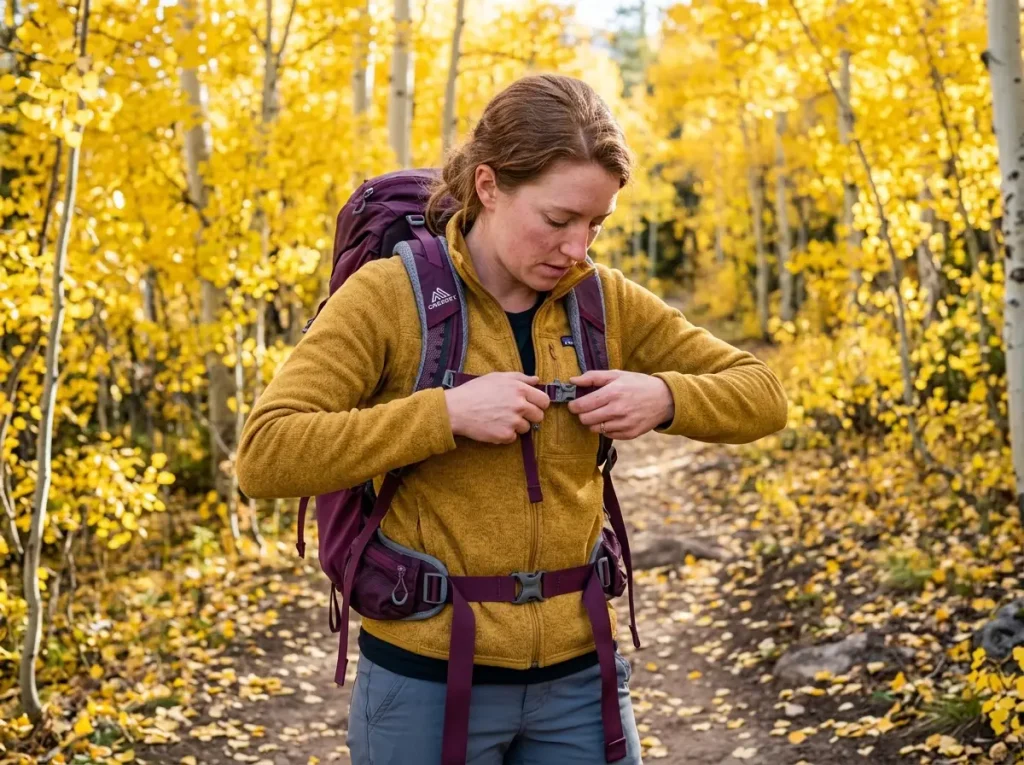
The right pack still hurts if it is adjusted wrong. Most fit complaints are not the pack’s fault, they are an adjustment problem, and they fix in about two minutes once you know the order.
The adjustment order that fixes most problems
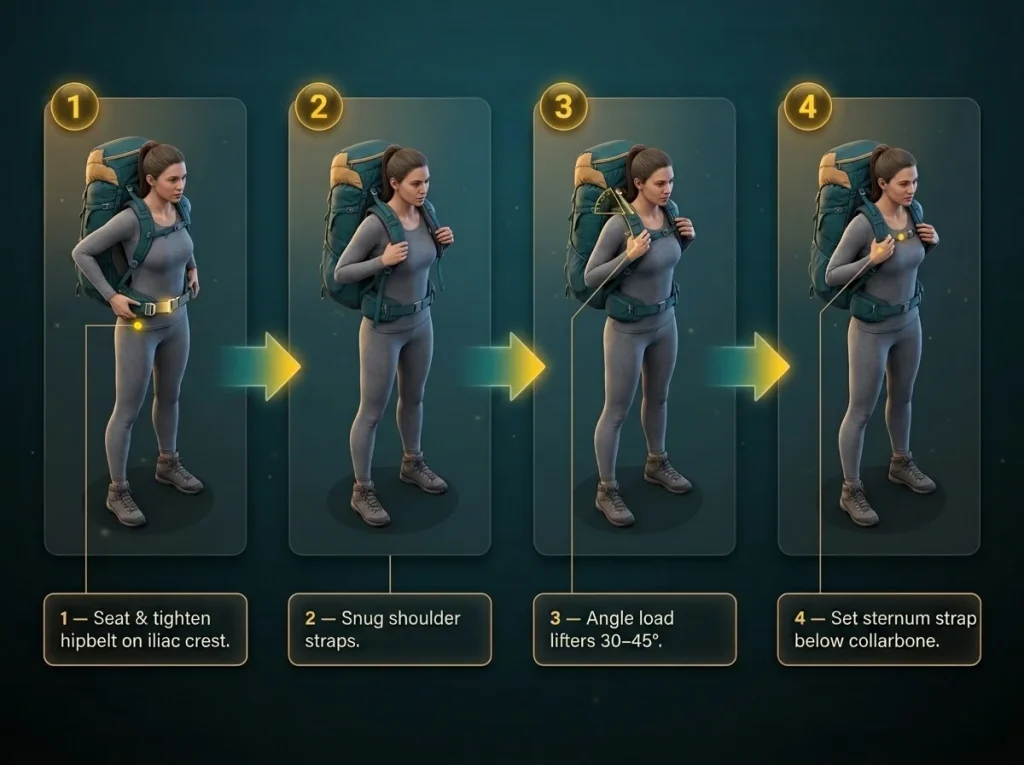
There is a sequence, and doing it out of order is why so many packs feel off. Seat the hipbelt on your iliac crest first and tighten it, so the weight is on your hips before you touch anything else. Then snug the shoulder straps until they wrap without carrying. Then set the load-lifter straps to that 30 to 45 degree angle to pull the top of the pack toward you. Finally, clip and set the sternum strap. Hipbelt, shoulders, load lifters, sternum, in that order, every time. The short video below walks through the live sequence, which is easier to copy than to read.
Chest compression and the sternum-strap fix
The breast-compression complaint is real, and it is not in your head. It comes from strap geometry, and there is a fix. First, slide the sternum strap down so it sits just below your collarbone, never across the chest, and keep it loose or fully unclipped on light loads where you do not need the stability. Second, remember the S-curved shoulder straps route around the breast instead of across it, which is the root reason women’s packs solve this better. If the shoulder straps still sit too wide and pull outward, you can run a small carabiner or a short loop between them to pull them inward to a custom width. For the exact placement, here is exactly how high your sternum strap should sit.
The carabiner trick is the quiet fix a lot of hikers land on when shoulder straps sit too wide. Clip a small accessory carabiner across the two straps at mid-chest and it pulls them inward to a width that actually fits you, instead of fighting a too-wide sternum strap all day. It costs about a dollar and beats most aftermarket gadgets.
Re-dialing the fit for layers and seasons
Your fit is not set once and done. The pack that fit perfectly over a summer tank top will sit differently over a winter midlayer and a puffy, because the extra bulk changes where the hipbelt seats and how long your effective torso is. When you change seasons or add insulation, re-check the hipbelt position and the shoulder-strap length for the clothes you are actually wearing that day. It takes thirty seconds at the trailhead and saves you a mile of fidgeting. Dial the pack for the layers on your body, not the layers you wore last trip.
Conclusion
Three things carry the whole decision. Size your torso and run the loaded fit test before you ever look at a price, because measurement plus a real walk beats any star rating. Buy the capacity for the trip you take most, not the epic you might do once. And remember that women’s is about your frame, so the right pack is the one that fits your body, even when that turns out to be a unisex one.
Here is the free part: you can test all of this before you spend a dollar. Measure your torso this week, load a pack to 15 or 20 pounds, and walk your block before your next trip. Fit is the cheapest upgrade you will ever make, and it is the one that decides whether your next hike is a good walk or a long argument with your shoulders.
Frequently Asked Questions
01What is the difference between a women’s hiking backpack and a unisex backpack?
A women’s pack uses S-curved shoulder straps, a shorter and narrower torso, and an upward-flared, more-padded hipbelt to fit a typically shorter torso and wider hips. The real variable is your torso length and hip shape, not the gender on the label, so some women fit a unisex pack better.
02How do I know what size hiking backpack I need?
Measure your torso length from the C7 vertebra to your iliac crest, not your height, and match it to the pack’s torso range. Most hikers land between 15 and 19 inches. Then load the pack and walk it to confirm the fit before you trust the number.
03What backpack capacity is best for day hiking vs overnight vs multi-day?
Use 15 to 25 liters for day hikes, 35 to 50 liters for overnights and weekends, and 50 to 70 liters for multi-day trips. Buy for the trip you take most often, since an oversized pack just invites overpacking and extra weight.
04Should a hiking backpack rest on your hips or your shoulders?
Your hips carry the load, roughly 80 percent of the weight, with about 20 percent on the shoulders. The hipbelt should sit on your iliac crest, and load-lifter straps set at a 30 to 45 degree angle keep the balance right. Aching shoulders mean the belt has slipped.
05How tight should a hiking backpack hip belt be?
Snug enough to bite the iliac crest and stay put without numbing your legs or cutting your breath. You should be able to slide a flat hand under it with some effort. If your shoulders start aching, re-seat and re-tension the belt rather than just loosening the shoulder straps.

I've spent more than a decade researching hiking gear and trail technique. I read the specs, the forum threads and the long-term reviews, and every pick here comes with what it gets wrong.
End of the trail
You read every mile of this one. Here's where the trail goes next.