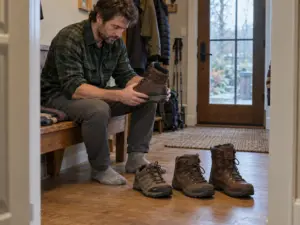
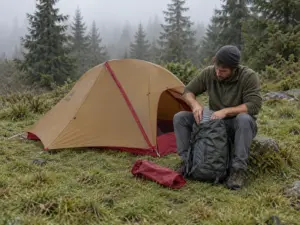
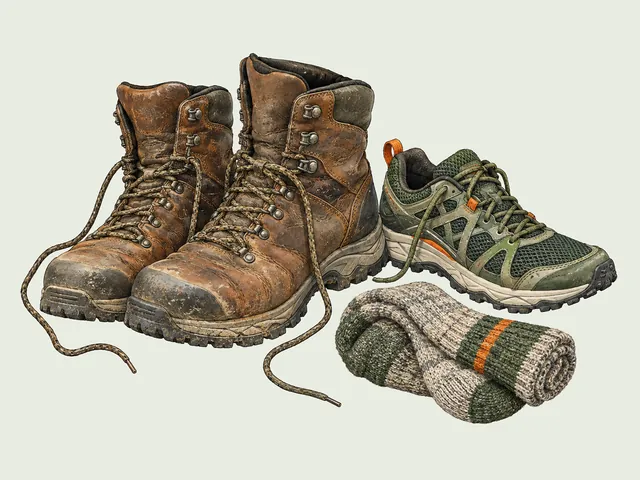
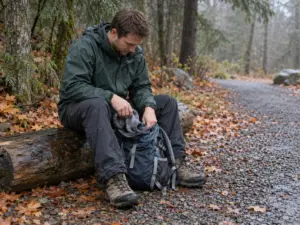
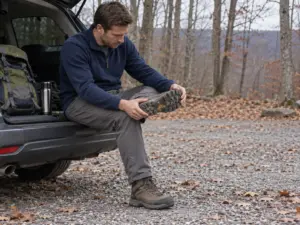
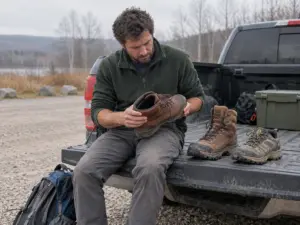







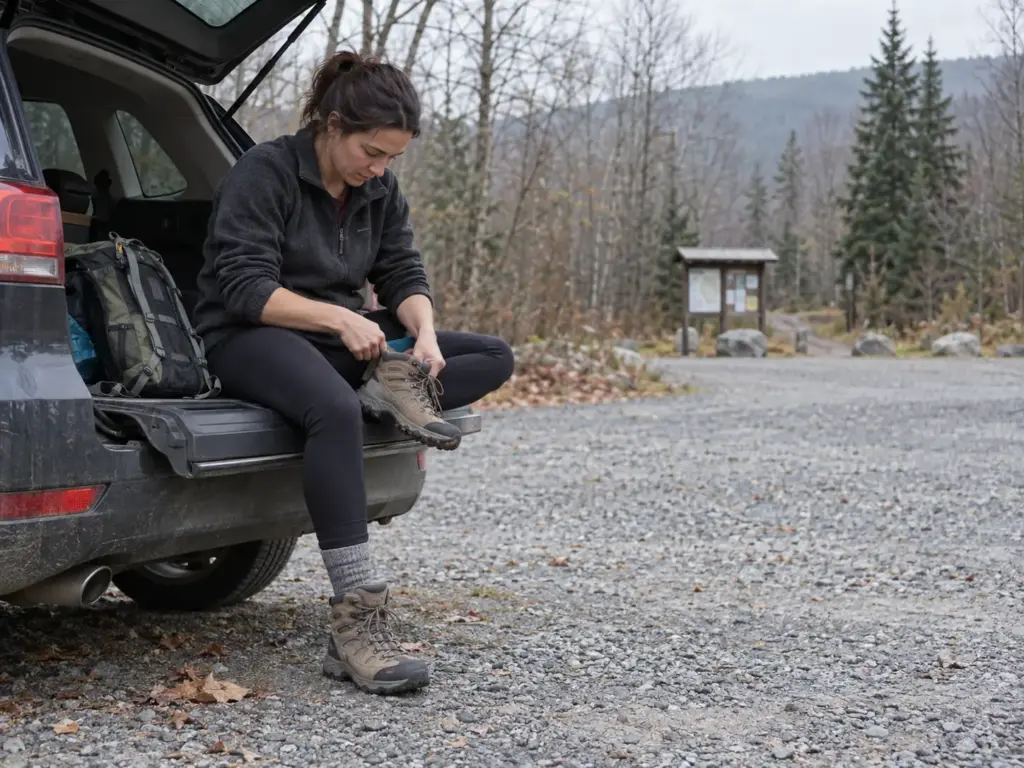
The women’s hiking boots felt perfect in the shop, with thick socks on and a half size of breathing room “for swelling.” Three short walks later your heels are raw, because the boot lifts and drops with every step. That exact story, a size 10 bought by someone who wears a 9, turns up in a Camino de Santiago forum thread, and the veterans in a Backpacking Light thread answer it the same way: the problem was fit, not your skin.
This guide compares seven boots for 2026 by how they fit and how long they last, then covers the three things that decide whether a pair gets worn: telling heel slip from arch pressure, what a boot costs per mile once you count a resole, and why a waterproof boot can still leave your feet wet. The picks lean on foot-shape research from NIH and the University of Groningen and on reviews from Treeline Review, CleverHiker and OutdoorGearLab, so read it as a decision guide, not a gear-lab test.
Here is the short version, matched to how you hike:
| How You Hike | What to Look For | Pick in This Guide |
|---|---|---|
| Day hikes, fast and light | Light mid-cut with a membrane | Salomon X Ultra 5 Mid GTX |
| One boot for most trips | Leather, mid-cut, a maker that resoles | La Sportiva TX Hike Mid Leather GTX |
| Best value on a mid budget | Mid-cut, GTX, easy break-in | Merrell Moab 3 Mid GTX |
| Tight budget | Basic mid-cut, no promises on membrane | Columbia Women’s Newton Wander |
| Wide forefoot | Roomy toe box, width options | KEEN Targhee IV Mid WP |
| Narrow heel | Snug heel, medium width | Lowa Renegade Mid GTX |
| Heavy loads and rough ground | High collar, weight-to-durability balance | La Sportiva Nucleo High II GTX |
Women’s Hiking Boots, Hiking Shoes or Trail Runners: What You Actually Need
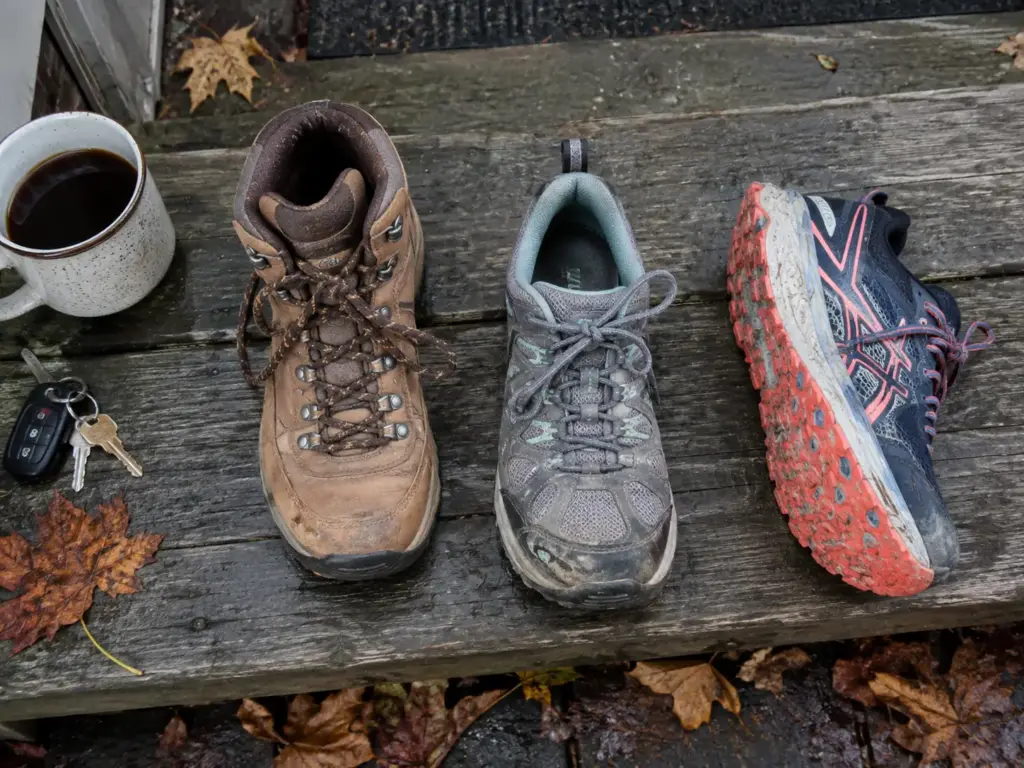
Before you compare hiking boots for women model by model, make sure a boot is the right category at all. The shop wall mixes boots, low shoes and trail runners, and the heaviest option is rarely the answer to a flat four-mile loop. A boot is one choice among several, and our guide to how to choose a hiking boot by terrain, height and fit walks through the full decision. What follows is the short version for women’s models.
When a Boot Earns Its Weight
A hiking boot earns its weight when the day asks something of your feet. A loaded pack, loose scree, cold mornings and brush that scrapes your shins all favor a stiffer platform and a collar that keeps debris out. CleverHiker and OutdoorGearLab both draw the same split in their women’s boot reviews, and it matches what a long descent teaches fast: the heavier your pack weight, the more the sole has to lean back against it.
Think about the whole route, not the trailhead. Two hours of dry dirt road does not need the boot that a rocky ridge with an overnight pack does. If the second sounds like your weekend, you are shopping in the right aisle.
When a Shoe or Trail Runner Is Enough
The hiking boot vs hiking shoe call comes down to load and terrain. A hiking shoe or trail runner wins on light days, in heat and on smooth trail. Less weight on your foot means less fatigue over a long day, and a low shoe dries faster after a creek crossing.
The mistake that keeps surfacing in that Camino de Santiago forum thread is the opposite one: buying the biggest boot “just in case” when the hikes are short and dry. The cost shows up in the heel, not the ankle. Extra boot means extra room, extra room means heel lift, and heel lift means blisters.
Not sure which side of the line you stand on? Our comparison of boots versus shoes versus sandals breaks down where each category stops making sense. My rule of thumb: if your pack stays light and the trail is dry, try a hiking shoe first. If you carry weight or walk rough ground, boots earn their ounces.
Why a High Collar Is Not the Same as Ankle Support
The label on a tall boot says ankle support, and the claim deserves some skepticism. A high collar does real work: it keeps grit and brush out and protects against scuffs. Whether it prevents a rolled ankle or an ankle sprain is disputed, and the case is laid out in why ankle support in boots is mostly a myth. Buy the collar for what it demonstrably does, and don’t count on it as a brace.
Four Women’s Hiking Boots by How You Actually Hike
Four boots cover the most common ways women hike: light and fast, one boot for most trips, good value, and a tight budget. The fit-driven picks for wide forefeet and narrow heels sit in the fit section further down, and the high-cut pick for heavy loads comes after that. Three of these four are mid-cuts, and why mid-cut beats ankle-high for most hikes explains why that height is the default. The notes on each boot come from Treeline Review, CleverHiker and OutdoorGearLab, so they are attributed picks, not results from this site.
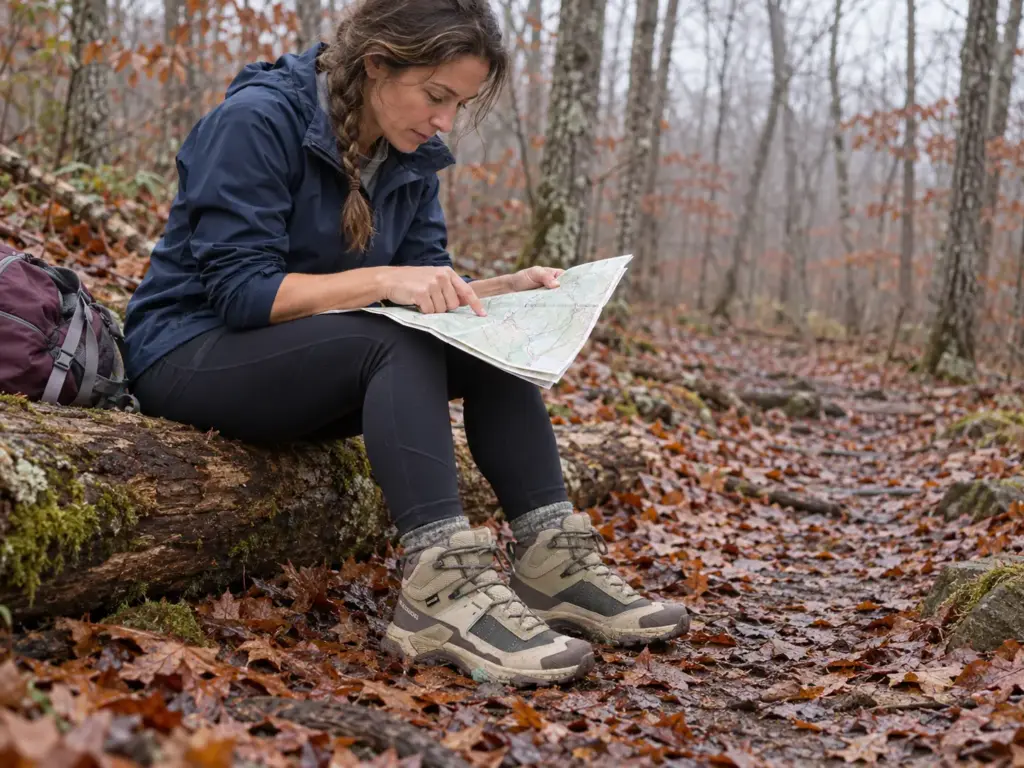
Take the socks you will actually hike in to the fitting, not the thin pair the shop hands you. Thick hiking socks change the fit, and a boot that feels roomy over a thin sock can pinch across the forefoot once the real socks go on. Forum veterans repeat this advice again and again.
Salomon X Ultra 5 Mid GTX for Light, Fast Day Hikes
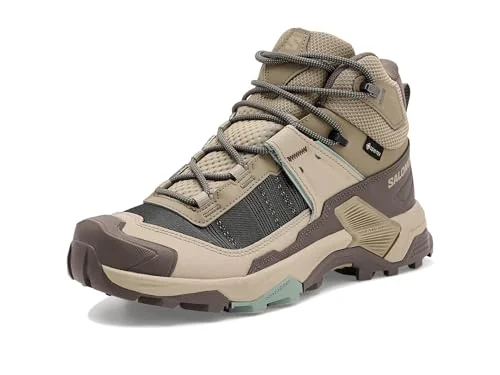
Treeline Review names the Salomon X Ultra 5 Mid GTX its best lightweight boot, and the job description is exactly that: fast day hiking boots duty where you want a mid-cut collar without hauling a mountaineer’s boot. The Gore-Tex membrane keeps puddles and wet grass out, and the mid height keeps trail grit out of your socks.
The cost is the usual one for a light boot. It gives up some of the stiff, stable platform that a loaded pack asks for, so if you carry an overnight kit or cross loose rock all day, skip ahead to the high-cut pick in the weight and durability section.
La Sportiva TX Hike Mid Leather GTX as the One-Boot Pick
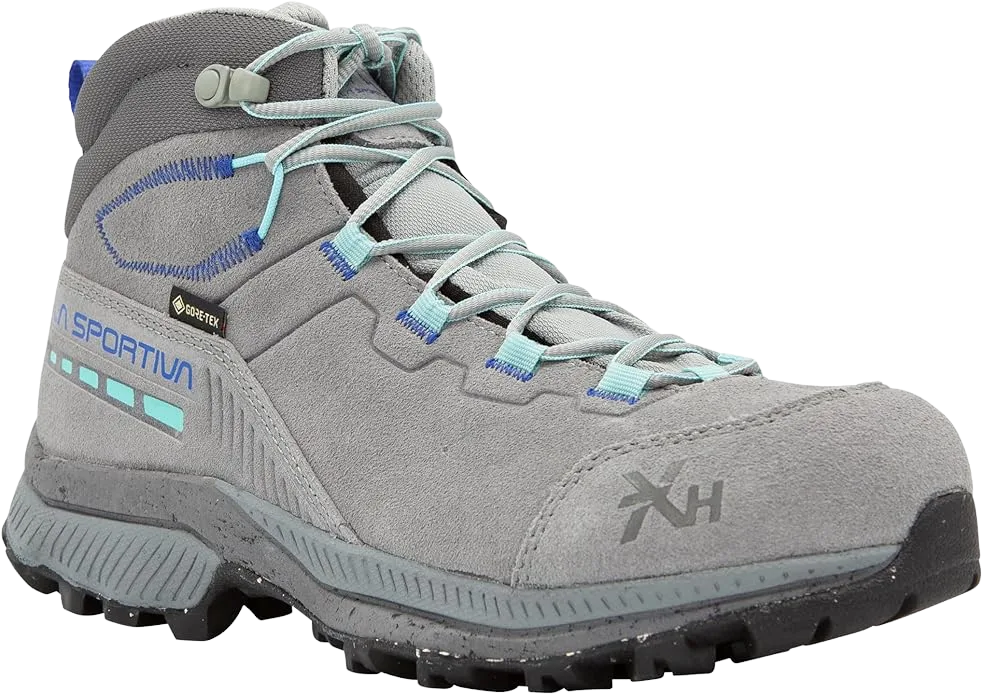
The La Sportiva TX Hike Mid Leather GTX is Treeline Review’s best overall, and it is the closest thing in this guide to one boot for most trips. A leather upper takes longer to settle than a synthetic one, so plan the break-in instead of hoping it goes quickly. The reward is a construction that usually ages well.
Resoling is the maker’s call, not a given. Ask La Sportiva about the resole policy for this model before you count on a second life from it, because not every outdoor sole can be replaced. If your days run hot and dry, leather plus a membrane is more boot than you need, and the Salomon above is the better fit.
Merrell Moab 3 Mid GTX When Value Matters
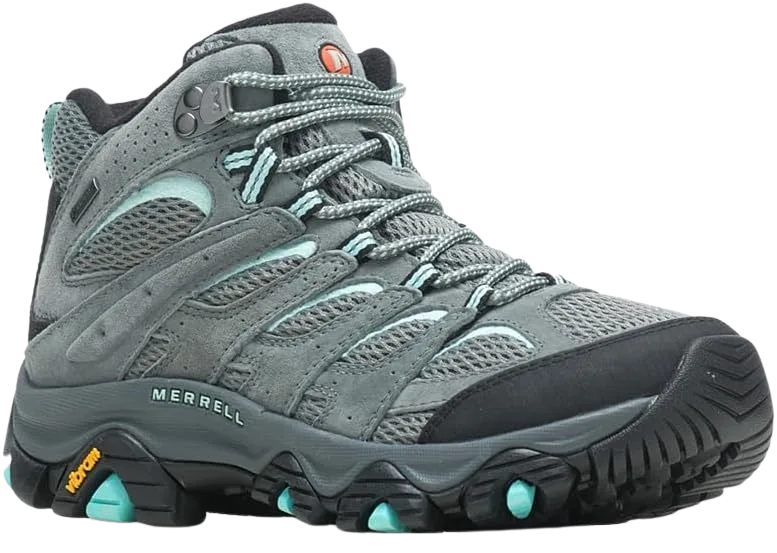
OutdoorGearLab and CleverHiker both name the Merrell Moab 3 Mid GTX their value pick. The name matters here: this card is the Gore-Tex version. Merrell also sells a non-waterproof Moab for warm climates, according to OutdoorGearLab, and that is a different boot from this one. Treeline Review flags mesh tearing on the Moab line, so look over the uppers as the miles pile up.
Value only counts if the boot fits. If your forefoot runs wide or your heel runs narrow enough that a standard last never feels right, the fit section below is a better stop than the bargain aisle.
Columbia Women’s Newton Wander on a Tight Budget
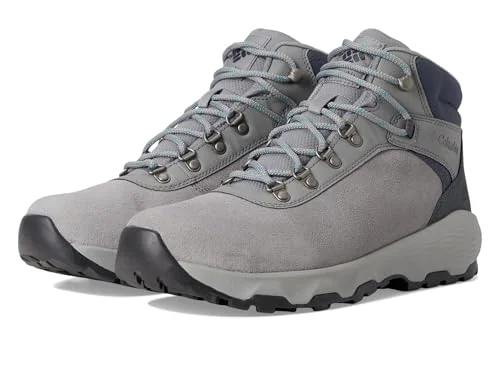
Treeline Review picks the Columbia Women’s Newton Wander as its best affordable boot. It is the budget hiking boots choice here and the nearest thing to entry-level hiking boots in this guide, and it carries the biggest asterisk of the seven: the membrane is not confirmed, so read the listing and see what the boot is made to do in rain before you count on it.
If wet trail is the main job, compare women’s water-resistant hiking boots and decide whether a low price or dry socks matters more to you. Cheaper boots also tend to wear out sooner, and the cost-per-mile section puts a number on that.
Sizing and Width: Why a Women’s Last Is Only an Average
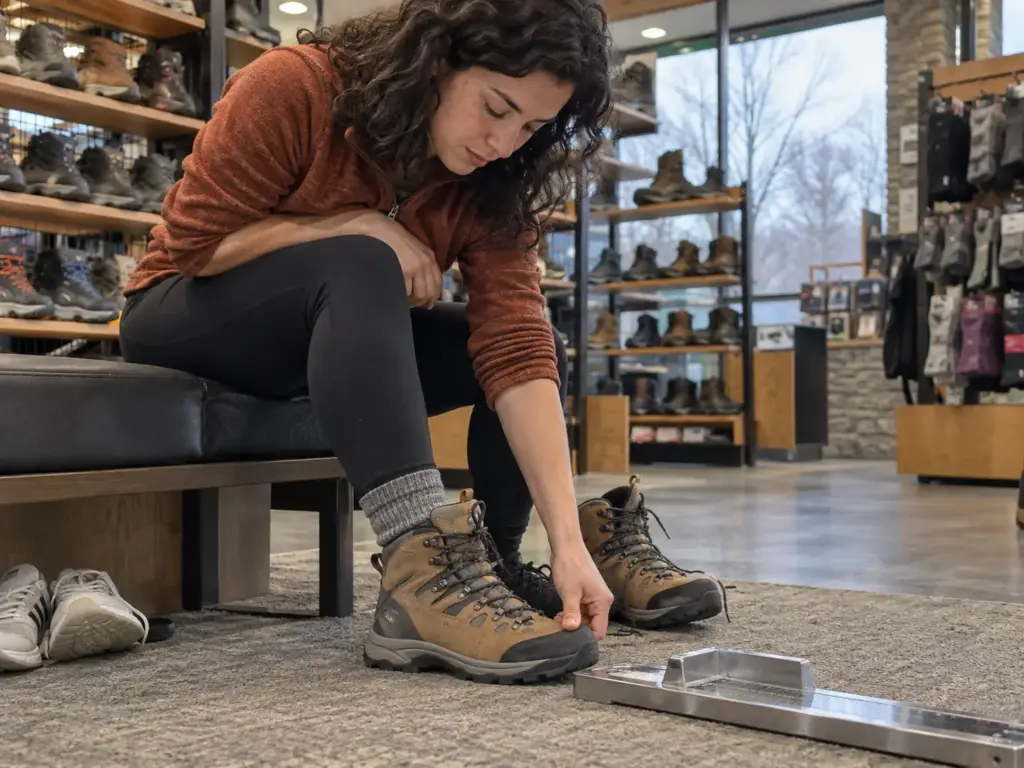
Two women who both take a size 8 can stand at the same shop bench, one comfortable and one wincing, in the same boot. The label says women’s, but that is an average, not a promise. The research on how women’s feet vary explains why.
How Foot Shape Varies From One Woman to the Next
A 2013 study of 83 adult women’s feet in the Journal of Foot and Ankle Research found that foot shape varied continuously, with no distinct foot types. The main axes were low versus high arch, and long and narrow versus short and wide. A women’s fit last is an average of all those feet, so if your width or arch sits far from the middle, the boot will tell you by mile two.
The same study linked frequent high-heel wear with a larger forefoot footprint. That is a good reason to try boots on in the afternoon, when your feet are at their fullest, and with the socks you will actually hike in.
Half a Size Up, and Where That Advice Backfires
“Buy a half size up” is a starting point, not a law, and “true to size” on a product page only describes the average foot. The Camino de Santiago forum thread is the cautionary version: a size 10 bought by someone who wears a 9, thick socks, a boot that felt great in the shop, and heel blisters within a few short walks because the heel rose and fell with every step. More length bought toe room and cost heel hold. Our guide on when to size up hiking footwear the right way covers where the extra length helps and where it hurts.
Backpacking Light veterans give the same order of operations: try the half size longer and the next width up before you reach for padding, tape or a thicker sock. If the heel still lifts after that, the problem is the shape of the boot, not the size on the box.
Width Options and Why Your Forefoot Changes With Age
A University of Groningen study of 168 women aged 20 to over 80 found that ball width grew 3.1 to 4.0 mm per decade, while foot length did not change with age. A size that is right in length can still pinch across the ball of the foot, and the pinch gets likelier as the years pile up. If your usual boots started to feel tight at the widest part, that is probably the reason.
When width is the problem, the fix is a wide fit, not a longer boot. Many brands sell width options, and our guide to the best hiking shoes for wide feet is worth a look if roomy models still feel tight. The KEEN further down is one of the picks that comes with a wide-fit option.
Heel Slip or Arch Pressure? A Fit Test You Can Run at the Trailhead
A woman with wide toes and a narrow heel rents ice boots and finds them sloppy in the heel. Should she size up or size down? That exact dilemma fills a Mountain Project thread, and it is the one almost every woman hits sooner or later with hiking boots too: the boot is fine in one place and wrong in another, and one number on the box cannot fix both.
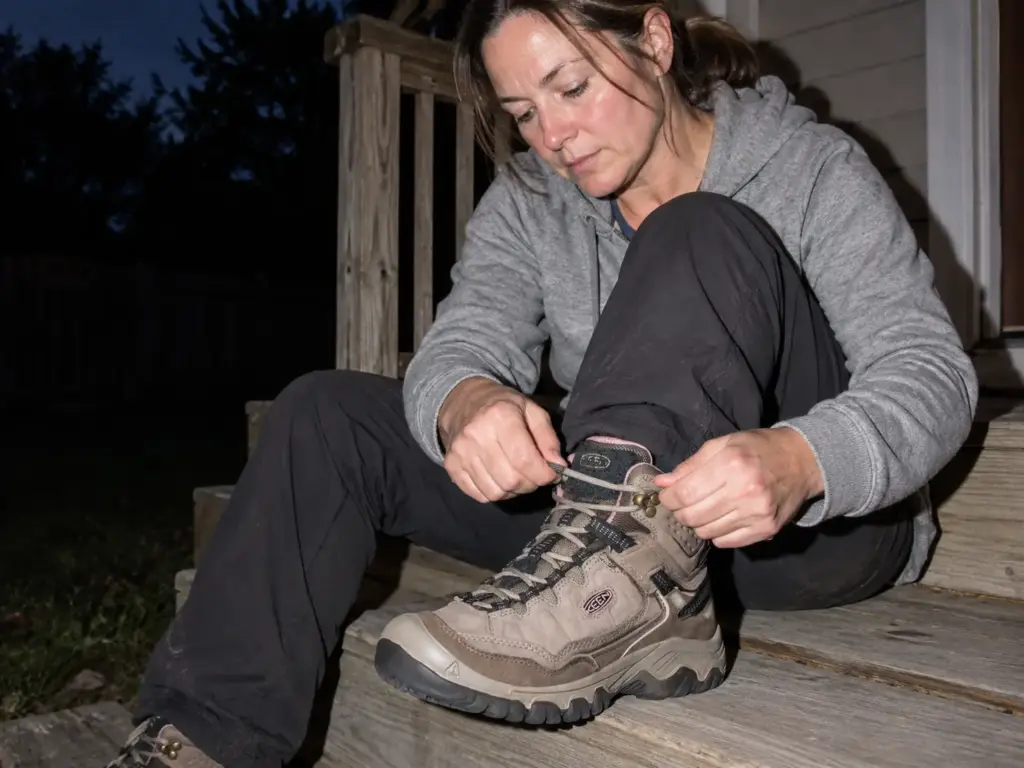
The way out is to stop asking “does it fit?” and start asking where on the foot the trouble starts.
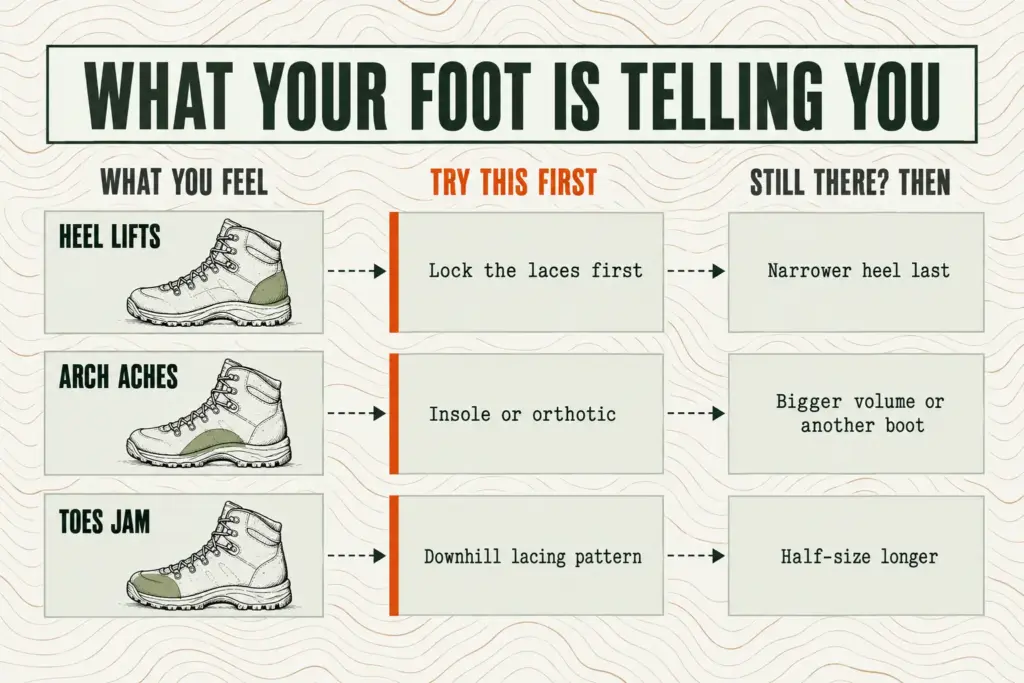
There are three failure patterns, and each has a different fix. The heel lifts as you step: that is heel slip. A hot ache builds under the arch: that is arch pressure. Your toes jam against the front on downhills: that is toe contact.
Backpacking Light, Mountain Project and Camino forum veterans keep describing these three in different words, and they get confused for one another because all three end the same way, with a sore foot and a boot in the closet.
The Heel Test: Lock the Laces, Then Walk a Slope
Heel slip is the one that gets expensive, because it makes blisters. Lace the boot snugly through the ankle, with the top lace hooks pulled tight enough for a solid heel lock, then walk up and down a slope or a flight of stairs. Feel for the heel rising on the uphill step.
Do it on the downhill too, where the foot slides forward and the problem shows its face. A lifting heel on the way up and toes jammed on the way down are two different diagnoses.
Fix the lacing system before you change the size. The lacing fix that actually works for downhill heel slip takes ten minutes and costs nothing. If the heel still moves after that, the heel cup is too wide for your foot. A thicker sock only hides that for a short walk, and a narrow heel last is the real fix.
The Arch and Toe Test: What Pressure Is Telling You
Arch pressure is a hot, localized ache under the middle of your foot after an hour or two. A boot that is too low in volume for a higher arch presses there, and so can an insole that pushes the arch up in a boot with no room for it. Sometimes an aftermarket insole with more arch support changes the arch room enough, sometimes the fix is a bigger volume or a different boot, and our verdict on whether orthotics in hiking boots help walks through both outcomes.
Toe contact is easier to spot. Walk down a steep slope or a flight of stairs; if your toes hit the front of the boot, the boot is too short or the lacing lets your foot slide forward. The half size longer from the previous section is the usual cure, along with a downhill lacing pattern that holds the foot back.
When the Fix Is a Different Boot
Sometimes no amount of lacing, insoles or sock changes will make a boot work, because the shape of the boot and the shape of your foot disagree. Two cards cover the cases where that shape is the fix: a wide forefoot, and a narrow heel. Some women with a wide forefoot and a narrow heel try the men’s version of a boot, which is an option some choose rather than a recommendation for every foot.
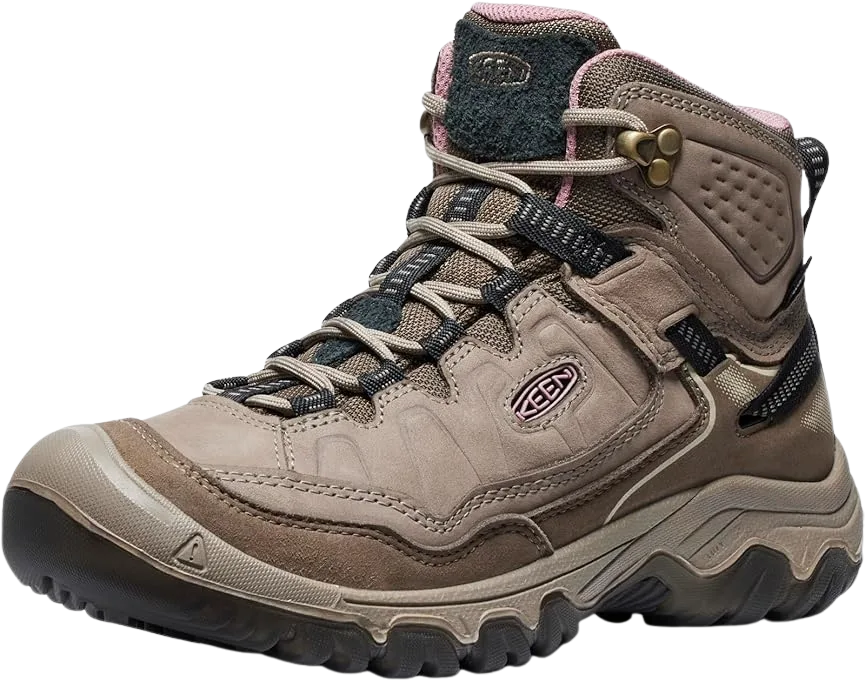
For a wide forefoot, the KEEN Targhee IV Mid WP is Treeline Review’s best wide pick, and it is the boot to try first when toe-box pinch is the complaint. Ask for the wide-fit option explicitly. If your heel is also on the narrow side, check heel hold on the slope before you commit, because room up front can bring heel slop with it. CleverHiker also notes a history of delamination on KEEN boots, where the sole separates from the upper, so check the sole bond early and send back a pair that shows a gap.
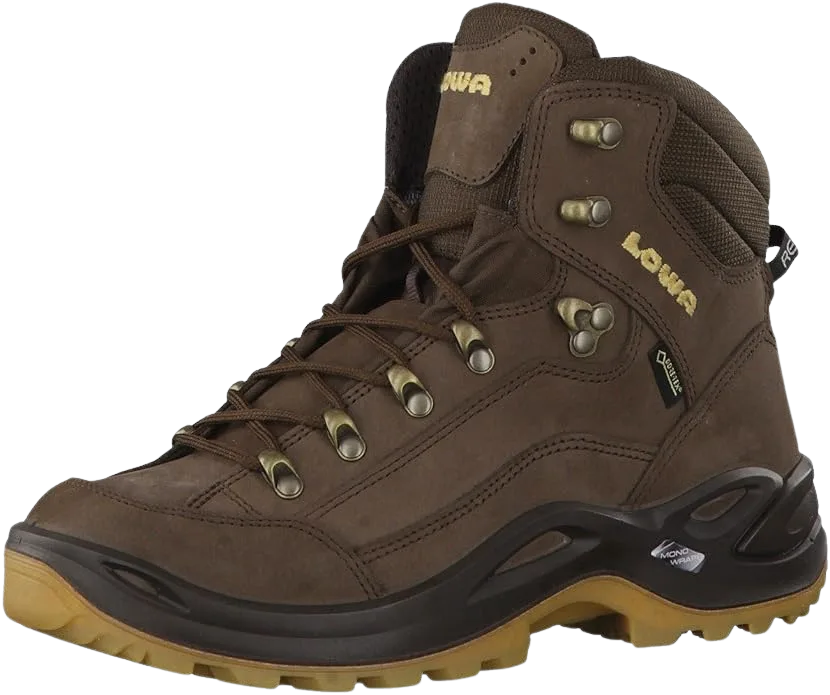
For a narrow heel, the Lowa Renegade Mid GTX is CleverHiker’s overall pick, and the women’s version comes in medium width only. That is good news for a heel that slips in roomier lasts and bad news if your forefoot needs width. If heel slip is your chronic complaint, our guide to hiking boots for narrow feet that stop heel slip goes deeper on what to look for in the heel cup.
Break-In: How Long Women’s Hiking Boots Really Take
It is the week before the trip, and the new boots are still in the box. This is the moment the break-in plan either exists or does not. Our guide on how to break in hiking boots and know when to return them covers the full routine, and the short version is that the break-in period depends on what the boot is made of. Leather takes longer to settle than lightweight synthetics, and the “no break-in needed” promise that Treeline Review, CleverHiker and OutdoorGearLab mention for lighter boots still deserves a few short walks before a long day.
A Break-In Plan That Starts at Home
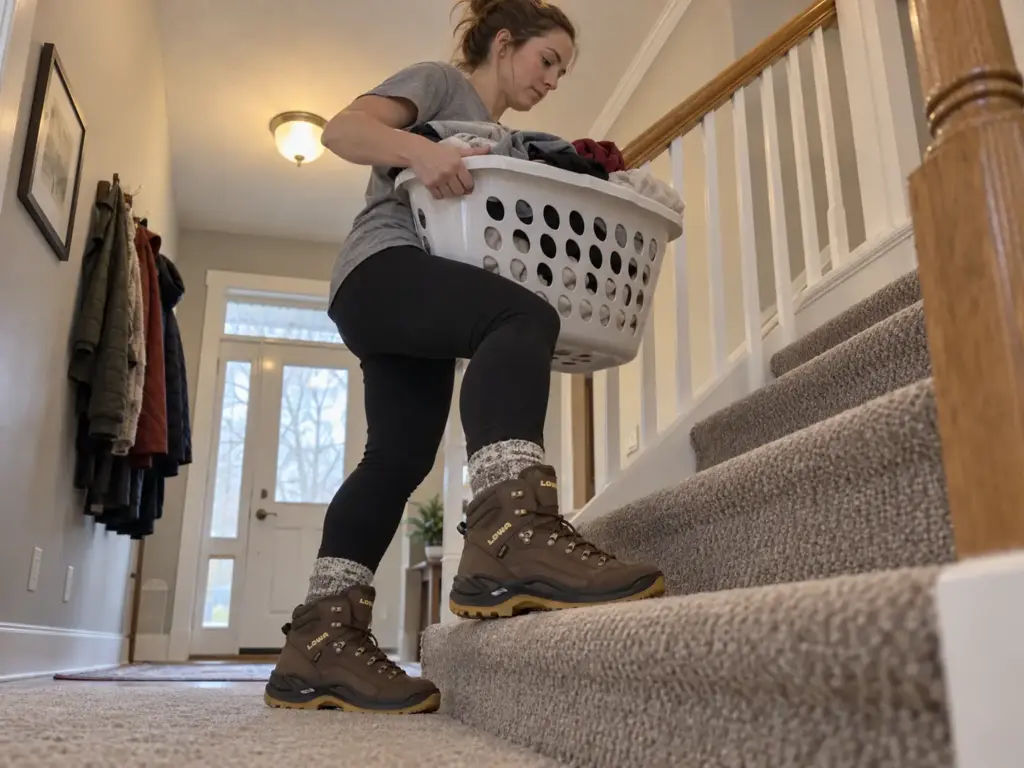
Start indoors, in the merino wool or synthetic hiking socks you plan to wear, for an hour or two. Move to short walks on the neighborhood sidewalk, then add a loaded walk with the pack you plan to carry. Buy the boots weeks before the trip, not days. Wearing them at home also keeps them returnable if the fit turns out wrong, and that matters more than the time you save.
Wear the boots indoors with your hiking socks before the first outdoor walk. A pair that already feels wrong on the carpet is not going to improve on a trail, and a pair you wore indoors is usually still returnable.
Break-In vs a Boot That Will Never Fit
Break-in softens the upper and relaxes stiff spots. It does not move the heel, shrink the toe box or change the width. If a boot is still sloppy in the heel after a week of short walks, that is not a break-in problem, it is a fit problem, and the tests in the previous section tell you which kind.
The Camino forum story is a good example of the trap. The shop-fit-then-blisters buyer reached for moleskin and tape first, and the Backpacking Light veterans answered that the size or width was the problem, not the skin.
Forum regulars even have a word for fixes that treat the symptom and leave the cause: a kludge. Tape is a fine kludge for a hot spot on day two of a trip. It is a poor plan for a boot you wear all season.
Waterproof or Breathable? What the Membrane Really Does
The tag says waterproof, and the assumption is dry feet. That assumption is the one to retire. A membrane such as Gore-Tex sits inside the boot and stops water from coming through the upper, and in exchange it gives up some breathability. Leather and mesh uppers breathe differently, so the choice is about trade-offs rather than a good option and a bad one.
What a Membrane Buys You, and What It Costs
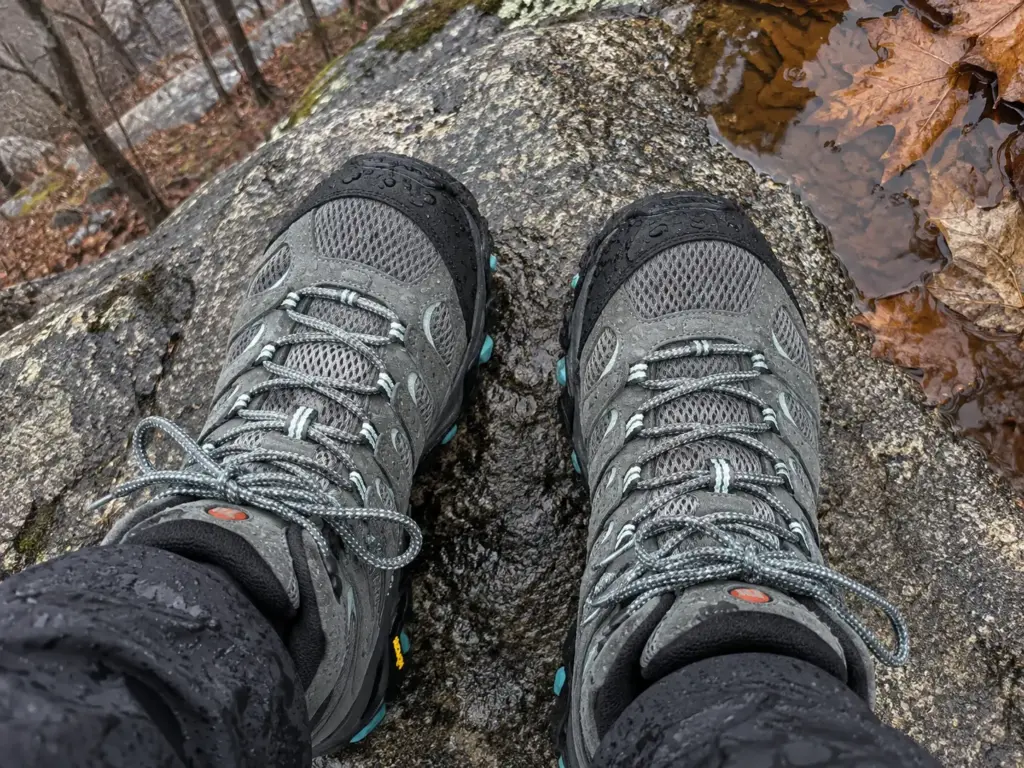
A membrane buys you protection from puddles, wet grass, mud and cold stream splashes. It costs breathability and drying time. OutdoorGearLab notes that waterproof liners lengthen drying time, and that Merrell sells the Moab 3 without waterproofing for warm climates. Our look at the breathability cost of Gore-Tex goes deeper on the trade.
My rule of thumb: wet, cool and muddy means membrane, and hot and dry means breathable. The right answer depends on where you hike, not on which boot has the longer feature list.
Outside Treatment Is a Different Thing
A treatment on the outside of the boot, such as DWR or wax, is a different layer of protection from the membrane inside. It wears off with use and has to be re-applied, while the membrane inside does not wear off in the same way. If your boots start to soak up water on the surface, the outer treatment is probably tired. How wax and spray waterproofing compare explains how to choose between the two and how often to redo it.
Why Waterproof Boots Still Leave Your Feet Wet
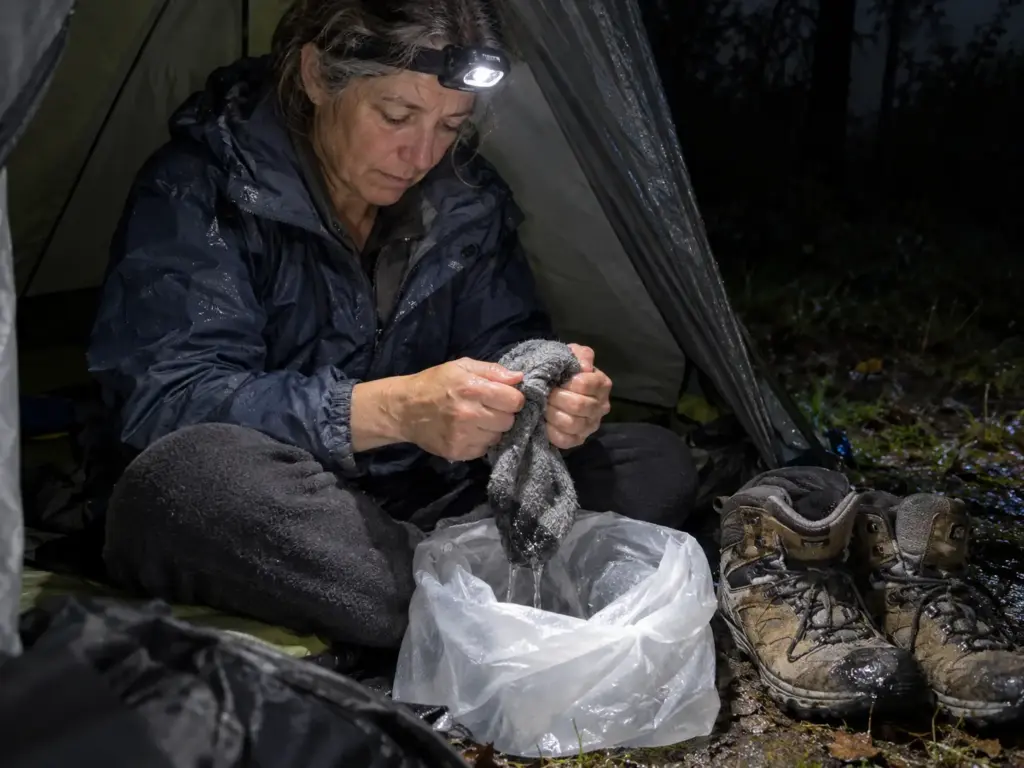
It is a rainy day, the boots are perfectly sealed, and your sock is soaked at the lunch stop. Nothing leaked, so what happened? A waterproof boot is not a promise of dry feet. It is a way to keep puddles and mud from getting through the upper, and it leaves two other routes to wet feet wide open.
Saturation, Trapped Sweat and the Ankle Opening
The Appalachian Mountain Club explains why Gore-Tex boots end up wet inside, and the mechanism is simple. Gore-Tex is waterproof from the outside, but its breathability is “completely eliminated” once the outer surface of the boot is saturated. After that, moisture management stops and sweat has nowhere to go. It stays inside, the sock goes damp from the inside out, and you get wet feet without a single leak.
The second route is the ankle opening. Water runs down your leg, the sock wicks it in, and the boot fills from the top. According to the AMC, gaiters and rain pants “only delay the inevitable.” They help, but they do not solve the problem.
On a long wet day, expect both to happen at once. A saturated surface stops the boot from venting, and a damp sock pulls more water in from above. Put those together and a boot that never leaked can still end up with a soggy foot by mid-afternoon.
A Simple Rule: Waterproof When It’s Wet and Cool, Breathable When It’s Hot
Choose the membrane for the climate, not for the label. OutdoorGearLab’s own lineup points the same direction, with a non-waterproof Moab 3 sold for warm climates.
In wet, cool conditions, a membrane keeps you moving longer. On a hot, dry trail, a breathable version avoids a lot of trapped sweat. If you are not sure, leather versus synthetic boots, picked by where it gets wet can help you narrow it down.
Three Wet Days and What Each Asks of Your Boots
Not every wet day is the same day. A steady drizzle that lasts for hours is the saturation case: the outer surface soaks through, the membrane stops venting, and the AMC mechanism above takes over.
A creek splash or a stretch of wet grass is the easy case, where a membrane does the job on the tag because the water never has time to find the collar. A hot, humid climb is the odd one out, and it is the reason OutdoorGearLab sells a non-waterproof Moab 3 for warm climates. CleverHiker adds that water gets into waterproof boots during prolonged downpours and that outside treatments wear off, which is why the same pair can feel so different from one day to the next.
At the lunch stop the job is simple. Take the boots off, pull the insoles out if they come out, loosen the laces and let the tongue fall open. Put dry socks on while the damp pair dries on your pack or a sunny rock. Ten minutes of dry feet at a rest stop does more for the afternoon than any membrane does.
Carry a spare pair of dry socks and swap them at the lunch stop, then dry the boots at breaks when sun and wind allow. Ten minutes at a rest break turns a soggy afternoon into a normal one, and it costs you almost nothing in pack weight.
Traction: What the Outsole Does on Wet Rock and Mud
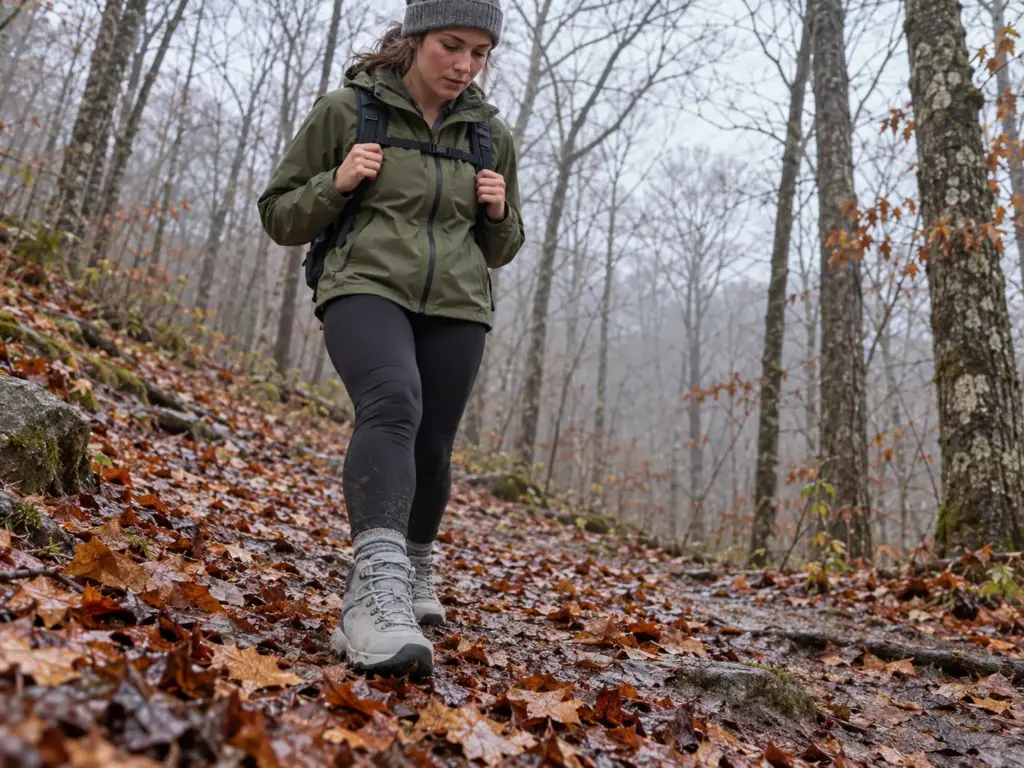
Picture a leaf-covered slope after rain, and a boot that skates on it. The cause is rarely the brand stamped on the heel. It is the rubber compound and the lug pattern, and those are the two things to read before you buy.
Rubber Compound and Wet-Rock Grip
On wet rock, the compound matters more than the name on the sole, and grip on wet rock is the test that exposes a hard one. A Vibram outsole and several house compounds show up in every women’s boot review, and none of them gets an unqualified win in the sources behind this guide, so no per-model claim is made here. Tread comparisons live mostly in roundup text and rarely in trail stories, so any boot-by-boot grip ranking should be taken with caution. Our breakdown of which outsole rubber grips wet rock goes further into compounds.
Lug Depth: Mud and Gravel vs Smooth Rock
Lug depth and spacing decide how a sole deals with mud. Deep, widely spaced lugs shed mud and bite into gravel. Shallow, closely spaced lugs grip smooth rock better and clog in mud.
The question to ask the shop wall is simple: where do you hike? A boot that suits your trail beats a boot that wins a spec sheet.
Ankle Support, Weight and Durability: When a High Boot Pays Off
You have a heavy pack, rocky trail and a boot that feels like a brick on day one. A taller boot is the right answer for some trips and a heavy-footed mistake for others. The honest approach is to match collar height to load and to count what each ounce costs over a long day.
Mid-Cut vs High-Cut: Who Needs the Taller Collar
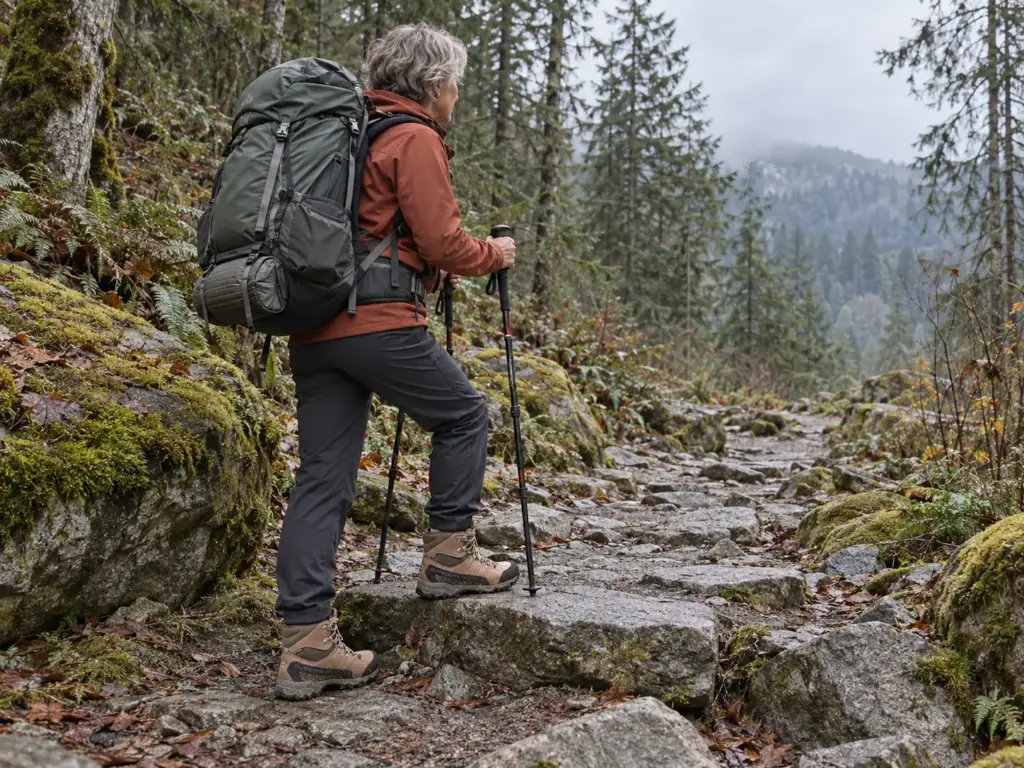
Collar height trades weight for protection and for hold under a heavy pack. A mid-cut is the default for most day hikes. A high-cut earns its extra material when you carry real weight, cross loose or rocky ground, or spend multiple days on the trail. That is backpacking boot territory.
For shorter loads on smoother trails, the lighter boot almost always makes the better partner.
Weight on Your Feet: Why Ounces Add Up
Weight per pair is felt over thousands of steps. A few extra ounces on each foot are repeated with every stride, so they behave more like a pack on your feet than a number on a spec sheet. Heavier leather boots usually last longer, but they cost energy, and that is the whole trade.
Durability depends on the upper, the stitching or glue and the midsole. Outside Online quotes a shop expert saying that EVA midsoles are shot at roughly 600 to 900 miles, and a dead midsole usually ends the boot. How each part of a hiking boot fails shows what to check on the uppers and the midsole as the miles add up.
La Sportiva Nucleo High II GTX for Heavy Loads and Rough Ground
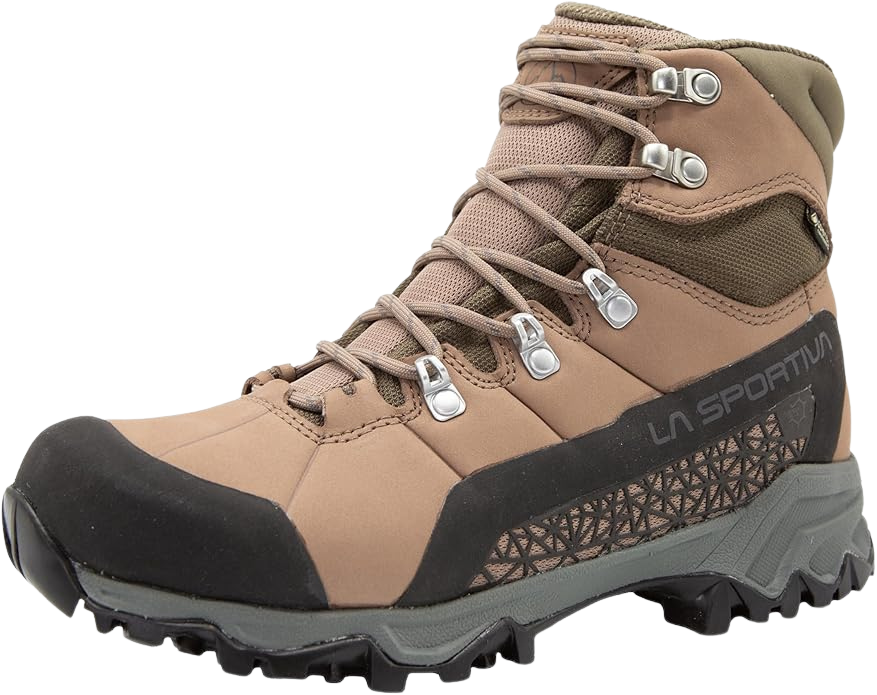
CleverHiker names the La Sportiva Nucleo High II GTX its best balance of weight to durability, and it is the high-cut answer in this guide. The high collar and Gore-Tex membrane make sense for loaded packs, rough ground and multi-day trips, where a mid-cut can start to feel undersized. If your trips are shorter and lighter, the extra height is more boot than you need.
Construction matters for how long a boot like this lasts, and Goodyear welt versus cemented boots explains why one build can be repaired and the other usually cannot. Ask how a boot is put together before you assume it can be resoled.
Cost Per Mile: What a Women’s Hiking Boot Really Costs
You are weighing a boot that costs twice as much as another, and wondering whether you are paying for the logo. The honest question is not what each boot costs today. It is what each boot costs per mile, once you count how long it lasts and whether it can be fixed. The cheapest boot and the cheapest boot per mile are often different boots.
What a Resole Costs and When It Makes Sense
Good women’s hiking boots run from roughly $100 to roughly $280. A resole is commonly $60 to $85 and takes one to five weeks, according to Outside Online, but only if your boots can be fixed. Not every outdoor sole can be resoled, and most are molded on. For what resoling hiking boots costs and when it’s worth it, our guide covers how to tell which boots qualify and when the upper is too far gone to bother.
A resole is a good bet when the upper is intact, the stitching holds and the midsole still has life. It is a bad bet when the boot’s real problem is the midsole.
When the Midsole Ends the Boot
The midsole, not the lugs, often ends the boot. A shop expert quoted by Outside Online puts EVA midsoles at “shot” around 600 to 900 miles. Polyurethane bounces back more but still breaks down, and a dead midsole usually means a dead boot. OutdoorGearLab puts a typical boot lifespan in miles at 500 to 1,000, which lands in the same neighborhood.
That reshapes the resole math. A new outsole on a boot with a dead midsole is money spent on a boot that is already finished. The boots worth resoling are the ones whose midsoles outlast the first outsole.
A Rough Cost-Per-Mile Example
One test gives a sense of the spread, and only one. Outdoor Tech Lab’s 200-mile test rated a Lowa Renegade at “2000+ miles, resoleable” and a budget Columbia boot at about 450 miles before serious wear. That is a single test on one trail, not a rule, but it shows how far apart two boots can land.
Here is a labeled rough estimate, built from round category numbers and the single test above, not from any boot named in this guide. Say a lower-priced boot costs $140 and a boot near the top of the range costs $280, with a $70 resole. Two of the lower-priced boots at about 450 miles each cover 900 miles for $280, or roughly 31 cents a mile.
The top-range boot, resoled once, costs $350, and if its midsole holds to 1,800 miles that works out to about 19 cents a mile. If the midsole gives out at 900 miles, the resole never happens, the cost is $280 over 900 miles, and the two strategies tie.
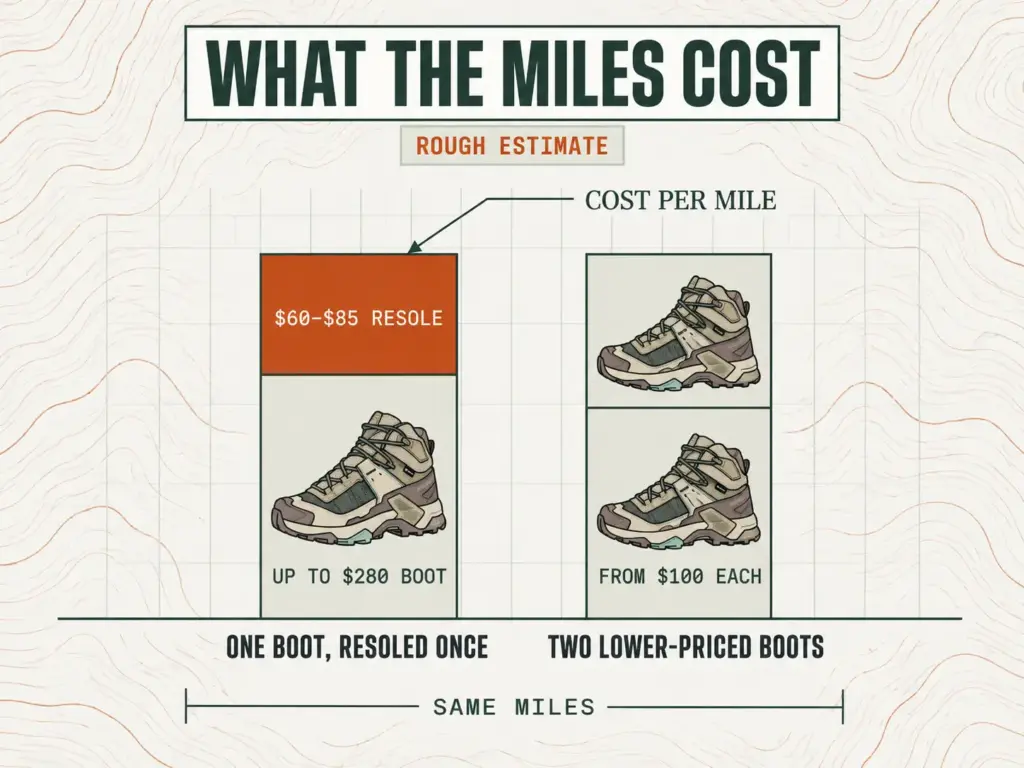
The takeaway is not that expensive boots always win. It is that cost per mile only works out if the boot fits. A boot that never fits has an infinite cost per mile, because you stop wearing it.
That is why the fit tests come first and the math comes second. If you want to see how the durability side compares across categories, here is how hiking shoes and boots compare on durability.
Walk a Loaded Loop at Home Before You Commit
Three things decide whether a pair of women’s hiking boots gets worn or left in the closet.
Fit is the first filter, and it is about the heel, the arch and the toes, not only the length on the box. Waterproof is a climate decision, not a promise of dry feet, so match the membrane to where it gets wet and carry a spare pair of socks. And count the miles: a boot that fits and can be resoled can beat a cheaper one, but only if the midsole outlasts the first sole.
So before the trip, take the boots you are considering on a short loaded walk at home. Wear your real socks, carry the pack you plan to carry, and walk a slope. If the heel lifts, the arch aches or the toes jam, you have found out at home instead of on the trail, while the boots can still go back.
Frequently Asked Questions
01What are the best women’s hiking boots?
The best women’s hiking boot is the one that holds your heel and clears your toes, so the seven picks above split by situation. Salomon X Ultra 5 Mid GTX suits light days, La Sportiva TX Hike Mid Leather GTX is the one-boot pick, and Merrell Moab 3 Mid GTX is the value pick.
02What are some good women’s hiking boot brands?
Good women’s hiking boot brands include LOWA, Merrell, Salomon, La Sportiva, KEEN, Oboz, Columbia and Danner, and each cuts its boots on a different last. Brand matters less than whether that last matches your heel, forefoot width and arch, so try two or three before you commit.
03Which is better, Hoka or Merrell?
Neither brand wins outright, because the better one is whichever holds your heel without slipping and leaves your toes room on a downhill. Merrell’s Moab 3 Mid GTX is one of the picks here, while Hoka makes more cushioned shoes, so try both on with your real hiking socks.
04What are some affordable women’s hiking boots?
Columbia Women’s Newton Wander is the budget-friendly pick here, and Merrell Moab 3 Mid GTX is the mid-range value pick. Check what membrane the Newton Wander actually has before you count on it in rain, and read the cost-per-mile section before you decide on price alone.
05Should I buy hiking boots a half size bigger?
Sometimes, but test the heel first: a half size longer helps toe room on downhills, yet extra length can let the heel lift and cause blisters. Try the half size longer, then the next width, before reaching for padding or tape.

I've spent more than a decade researching hiking gear and trail technique. I read the specs, the forum threads and the long-term reviews, and every pick here comes with what it gets wrong.
End of the trail
You read every mile of this one. Here's where the trail goes next.